You’ll spot RAV4 alternator issues by checking for dimming or flickering lights, hard starts, engine stalling, or whining/screeching noises. Measure battery resting voltage (12.6–12.8V healthy) and charging voltage with engine running; below ~13.7V at idle signals a problem. Inspect drive belt, connectors, fuses, relays and look for melted insulation or burnt smells. Perform cranking and diode/regulator checks to isolate faults. Continue on for step-by-step tests, parts guidance, and when to call a pro.
RAV4 Alternator Symptoms: Quick Triage Checklist
When your RAV4 shows electrical oddities—dim or flickering headlights, hard starts, or engine stalling after startup—triage the alternator first because it’s responsible for maintaining charge while the engine runs; check for whining or screeching from under the hood, measure system voltage while driving, and note if starting difficulty resembles a dead battery. Start by listening: bearing noise or belt squeal often precedes failure. Next, measure voltage under load; a steady ~13.5V may indicate marginal charging and warrants further test, as true charging should typically be higher when alternator is healthy. Correlate hard starts or immediate stalling with charging loss—this shows the alternator isn’t sustaining battery voltage. Consider alternator lifespan against service history; older units and heavy electrical loads shorten life. Verify battery compatibility before replacing the alternator or battery; mismatched specs can mask charging faults. Prioritize tests that isolate alternator output versus battery state to free yourself from repeated roadside failures.
Quick Checks: Belts, Fuses, Harnesses, and Connections
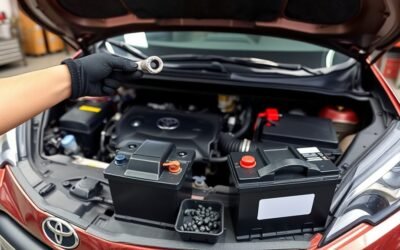
Start by visually and manually checking the drive belt for cracks, glazing, fraying, or improper tension, since a damaged belt will stop the alternator from charging. Then test the alternator fuse and related relay for continuity or signs of overheating, replacing any blown components. Finally inspect the wiring harness and battery/alternator terminals for corrosion, loose connections, or broken wires that could interrupt charging.
Drive Belt Condition
Inspect the drive belt and related electrical connections at every service interval to catch issues that can degrade alternator output. You’ll perform drive belt maintenance by scanning for cracks, fraying, glazing, or uneven wear; any of these defects can reduce grip and slip under load, dropping alternator charging. Confirm the alternator wiring harness and battery lead are clean, intact, and free of corrosion—bad wiring causes voltage loss even if the belt is good. With the engine running, listen for squeal or screech that signals misalignment or tension loss; correct tension or pulley alignment before it accelerates wear. If damage or persistent noise appears, schedule drive belt replacement and correct harness faults to restore reliable alternator performance and reclaim control.
Fuse And Relay Check
Although belts and wiring are obvious culprits, don’t overlook fuses and relays—check the alternator fuse for continuity and the charging-system relays for proper operation to rule out electrical interruptions. You’ll test the alternator fuse with a multimeter; lack of continuity confirms the need for fuse replacement to restore the charging circuit. For relay testing, swap a known-good relay or use a bench tester to verify coil resistance and contact switching under load. If relays click but fail to pass current, they’re intermittent and must be replaced. Document readings and compare to specifications to avoid chasing symptoms. These quick checks free you from unnecessary part swaps and focus troubleshooting on the true source of charging failure.
Wiring And Terminal Inspection
Now that you’ve checked fuses and relays, look over the wiring and terminals to confirm the physical paths that carry charging current are intact. Inspect the drive belt first—glazing, cracks, or looseness directly reduce alternator output. Then verify wiring integrity: probe the harness for frays, broken conductors, and pinched sections that interrupt current between alternator, regulator, and battery. Test the alternator fuse for continuity; a blown fuse isolates the circuit. Examine the lead to the battery for terminal corrosion and tightness; corrosion raises resistance and starves the battery. Confirm the voltage regulator and related connectors operate within spec. Document any faults, replace compromised wiring or terminals, and re-test charging under load to restore independent, reliable charging performance.
Measure Battery Resting Voltage and Interpret Results
Start by letting the vehicle sit off for several hours with all accessories shut off, then use a multimeter (red probe to positive, black to negative) to measure the battery’s resting voltage; a healthy battery should read about 12.6–12.8V, readings under 12.4V indicate partial discharge, and below 12.0V indicate a dead battery needing immediate attention. You’ll confirm baseline state before diagnosing alternator issues or pursuing battery maintenance tips. Connect probes securely, note the voltage, and record it.
Let the vehicle sit, measure resting battery voltage with a multimeter, record readings to determine health before further tests
- 12.6–12.8V: healthy; no immediate action.
- 12.4V–12.0V: partial discharge; recharge and retest.
- <12.0V: dead; replace or jump-start then evaluate.
- Document readings and conditions to expose voltage fluctuation causes.
This diagnostic step frees you from guessing: a solid resting voltage isolates battery health from charging-system faults. Don’t proceed to engine-run charging tests until you’ve established the resting baseline; use this data to demand accurate repairs or assert your right to a reliable vehicle.
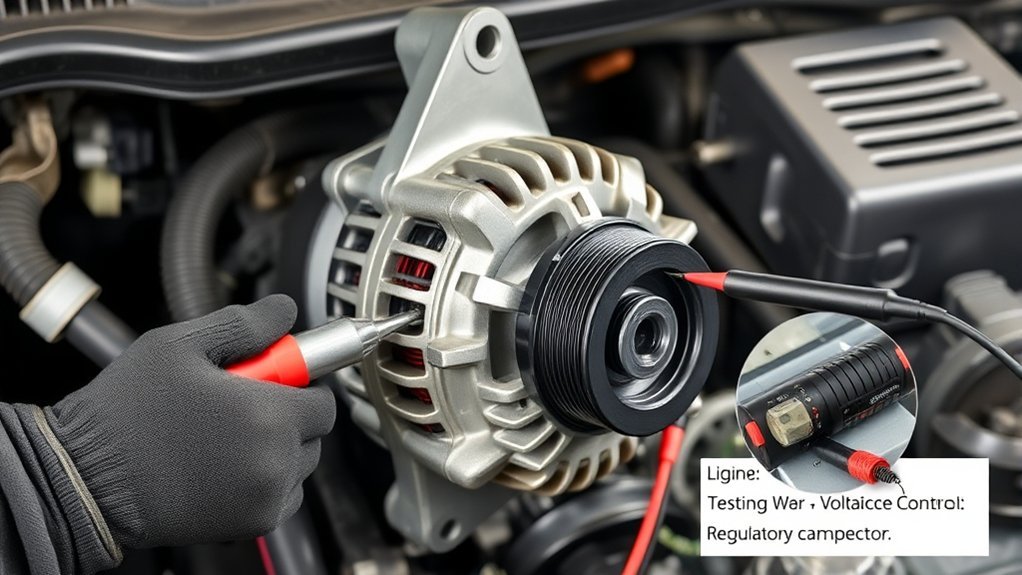
Test Charging With a Voltmeter While the Engine Runs
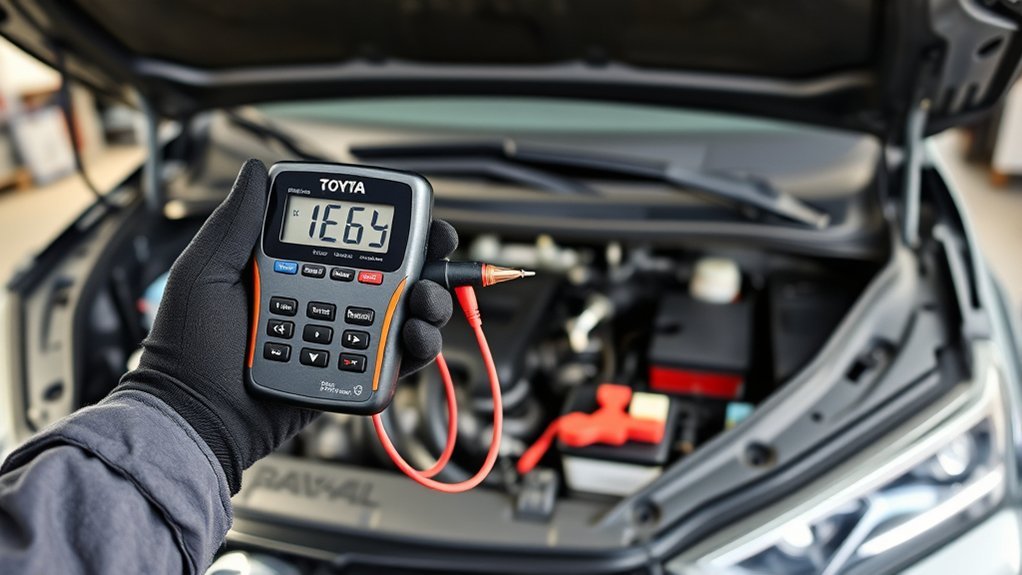
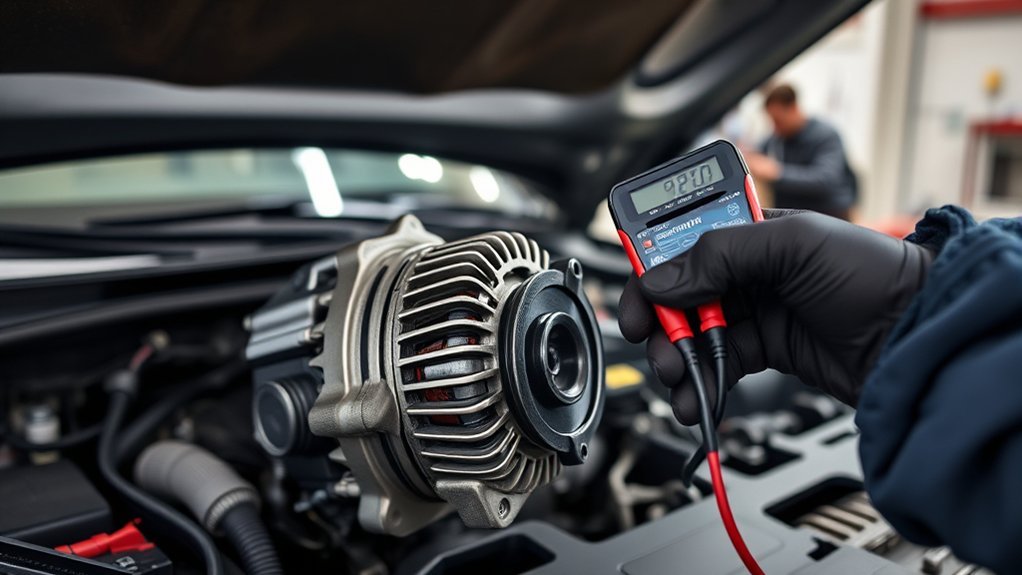
With the engine running and all accessories off, connect your multimeter across the battery terminals (red to positive, black to negative) and observe the charging voltage; a properly functioning alternator should hold about 14.1–14.7V. You’re verifying alternator health: stable voltage in that band means the charging system is doing its job. If the reading falls below 13.7V, suspect a malfunctioning alternator or regulator and plan further inspection or replacement.
Rev the engine gently and watch for voltage fluctuations. A healthy system stays steady as RPMs rise; significant dips or jumps point to worn brushes, failing diodes, or a weak regulator. Always compare your readings to Toyota’s specifications for that RAV4 model year—spec limits trump generic ranges. Record values at idle and during revs, then interpret trends rather than single readings. This diagnostic approach frees you from guesswork and directs targeted repairs to restore reliable alternator health.
Cranking Tests: Distinguish Starter vs. Alternator Problems
After you’ve checked charging voltage at idle and under revs, run cranking tests to separate starter faults from charging-system problems. You’ll monitor voltage drops during starter engagement to isolate cranking issues: a healthy battery shouldn’t fall below 10.5V while cranking. If you see values near 8.0V on a new battery, excessive current draw from a failing starter or wiring fault is likely, not the alternator.
Use a handheld multimeter and observe behavior before, during, and after cranking:
- Measure battery voltage with ignition off, then during cranking; note voltage drops and duration.
- If cranking stays above 10.5V but charging stays low after start, suspect alternator or charging circuit.
- If cranking plunges below 10.5V (eg. ~8.0V), inspect starter and starter circuit for high draw or shorting.
- Consistent sub-12.6V at rest requires separate battery/alternator follow-up.
These targeted diagnostics free you to act decisively and avoid misidentifying the fault.
Listen and Look: Audible, Smell, and Overheating Signs
Listen for a whining or howling noise from the engine bay, as that often signals failing alternator bearings or internal damage requiring immediate inspection. If you smell burning rubber, consider a slipping drive belt or an overheating alternator that could lead to electrical failure. Monitor for alternator overheating after a few minutes of runtime and for persistent dimming or flickering lights, both of which indicate inadequate output and demand diagnostic testing.
Whining Or Howling Noise
A persistent whining or howling from the engine bay usually signals failing alternator bearings or a misaligned drive belt, and it will change pitch with engine RPMs—getting louder when you rev or accelerate. You’ll want to treat this as a freedom issue: don’t accept drivetrain captivity. Use alternator maintenance and noise troubleshooting steps immediately to avoid being stranded.
- Listen for pitch change with RPMs to localize the source.
- Disconnect the alternator (safely) to see if the sound stops—confirmation it’s internal.
- Inspect pulley, bearing play, and belt alignment; measure runout and tension.
- Replace worn bearings or the alternator assembly if noise persists.
Act fast; persistent whining can precede overheating, friction damage, and total alternator failure.
Burning Rubber Smell
Smell of burning rubber often points to an overheated alternator—failed bearings, internal shorting, or a slipping drive belt can produce that odor and usually comes with whining or screeching that rises with RPM. You should treat that scent as a diagnostic flag: inspect the alternator housing for heat, check for belt glazing or looseness, and listen for bearing noise under load. Persistent odor plus poor charging indicates internal failure that can cascade into battery drain and starting faults. For liberation from roadside vulnerability, perform proactive alternator maintenance—clean connections, verify belt tension, and test output under load. Addressing the source early provides overheating prevention and prevents total alternator loss that forces immediate replacement.
Alternator Overheating Signs
When your RAV4’s alternator overheats, you’ll often notice sensory and electrical clues: a persistent burning rubber odor, whining or screeching that shifts with engine RPM, and voltage falling below about 13.7 V while idling or under load. You should interpret these as diagnostic signals of failing bearings, insulation breakdown, or excessive load affecting alternator lifespan. Listen, look, and meter for corroboration.
- Burning odor: insulation or belt slippage indicates overheating causes you must address.
- RPM-linked whine/screech: mechanical wear or misalignment harming bearings.
- Voltage <13.7 V: electrical output degraded, expect dimming lights or erratic accessories.
- Visual heat signs: discolored connectors, melted insulation, or oil contamination accelerating failure.
Act quickly to preserve mobility and reclaim control over your vehicle.
Isolate Alternator Faults: Diodes, Regulator, and Bearings
Start by checking the charging voltage at the battery with the engine running—you should see 14.1–14.7 V; readings below about 13.7 V point to diode or regulator faults. Perform diode testing with a multimeter or diode tester: isolate the alternator, check each diode for forward/reverse drop and leakage; any abnormal readings indicate rectifier failure and reduced charging efficiency causing battery drain and warning lights.
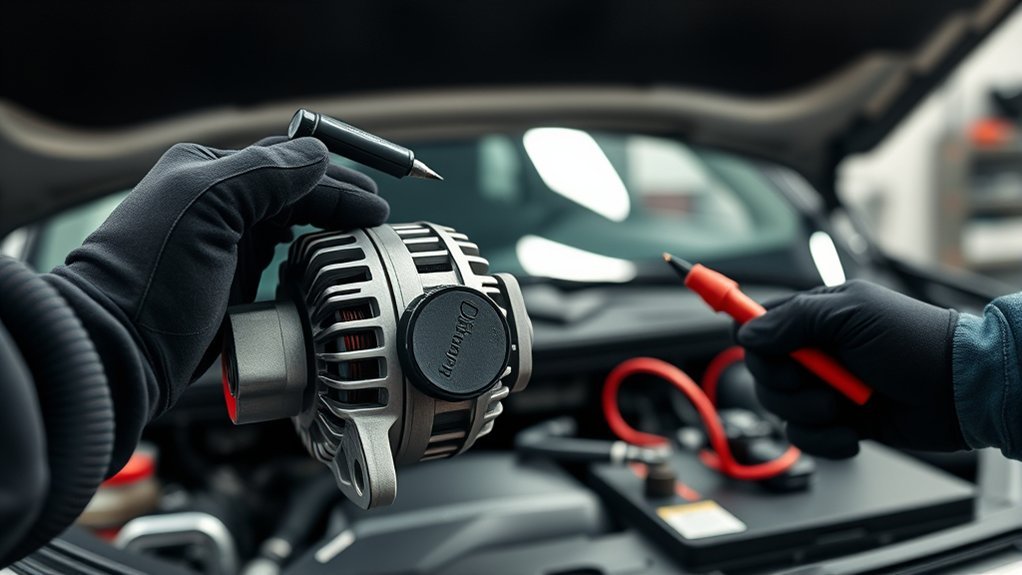
Next, conduct a regulator inspection while monitoring voltage under varying loads (lights, A/C). Look for unstable readings or overcharging spikes—signs the regulator is failing and risking electrical damage. Listen for mechanical symptoms: whining, growling, or grinding points to bearing wear. Inspect the alternator housing, pulley play, and shaft for looseness.
Also check wiring and connectors for heat damage or corrosion; damaged leads will mask correct diagnoses. You’ll then know whether targeted repair of diodes, regulator, or bearings is required before replacing the unit.
Replace Alternator or Fix Battery/Wiring: Make the Call
How do you decide whether to replace the alternator or focus on the battery and wiring? You use diagnostic tools and targeted troubleshooting techniques to free yourself from guessing. Measure running voltage: below 13.7V indicates the alternator isn’t charging; consistent low output after battery replacement points to alternator replacement. If cranking voltage drops to ~8.02V, inspect wiring and starter connections—this suggests circuit or starter issues before condemning the alternator. Test battery health with a hydrometer or load test to rule out weak cells.
- Prioritize measured data over symptoms.
- Replace alternator when charging voltage stays under spec despite a verified good battery.
- Investigate wiring and connectors when startup voltage falls drastically or tests show high resistance.
- Use progressive troubleshooting techniques: isolate, measure, verify, then act.
You deserve clarity and control; follow the diagnostics, act decisively, and reclaim reliable operation without unnecessary parts swaps.
Parts, OEM Options, and When to Get Professional Help
Parts selection matters: choose an OEM alternator for your RAV4 whenever possible to secure correct fit, regulator calibration, and expected longevity, and inspect the drive belt and wiring harness before condemning the unit.
| Component | Action |
|---|---|
| OEM advantages | Guarantees compatibility, factory regulator calibration |
| Drive belt | Check tension, wear, glazing |
| Wiring harness | Inspect for corrosion, loose terminals |
| Voltage threshold | Professional help if <13.7V running |
| Maintenance tips | Include alternator checks in routine service |
You should prioritize OEM parts to preserve electrical integrity and reduce diagnostic ambiguity. Verify symptoms—dimming headlights, battery warning light, unusual noises—before replacing hardware. Test open-circuit and load voltage; if running voltage falls below 13.7V or readings fluctuate, seek professional diagnosis to avoid being stranded. Follow maintenance tips: inspect alternator mounting, belt condition, and harness continuity during scheduled service. Use a measured, liberated approach: know your car, demand OEM advantages, and call a qualified technician when voltage or tests exceed your troubleshooting limits.
Frequently Asked Questions
What Are Common Alternator Failure Signs?
You’ll see battery issues, electrical problems, and warning lights; expect performance drops, charging failures, and unusual noises. You’ll diagnose reduced output, flickering headlights, stalling or hard starts, then act to reclaim driving freedom.
How to Diagnosis a Bad Alternator?
Break the chains: check battery issues first, measure resting and running voltages, watch for voltage fluctuations, listen for whining, inspect the drive belt, perform a load test and alternator output check, then replace the alternator if readings stay abnormal.
Will a Code Reader Tell Me if My Alternator Is Bad?
No — a code reader won’t directly tell you the alternator’s dead. You can spot voltage fluctuations or battery issues via DTCs, but you’ll need voltage tests and physical inspection to diagnose and reclaim control over your vehicle.
Conclusion
Think of the alternator as the heart of your RAV4’s electrical system: when it falters, symptoms pulse through lights, cranks, and gauges. You’ve run quick checks, voltage rests, running charge tests, and isolated diodes, regulator, and bearings — each step a diagnostic heartbeat. If readings sit outside specs or noises, smells, or overheating persist, replace the unit or repair wiring. Don’t guess; let measurements guide you to a sure, mechanical prognosis.