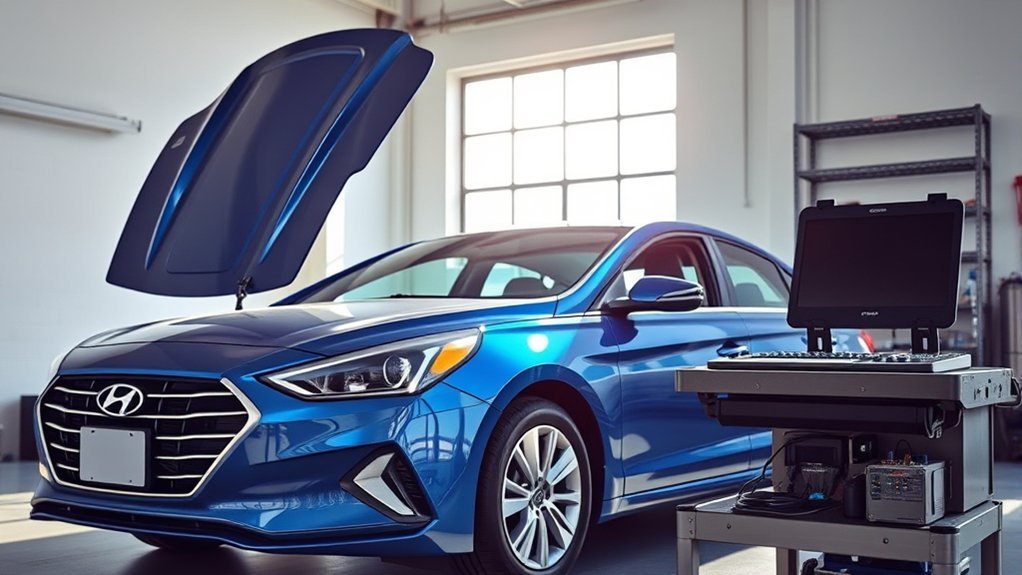

If your Sonata’s TPMS light blinks for about a minute at startup and then stays on, that usually means a system fault such as a dead or incompatible sensor or a receiver problem. Start by checking cold tire pressures and inspecting the tires for damage; inflate to the door-jamb psi, including the spare if it has a sensor. If the light persists, have the sensors read with a TPMS scan tool to confirm each sensor’s ID and signal. Dealer diagnostics may be needed for persistent faults.
Quick Fixes for a Sonata TPMS Light (Try These First)
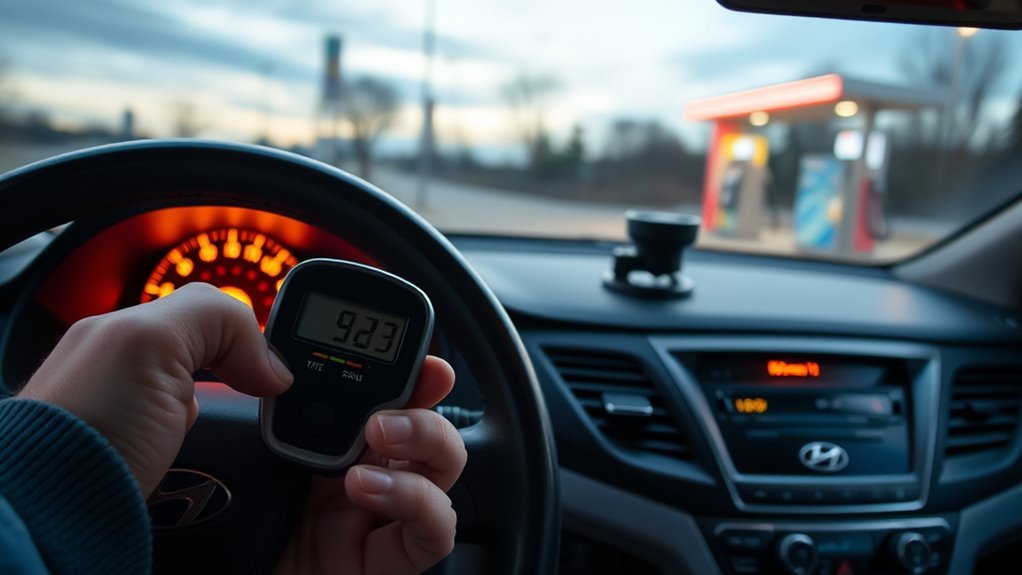
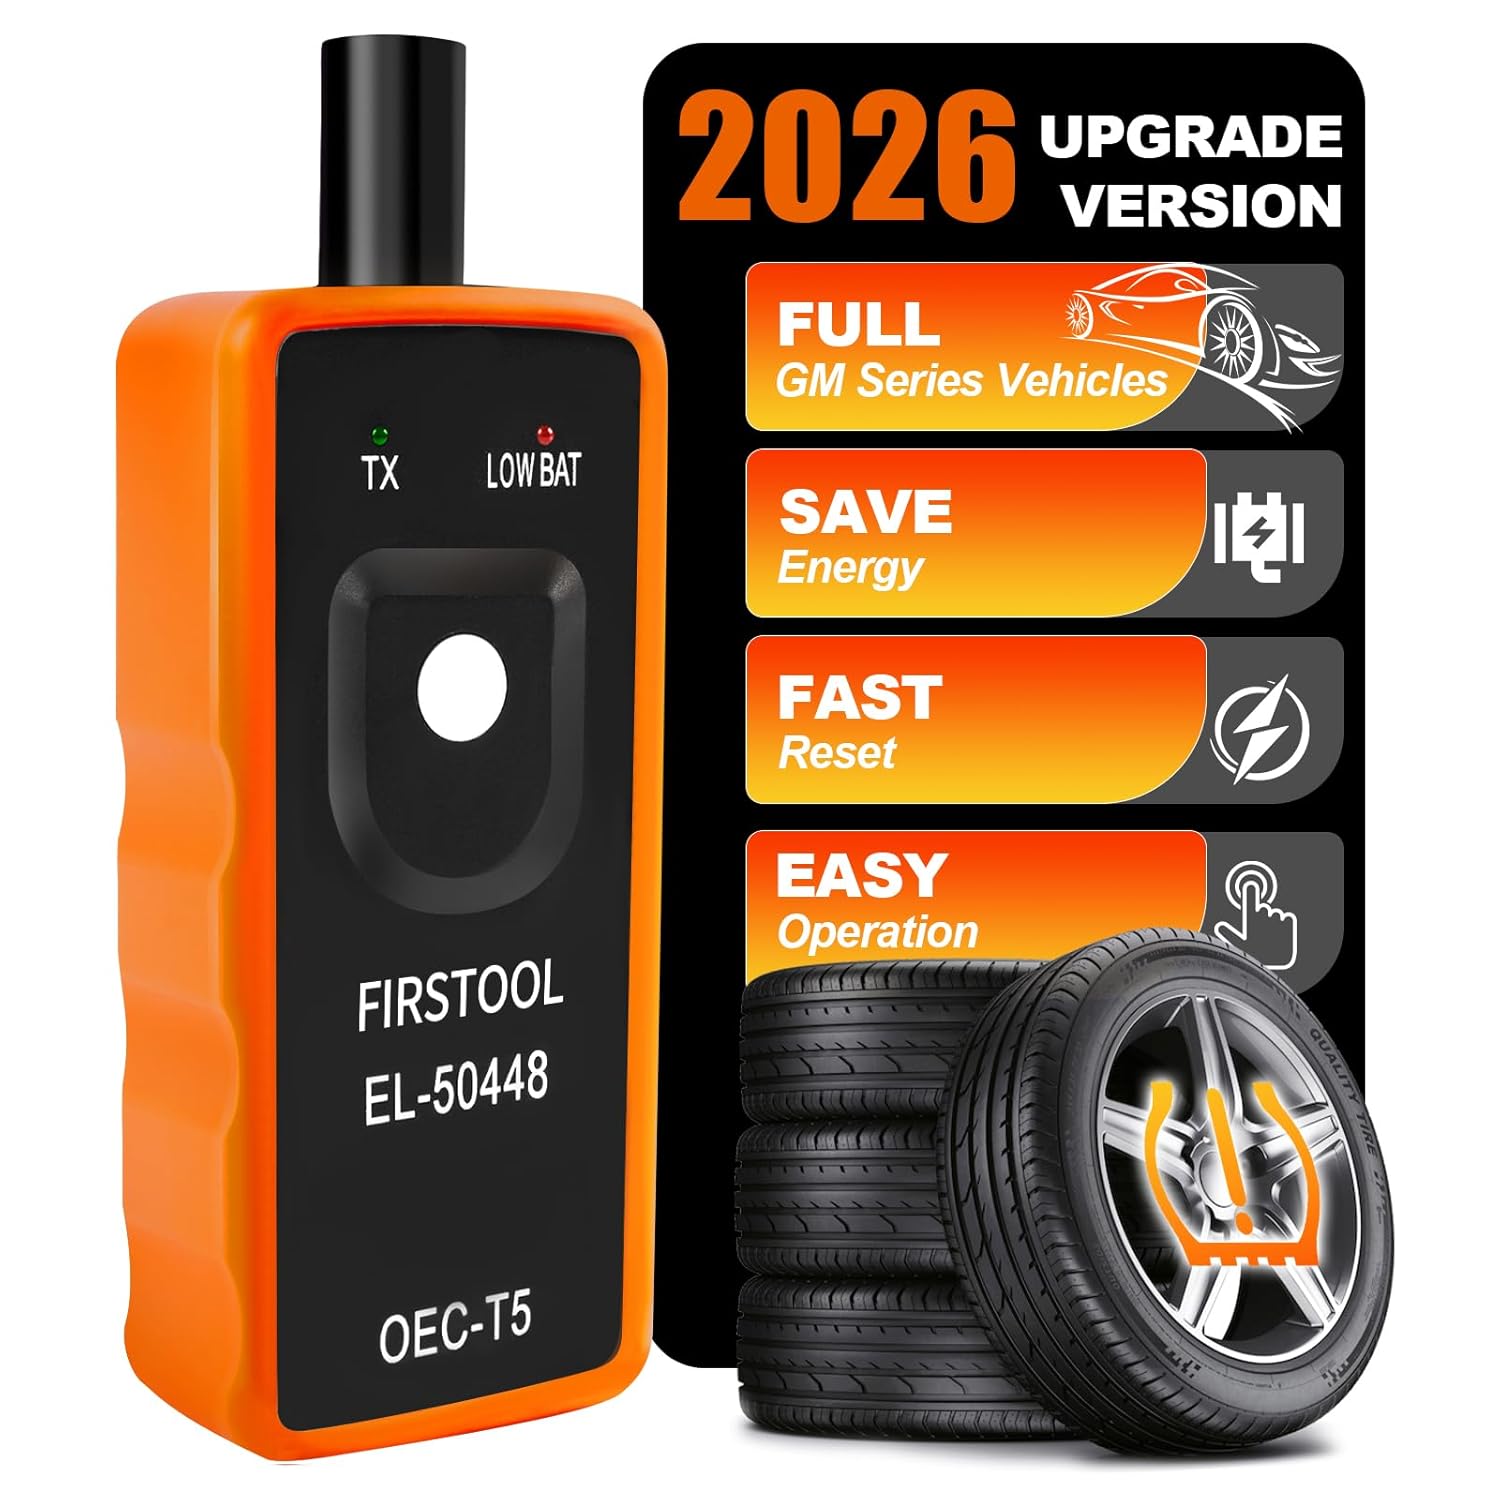
If your Sonata’s TPMS light comes on, start by checking the tire pressures when the tires are cold and inflate any that are below spec to the manufacturer-recommended psi; if the light stays on after correcting pressures, inspect the tires for damage and repair or replace as needed. Next, note how the light behaves: a blink for about a minute before a steady light points to a system fault such as a dead or incompatible sensor. A TPMS scan tool can read and register sensors; follow the tool’s and Hyundai’s instructions for your model year. If registration fails, verify sensor compatibility with your model and replace mismatched units, then retest.
Check Sonata Tire Pressure the Right Way (Cold Tires & Specs)
Check tire pressure when the tires are cold to get an accurate baseline reading, since heat from driving raises PSI. Consult the owner’s manual or the driver’s door jamb sticker for the exact manufacturer specs and set your gauge to that value. If any tire reads low, inflate it to the specified PSI before driving to reset the TPMS and maintain safety and efficiency.
Check When Tires Are Cold
Start by measuring your Sonata’s tire pressure when the tires are cold—ideally before driving or after at least three hours of parking—since ambient temperatures give the most accurate readings. You’ll perform consistent tire maintenance and pressure monitoring to keep the system honest: use a calibrated gauge, check all four tires (including the spare if equipped), and record values immediately. Cold readings reflect true PSI; driving heats air and raises pressure, masking underinflation. If the TPMS light is on, treat any low reading as urgent and inflate to spec later (see manufacturer specs). Make checks weekly or before long trips to prevent damage, maintain handling, and preserve freedom from roadside surprises. Accurate, regular cold checks empower you to stay in control.
Use Manufacturer Pressure Specs
When you measure tire pressure, use the manufacturer’s PSI specs—found in the owner’s manual or on the driver’s door jamb—to set each tire to the exact recommended value while the tires are cold. You’ll prevent false TPMS alerts and reclaim control over safety and efficiency by following the spec. Check every tire, including the spare if it has a sensor. Pressure rises with heat, so cold checks give accurate readings. Regular monitoring is a basic maintenance tip that preserves mileage and tire life.
| Know | Act | Liberate |
|---|---|---|
| PSI spec | Verify cold | Freedom from warnings |
| Spare sensor | Inflate to spec | Efficient driving |
Follow specs precisely; it’s methodical, empowering maintenance tips for long-term reliability.
Adjust Pressure Before Driving
You’ve got the correct PSI specs—now make pressure adjustments before you drive to get accurate readings and avoid false TPMS alerts. Check tire pressure when tires are cold; ambient temperature yields the true value. Use the owner’s manual for Sonata-specific PSI and record target values. Measure each tire with a calibrated gauge, then perform pressure adjustment to match recommended levels if any reading is low. Remember seasonal shifts: pressure drops roughly 1 PSI per 10°F decrease, so adjust proactively as temperatures fall. Regular tire maintenance preserves fuel efficiency and safety, and frees you from surprise warnings. If the TPMS light persists after correct adjustments, inspect sensors or consult a technician to restore reliable monitoring.
Resetting the Sonata TPMS Light
In most cases no special reset is needed: after you correct the pressures, the light goes out after a short drive. A battery-disconnect reset is not a reliable TPMS fix, and it also clears other settings, so it is not a recommended first step. If the light stays on, move on to sensor diagnostics.
Battery Disconnect Procedure
If you want to try a power-cycle reset anyway, park on level ground, switch off the ignition, wear eye protection, disconnect the negative battery cable for a few minutes, then reconnect and tighten it. Expect to reset radio presets and similar settings. Then drive for a while so the system can relearn. If the TPMS light persists, suspect a faulty sensor or receiver and seek professional diagnosis; check your owner’s manual for the procedure for your model year.
Ignition Cycle Reset
After pressures are correct, drive the vehicle at moderate speed for a while so the sensors can report. If the warning light persists, scan for stored codes, verify the individual sensors with a diagnostic tool, and inspect the receiver and the sensor batteries. If a sensor or the receiver has failed, replace it.
When to Reinitiate vs Replace TPMS Sensors (Step-by-Step)
If the light stays on after you correct pressures, don’t assume a dead sensor. First have the sensors read with a TPMS tool to check IDs and signal; if IDs are wrong (for example after a wheel swap), register them following the tool’s and Hyundai’s procedure. If the light blinks for about a minute at startup and then stays on, the system has a fault such as a dead or incompatible sensor. Replace sensors only when confirmed faulty, then register the new ones.
Use a TPMS Exciter and the Correct Sensor Registration Order

Registration steps depend on the tool and the Sonata’s model year, so follow the TPMS tool’s instructions and Hyundai’s procedure for your vehicle. Keep the tool close to each valve while waking the sensor, and avoid registering on metal surfaces that can cause interference. After programming, cycle the ignition and check that the system returns to normal.
How to Tell If the TPMS Receiver or Module Is Failing
Although a TPMS light that stays on after you’ve corrected tire pressures often points to a sensor issue, it can also indicate a failing receiver or module, so you’ll need to isolate the control unit before replacing sensors. Start by observing behavior: a light that blinks for about a minute then stays lit suggests dead or incompatible sensors but can also mean the receiver fails to decode signals. Use TPMS diagnostics tools to read module fault codes and confirm signal strength from each sensor. If local shops lack advanced tools, seek a specialist with proper equipment. Document findings to avoid unnecessary sensor swaps and reclaim control.
Choosing Compatible TPMS Sensors for a Sonata (Genuine vs Aftermarket)
Because TPMS compatibility affects system reliability and diagnostic simplicity, you should prioritize genuine Hyundai sensors for your Sonata whenever possible. You’ll get predictable sensor compatibility, full TPMS reliability, and easier programming at the dealer. Aftermarket sensors can be cheaper but may trigger persistent TPMS warnings or require specialized shop software.
| Option | Trade-off |
|---|---|
| Genuine sensors | Highest compatibility, dealer-programmable |
| Aftermarket sensors | Lower cost, potential compatibility issues |
| Used or unknown | Avoid; reduced reliability |
Choose new sensors over used to maintain TPMS reliability. Verify model-year and system type before purchase. If you want freedom from recurring warnings and accurate fault diagnosis, invest in genuine sensors; they minimize diagnostic time and maximize system integrity.
DIY, Tire Shop, or Dealer: Cost, Time, and What They’ll Do

If you want the quickest, cheapest fix, check pressures and take a short drive first, but be prepared to move to paid service if the light persists or sensors need replacement. You’ll save money and time if the fault is transient, but you need basic tools and confidence. Tire shops handle sensor replacement options and mounting ; they’re practical if you want labor done but may lack OEM programming tools, so ask about reinitialization capability. Dealers charge diagnostic fees and program sensors with factory software. Choose based on your skill, budget, and need for guaranteed compatibility when applying TPMS troubleshooting methods.
Next Steps If the Light Stays On (What to Expect at the Dealer)
When a DIY reset or shop visit doesn’t extinguish the TPMS light, plan on dealer diagnostics to pinpoint sensor or receiver faults and to perform programming or reinitialization. You’ll hand the car over for diagnostic procedures: the dealer reads fault codes, checks receiver communication, and verifies each sensor’s signal. Expect an explanation of whether sensors or the TPMS receiver failed. If sensors need replacement, insist on genuine Hyundai TPMS sensors for compatibility; aftermarket parts may cause repeat faults. Sensor reprogramming and reinitialization is usually quick, but diagnostics and parts ordering can add time and cost. Hyundai dealers can service your Sonata regardless of purchase origin, and they may charge for diagnostics. Be decisive—fix persistent faults to regain control.
Frequently Asked Questions
How to Turn off TPMS Light on Hyundai Sonata?
Adjust tire pressure to spec while the tires are cold and drive for a while; the light should go out. If it persists, have the sensors checked and registered with a TPMS tool; if it still persists, get dealership help.
Why Is My Tire Pressure Light Still on After Filling Tires on My Hyundai Sonata?
Usually because the pressures aren’t quite at spec, the light needs a short drive to update, or there is a sensor fault. Verify pressure with a gauge, drive for a while, then have the sensors scanned.
Conclusion
You’ve got clear troubleshooting steps: check pressures cold, inspect tires, and reinitiate or replace sensors methodically. If resets fail, test the receiver/module and use an exciter in the manufacturer’s sensor-registration order. Note an alternative theory—that intermittent wiring faults mimic sensor failure—so probe harnesses and grounds before replacing parts. Choose compatible sensors, weigh DIY vs shop costs, and take remaining issues to the dealer for diagnostics.