Torque your Toyota RAV4 lug nuts to 76 ft·lb (103 N·m) using a calibrated click wrench and a 21mm 6‑point socket, seating the wheel fully and starting each nut by hand. Jack the car on firm level ground, clean and dry threads, then tighten in a star pattern with steady pressure until the wrench clicks. Avoid impact wrenches for final torque, recheck after 50–100 miles, and follow precautions for aftermarket wheels and seized nuts to learn more.
Quick Answer: Toyota RAV4 Lug Nut Torque – 76 Ft·Lb (103 N·M)

Use 76 ft·lb (103 N·m) when torquing the lug nuts on your Toyota RAV4; this assures the wheel sits securely without overstressing studs or threads. You’ll work deliberately: inspect lug nut materials for corrosion or damage, clean mating surfaces, and confirm threads engage smoothly. Seat the wheel, hand-tighten all nuts, then follow a star pattern to draw the wheel evenly to the hub. Set your calibrated torque wrench to 76 ft·lb—regular torque calibration assures repeatable results and safety. Apply torque in two stages if you prefer: a controlled midpoint, then the final setting, but avoid overchecks that can introduce error. After driving 50–100 miles, re-torque to account for seating and thermal changes. Do routine inspections after rotations and maintenance; correct torque prevents stripped threads, warped rotors, and loose wheels that limit your freedom on the road. Be precise, stay liberated by owning the process, and don’t skip verification.
Tools You Need: 21mm Socket, Click Torque Wrench, and Cautions
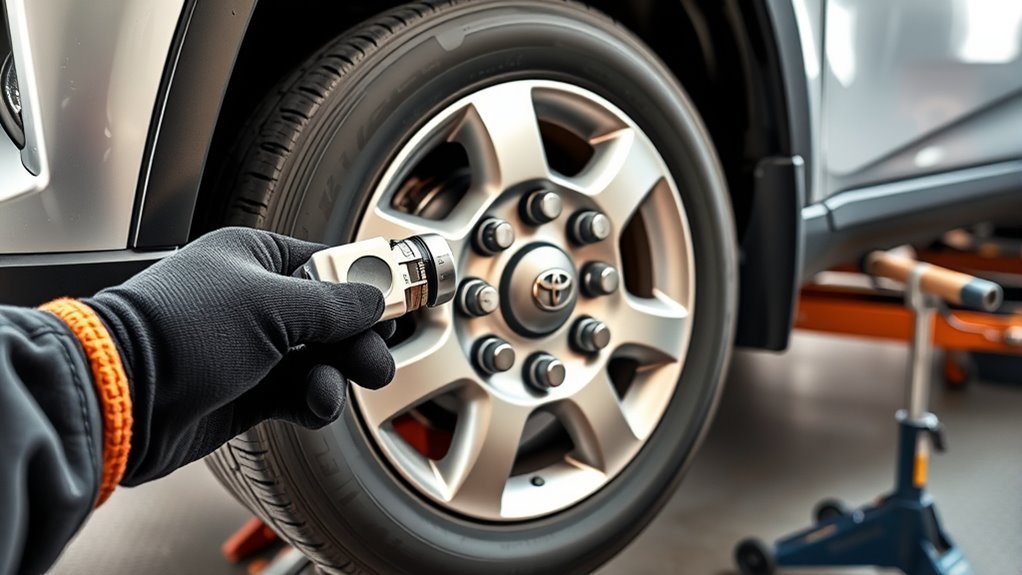
A 21mm lug nut socket and a calibrated click torque wrench are the core tools you’ll need to torque a RAV4’s lug nuts accurately to 76 ft·lb (103 N·m). Select the correct socket types—prefer a 6-point 21mm socket sized for the lug nut seat—to prevent rounding and guarantee engagement. Use a quality click torque wrench that audibly and tactilely signals at your torque settings; set it to 76 ft·lb (103 N·m) only after confirming calibration.
Inspect tools before use: check wrench calibration date, socket condition, and drive adapters for wear. If you must use an impact wrench to snug lug nuts, do so sparingly and only to seat threads; finish with the click wrench to achieve precise torque settings. Beware cross-threading and over-tightening—both undermine safety and freedom on the road. Maintain and store tools cleanly; reliable equipment empowers you to perform safe, accurate wheel fastening without dependence on others.
Set and Use a Click Torque Wrench
Now set the click torque wrench to 76 ft·lb (103 N·m) and lock the handle so it can’t move during use; you’ll then fit a 21mm 6-point socket and tighten each lug with steady, even pressure until the wrench audibly and tactilely clicks. Confirm wrench calibration before you start: if you haven’t calibrated recently, get it checked or use a known-good tool. Set the torque settings clearly—76 ft·lb—for all lug nuts to maintain wheel security and equal load.
Work in a star pattern, applying smooth, consistent force until each lug clicks once. Don’t jerk or pump the wrench; that can misread the setting. After all lugs click, lower the vehicle slightly so the wheel seats, then re-check torque to the same setting. Keep the handle locked when you store the wrench to preserve calibration. These steps free you from guesswork and guarantee safe, reliable fastening without sacrificing control.
Prep Checklist: Wheel Seating, Clean Dry Threads, and Jack Safety
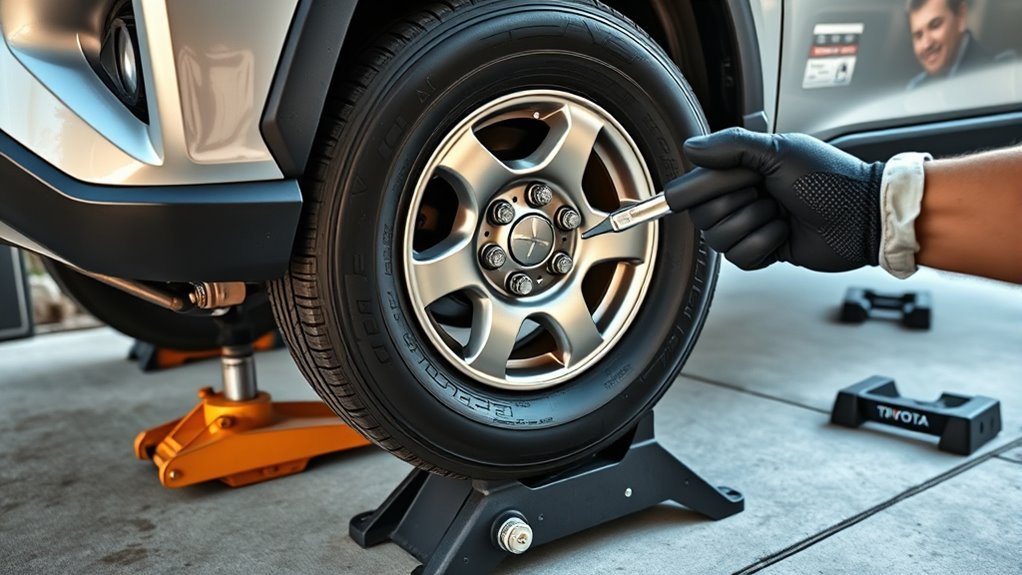
Before you torque the lug nuts, make sure the wheel is fully seated against the hub, threads on the studs and nuts are clean and dry, and the jack is rated for your vehicle and on firm, level ground so you can work safely. Confirm seating by spinning the wheel by hand and checking for gaps; proper wheel alignment at the hub prevents wobble and uneven pressure. Remove weight from the wheel before loosening lug nuts to avoid stud strain. Inspect studs and nuts for corrosion; use a wire brush and solvent, then dry completely—this thread maintenance yields accurate torque readings and reduces galling. Use a jack with the correct capacity and place it on solid, level surface; support the vehicle with jack stands on designated lift points before working. Keep tools organized, double-check that nothing obstructs seating, and proceed only when the hub-to-wheel interface is clean and stable. These steps free you from rework and improve safety.
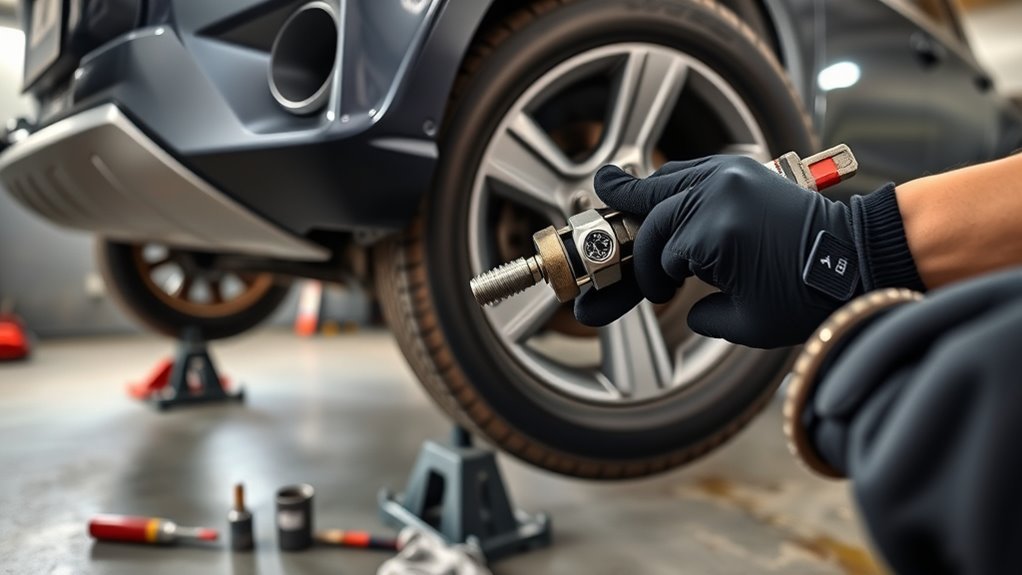
Torque the Wheel in a Star Pattern (Step‑by‑Step)
1. You’ll torque the wheel in a star pattern to force even clamping and resist torque variation that can harm wheel alignment or rotors. Start with the top lug, snug it by hand, then use a calibrated torque wrench. Tighten to 76 ft‑lbs (103 N·m) following the star sequence: top, opposite, next opposite, and so on until all lugs are addressed.
Go around a second time in the identical star pattern to confirm consistent readings and eliminate runout from initial seating. Apply steady, controlled force — don’t jerk the wrench — to hit the set value precisely. If any lug reads markedly different, unseat and retighten in the same sequence to correct torque variation.
This method distributes pressure uniformly, reduces rotor warp risk, and empowers you to maintain your RAV4 safely. After completing the pattern, lower the vehicle per your prep checklist and keep a note to inspect and re‑torque after the first week of driving.
Re‑Check RAV4 Lug Nut Torque After Driving and Rotations
After you’ve driven about 50–100 miles following a tire rotation or wheel change, re‑check the lug nut torque with a calibrated torque wrench set to 76 ft‑lbs (103 N·m) to guarantee none have loosened. Park on level ground, engage the parking brake, and work one wheel at a time. Follow the star pattern sequence you used initially and apply steady torque until the wrench clicks at the specified setting. Record results: note any lug that required additional turns or showed resistance anomalies.
Incorporate this into your lug nut maintenance routine: perform an initial re‑torque after 50–100 miles, then again after one week of regular driving as part of your re torque schedule. Inspect each nut for thread damage, rounded flats, or corrosion; replace compromised hardware immediately. Staying disciplined with these checks prevents vibration‑related loosening and preserves your autonomy on the road. Keep the torque wrench calibrated and accessible so you can act decisively when maintenance calls.
Adjustments for Aftermarket Wheels, Lubed Threads, and Locking Nuts
When you fit aftermarket wheels, lubricate threads, or use locking nuts, make specific torque adjustments and inspections to keep the RAV4 safe and avoid damage: Always confirm aftermarket wheels accept the factory specification—torque to 76 ft-lbs. If you apply thread lubrication, reduce the torque setting by 10–15% to prevent over-tightening; set your wrench accordingly and note the adjusted value. Use a star pattern when tightening, even with aftermarket wheels, to distribute load evenly. For locking nuts, fit the correct socket (commonly 21mm), tighten to the same 76 ft-lbs specification, and verify engagement before final torquing. After initial installation, re-check torque after a short drive to confirm settings held. Inspect locking nuts regularly for wear or damage; they can deteriorate faster than standard lug nuts and compromise security. Record any thread lubrication or nonstandard wheel hardware in your maintenance log so future service follows the proper torque adjustments and preserves your freedom to drive safely.
Common Mistakes and Safety Checks to Prevent Studs & Warped Rotors
If you want to avoid broken studs and warped rotors, use a calibrated torque wrench set to 76 ft‑lbs and follow a strict procedure: begin by loosening lug nuts slightly before lifting the vehicle to prevent undue stud stress. Inspect each nut and stud for corrosion or wear — replace damaged hardware. Mount the wheel, hand‑thread all nuts, then tighten in a star pattern to seat the rotor and distribute pressure evenly. Use the torque wrench for final passes; never use an impact wrench for final tightening.
Common errors include over‑torquing, under‑torquing, skipping the star pattern, and failing to recheck torque after driving. Safety precautions: retorque after roughly a week or 50–100 miles, wear eye protection, and work on solid, level ground with the parking brake set. If resistance or unusual play appears, stop and inspect rather than forcing torque. These steps free you from avoidable failures and keep your RAV4 safe and dependable.
Troubleshoot Seized or Over‑Torqued Lug Nuts and Next Steps
Having followed the star‑pattern seating and torque checks, you’ll occasionally run into seized or over‑torqued lug nuts; start by applying penetrating oil and let it soak for at least 15 minutes before attempting gentle leverage with a breaker bar to protect the studs. If seized nuts won’t budge, reapply oil, tap the nut to work the solvent in, then try steady, controlled force—not sudden jerks. For persistent seizure, carefully apply heat to the nut (not the stud or brake components) to expand metal and try again.
If you find over torqued nuts, use a calibrated torque wrench to measure current torque, then gradually reduce to the recommended 76 ft‑lbs in small steps. Hand‑thread nuts before final torquing to avoid stripping studs, and don’t use an impact wrench for final tightening. After any intervention, recheck torque after a short drive. Maintain regular checks to prevent future seized nuts or over torqued nuts and preserve your freedom on the road.
Frequently Asked Questions
What Is the Torque Setting for the Wheel Nuts on a Toyota RAV4?
You should torque RAV4 wheel nuts to 76 ft-lbs (103 N·m). Use correct lug nut types, a 21mm socket and torque wrench; follow a star pattern, practice wheel maintenance, and reclaim safety by checking torque after a week.
Is 50 Mile Retorque Necessary?
Yes — you should retorque frequency at about 50 miles to guarantee wheel safety; you’ll recheck and tighten lug nuts to spec, prevent loosening, protect studs and rotors, and maintain freedom from avoidable roadside failures.
What Should Toyota Lug Nuts Be Torqued To?
You might doubt consistency, but torque specifications are 76 ft·lb (103 N·m). Tighten lug nuts to that value with a quality torque wrench, follow a star pattern, and recheck for proper lug nut maintenance freedom.
How Do You Determine the Correct Torque Setting for the Lug Nuts?
Check your owner’s manual for the specified torque, consider lug nut materials and vehicle specs, then set torque tools to that value; verify with a calibrated wrench, retorque after a short drive, and trust your informed judgment.
Conclusion
Torque matters—think of it as the handshake between wheel and car: firm, even, and not crushing. Set your click wrench to 76 ft·lb (103 N·m), seat the wheel, clean dry threads, and tighten lug nuts in a star pattern. Snug first, then torque to spec, and re‑check after 25–50 miles or when rotating tires. For aftermarket wheels or lubed threads, use the manufacturer’s torque. Avoid over‑torqueing; take seized studs to a pro. Stay safe.