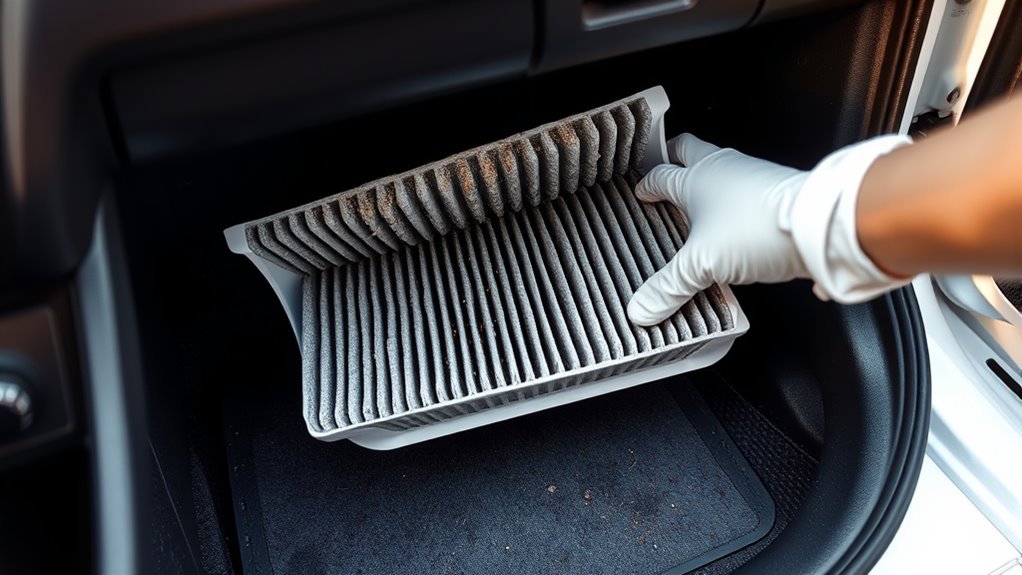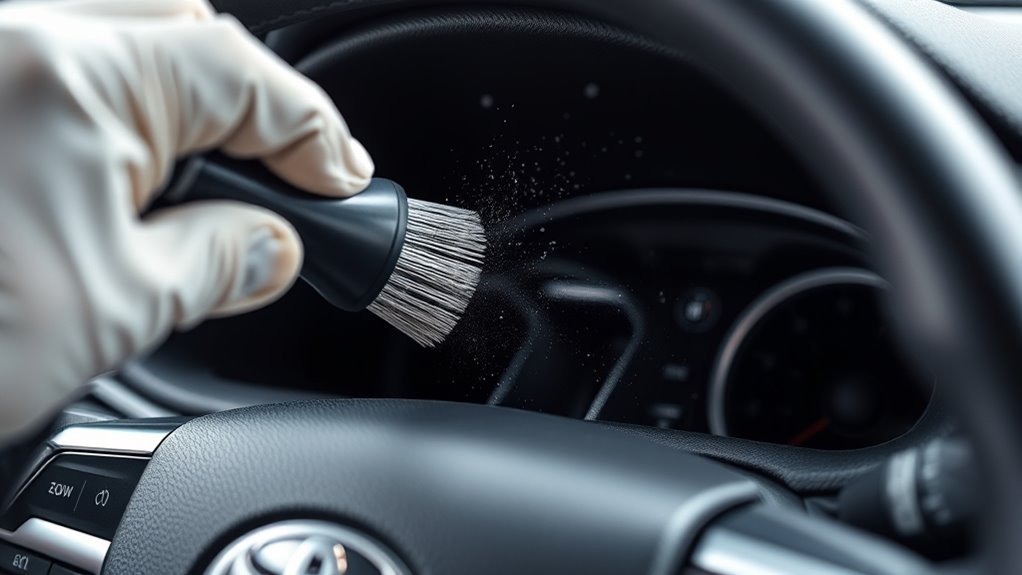
To clean Toyota Camry air vents safely, turn the car off, clear debris from the cowl intake, inspect the cabin air filter, then vacuum the dashboard vents with a soft brush and crevice tool. Use compressed air only in short, controlled bursts while vacuuming. Do not pour cleaner into the vents. A returning musty odor or weak airflow usually points beyond the visible louvers to the filter, evaporator, drain, blower, or a moisture leak.
Last updated: July 14, 2026 · Reviewed by: [VERIFY: add the real author name and relevant automotive credentials]
Quick Answer
To clean Toyota Camry air vents, work from the air source toward the cabin: clear visible debris from the cowl intake, inspect or replace the cabin air filter, vacuum the vent faces with a soft brush and crevice tool, wipe the louvers with a barely damp microfiber cloth, and use compressed air only in short bursts while the vacuum is running. Test the blower outside. If odor or weak airflow returns, have the evaporator, drain, blower, and moisture sources inspected.
Key Takeaways
- Clean the intake, cabin filter area, and dash vents together. Cleaning only the visible louvers rarely fixes a recurring odor or major airflow loss.
- Use a vacuum, soft brushes, microfiber cloths, flexible swabs, and short compressed-air bursts. Avoid soaking vents or spraying household disinfectants into ductwork.
- Follow the maintenance guide for your exact model year and market. Toyota’s 2024 U.S. Camry guide lists cabin air filter replacement at 10,000 miles or 12 months.
- Persistent odor, water leaks, rodent evidence, electrical symptoms, or weak airflow after a filter change points to a deeper HVAC problem that needs inspection.
At a Glance
| DIY Scope | Visible cowl debris, cabin filter inspection, and dry cleaning of vent faces and louvers |
| Difficulty | Basic interior maintenance; stop if trim or the glove box does not release easily |
| Tools Needed | Vacuum with crevice tool, soft brush, microfiber cloth, flexible swabs, optional compressed air, and the correct replacement filter |
| Model-Year Check | Confirm filter access, arrow direction, and service interval in the manual for your exact Camry |
Warning: Do not run the engine in an attached garage, even with the garage door open. If you need the blower or A/C running for a test, move the car outside or use the correct accessory/Ready mode in a well-ventilated area.
Why Clean Toyota Camry Air Vents
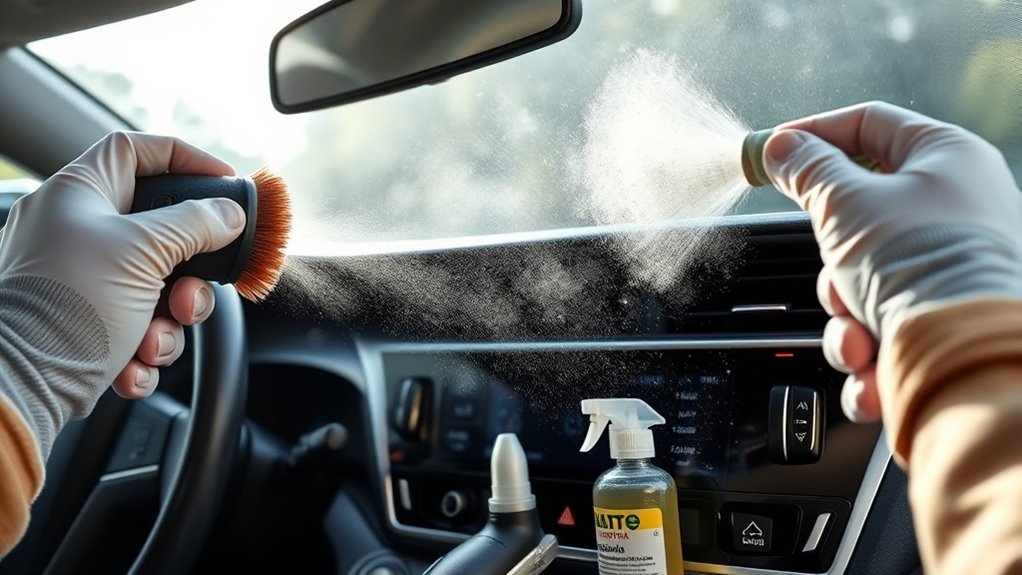
Cleaning the air vents helps restore airflow, reduce dust on interior surfaces, and remove odor sources such as leaves, damp debris, and a dirty cabin air filter. It also helps you catch bigger problems early, including a clogged cowl intake, wet carpet, a blocked evaporator drain, or signs of rodents around the cabin filter box.
This is not a cure for every smell. If the odor comes back quickly after cleaning, the source is often deeper in the HVAC case, the evaporator coil, the drain tube, or a moisture leak. In that case, cleaning the visible vents may improve the cabin briefly, but it will not fix the cause.
Toyota’s 2024 U.S. Camry maintenance guide lists cabin air filter replacement at 10,000 miles or 12 months. Other model years and markets may use different schedules, so confirm the interval in the Toyota owner manuals and warranty library for your exact Camry.
What Do Camry Vent Symptoms Point To?
Use the symptom pattern to decide whether surface cleaning is likely to help. This table is a first-check guide, not a substitute for diagnosis.
| Symptom | Check First | Next Step |
|---|---|---|
| Dust visible on louvers | Vent faces and nearby trim | Vacuum and brush; avoid forcing tools into the duct |
| Weak airflow from every vent | Cabin filter and cowl intake | Replace a clogged filter; seek service if airflow stays weak |
| Weak airflow from one outlet | Louver position and local obstruction | Do not pry the vent; inspect the duct or control door if the issue remains |
| Musty odor at startup | Damp filter, cowl debris, evaporator moisture, and drain function | Clean the intake and replace the filter; service the evaporator and drain if odor returns |
| Water under the dash or wet carpet | Evaporator drain or another water leak | Stop adding liquid and arrange professional inspection |
Gather Tools and Cleaners for Camry Vent Cleaning
Use gentle tools first. Camry vent louvers and trim can scratch, crack, or pop loose if you force a hard tool into them.
| Tool | Purpose |
|---|---|
| Vacuum with crevice tool | Pull loose dust, pollen, grit, and crumbs from vent faces and seams |
| Soft-bristle brush | Loosen dust without scratching louvers |
| Compressed air | Dislodge dust from narrow slots using short, controlled bursts |
| Microfiber cloth and flexible swabs | Wipe slats, corners, and tight vent passages |
| Replacement cabin air filter | Stops old dust and odor from recirculating after cleaning |
| Automotive A/C cleaner, if needed | Treats odor at the evaporator only when the label allows HVAC or automotive A/C use |
Note: Do not spray household disinfectants, bleach mixtures, or heavy fragrance sprays into the vents. The EPA warns that antimicrobial products should only be used in HVAC systems when the product label specifically allows that use.
[Products Worth Considering]

This CF10285 cabin air filter is designed to help keep your vehicle's interior air cleaner by capturing dust, pollen, soot, and road grime. It is compatible with a wide range of Toyota, Lexus, Jaguar, Land Rover, Subaru, Scion, and Pontiac models, making it a versatile replacement choice. The activated carbon design and easy glove-box installation make it a practical upgrade for fresher driving comfort.

ECOGARD XC10621C is a premium cabin air filter designed to help keep your vehicle’s interior air cleaner by trapping dust, pollen, pet dander, and other airborne debris. Its activated carbon layer also helps reduce common odors from traffic and outside air while supporting steady HVAC airflow for reliable climate system performance. It is engineered for a wide range of Toyota, Lexus, and Subaru applications.

This cabin air filter replacement is designed to help keep your vehicle’s interior air fresher and cleaner by capturing dust, odors, and fine particles with a multi-layer filtration structure. The activated carbon layer helps reduce unwanted smells, while the extended service life makes it a practical maintenance part for many compatible Toyota, Lexus, Subaru, Scion, and Jaguar models.
Access the Camry Intake Area and Cabin Filter
Start outside the car. The fresh-air intake is near the cowl area at the base of the windshield. Routine cleaning usually requires removing only visible leaves and debris, not the wipers or full cowl panel. Many Camry model years place the cabin filter behind the glove box, but the release method varies, so check the manual before forcing any trim.
- Park on a level surface, set the parking brake, and turn the vehicle off.
- Open the hood and look along the cowl intake area below the windshield.
- Remove leaves, pine needles, seed pods, and visible debris by hand or with a soft brush.
- Check that the cowl drain areas are not packed with mud or leaves. Do not poke blindly into drains or wiring.
- If your manual shows glove-box access, open the glove compartment.
- Release the glove box damper and side stops only as your manual directs, then lower the glove box to reach the cabin filter door.
- Open the cabin filter cover and slide the old filter out slowly so dust does not spill into the blower box.
- Note the filter marking before removal. Some filters use an airflow arrow, while some original-style filters use an UP marking. Follow the marking on the replacement filter and your owner’s manual.
Pro Tip: Take a phone photo of the old filter before pulling it out. It gives you a quick reference for the filter door, arrow direction, and glove box parts during reassembly.
Record a Before-Cleaning Baseline
Before removing the filter, make one controlled airflow check outside the garage. Open all dashboard vents, select fresh-air mode, and use the same fan setting for the before-and-after comparison.
- Note whether weak airflow affects every vent or only one outlet.
- Listen for rubbing, clicking, chirping, or grinding from the blower area.
- Record whether the odor appears only at startup or continues while the fan runs.
- Repeat the same settings after cleaning and filter replacement.
If the result does not improve, the visible vent faces were probably not the main restriction or odor source.
Quick Step-by-Step: Vacuum Dashboard Vents and Registers

Clean the visible vents after you have cleared the intake area and checked the filter. This keeps loose debris from being pulled back through the system.
Prep and Protect the Area
- Remove loose items from the dashboard, cup holders, and center console.
- Cover screens, buttons, and glossy trim with a clean microfiber towel.
- Put the vacuum crevice tool and soft brush within reach.
- Keep liquids away from screens, switches, USB ports, and the steering column.
Vacuum Technique Tips
- Hold the crevice tool close to the vent face without forcing it between the slats.
- Brush each louver gently from one side to the other.
- Vacuum immediately after brushing so loosened dust is captured instead of blown around the cabin.
- Repeat on the center vents, side vents, rear console vents if equipped, defroster slots, and floor outlets.
- After dry cleaning, use a barely damp microfiber cloth or swab on visible grime. The cloth should be damp, not dripping.
Use Compressed Air and Brushes to Dislodge Deep Debris
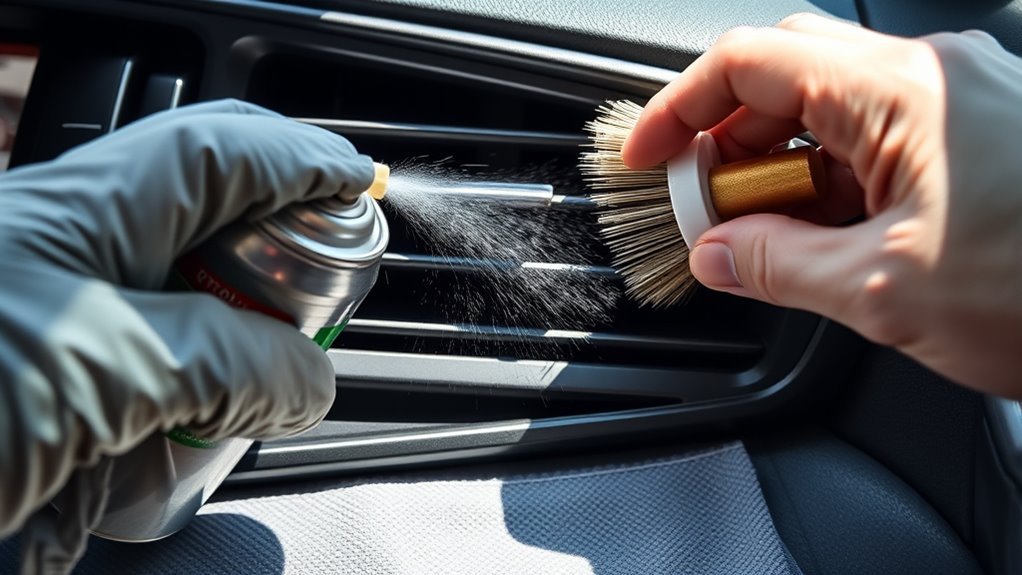
Compressed air can help when dust is trapped behind the louvers, but it can also push dirt deeper or spray cold propellant if used incorrectly. Use it lightly and always follow with the vacuum.
- Keep the can upright to reduce liquid discharge.
- Use short one- to two-second bursts at a slight angle.
- Hold the vacuum near the vent while you blow air across the slats.
- Do not blast directly into sensors, screens, switches, or the steering column.
- Do not use high-pressure shop air unless you can regulate it to a gentle flow.
When the vents are dry and free of loose dust, you can run the blower for a short test. Set the car outside, open the doors, choose fresh-air mode, set the fan high, and vacuum near the vents as any remaining dust comes out.
Replace the Cabin Air Filter After Cleaning
A dirty cabin filter can undo the work you just did. Replace it if it is gray, packed with dust, damp, musty, torn, or full of leaves. Even if it looks acceptable, replace it if you do not know when it was last changed.
- Compare the old and new filters to confirm the same shape and size.
- Check whether the new filter uses an airflow arrow or an UP arrow.
- Do not wash a disposable paper filter unless its manufacturer specifically labels it as reusable.
- Install the filter gently so the pleats do not fold or crush.
- Close the filter door until it latches fully.
- Reinstall the glove box stops and damper.
- Run the fan on low, then medium, then high to confirm normal airflow and no rattling.
If airflow is still weak with a new filter installed, the problem may be a blower motor issue, blocked evaporator, stuck blend door, clogged intake, or damaged duct foam rather than dirty vent faces.
[Products Worth Considering]

This JADODE combo includes engine and cabin air filters designed to help keep passenger air cleaner while supporting efficient HVAC performance. The activated carbon layer helps absorb odors, exhaust fumes, and pollution, while filtration captures dirt, dust, and pollen for OE-comparable protection. It is compatible with a wide range of Toyota, Scion, Lexus, and Pontiac applications for convenient replacement maintenance.

This KAX HEPA cabin air filter is designed to help keep your vehicle interior air cleaner by capturing fine particles and reducing airborne contaminants. Its multi-layer structure with activated carbon supports strong filtration performance while helping improve HVAC airflow for more efficient heating and cooling. Built for a wide range of Toyota, Lexus, Subaru, and Mazda models, it offers a practical replacement option for maintaining fresher cabin air.

[Vehicle Fitment]: For Toyota: 4Runner (2010-2024), Avalon (2005-2018), Camry (2007-2017), Corolla (2009-2019), Corolla iM (2017-2018), Highlander (2008-2019), Land Cruiser (2008-2011,2013-2021), Matrix (2009-2014), Mirai (2016-2020), Prius (2010-2015), Prius C (2012-2019), Prius Plug-In (2012-2015), Prius V (2012-2018), RAV4 (2006-2018), Sequoia (2008-2022), Sienna (2011-2020), Tundra (2007-2021), Venza (2009-2016), Yaris (2007-2018).
Treat Musty Odors and Possible Mold Safely
A musty smell when the A/C first turns on often points to moisture near the evaporator, a damp cabin filter, leaves in the intake, or a drain issue. A sweet, burning, fuel, or exhaust odor is not a normal dirty-vent symptom; stop the test and arrange inspection. Visible mold or a strong mold odor needs more caution than ordinary dust.
For light odor, start with the non-chemical steps first: replace the cabin air filter, clear the cowl intake, vacuum the vents, and run the fan on fresh-air mode for several minutes after using A/C. This helps dry the system before the car is parked.
If you use an automotive evaporator cleaner or antimicrobial A/C spray, read the label first. Use only products labeled for automotive A/C, evaporator, or HVAC use, and follow the contact time, ventilation, and application instructions. The EPA cautions against assuming a disinfectant is safe or effective in HVAC components unless that use is specifically listed on the product label.
Warning: CDC guidance says people with allergies, immune suppression, asthma, COPD, or other underlying lung disease should not take part in mold cleanup. For anyone performing mold cleanup, CDC recommends gloves, sealed eye protection, and at least a NIOSH-approved N95 respirator.
Do not pour vinegar, bleach, or cleaner directly into the vents. Small amounts of moisture can reach electronics, foam seals, or the blower motor, and strong chemicals can leave irritating residue in the cabin.
Detail Cleaning Narrow Vents: Attachments, Swabs, and Borescopes
Narrow Camry vents collect grime along the edges where the louvers pivot. Detail these areas gently so you do not bend the slats.
Vacuum Attachments for Reach
Use a crevice tool for the outer vent opening and a soft brush attachment for delicate trim. A small handheld vacuum works for light dust, but a shop vacuum with a long hose is better for sand, leaves, pet hair, and crumbs.
- Vacuum the outer vent face first.
- Brush the louver edges while the vacuum is still running.
- Move from the upper vents to the lower vents so falling dust is collected last.
- Use the lowest practical suction near loose trim pieces.
Swabs and Detailing Tools
Flexible foam swabs or long cotton swabs are useful for corners that a vacuum cannot reach. Dampen the swab lightly with water or a mild interior-safe cleaner, then wipe the slat edges. Do not soak the swab, and do not push it so far that the cotton tip can detach inside the duct.
A soft detailing brush is safer than a screwdriver, knife, or metal pick. If a stain does not come off with gentle brushing, leave it rather than risk breaking the vent assembly.
Borescopes for Deep Inspection
A small borescope can help you see whether there is leaf debris, rodent nesting material, or moisture deeper in the duct. Insert it gently and stop if you meet resistance. The goal is inspection, not forcing a tool through the HVAC case.
- Use the borescope only after the visible vent face is clean.
- Look for dampness, clumps of debris, nests, or broken foam.
- Do not push through doors, flaps, or blend-door mechanisms.
- Call a technician if you see nesting material, chewed insulation, standing water, or mold growth beyond the vent face.
Keep Pests Out and Stop Odors Returning
Rodents and insects are attracted to food crumbs, nesting material, and sheltered spaces near the cowl and cabin filter. Prevention works better than repeated deodorizing.
- Vacuum the cabin regularly, especially under seats and around the console.
- Do not store snacks, pet food, bird seed, or trash in the car.
- Clear leaves from the cowl intake after storms or windy days.
- Inspect the cabin filter for seeds, fur, droppings, or shredded material.
- Use only traps or deterrents that cannot interfere with pedals, wiring, seat tracks, airbags, or passengers.
- Do not seal factory drains, airbag openings, wiring pass-throughs, or HVAC drain paths.
Warning: Do not vacuum or sweep rodent urine, droppings, or nesting material. CDC guidance says this can put contaminated particles into the air. Disinfect the material before removal, replace a contaminated cabin filter, and use a qualified professional when rodents have entered the ventilation system.
Chewed wires, nesting material, or rodent waste can affect the blower motor, wiring, insulation, and cabin air quality. After safe cleanup, have the affected areas inspected before operating the HVAC system.
When to Call a Pro: Evaporator Cleaning and HVAC Repair
DIY cleaning is best for dust, light odor, leaves, and filter replacement. Call a technician when symptoms point to a deeper HVAC problem.
Persistent Mold or Musty Odor
If the musty smell returns within a day or two, ask for an evaporator and drain inspection. The evaporator naturally gets wet during A/C operation, and a blocked drain or dirty coil can keep odor-causing moisture in the HVAC case.
A technician can inspect the evaporator area, check the drain tube, clean the coil with proper equipment, and verify that water is draining under the vehicle when the A/C runs.
Recurring Electrical Issues
Stop DIY cleaning if the fan works only on some speeds, the controls are unresponsive, the blower makes grinding noises, or you see warning lights. Liquid, debris, or rodent damage near the blower or wiring can create electrical issues that need diagnosis.
Evaporator Core Replacement
Evaporator core replacement is not a routine cleaning step. It is usually considered only when there is a confirmed leak, corrosion, severe contamination, or an internal blockage that cleaning cannot correct. Because the repair often requires dashboard or HVAC-case disassembly, it should be handled by a qualified technician.
Maintenance Schedule: Filter Changes and Routine Care
Use your model-year Toyota maintenance guide as the main source for cabin filter intervals. The 2024 U.S. Camry guide lists replacement at 10,000 miles or 12 months. Do not carry that interval over to another model year or market without checking its guide.
| Task | When to Do It |
|---|---|
| Clear cowl intake leaves | When debris is visible and after storms or heavy leaf fall |
| Vacuum dashboard vents | When dust is visible or during routine interior cleaning |
| Inspect cabin air filter | When airflow drops, odor appears, or the service schedule calls for replacement |
| Replace cabin air filter | At the interval in your exact Toyota maintenance guide; the 2024 U.S. guide lists 10,000 miles or 12 months |
| Reduce residual moisture | Use fresh-air or fan-only mode briefly after humid A/C use if your owner’s manual does not advise otherwise |
| Professional HVAC inspection | When odor, moisture, noise, weak airflow, or electrical symptoms persist after basic cleaning |
Common Mistakes to Avoid
- Using too much liquid: Wet vents can drip into electronics, foam seals, and the blower housing.
- Installing the cabin filter backward: Check whether the replacement filter uses airflow arrows or UP arrows.
- Blowing debris deeper: Always vacuum while using compressed air and use short bursts.
- Masking odor with fragrance: Perfume sprays do not remove mold, damp leaves, or a dirty evaporator.
- Ignoring water: Wet carpet, foggy windows, or water under the dash can point to a drain or leak problem.
- Forcing trim: If a vent, glove box stop, or cowl clip does not release easily, check the manual before prying.
Frequently Asked Questions
How do you clean dirty Toyota Camry A/C vents?
Turn the car off, clear the windshield cowl intake, remove and inspect the cabin air filter, vacuum the vent faces with a crevice tool, loosen dust with a soft brush, use short compressed-air bursts only while vacuuming, then install a clean cabin air filter and test the blower outside.
Can I spray disinfectant into my Camry vents?
Do not spray household disinfectant into the vents. Use only automotive A/C or HVAC products whose label specifically allows that use, and follow the directions exactly. Avoid soaking vents, electronics, or the blower area.
Why does my Camry smell musty when the A/C turns on?
Common causes include a damp cabin air filter, leaves in the cowl intake, moisture on the evaporator, a blocked evaporator drain, or contamination inside the HVAC case. Replace the filter and clean the intake first; if the smell returns, have the evaporator and drain inspected.
How often should I replace the Toyota Camry cabin air filter?
Follow the maintenance guide for your exact model year and market. Toyota’s 2024 U.S. Camry guide lists cabin air filter replacement at 10,000 miles or 12 months, but another Camry year may use a different schedule.
Can dirty vents cause weak airflow?
Dust on the visible louvers can restrict airflow slightly, but very weak airflow is more often caused by a clogged cabin air filter, blocked intake, blower problem, stuck air door, or debris inside the HVAC case.
Conclusion
Clean Toyota Camry air vents by working from the incoming-air source to the cabin outlets: clear the cowl intake, inspect or replace the cabin air filter, vacuum the dash vents, loosen grime with soft tools, and use compressed air only in short, controlled bursts. Repeat the same airflow test afterward. Keep liquids and harsh chemicals out of the vents, and arrange service if odor, moisture, rodent evidence, electrical symptoms, unusual noises, or weak airflow continues.
Sources
- Toyota Owners Manuals and Warranties — official lookup for model-year Camry manuals and maintenance guides.
- Toyota 2024 Camry Warranty & Maintenance Guide — the U.S. maintenance-log entry listing cabin air filter replacement at 10,000 miles or 12 months.
- U.S. EPA: Use of Disinfectants and Sanitizers in HVAC&R Systems — guidance on using only products labeled for HVAC system applications.
- CDC Mold Cleanup Guidelines — protective equipment and safety guidance for mold cleanup.
- U.S. EPA Mold Resources — moisture control and mold prevention background.
- CDC Carbon Monoxide Poisoning Basics — safety warning about running vehicles in garages and enclosed spaces.
- CDC: How to Clean Up After Rodents — vehicle-specific guidance for rodent waste, filters, and ventilation systems.