Cleaning the headliner in your Hyundai Sonata is mostly about restraint: remove loose dust first, treat stains gently, and keep moisture away from the foam-backed fabric and adhesive. A headliner can look like ordinary upholstery, but it is more delicate because too much liquid, scrubbing, heat, or harsh cleaner can cause discoloration, loosened edges, or sagging.
Quick Answer
To clean a Hyundai Sonata headliner, vacuum it with a soft brush, blot stains with a lightly damp microfiber cloth and mild upholstery-safe cleaner, then dry it with airflow. Do not soak, scrub hard, steam heavily, or use harsh degreasers because the headliner fabric is bonded to backing material.
Key Takeaways
- Always inspect for sagging, tears, stains, and loose edges before cleaning.
- Use the mildest method first: vacuuming, then light blotting with a damp microfiber cloth.
- Test any cleaner in a hidden area before using it on a visible section.
- Avoid oversaturating the headliner; trapped moisture can loosen adhesive and encourage mildew.
- Sagging, moldy, or water-damaged headliners often need professional repair or replacement.
At a Glance
| Time Required | 20–45 minutes, plus drying time |
| Difficulty | Easy for light soil; moderate for stains |
| Tools Needed | Vacuum with soft brush, microfiber towels, soft detailing brush, spray bottle, fan |
| Cost | Usually under $25 if you already own a vacuum |
Why Headliner Cleaning Needs a Light Touch
Your Sonata’s headliner is not cleaned the same way as floor carpet. The visible fabric is usually attached to a foam or backing layer, and that assembly is held in place above your cabin. Too much moisture or aggressive brushing can weaken the bond, leave rings, or turn a small stain into a larger mark.
Hyundai’s interior-care guidance recommends removing loose dirt with a vacuum or whisk broom, using warm water with a mild cleaner when needed, and testing cleaners on a concealed area first. For fabric, Hyundai also warns that using anything other than recommended cleaners and procedures may affect appearance and fire-resistant properties. You can review Hyundai’s official interior-care guidance here: Hyundai Interior Care.
Warning: Do not use brake cleaner, strong degreaser, bleach, ammonia, high-alcohol cleaner, stiff brushes, or a soaked extractor on a headliner. These can discolor fabric, leave residue, damage backing foam, or loosen the headliner adhesive.
Inspecting Your Hyundai Sonata’s Headliner for Damage
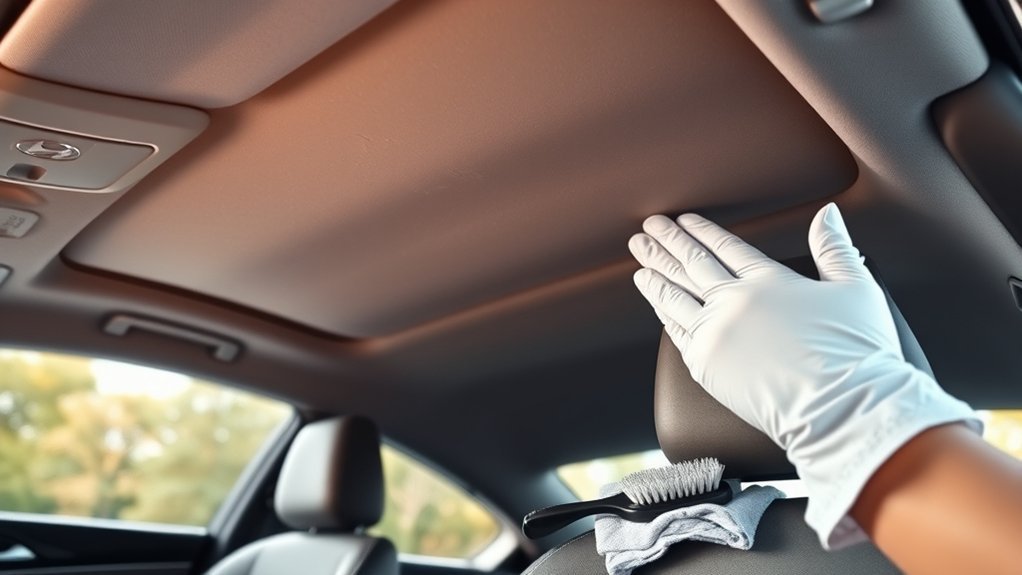
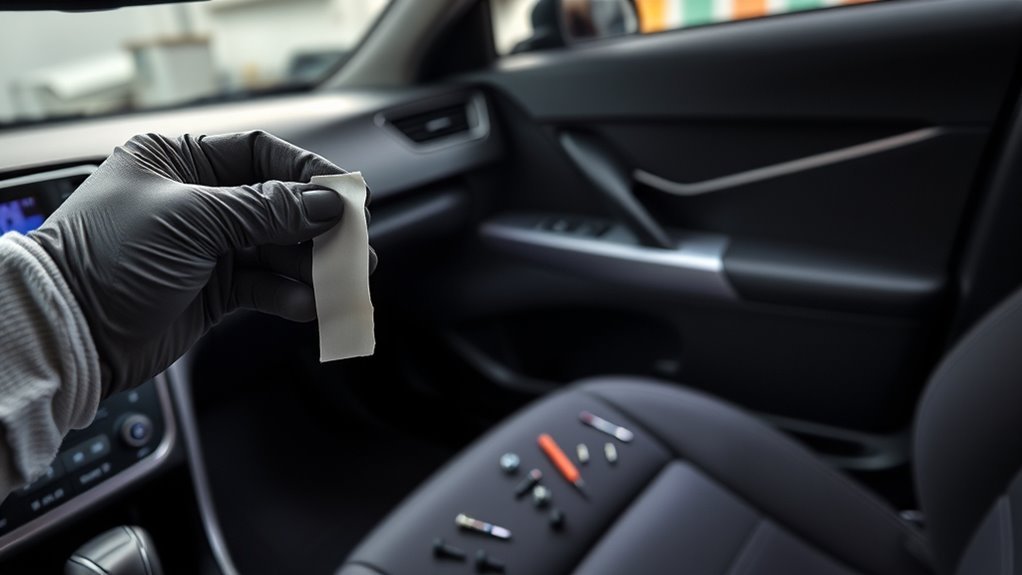
Before you clean, inspect the entire roof liner in good light. Start at the front windshield area, then check around the sun visors, dome lights, grab handles, rear glass, and the edges where the headliner meets the pillars.
Look for these problems:
- Sagging or bubbling: This usually means the adhesive or backing foam has started to fail. Cleaning will not fix the root problem and may make it worse if you add moisture.
- Tears or worn fabric: Torn areas can spread when brushed or rubbed.
- Water stains: Rings near the windshield, roof, sunroof, or rear glass may point to a leak that should be fixed before cleaning.
- Brown, yellow, or gray stains: These may come from smoke, spills, makeup, hair products, hands, or moisture.
- Musty odor: A musty smell can indicate trapped moisture. The EPA notes that controlling moisture is the key to controlling mold growth: EPA Mold Guidance.
Note: If the headliner is wet from a leak, clean only after the leak is repaired. Otherwise, stains and odors are likely to return.
Must-Have Tools and Products for Effective Headliner Cleaning
The safest headliner-cleaning kit is simple. You want tools that lift dust and stains without soaking the material.
[Products Worth Considering]

This cabin air filter is designed to fit a wide range of Toyota, Lexus, Subaru, Scion, Land Rover, Jaguar, and Pontiac vehicles, making replacement simple and convenient. Its activated carbon construction helps capture dust and pollen while reducing odors for a fresher cabin environment. The filter also supports smoother HVAC airflow and helps maintain comfortable temperature control during everyday driving.

This left driver side sun visor is designed for Toyota RAV4 models from 2006 through 2013 and provides a direct replacement fit for the original part. It includes wiring for vehicles equipped with a lamp and is intended to restore sun protection and interior functionality with a gray finish that matches the vehicle interior.

This two-piece horsehair brush set is designed for gentle yet effective cleaning of leather and interior surfaces. The soft bristles help lift dirt from seams, tight spaces, upholstery, carpets, and shoes without scratching, while the two sizes support both broad cleaning and detailed polishing. A comfortable wooden handle improves grip and control for easier daily care.
Essential Cleaning Tools
| Tool | Purpose | How to Use It Safely |
|---|---|---|
| Vacuum with soft brush attachment | Removes dust, pollen, crumbs, and lint | Use light pressure and avoid dragging hard across loose fabric |
| Clean microfiber towels | Blots stains and absorbs moisture | Keep one towel damp and one towel dry |
| Soft detailing brush | Loosens dried dust around visors, handles, and trim | Use only gentle strokes; never scrub aggressively |
| Spray bottle | Controls cleaner application | Spray the towel, not the headliner |
| Portable fan | Speeds drying after spot cleaning | Use airflow, not high heat |
Recommended Cleaning Products
For most Hyundai Sonata headliner stains, choose a mild cleaner made for automotive upholstery or a small amount of mild soap diluted in warm water. Hyundai’s guidance for interior surfaces supports warm water with a mild non-detergent cleaner when needed, as long as you test in a concealed area first.
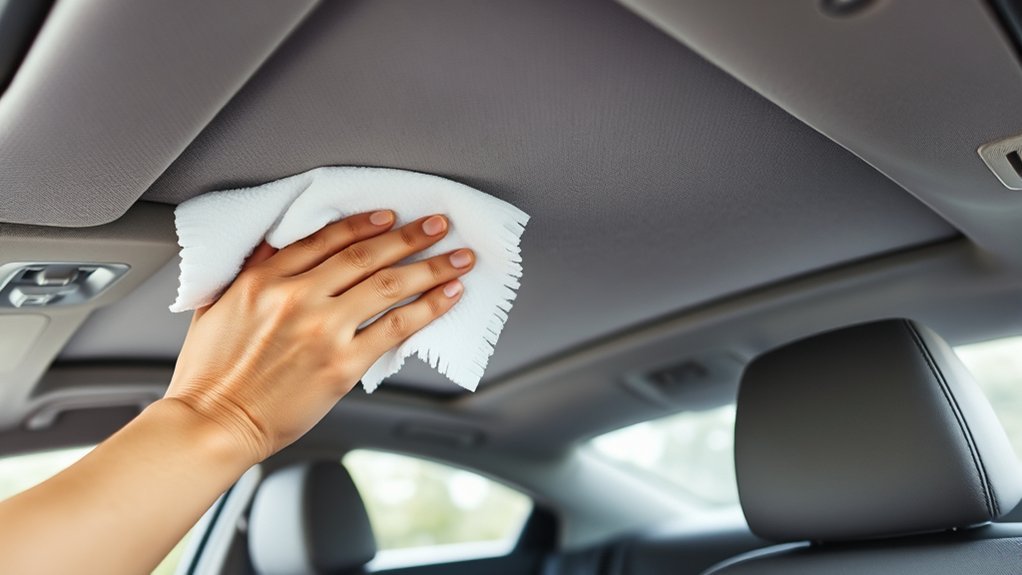
A safe starting mixture is a few drops of mild upholstery-safe soap in a cup of warm water. Dampen a microfiber towel with the mixture, wring it out until it is barely damp, then blot the stain. Follow with a second towel dampened with plain water, then a dry towel.
Products and Methods to Avoid
Some common cleaning shortcuts can create permanent headliner damage. Avoid these unless a professional detailer confirms they are safe for your specific material:
- Heavy degreasers: They can be too strong for delicate headliner fabric and may leave a visible ring.
- Brake cleaner or solvent cleaners: These are not interior fabric cleaners and can damage surfaces or create strong fumes.
- Bleach or ammonia: These may discolor fabric and are unnecessary for normal headliner cleaning.
- Steam saturation: Light steam may help a professional, but too much heat and moisture can loosen adhesive.
- Hot water extractor soaking: Extraction is useful on carpets and some seats, but headliners should not be saturated.
Step-by-Step Guide to Headliner Cleaning
Follow this process from least aggressive to more targeted cleaning. The goal is to clean only as much as needed.
| Step | Action | Why It Matters |
|---|---|---|
| 1. Inspect | Check for sagging, tears, water marks, and loose edges | Cleaning damaged fabric can make the damage worse |
| 2. Vacuum | Use a soft brush attachment with light pressure | Removes dry soil before it turns into muddy residue |
| 3. Patch test | Test cleaner near an edge or hidden area | Helps prevent discoloration on visible fabric |
| 4. Spot clean | Blot with a barely damp microfiber towel | Lifts stains without forcing liquid into the backing |
| 5. Rinse lightly | Blot with a second towel dampened with plain water | Removes cleaner residue that can attract dirt |
| 6. Dry | Pat with a dry towel and use airflow | Reduces moisture that could cause odor or mildew |
Detailed Cleaning Instructions
- Park in a shaded, ventilated area. Open the doors or windows if weather allows. Avoid cleaning in direct sun because cleaner can dry too quickly and leave rings.
- Remove loose items from the cabin. Take out anything that could get in your way, including hanging accessories.
- Vacuum gently. Use a soft brush attachment and move in one direction. Do not press upward hard against the roof.
- Mix a mild cleaner. Use warm water and a small amount of upholstery-safe cleaner or mild soap. The towel should feel damp, not wet.
- Blot the stain. Press and lift. Do not grind the towel into the fabric.
- Feather the edges. Lightly blot around the stain so the cleaned spot blends into the surrounding fabric.
- Remove residue. Use a second lightly damp towel with plain water, then blot with a dry towel.
- Dry completely. Run a fan across the cabin and keep the interior ventilated until the area feels dry.
Pro Tip: Work in small sections about the size of your hand. Large wet areas are harder to blend and easier to oversaturate.
How to Remove Common Headliner Stains
Different stains need slightly different handling, but the rule stays the same: blot lightly and keep moisture low.
[Products Worth Considering]

This all-in-one car detailing kit provides a complete set of cleaning tools for interior and exterior vehicle care, including brushes for dashboards, vents, wheels, tires, glass, and tight spaces. Designed for cars, trucks, SUVs, motorcycles, RVs, and more, it helps remove dust, grime, brake dust, and stubborn dirt while protecting delicate surfaces from scratches. The included storage box keeps everything organized for easy use at home or on the go.

This complete car detailing kit provides a versatile solution for cleaning both interior and exterior surfaces, including vents, wheels, tires, dashboards, and tight crevices. With multiple brush types, drill attachments, a wheel brush, cleaning cloths, a spray bottle, and storage bag, it helps tackle everyday dust, grime, and hard-to-reach areas with ease. It is designed for car enthusiasts, daily drivers, and anyone looking for a more thorough auto cleaning routine.

Upgrade your vehicle interior with this 42-piece LED bulb kit designed for dome, map, license plate, glove box, trunk, and other interior lighting positions. It offers bright white illumination, broad socket compatibility, and easy plug-and-play installation to replace old bulbs quickly. Built for efficient, reliable performance, this set is a practical lighting refresh for cars, trucks, and SUVs.
Coffee, Soda, and Drink Stains
Blot fresh liquid immediately with a dry microfiber towel. For dried coffee or soda, use a lightly damp towel with mild upholstery cleaner. Blot from the outside of the stain toward the center so you do not spread the mark. Follow with a plain-water blot and dry towel.
Grease, Makeup, and Hair Product Stains
Oily stains around the driver’s side, visor area, or grab handles may need two or three light passes. Use an upholstery-safe cleaner rather than a strong degreaser. Let the damp towel sit on the spot for a few seconds, then blot. Repeat only after the area has partly dried so you can see what remains.
Water Rings
Water rings are often caused by uneven drying or a leak. First, confirm there is no active leak from the windshield, sunroof, antenna, or roof seam. Then lightly dampen the full ring edge, feather outward with a microfiber towel, and dry with steady airflow. Avoid soaking the center of the ring.
Smoke Odor
Smoke can settle into the headliner, seats, carpet, vents, and cabin filter area. Start by vacuuming the headliner and cleaning hard surfaces. If odor remains, replace the cabin air filter and consider professional interior deodorizing. Do not mask smoke odor by spraying fragrance directly onto the headliner.
Mildew or Musty Smells
If you smell mildew, look for moisture first. The EPA explains that mold control depends on moisture control, and its mold guide recommends drying wet materials quickly and fixing the water source. In a vehicle, that means checking for leaks, wet carpet, blocked drains, and condensation before cleaning the headliner.
A clean headliner starts with moisture control. If the roof liner keeps getting wet, stain removal is only a temporary fix.
How to Fix Common Headliner Damage?
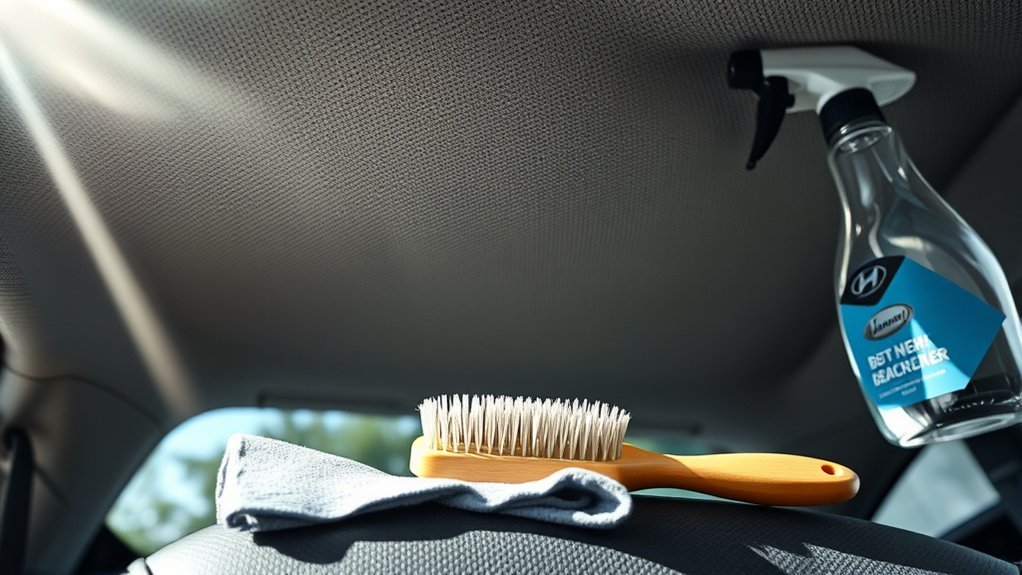
Cleaning can improve stains and surface grime, but it cannot repair every headliner issue. Here is how to handle the most common types of damage.
- Minor loose edges: If a small edge is lifting near trim, a professional upholstery adhesive may help. Remove nearby trim only if you know how to do it without breaking clips or affecting airbags.
- Small tears: Use a color-matched fabric repair patch or consult an upholstery shop. Avoid pulling the fabric tight because that can create puckering.
- Small burn marks: A fabric repair kit may reduce the appearance, but burns often leave texture differences. Test any repair product carefully.
- Large sagging sections: Full replacement is usually the best fix. Pins and twist fasteners may hold fabric temporarily, but they do not restore the foam backing.
- Water-damaged headliner: Fix the leak first. If the backing is stained, warped, moldy, or separating, replacement is safer than repeated cleaning.
Note: Be careful around side-curtain airbag areas near the pillars and roof edges. If repair requires removing pillar trim, clips, handles, lighting, or overhead console parts, professional service is the safer choice.
[Products Worth Considering]

This driver side sun visor is a direct replacement for compatible Toyota RAV4 models from 2006 to 2013, helping restore shade and visibility control on the front left side. It includes a vanity light and extension for added convenience, along with an easy no-screw installation designed to match the original fit and function. Built for dependable daily use, it offers a practical solution for replacing a worn or damaged visor.

This car interior detailing brush is designed to gently remove dust from vents, dashboards, consoles, and other hard-to-reach areas without scratching surfaces. Its soft bristles and comfortable grip make routine interior cleaning easier, while the compact size allows convenient storage in your glove box. It also works well for household cleaning tasks like keyboards, fans, and window tracks.
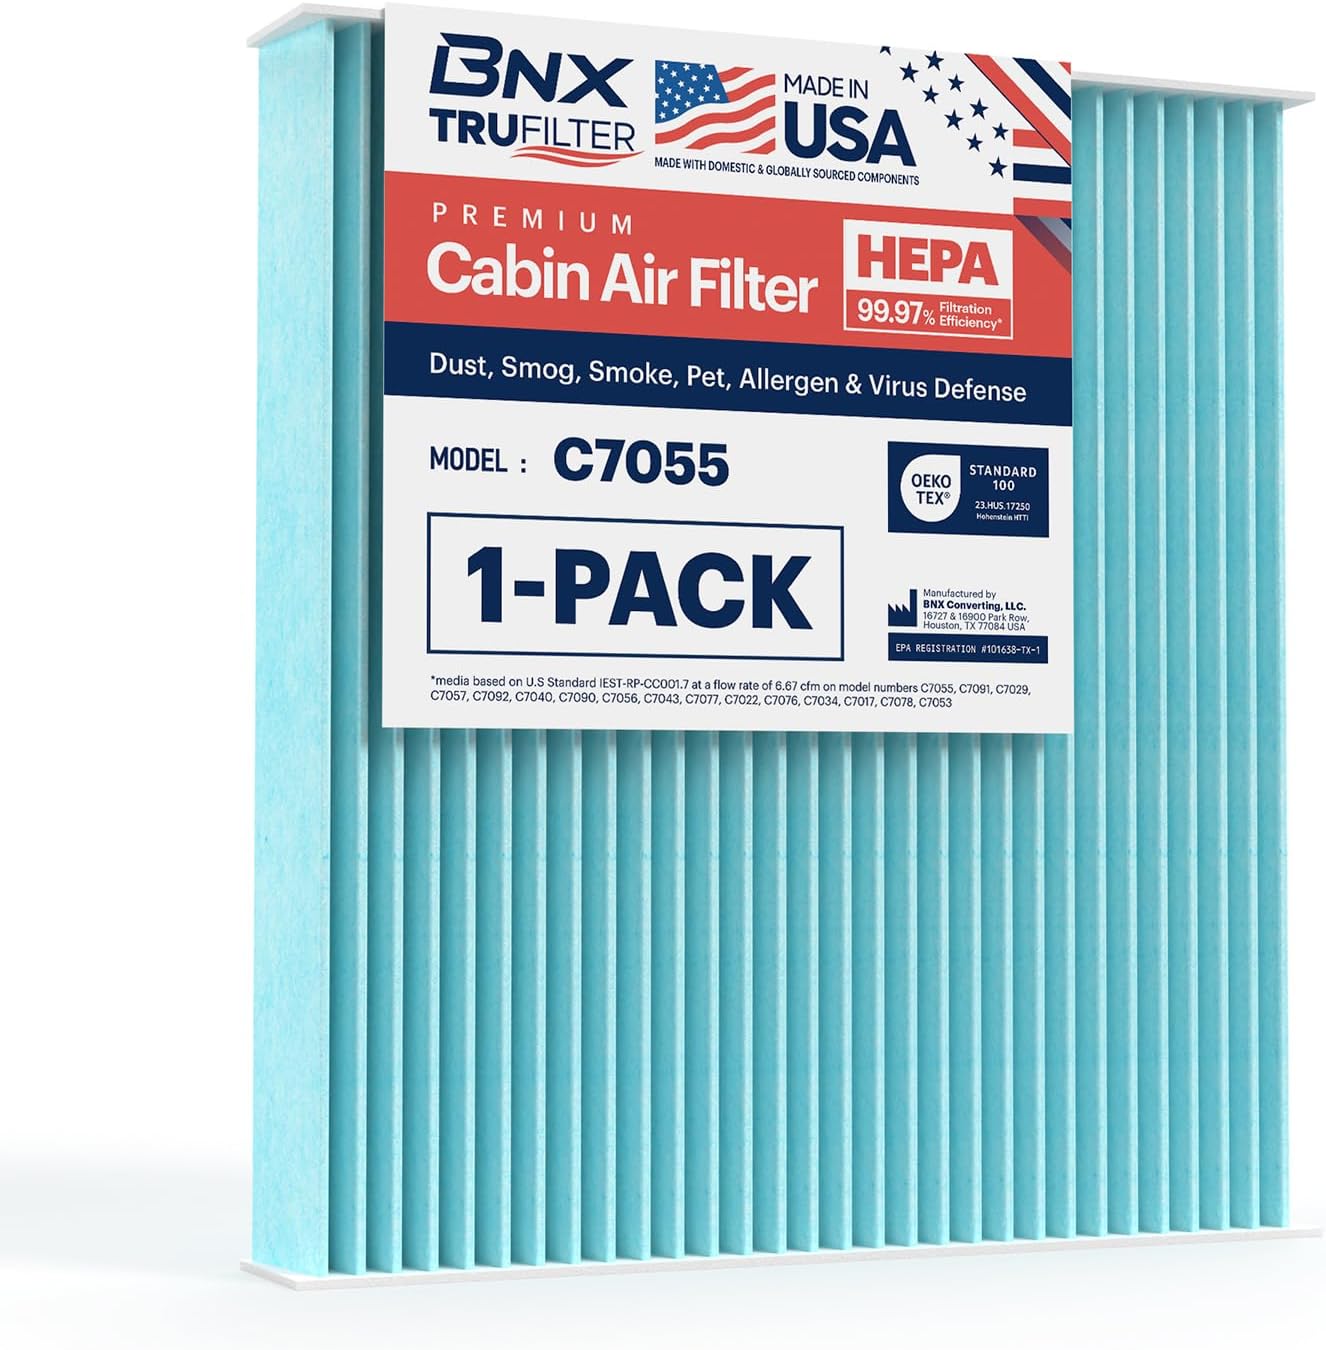
BNX TruFilter C7055 is a HEPA cabin air filter designed to help keep the air inside your vehicle cleaner by capturing microscopic particles like smoke, smog, mold, bacteria, and pet dander. Made in the USA with 99.97% PFE HEPA meltblown filtration media, it offers high-efficiency protection and is intended for annual replacement or every 12,000 miles. It is compatible with a wide range of Toyota, Lexus, Subaru, Land Rover, Jaguar, Pontiac, and Scion models.
How to Safely Dry Your Headliner After Cleaning?
Drying is just as important as cleaning. After blotting a stain, press a clean dry microfiber towel against the area to lift remaining moisture. Do not rub. Then open the doors or windows and aim a fan through the cabin.
Avoid high heat sources, heat guns, and intense direct sunlight. Heat can affect adhesive and may cause uneven drying marks. If the fabric still feels damp after an hour, continue using airflow until it feels fully dry.
For moisture-related problems, the EPA’s mold guidance says wet materials should be dried within 24–48 hours to help prevent mold growth. The CDC/NIOSH also notes that excess moisture is a major cause of indoor mold growth and that damp materials should be addressed promptly. Those principles apply well to a vehicle cabin: dry it quickly and fix the source of moisture.
Tips for Maintaining Your Headliner’s Appearance
Once the headliner is clean, a few habits will keep it looking better for longer.
Regular Cleaning Routine
- Vacuum the headliner lightly every few months or whenever you detail the interior.
- Spot clean fresh marks right away before they set.
- Use a soft microfiber towel instead of paper towels, which can leave lint.
- Keep windows cracked only when it is safe and dry outside; rainwater can create stains fast.
- Inspect roof, windshield, and sunroof areas after heavy rain if you notice a musty smell.
Avoid Food and Drinks
Food and drinks are not just a seat and carpet problem. Soda spray, coffee splashes, smoke residue, and greasy fingerprints can all reach the roof liner. If you regularly carry passengers or children, keep napkins and a small microfiber towel in the glove box so spills can be blotted quickly.
Use Quality Products
Choose products labeled safe for automotive upholstery or interior fabric. Use the least amount of cleaner needed, and never mix cleaning chemicals. If a stain does not improve after a few careful passes, stop and let a professional detailer inspect it rather than risking a larger damaged area.
When to Call a Professional
Some headliner problems are not good DIY projects. Call a professional detailer, upholstery shop, or Hyundai service center if you notice:
- Large sagging areas or fabric separating from the backing
- Water dripping from the headliner or pillars
- Persistent musty odor after drying the cabin
- Mold-like spots on the headliner or surrounding trim
- Stains near electrical components, dome lights, sunroof controls, or airbag trim
- Burns, cuts, or tears larger than a small coin
Professional replacement may cost more than a quick repair, but it is often the cleanest and longest-lasting solution for a sagging or water-damaged Sonata headliner.
Frequently Asked Questions
How do I clean a Hyundai Sonata interior without damaging it?
Start by vacuuming loose dirt, then use cleaners made for automotive interiors. For fabric and trim, use mild cleaner, test it in a hidden area, and avoid soaking electrical parts, screens, switches, leather, and the headliner. Hyundai’s interior-care guidance recommends mild cleaning methods and warns against harsh cleaners on interior materials.
What can I use to clean my car roof lining?
Use a vacuum with a soft brush, clean microfiber towels, warm water, and a mild upholstery-safe cleaner. Spray the cleaner onto the towel instead of directly onto the roof lining. Blot gently, then dry with a clean towel and airflow.
How do I clean the fabric interior of a car without making it worse?
Vacuum first, test your cleaner in a concealed area, and clean with light moisture instead of soaking the fabric. Blot stains rather than scrubbing them. Use a second lightly damp towel to remove residue, then dry the area completely.
How do I get coffee stains out of a car headliner?
Blot fresh coffee immediately with a dry microfiber towel. For dried coffee, use a barely damp towel with mild upholstery cleaner and blot from the outside of the stain toward the center. Follow with a plain-water blot, then dry with a clean towel and airflow.
Can I steam clean a Hyundai Sonata headliner?
Avoid heavy steam cleaning. A headliner is sensitive to heat and moisture because the fabric is attached to backing material. Too much steam can loosen adhesive or leave water marks. Light professional steam use may be possible, but it is not the best DIY method.
How often should I clean my Sonata headliner?
Vacuum it lightly every few months and spot clean stains as soon as they happen. A full headliner cleaning should be occasional, not frequent, because repeated moisture and rubbing can age the material faster.
Conclusion
Keeping your Hyundai Sonata’s headliner clean is a careful, low-moisture job. Inspect it first, vacuum gently, spot clean with a mild upholstery-safe cleaner, and dry it with airflow. The biggest mistake is treating the roof liner like carpet; soaking, scrubbing, or using harsh chemicals can create sagging, rings, or discoloration. With light maintenance and quick stain removal, your Sonata’s headliner can stay fresh without risking damage.
Sources
- Hyundai Owner’s Manual: Interior Care — supports guidance on vacuuming, mild cleaners, concealed-area testing, and fabric-care precautions.
- Hyundai Manuals & Warranties Resources — official Hyundai resource for owner manuals and model-specific vehicle information.
- U.S. Environmental Protection Agency: Mold — supports moisture-control guidance for preventing mold growth.
- EPA: A Brief Guide to Mold, Moisture and Your Home — supports drying wet materials within 24–48 hours and fixing the moisture source.
- CDC/NIOSH: Mold, Testing, and Remediation — supports the relationship between damp materials, excess moisture, and mold growth.