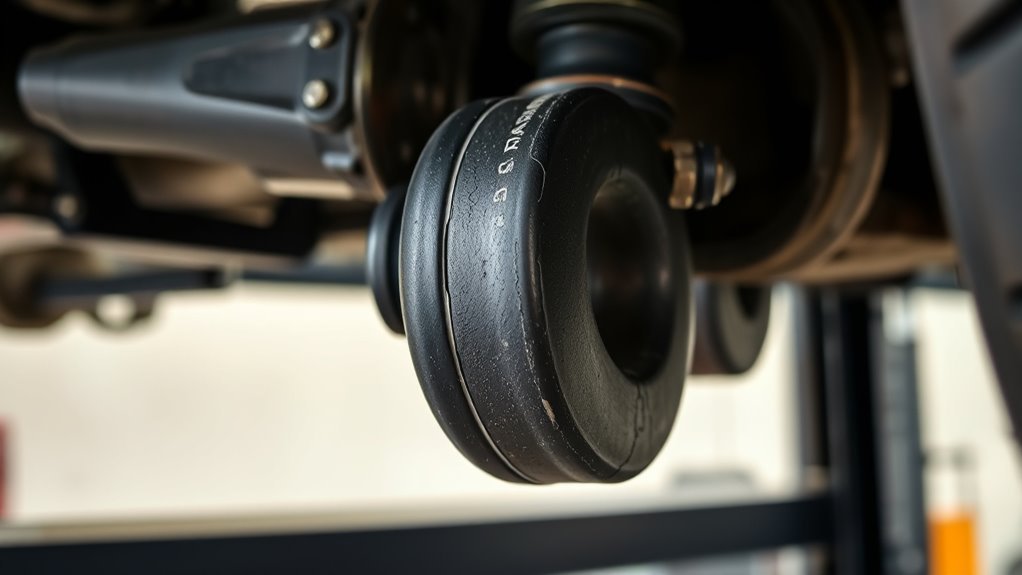
A thorough CV boot inspection every 6,000 to 10,000 miles—and right after hitting a deep pothole or curb—is the easiest way to save your car’s drive axles. Look for cracks, splits, dry or stiff accordion folds, and dark grease streaks inside the wheel rim or on the splash shield. Follow up with a slow driveway turn test to listen for rhythmic clicking and feel for steering shudder. If you spot fresh grease or hear popping on turns, get the car safely onto rated jack stands to clean the joint, rotate the wheel to full lock, and decide between a preventive boot swap and a full axle replacement.
Quick Answer
To check your CV boots, turn the front wheels to full lock and shine a flashlight behind the tire. Look for dark grease splatter inside the wheel rim and splits in the rubber accordion ribs. Drive slowly in tight circles: clicking on turns indicates outer CV joint wear, while shuddering under straight-line acceleration points to inner joint wear.
Last checked: October 17, 2026. Dates and figures were verified against official sources.
At a Glance
| Time Required | 10–15 minutes (curbside check); 30–45 minutes (under-car inspection) |
| Difficulty | Beginner (visual and driveway test) to Intermediate (jack stands) |
| Tools Needed | Flashlight, inspection mirror, degreaser, lint-free rags, floor jack, rated jack stands, wheel chocks |
| Cost | Free to inspect; $20–$50 (DIY boot kit); $150–$528 (pro boot replacement); $300–$1,381+ (full axle replacement) |
How CV Boots Protect CV Joints
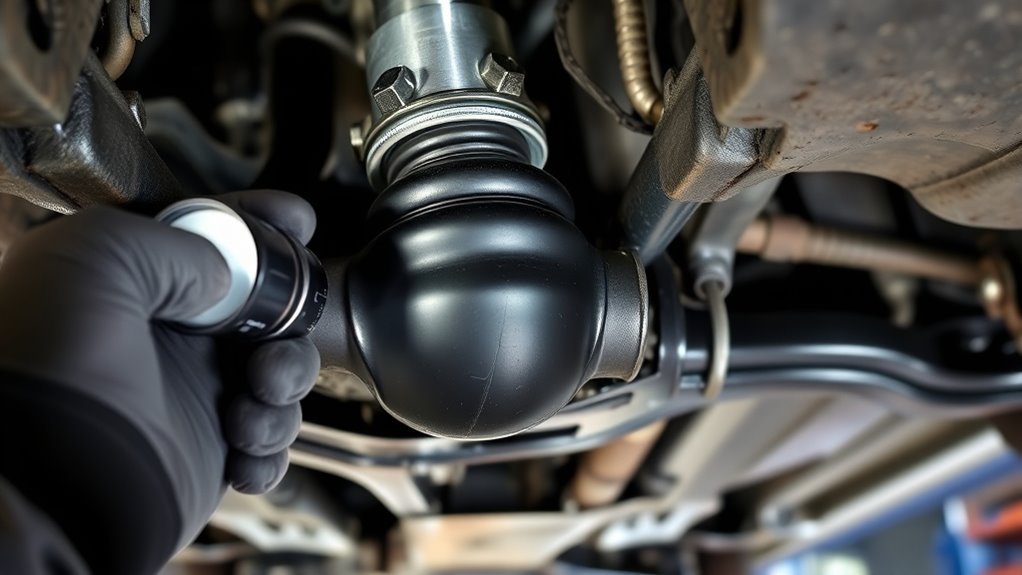
Constant velocity (CV) joints rely on pressurized, high-viscosity lubrication and a sealed environment to transfer torque smoothly while your wheels steer and bounce over bumps. The ribbed CV boot forms a flexible barrier around the joint, sealing in specialized grease while keeping out road grit, water, and salt that cause rapid abrasion and corrosion.
Automakers mold CV boots from neoprene (chloroprene rubber) or stiffer thermoplastic elastomer (TPE) boots rated up to 140°C (284°F) to resist high rotational speeds and stone impacts. Even durable materials eventually fatigue from heat cycling, ozone exposure, and constant flexing. Once a boot splits or a stainless steel ear clamp loosens, centrifugal force flings the grease outward and pulls abrasive dirt into the precision-machined ball tracks or tripod rollers.
Catching a weeping clamp or pinhole tear during routine CV boot maintenance lets you clean the joint, repack it with fresh grease, and install a new boot and clamps torqued to factory specification. Waiting until the joint runs dry destroys the internal bearings and forces a full half-shaft replacement.
Note: Never pack a CV boot with standard wheel-bearing or chassis grease. Outer fixed-ball (Rzeppa) joints require molybdenum disulfide (MoS2) grease to handle extreme steering angles, whereas inner tripod plunge joints typically require non-MoS2 polyurea grease so the needle bearings roll smoothly without skidding.
When to Inspect: Common CV Boot Failure Signs
Check your CV boots at every oil change or tire rotation—typically every 6,000 to 10,000 miles—and immediately after striking a deep pothole, curb, or road debris. A two-minute visual and tactile scan catches cracked folds and loose clamps weeks before the metal joint starts grinding.
Watch and listen for these four primary warning signs of a compromised boot or joint:
- Dark grease splatter: Thick, gray-black oramber grease flung in a radial line inside the wheel rim, on the brake caliper, along the steering knuckle, or across the inner fender liner.
- Cracked or split accordion ribs: Deep weather-checking inside the valleys of the rubber bellows, torn seams, or a missing metal retaining band.
- Rhythmic clicking when turning: A sharp clicking or popping sound at low speeds when turning into a parking space or driveway, caused by dry steel balls binding inside the outer CV joint.
- Shuddering or clunking under load: A noticeable vibration through the floorboard or seat between 20 and 40 mph during straight-line acceleration, or a metallic clunk when shifting between Drive and Reverse.
If you notice any of these symptoms, record which side of the vehicle they come from and avoid long highway trips until you inspect underneath.
Check CV Boots Quickly (No Lift Needed)
You can inspect your outer CV boots in five minutes on flat pavement without jacking up the car. Turn the steering wheel all the way to one side to expose the back of the wheel hub, check for fresh grease or torn rubber, and follow up with a slow-speed turn test in an open lot or wide driveway.
Visual Wheel Hub Check
Start by turning your steering wheel to full lock (all the way left, then all the way right) with the transmission in Park and the parking brake set. This swings the tire out of the way so you can shine a flashlight directly onto the outer CV boot behind the wheel hub.
- Scan the wheel barrel and suspension: Look at the inner lip of the wheel rim, the strut body, the tie-rod end, and the plastic splash shield for thick grease streaks or fresh grime buildup.
- Inspect the boot folds: Check every valley and peak of the rubber bellows for pinhole punctures, wet sheen, or radial splits.
- Check pliability After Cooling: Once the brakes and exhaust have completely cooled, press the outer rubber ribs with a gloved finger; hard, brittle, or oil-swollen rubber means the boot is nearing failure.
- Verify both clamps: Confirm that both the large outer band on the joint housing and the small inner band on the axle shaft sit flat and tight in their grooves.
Driveway Turn Test
After visually checking the hub, perform a slow-speed turn test in an empty parking lot or wide driveway to load the outer CV joints at their steepest working angles. Roll both front windows down and turn off the cabin blower and radio so you can hear subtle drivetrain noises.
Steer the wheel to full lock to the left and drive forward in a tight circle at 3 to 5 mph while applying light throttle. Listen for a rhythmic clicking, snapping, or popping sound that speeds up as the car moves faster, and feel the steering wheel for binding or pulsing. Repeat the tight circle at full right lock, then test both directions slowly in reverse—worn ball tracks often click louder when backing up.
Pro Tip: You can pinpoint which outer CV joint is worn by noting which way you turn when the clicking starts. Turning sharply to the left shifts vehicle weight onto the outside (right) tire, making a worn right outer CV joint click loudest on left turns—and a worn left outer joint click loudest on right turns.
Inspect Under the Car: Jack Stands, Clean, Rotate, Check Clips
While a curbside check reveals most outer boot tears, seeing the inner CV boots near the transmission—and rotating the axle by hand to check for play—requires raising the front of the vehicle on rated jack stands.
Jack Stands Safety First
Always park on level concrete or asphalt, engage the parking brake, and place solid wheel chocks behind both rear tires before lifting the front end. Per NHTSA under-vehicle safety guidelines, never crawl beneath a car supported only by a hydraulic floor jack.
- Inspect your stands: Use a matched pair of jack stands rated for your vehicle’s weight (at least 3-ton capacity for most sedans and compact SUVs) with intact locking pins and unbent bases.
- Lift and lock on pinch welds or frame points: Raise the car with a hydraulic floor jack at the factory central jacking point, position the stands beneath the reinforced pinch welds or subframe mounts, and lower the car slowly onto the stands.
- Perform a push test: Give the bumper a firm shove while the vehicle sits a few inches off the ground to verify rock-solid stability before sliding underneath.
- Inspect the undercarriage for flung grease: Look up at the transmission case, engine oil pan, catalytic converter heat shield, and lower control arms for dark grease rings thrown by the inner CV boots.
Warning: Hydraulic jack seals can fail without warning. Always lower the vehicle’s full weight onto mechanical jack stands with their safety locking pins inserted, and slide a removed wheel under the frame rail as a redundant backup before working underneath.
Clean Area Thoroughly
Road grime and old oil leaks can hide hairline splits in a CV boot or disguise where fresh grease is escaping. Before condemning a boot or clamp, clean the housing and surrounding suspension thoroughly so you can see the exact source of any seepage.
Spray brake-parts cleaner or a water-based citrus degreaser onto a lint-free shop rag rather than blasting high-pressure solvent directly under the edge of the boot seal. Wipe down the outer wheel hub, lower control arm, and both rubber boots, then use a soft nylon brush to clear packed mud from between the boot folds. Use a flashlight and an angled inspection mirror to check the top side of the boot and the crimp ear on each retaining clamp for distortion or looseness.
Rotate Wheels For Access
With both front wheels safely elevated on jack stands and the transmission placed in Neutral (keep the rear wheels firmly chocked), you can spin each front tire by hand to inspect the entire 360-degree circumference of both CV boots.
Turn the steering to full lock and slowly rotate the tire while flexing the rubber folds with your fingers to expose hidden cracks inside the ribs. While underneath, grasp the steel axle shaft mid-span and try to twist it back and forth and push it side to side. A healthy outer CV joint has zero radial play, while the inner plunge joint should slide smoothly inward and outward without rotational clunking or looseness. Catching a loose clamp or weeping boot here prevents premature joint wear and avoids the suspension disassembly required for an axle swap.
Diagnose Inner vs Outer CV Boot Leaks (Signs & Tests)
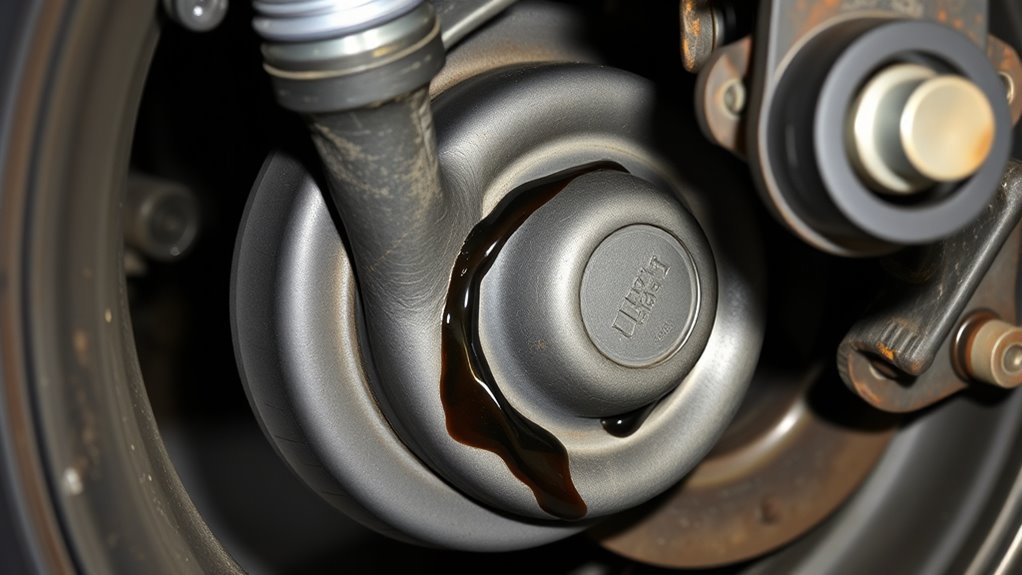
Every front-wheel-drive half-shaft has two distinct joints that experience different stresses and fail in different ways. According to GKN Automotive constant velocity joint specifications, the outer fixed-ball (Rzeppa) joint bends up to 47 to 52 degrees to steer the front wheels, whereas the inner tripod joint bends only 23 to 26 degrees while plunging up to 50 mm (nearly 2 inches) in and out as the suspension moves up and down.
Because the outer boot flexes sharply with every turn of the steering wheel and sits right behind the exposed wheel, outer CV boots tear far more often than inner boots. However, inner boots sit close to hot exhaust pipes and catalytic converters, which can bake the rubber and cause grease to fling onto the exhaust—creating a distinct burning smell after highway driving. Compare your symptoms using the diagnostic table below to pinpoint which joint is affected.
| Diagnostic Feature | Outer CV Boot & Joint | Inner CV Boot & Joint | Bad Wheel Bearing (Often Confused) |
|---|---|---|---|
| Location & Joint Design | Outboard behind wheel hub; fixed 6-ball Rzeppa joint (up to 52° steering angle) | Inboard at transaxle; 3-roller tripod plunge joint (up to 50 mm axial slide) | Pressed inside steering knuckle hub assembly |
| Grease Splatter Pattern | Inside wheel barrel, brake caliper, strut body, and outer fender liner | Subframe, transmission case, oil pan, and exhaust pipe (often smells burnt) | None (sealed internal hub bearing) |
| Primary Noise or Feel | Rhythmic clicking, popping, or snapping | Front-end shudder under throttle; single clunk shifting D to R | Continuous humming, growling, or roaring |
| When Symptom Appears | Low-speed tight turns at or near full steering lock under light throttle | Straight-line acceleration (20–40 mph) or climbing hills; stops when coasting | Increases steadily with road speed above 30 mph regardless of throttle load |
DIY CV Boot Fixes vs Full Boot or Axle Replacement
Although a DIY split-boot kit can seal a fresh tear without pulling the axle out of the hub, it is best viewed as a short-term fix rather than a permanent repair. Because glued or bolted seam boots cannot match the rotational balance and seal integrity of a one-piece molded boot, you should weigh the low upfront cost against the long-term reliability of a one-piece boot or complete CV axle swap.
- Inspect the joint condition first: A boot-only repair works only when you catch the tear early—while clean grease remains inside and the joint produces zero clicking, clunking, or vibration.
- Skill and tool check: Replacing a factory one-piece boot ($20–$50 for parts) requires removing the axle nut, separating the lower ball joint, flushing old grease with solvent, and crimping stainless steel Oetiker ear clamps with a dedicated crimping tool.
- Compare labor vs. part economics: Because removing the half-shaft to replace a single boot takes nearly the same labor time as installing a brand-new complete axle assembly, many shops recommend replacing the entire axle if the car has high mileage.
- Decision rule: Use a split-boot kit only as a temporary bridge to keep dirt out until you can schedule a permanent repair; choose a full CV axle replacement whenever grit has entered the joint or clicking has started.
| Repair Option | Typical 2026 Cost (Per Side) | Axle Removal Needed? | Expected Lifespan & Best Use Case |
|---|---|---|---|
| DIY Split / Quick-Boot Kit | $20–$45 (parts only) | No (glues or bolts around shaft) | 6–18 months; temporary emergency seal on a clean, quiet joint |
| DIY One-Piece OEM/TPE Boot Kit | $25–$60 (parts + grease + clamps) | Yes (unless using pneumatic stretch cone) | 60,000–100,000 miles; preserves original factory axle when caught early |
| Professional CV Boot Replacement | $150–$400 (independent); $411–$528 national avg | Yes (joint disassembled, cleaned, repacked) | 60,000–100,000 miles; best for lower-mileage cars with expensive OEM axles |
| Full CV Axle Replacement (Shop) | $300–$1,200 (aftermarket); $1,283–$1,381 (OEM avg) | Yes (replaces shaft, both joints, and both boots) | 80,000–150,000 miles; required if clicking, vibrating, or contaminated |
What to Expect at the Shop: Cost, Timeline, When to Stop Driving
If you bring your car to a repair shop for a torn CV boot or noisy axle, expect the technician to inspect, quote, and complete the work in 1 to 3 hours per side depending on suspension design and part availability. Preventive boot-only jobs at independent garages typically run $150 to $400 per boot, while RepairPal’s 2026 CV boot replacement estimator places the US national average between $411 and $528 ($251–$369 for labor and $159–$160 for OEM-grade parts).
When the joint itself is worn, replacing the complete CV axle assembly costs $300 to $1,200 per side at an independent shop using an aftermarket half-shaft, or $1,283 to $1,381 on average when using dealer OEM parts according to RepairPal’s CV axle replacement cost data. Ask for a written estimate that specifies whether the quote uses a new aftermarket axle, a remanufactured OEM shaft, or a factory boot kit, and confirm the shop’s warranty—most reputable shops include at least a 12-month/12,000-mile parts-and-labor guarantee. Also ask the technician to inspect the transmission axle shaft oil seal ($100–$200 extra if seeping) while the axle is out.
When to stop driving immediately: While a freshly torn boot with zero noise allows a short, gentle drive to a repair shop, you must stop driving right away if you hear loud clunking when shifting gears, continuous clicking even when driving straight, or severe steering wheel shaking. If a dry CV joint seizes or snaps completely, the vehicle will lose all drive power—even in Park on front-wheel-drive cars without the parking brake set—and a flailing axle shaft can sever your front brake line or punch a hole in the transmission case.
Frequently Asked Questions
What Happens if a CV Boot Leaks?
A leaking CV boot flings out the joint’s pressurized grease as the axle spins and allows water, sand, and road grit to enter the housing. Without lubrication, the abrasive dirt grinds down the steel bearings and raceways, leading to clicking on turns, vibrations, and eventual axle breakage.
How to Tell if Your CV Axle Is Leaking?
You can tell a CV axle is leaking by spotting thick, dark gray or black grease splattered inside the front wheel rim, on the brake caliper, or across the inner fender liner. If the leak goes unchecked, you will hear rhythmic clicking during sharp turns or feel a front-end shudder when accelerating.
Is a CV Boot Expensive to Fix?
Fixing a torn CV boot early is relatively affordable compared to replacing a ruined axle. DIY boot kits cost $20 to $60, while professional boot replacement ranges from $150 to $400 at independent shops (with a US average of $411 to $528), saving you from a $300 to $1,381+ full axle replacement.
Can You Drive With a Torn CV Boot?
You can drive short distances carefully to a repair shop if the boot just tore and the joint makes no noise. However, grit degrades the uncovered joint with every mile. If you already hear clicking on turns, loud clunks, or feel heavy vibration, stop driving immediately to avoid a snapped axle.
Should You Replace Just the CV Boot or the Whole Axle?
Replace just the CV boot if the tear is fresh, clean grease is still inside, and the joint makes zero clicking or vibration. Replace the entire CV axle assembly if the joint already clicks on turns, shudders under acceleration, or has been driven in rain and dirt with an open split.
Conclusion
CV boots keep your drivetrain’s constant velocity joints sealed and lubricated; once a boot tears, grease escapes and abrasive road grit enters, leading to rapid joint failure. Because about 60% of CV failures trace to torn boots, make a habit of checking both inner and outer boots at every oil change. Turn your wheels to full lock to scan the wheel wells for grease splatter, and support the car on rated jack stands whenever you need to clean the housing, rotate the axle by hand, and inspect the retaining clamps. If you catch a split boot before clicking starts, schedule a prompt boot replacement to protect your original factory axle and avoid a costly full half-shaft swap.
Sources
- GKN Automotive – Driveshaft Boots: Rubber and thermoplastic elastomer (TPE) CV boot materials and 140°C temperature ratings.
- National Highway Traffic Safety Administration (NHTSA) – Under-Vehicle Safety Bulletin: Wheel chocking and jack stand safety requirements.
- GKN Automotive – Constant Velocity Joints: Fixed-ball outer joint steering angles (47°–52°) and tripod inner joint plunge specifications (50 mm).
- RepairPal – CV Boot Replacement Cost Estimate: 2026 US average parts and labor cost ($411–$528) for CV boot replacement.
- RepairPal – CV Axle Replacement Cost Estimate: 2026 US average cost ($1,283–$1,381) and replacement procedure for complete CV axle assemblies.