If your Camry V6 climbs toward the 5/8 mark at highway speed, you’re likely facing coolant‑flow or heat‑exchange failure—commonly a stuck thermostat, failing water pump, clogged radiator, collapsed hose, or trapped air. Check coolant level, radiator airflow, fan operation and for visible leaks; perform a pressure test and use an IR gun to spot cold spots or flow restrictions. Prioritize restoring flow and fixing leaks to avoid head gasket damage, and keep going to learn targeted diagnostic and repair steps.
Confirm Your Camry V6 Is Overheating on the Highway

When you notice the temperature gauge climbing toward the 5/8 mark during sustained highway speeds, treat it as a credible indicator that your Camry V6 is overheating. You’ll verify by correlating the temperature gauge behavior with observable symptoms: steam under the hood, reduced coolant levels in the overflow tank, and temporary stabilization of temperature when you turn on the heater. Those signs point to impaired heat rejection rather than a transient sensor error.
Analyze dynamic responses: a persistent rise during acceleration and a delayed gauge drop after throttle release imply restricted coolant flow or a stuck thermostat. Inspect for visible coolant leaks and perform a pressure test to reveal concealed breaches or airlocks. Track heater effectiveness and coolant reservoir trends over multiple drives to distinguish intermittent anomalies from progressive failure. If pressure testing or airlock checks suggest combustion gases in the system, consider head gasket evaluation. Act methodically; your freedom on the road depends on decisive diagnostics.
Emergency Steps If Your Camry Is Overheating Now
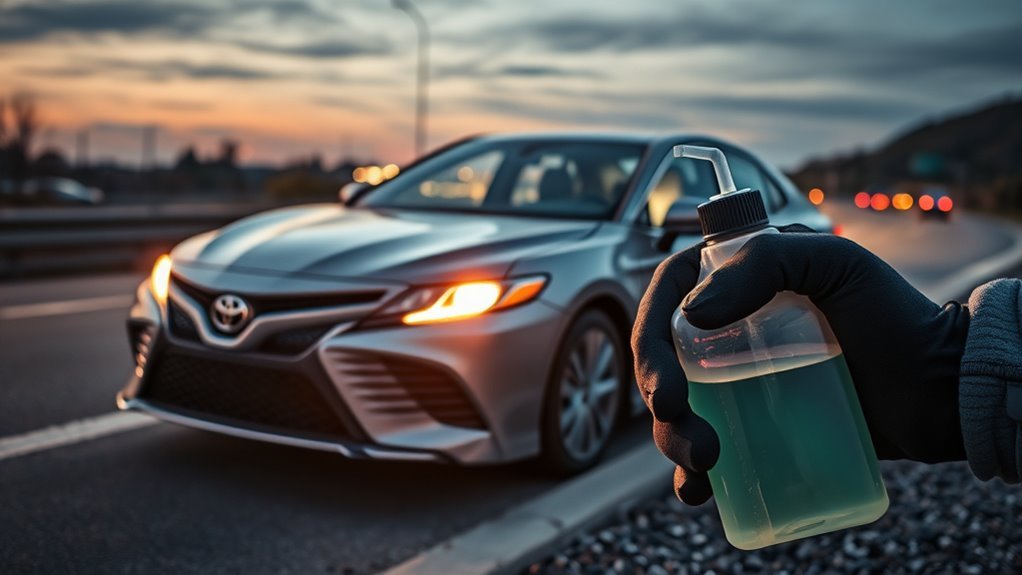
If your previous checks point to ongoing heat-rejection failure while you’re still on the road, act immediately to limit engine damage: slow down to decrease heat generation, set the heater to maximum (fan on) to pull heat from the coolant, and find a safe place to stop. Once stopped, turn off the engine and let the engine temperature fall before opening the hood. Don’t remove the radiator cap when hot. Use visual inspection for leaks or steam; note fluid color to distinguish coolant types and possible contamination. If leaks, steam, or persistently high engine temperature continue after cooldown, avoid driving. Call roadside assistance or arrange a tow to preserve freedom from catastrophic repair.
| Immediate action | Purpose |
|---|---|
| Slow to idle | Reduce heat production |
| Heater on high | Transfer heat from coolant |
| Pull over & stop | Safe cooldown period |
| Inspect for leaks/steam | Diagnose source (pump, gasket) |
Quick Checks You Can Do Before Visiting a Shop
Because a few quick checks can often pinpoint common causes of overheating, you should perform a systematic inspection before booking a shop visit. Begin with coolant maintenance: verify fluid level in the radiator (when cold) and the overflow tank; low coolant is a primary, fixable cause of highway overheating. Inspect hoses and caps for visible leaks or soft spots that suggest pressure loss.
Next, assess the radiator externally — radiator cleaning is essential; remove leaves, insects, and debris that restrict airflow. Look for bent fins or obvious blockages. Observe fan operation: with the engine warmed, fans must engage at high temperature or during idle. If they don’t, note that for the technician.
Avoid invasive checks you’re not trained for, but perform a cooling-system pressure test if you have the tool; it reveals leaks and compromised seals. Record temperatures and symptoms, then bring data and photos to the shop to accelerate diagnosis and preserve your autonomy.
Highway‑Speed Failures: Thermostat, Water Pump, Radiator

When your Camry overheats at highway speeds, first consider a thermostat that’s stuck closed or not opening fully, which prevents sufficient coolant flow and proper temperature regulation. Also check for a failing water pump—bearing or impeller failure, or a loose serpentine belt, will reduce circulation under high load. Inspect the radiator for restrictions or damaged fins that compound flow and heat-exchange loss at higher RPMs.
Stuck Or Faulty Thermostat
Although it sits quietly behind the intake, a stuck or faulty thermostat can abruptly cut off coolant flow and cause rapid overheating at highway speeds when engine load and heat rejection demands rise. You’ll notice thermostat symptoms such as inconsistent gauge readings, slow warm‑up, or sudden spikes during acceleration—signs the valve is sticking closed. Thermostats should begin opening near 180°F and be fully open by 203°F; readings that don’t follow this curve indicate malfunction. You can test operation with a calibrated thermometer or during controlled warm‑up, but replacement with an OE thermostat is the decisive fix to restore designed flow and control. Regular inspection and testing prevent liberation‑blocking failures and keep the cooling circuit reliable under sustained highway stress.
Failing Water Pump Flow
If your Camry’s water pump starts to lose hydraulic efficiency, coolant flow will drop just as engine heat rejection demands climb at highway speeds, and you’ll see rapid temperature rise that the thermostat and radiator can’t mask.
You need to diagnose and act decisively to reclaim control. A failing water pump reduces coolant flow under high RPM, making the thermostat and radiator ineffective. Debris, corrosion, or a stuck thermostat compound the issue, lowering system capacity. Inspect pump bearings, impeller integrity, and flow rate; pressure-test and monitor temperature response. Replace worn pumps promptly; flush contaminated radiators and verify thermostat operation. Regular maintenance liberates you from catastrophic failure and preserves performance.
- Verify pump mechanical condition and flow.
- Flush system and check radiator throughput.
- Replace pump/thermostat if response lags.
Diagnose Coolant Flow and Airlocks : Bleeding & IR‑Gun Checks
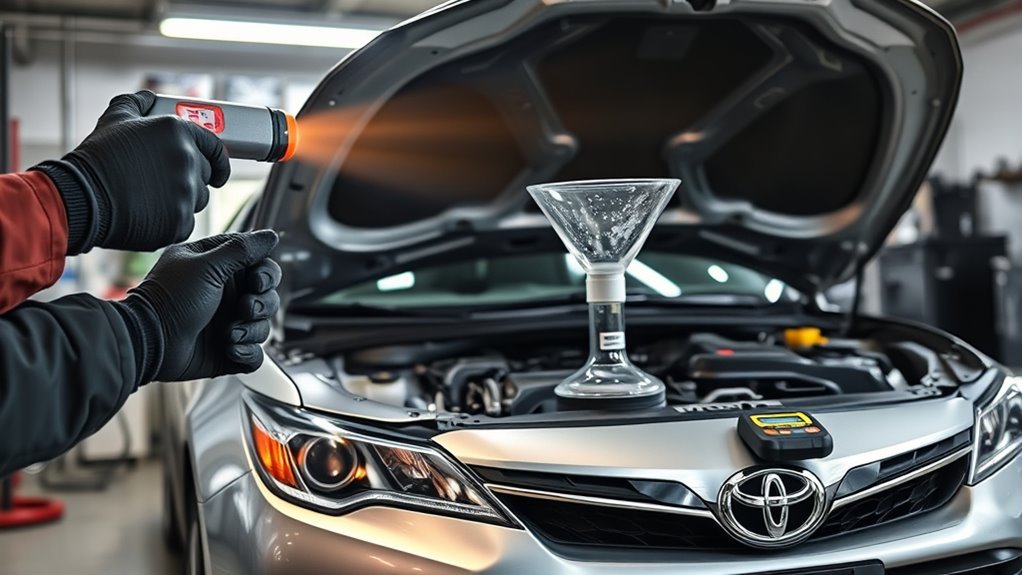
Start by running an IR thermometer sweep across the radiator, hose runs, and engine block to verify uniform temperature — uneven hot and cold zones indicate poor circulation or an airlock. Use the IR gun to map temperature gradients; consistent readings across core tubes confirm proper coolant circulation. If you see alternating bands, suspect partial blockage, collapsed hose, or trapped air.
For airlock removal, follow a controlled bleed: warm the engine to thermostat opening, hold idle with heater on high, and open bleeder valves or the radiator cap point (when safe) to let trapped air escape. Watch IR readings as you bleed—temperatures should equalize as flow restores. Inspect hoses for collapse under vacuum; squeeze tests or IR contrast will reveal restricted flow.
Perform a pressure test to find leaks that disrupt flow, and schedule a coolant flush if debris or sediment shows in system. These steps free the cooling loop and return control to you.
Non‑Invasive Tests for Head Gasket or Combustion Leaks
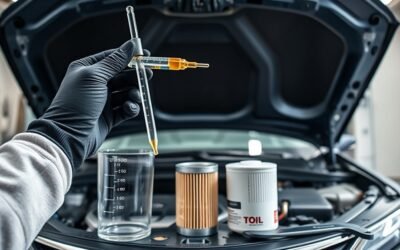
Start by visually inspecting the coolant for unusual color or oily film, since contamination often signals a compromised head gasket. Then perform a chemical combustion-gas test on the coolant and check the oil and exhaust for milky oil, fuel dilution, or white smoke to corroborate combustion leaks. Use these non‑invasive checks together to prioritize whether you need further pressure or disassembly diagnostics.
Visual Coolant Inspection
A visual coolant inspection gives you a rapid, non‑invasive way to screen for head gasket or combustion-leak symptoms by evaluating coolant color, consistency, and behavior under operation. You’ll look for coolant color shifts and contamination signs: oil streaking, dark residues in the radiator/overflow, or milky oil indicating coolant ingress. With the engine running, observe the reservoir for persistent bubbling or foam that suggests combustion gases entering the cooling circuit.
- Inspect coolant color and clarity; darkening or oil sheen implies contamination and possible gasket failure.
- Monitor reservoir behavior under load; continuous bubbles/foam point to combustion leak pathways.
- Check engine oil for milky texture and radiator/overflow for unusual residue to corroborate findings.
Use these non‑invasive observations to decide if further chemical testing or repairs are justified.
Combustion Gas Test
When you suspect combustion gases are entering the cooling system, perform a combustion gas (chemical block) test to detect hydrocarbons in the coolant quickly and non‑invasively. You’ll heat the engine to operating temperature, follow the kit’s manufacturer instructions, and draw coolant vapors through the reagent. The fluid shifts color on hydrocarbon exposure, giving fast combustion gas detection without tearing the engine apart. This lets you act decisively—liberate the vehicle from uncertainty and prevent escalation.
| Emotion | Result |
|---|---|
| Concern | Confirm leak |
| Relief | No hydrocarbons |
| Resolve | Plan repair |
| Urgency | Further inspection |
| Freedom | Clear diagnosis |
Perform coolant system analysis under controlled conditions; if positive, inspect head gasket and nearby components promptly.
Oil And Exhaust Check
If you suspect a head gasket breach, perform targeted oil and exhaust checks to non‑invasively confirm combustion leaks and oil contamination in the cooling system. You’ll run chemical block tests for combustion gases, inspect coolant for dark oil contamination, and watch for white exhaust smoke that signals coolant entering cylinders. Use an infrared thermometer to map temperature anomalies and check the radiator cap for trapped exhaust gases.
- Chemical block test: detect CO2 in coolant to confirm leakage paths and prioritize repair.
- Coolant inspection: identify dark, milky, or oily discoloration indicating oil contamination and cross‑system failure.
- Exhaust analysis: observe white smoke and measure gases; correlate with thermal hotspots to localize the breach and liberate your diagnostic choices.
Camry V6 Fans, Relays & Sensors: When They Matter
Because cooling load rises sharply at highway speeds and during heavy AC use, you need reliable radiator and condenser fans plus accurate temperature sensors and functioning relays to prevent a Camry V6 from overheating. You must treat fan motor failures, relay issues and sensor malfunction as high-impact faults within the cooling system: the radiator fan should still activate at operating temperature even if AC is off, and both fans must run continuously during a cooling-system test with the bottom-radiator connector unplugged. If a fan motor or relay fails, airflow drops and heat extraction collapses under sustained load, so the engine temperature climbs quickly. Sensor errors compound the risk by misreporting temperature and preventing fan activation. You should probe wiring, test relay switching and bench the fan motors under direct power, while validating temperature sender outputs against live coolant readings. Understand these elements as a linked control loop—restore accurate sensing and dependable actuation to reclaim thermal control and preserve freedom of movement without fear of boil-over.
Repair Priorities: What to Fix First and What Can Wait
What should you fix first to stop a Camry V6 from overheating? You begin with a strict repair timeline and a priority checklist: verify coolant level and visually inspect for leaks immediately. Low coolant is the simplest, fastest fix and liberates you from cascading failures. Next, run a cooling-system pressure test to expose hidden leaks or head-gasket concerns that demand urgent attention.
Start by checking coolant level and leaks, then pressure-test the cooling system to reveal hidden failures.
- Test thermostat operation and replace if stuck — restores coolant flow.
- Inspect radiator for clogs and confirm radiator and AC fans function at speed — prevents heat buildup at highway RPMs.
- Scan and address check engine light codes — they can point to sensors, controls, or deeper failures.
Work top-down: immediate fluid/leak fixes, then flow components, then diagnostics. You’ll prioritize interventions that prevent engine damage and restore safe operation first; lower-priority aesthetic or noncritical sensor calibrations can wait until system integrity is confirmed.
Frequently Asked Questions
Why Is My Toyota Camry Overheating While Driving?
Your Camry’s cooling system isn’t circulating properly, so engine temperature rises; you’re likely facing a clogged radiator, failing water pump, stuck thermostat, air pockets, or low coolant—inspect and purge, replace faulty components, liberate reliable cooling.
Why Does My Car Overheat Only on the Highway?
Your car overheats on the highway because the cooling system can’t circulate sufficient coolant under high load; radiator issues, a failing water pump, stuck thermostat, low coolant or air pockets restrict flow, so act decisively to regain control.
What Are 10 Common Causes of Overheating on a Toyota?
You’ll face ten causes: cooling system failure, radiator issues, thermostat failure, water pump breakdown, coolant leak, clogged engine block passages, head gasket breach, worn drive belt, restricted air flow, and faulty temperature gauge readings.
What Causes a Car to Overheat at High Speeds?
An ounce of prevention: you’re overheating at high speeds because cooling system flow’s impaired — radiator issues, thermostat failure, low fluid levels, air intake or exhaust blockages, failed fan operation, water pump problems, engine stress from highway load, watch temperature gauge.
Conclusion
You’ve diagnosed the signs, acted fast, and narrowed probable causes; now prioritize repairs that restore coolant flow and prevent engine damage. Fix the water pump, thermostat, or major leaks first, then address sensors, fans, and minor hoses. Don’t procrastinate—neglect is the silent thief of reliability. With a methodical checklist and timely repairs, you’ll regain highway confidence and keep the Camry’s V6 running cool, efficient, and dependable.