A clicking noise when your Toyota 4Runner turns is usually a load-dependent problem in the front end. On 4WD models, start with the CV axles and boots, then rule out loose lug nuts, wheel bearing or hub play, brake hardware, tire rub, sway-bar links, tie rods, control-arm bushings, and KDSS or stabilizer hardware if equipped. Do the checks in a safe order so you do not replace good parts by guessing.
Quick Answer
If your 4Runner clicks when turning, the most common cause on 4WD models is a worn outer CV joint, especially if the noise is rhythmic during slow, tight turns. Also check wheel lug torque, torn CV boots, wheel bearing play, brake hardware, tire rub, and loose suspension or steering joints.
Key Takeaways
- A sharp, repeated click on slow turns often points to an outer CV joint, but do not skip lug nuts, brakes, bearings, or tire rub.
- A torn CV boot with grease sling means the joint has been exposed to dirt and water; inspect it before deciding on a boot-only repair.
- Loose or mismatched wheel fasteners are a safety issue, not just a noise issue. Use the Toyota spec for your model year and wheel setup.
- Lift kits, larger tires, off-road mud, and worn bushings can all create turning clicks by changing angles or adding contact points.
- Stop driving and get professional help if the wheel wobbles, lug nuts are loose or missing, steering has sudden free play, or a bearing growls with heat or play.
At a Glance
| Time Required | 30–60 minutes for basic diagnosis |
| Difficulty | Beginner for visual checks; moderate for lifted-vehicle inspection |
| Tools Needed | Flashlight, gloves, wheel chocks, floor jack, jack stands, torque wrench, pry bar, phone video or chassis ears |
| Cost | Free if you already own tools; shop diagnosis and repairs vary by damage, model year, and local labor rate |
Warning: Never crawl under a 4Runner supported only by a jack. Use wheel chocks, jack stands on solid ground, and the lift points in your owner’s manual. Do not run the drivetrain while the vehicle is lifted unless a qualified technician is using the proper equipment.
Most Likely Causes of Clicking When Turning
The most likely cause depends on when the click happens. A rhythmic click during slow, tight turns is different from a single clunk over a driveway, a metallic tick after brake work, or a scrape when larger tires touch the liner.
| Symptom | Most likely area | First check |
|---|---|---|
| Fast click-click-click on slow, tight turns | Outer CV joint on 4WD models | CV boot, grease sling, axle play |
| Clunk or pop as weight shifts | Sway-bar endlink, control-arm bushing, ball joint, KDSS point | Pry-bar test and bushing inspection |
| Metallic tick after wheel or brake work | Lug nuts, brake dust shield, pad hardware | Wheel fastener torque and brake clearance |
| Growl or hum that changes with speed | Wheel bearing or hub | 12-and-6 play, roughness, heat after driving |
| Click or rub only at full lock | Tire contact, mud flap, liner, body mount, skid plate | Look for fresh rub marks on plastic, metal, or tire shoulder |
On a 2WD 4Runner, front CV axles are not usually part of the front suspension, so move CV joints lower on the list and focus first on wheel fasteners, bearings, brakes, steering linkage, tires, and suspension play. On 4WD and AWD-style front driveline setups, CV joints stay near the top of the list.
Reproduce the Click Safely Before You Lift the Truck
Before grabbing tools, confirm the sound in a controlled area. Use an empty parking lot, keep speeds low, and write down the exact condition that makes the noise happen. This saves time because many parts can make similar sounds.
- Drive slowly in a wide figure-eight pattern at about walking speed to 5 mph.
- Repeat tight left and right turns with light throttle, then repeat while coasting.
- Note whether the sound appears during left turns, right turns, bumps, braking, acceleration, or full steering lock.
- Listen for where it comes from: outside front wheel, inside front wheel, center floor, steering column, or rear.
- Record a short phone video from inside the cabin, then another from outside while a helper stands well clear of the vehicle.
Note: A worn outer CV joint usually gets louder when it is turned sharply and loaded. During a left turn, the right-side outer joint is often loaded more; during a right turn, the left-side outer joint is often loaded more. Noise can travel through the frame, so confirm with inspection.
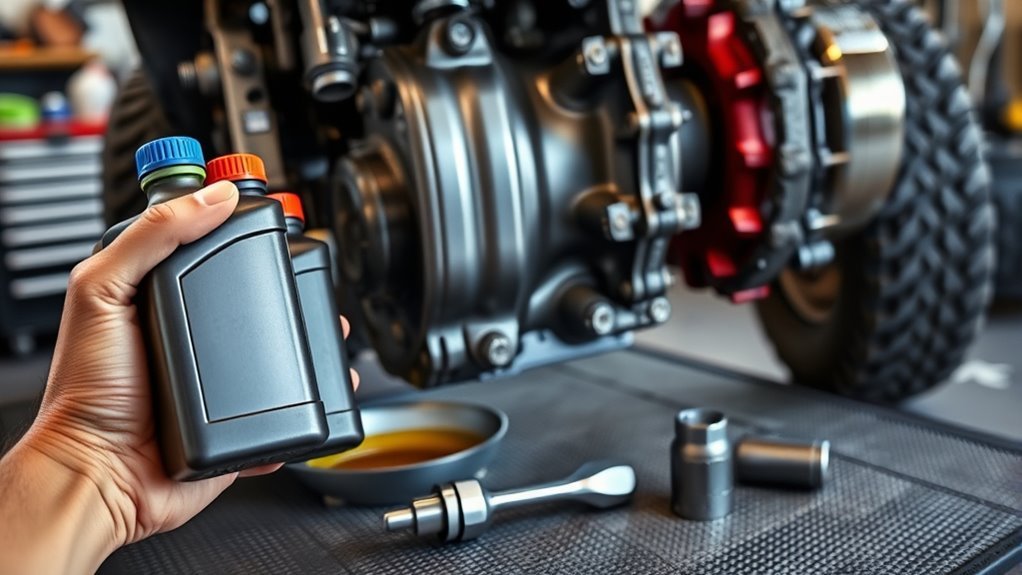
Inspect the CV Axle and Boot for Play or Damage
On 4WD 4Runners, the front CV axles transfer power to the front wheels while still allowing the suspension and steering to move. The rubber boots hold grease in and keep grit out. Once a boot tears, the joint can lose grease and wear quickly, especially after water crossings, mud, road salt, or dusty trails.
GKN, a major driveline supplier, notes that cornering noises can come from wear inside CV joints and that routine driveshaft inspection should include checking for grease contamination, torn or porous boots, excessive radial looseness, and joint movement through steering angles. GKN’s workshop guidance also warns that defective boots are a common cause of driveshaft failures.
[Products Worth Considering]

These TPE door anti‑kick pads provide durable, water‑resistant protection for Toyota Tundra doors from 2022 to 2026. They fit precisely, are easy to install with double‑sided tape, and can be cleaned simply with water. The pads guard against scuffs and impacts while preserving the door's appearance and smooth operation.

Protect your vehicle's door handles and bowls with high-quality, reflective, self‑adhesive stickers that resist scratches, water, heat and fading. The subtle reflective glow improves night‑time visibility, enhancing safety while adding a sleek, luxurious look. Easy to install and durable, they fit most cars, trucks, SUVs and RVs.
Protect your vehicle's door sills from scratches, abrasions and wear with these durable rubber guards. The anti‑slip stripe design offers soft, pliable cushioning while the strong adhesive backing allows easy, tool‑free installation. Suitable for cars, trucks, SUVs and RVs, they extend the life of your door thresholds and keep your vehicle looking neat.
What to Look For on the CV Boots
- Fresh black or gray grease sprayed on the wheel well, lower control arm, skid plate, or inside of the wheel.
- Cracks in the boot ribs, split rubber, missing clamps, or a boot that has slipped off its groove.
- Dry, rusty, or gritty-looking joint area after mud or water use.
- A clicking sound that increases with steering angle and light throttle.
- Axle movement that feels loose, clunky, or rough compared with the other side.
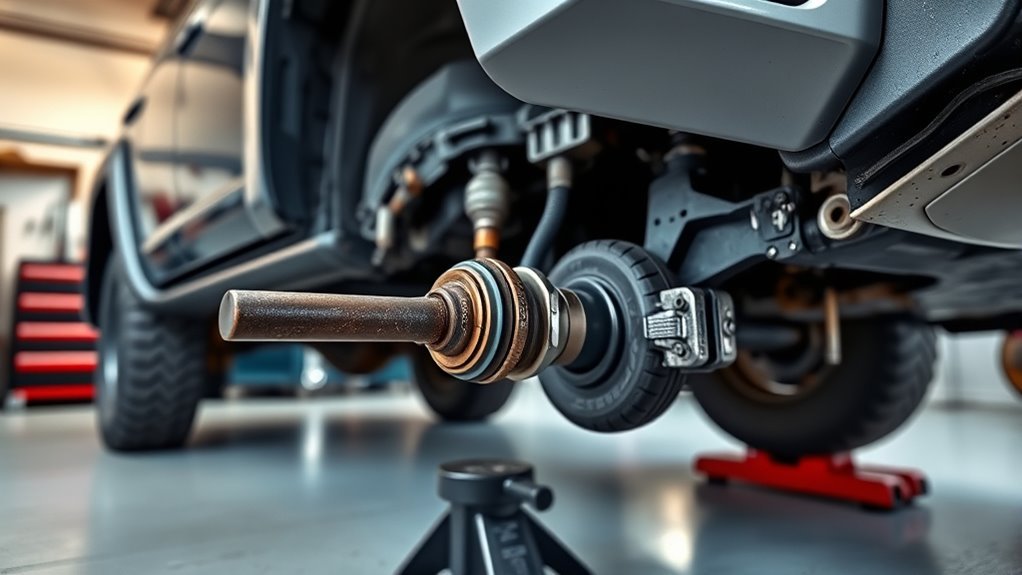
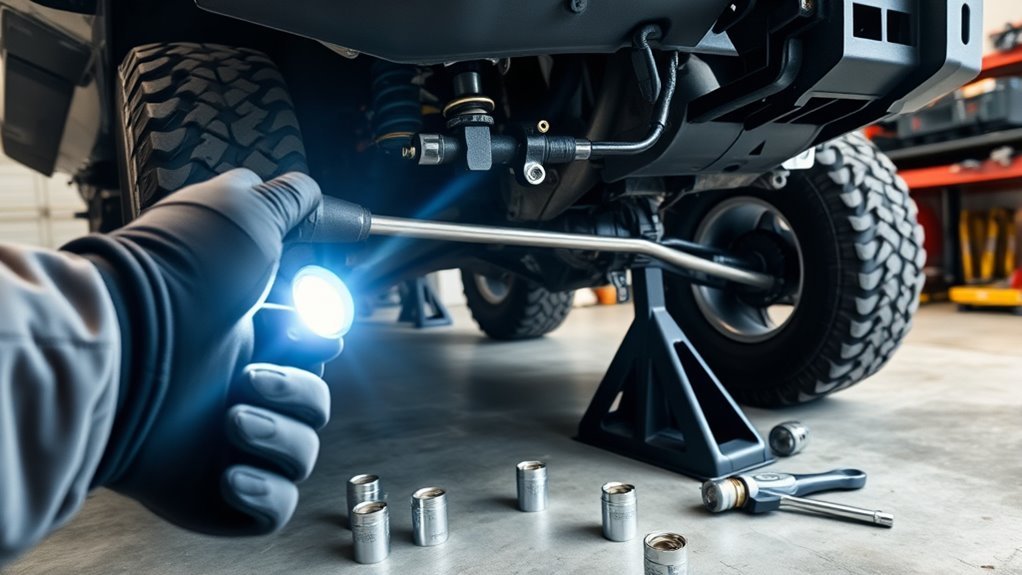
How to Check the Axle by Hand
- Park on level ground, set the parking brake, chock the rear wheels, and loosen the front lug nuts slightly only if you plan to remove a wheel.
- Lift and support the front of the vehicle with jack stands.
- Visually inspect the inner and outer CV boots with a flashlight.
- Hold the axle shaft near each joint and gently check for abnormal radial looseness or clunking. A small amount of in-and-out plunge movement can be normal on some joints; heavy looseness or clicking is not.
- Turn the steering from side to side by hand with the engine off and look for boot stretching, binding, or contact with nearby parts.
- Compare left and right sides. The bad side often feels or looks different.
Pro Tip: If your 4Runner is lifted, inspect CV angles more closely. More lift can increase front axle angle, which may shorten CV boot and joint life if the suspension geometry is not corrected.
Outer CV Joint vs Inner CV Joint: How the Symptoms Differ
CV noise is easier to diagnose when you separate outer-joint symptoms from inner-joint symptoms.
| Joint area | Common symptom | Best test |
|---|---|---|
| Outer CV joint | Rhythmic clicking or popping during tight, slow turns | Slow figure-eight turns with light throttle |
| Inner CV joint | Shudder, vibration, or clunk during acceleration or suspension travel | Straight-line acceleration and axle play inspection |
| Boot or clamp | Grease sling, dirt intrusion, later clicking | Visual inspection around boot ribs and clamps |
If the boot is torn but the joint is still quiet and smooth, a boot service may be possible. If the joint already clicks, binds, has heavy play, or shows pitting after disassembly, replacing the joint or axle assembly is usually the safer repair.
[Products Worth Considering]

The SINGARO Car Door Edge Guard provides durable protection for vehicle doors with its high-quality PVC natural rubber and stainless steel core, preventing damage from accidental impacts and wear. Easy to install by cutting and clamping, it fits cars, trucks, SUVs, and ATVs, and can also be used for sealing edges on other surfaces. Its flexible design ensures smooth door operation while safeguarding the vehicle exterior.

Upgrade your vehicle's exterior look with these glossy black, snap‑on door handle covers that provide full coverage and protect against scratches and wear. Made from high‑quality ABS plastic, they fit Toyota Rav4 models from 2019‑2025 and Highlander models up to 2025, offering a sleek, adhesive‑free installation. The cover’s smooth surface adds a stylish, personal touch while preserving the original handle functionality.
Check Wheel Bearings, Hub, and Lug-Nut Torque
A loose wheel or failing hub can mimic suspension or CV noise. Start with wheel fasteners because they are fast to check and safety-critical. After any wheel, tire, brake, rotor, spacer, or hub work, confirm the lug nuts are clean, seated correctly, and torqued to the correct Toyota specification for your exact model year and wheel setup.
The wheel installation guidelines hosted by NHTSA emphasize clean, undamaged threads, the correct fastener seat, adequate thread engagement, a star or crisscross tightening pattern, and a calibrated torque device. If aftermarket wheels, spacers, or different lug nuts are installed, verify the seat style and thread engagement instead of assuming the factory parts still apply.
Wheel and Lug-Nut Checks
- Look for missing lug nuts, shiny movement marks around lug seats, paint damage, or rust trails radiating from studs.
- Confirm each lug nut matches the wheel seat: factory-style, conical, mag, or ball seats are not interchangeable.
- Use a calibrated torque wrench and Toyota’s spec for your model year. Do not rely on an impact gun alone.
- If any lug nut was loose, remove the wheel and inspect the studs, lug seats, wheel mounting face, and hub face for damage before simply retightening.
Warning: Do not drive if lug nuts are missing, studs are damaged, or the wheel has visible movement. A loose wheel can damage the hub and studs and can become a wheel-off event.
Wheel Bearing and Hub Checks
A wheel bearing more often growls, hums, or changes pitch with road speed, but severe bearing or hub play can create clicks, pops, ABS issues, brake rotor contact, or wheel wobble. Timken’s bearing damage guide lists abnormal noise, vibration, lubricant leakage, temperature increase, and displacement of the rotational centerline as signs that bearing damage may be developing. Timken also recommends documenting observations and surrounding component condition when analyzing bearing damage.
- Lift and support the corner safely.
- Grab the tire at 12 and 6 o’clock and rock it in and out. Repeat at 3 and 9 o’clock.
- Spin the wheel by hand and listen for grinding, roughness, or scraping.
- After a short drive, compare hub temperature side to side without touching hot brake parts.
- If play is present, have the bearing, hub, ball joint, and tie rod isolated before replacing parts.
Test Sway-Bar Endlinks, Tie Rods, and Steering Linkage
Suspension and steering clicks often happen during weight transfer instead of every wheel rotation. The sound may show up when entering a driveway, turning into a parking spot, braking while turning, or crossing uneven ground.
Inspect Sway-Bar Endlinks and Bushings
Worn sway-bar endlinks can click or clunk because the stabilizer bar shifts under load. On KDSS-equipped 4Runners or models with stabilizer-disconnect hardware, also inspect the hydraulic or mechanical mounting points, brackets, bushings, and links for looseness or contact.
- With the vehicle safely supported, grab the sway-bar endlink and try to move it by hand.
- Look for torn boots, missing bushings, cracked rubber, shiny contact marks, or loose nuts.
- Use a pry bar gently to check for movement at bushings and brackets.
- Retorque only to the service-manual specification for your year and suspension setup.
Check Tie Rod Play
Tie rod looseness can feel like steering wander and may produce a click when the wheel changes direction. It is also an alignment and safety issue.
- Have a helper gently rock the steering wheel left and right while the front tires are on the ground.
- Watch the inner and outer tie rods for delayed movement, knocking, or looseness.
- Inspect the dust boots for tears and grease loss.
- If a tie rod has play, replace the worn part and get an alignment after repair.
Examine Steering Linkage and Boots
Toyota’s 2026 4Runner maintenance guide calls for inspection of steering linkage and boots, including checking for excessive steering free play, bending, damage, and deteriorated dust boots. The same guide also lists drive shaft boots, ball joints and dust covers, chassis/body nuts and bolts, and steering linkage as items that receive more frequent attention under special operating conditions such as dirt roads, rough roads, mud, snow, or road salt. Toyota’s maintenance guide is the best source for model-year-specific maintenance intervals.
- Check for excessive free play at the steering wheel.
- Inspect steering gear, rack boots, linkage, and dust boots for leaks, tears, cracks, and bending.
- Look for witness marks where steering or suspension parts contact skid plates, wheels, tires, or frame components.
- After off-road driving through deep mud, water, or sand, clean the area before inspection so fresh leaks and contact marks are visible.
Check Control Arms, Ball Joints, Bushings, and Alignment Hardware
Control-arm bushings and ball joints carry heavy load when a 4Runner turns. A worn bushing can let the arm shift, making a pop or click as the tire loads and unloads. Ball joints can also click or knock if the joint has play or the dust cover is torn.
| Part | What to check | Why it clicks |
|---|---|---|
| Upper control arm | Ball joint, uniball, bushing, mounting bolts | Joint play or bushing shift under turning load |
| Lower control arm | Bushings, cam bolts, ball joint, cracks | Arm movement or alignment hardware slip |
| Ball joints | Dust boot, vertical play, rust, grease loss | Socket movement under load |
| KDSS or stabilizer hardware | Bushings, brackets, links, leaks, contact marks | Bar or link movement during body roll |
Use a pry bar lightly and compare both sides. Do not guess torque values for cam bolts, UCA hardware, ball joints, or aftermarket parts. Use Toyota service information or the component manufacturer’s instructions because torque can vary by model year, fastener, and suspension kit.
Do Not Miss Brake Hardware, Dust Shields, and Tire Rub
A clicking sound while turning is not always the drivetrain. Tire and brake issues are common after tire rotations, brake jobs, lift kits, wheel spacers, or larger tire installs.
Brake Parts That Can Click
- Loose or missing brake pad anti-rattle clips.
- A bent dust shield touching the rotor during turns.
- Pad hardware installed backward or not seated.
- A small stone caught between the rotor and shield.
- Caliper bolts or bracket bolts not tightened to spec.
- ABS wire or brake hose contacting the wheel or tire at full lock.
Tire Rub That Sounds Like Clicking
Tire rub can sound like a click, tick, or scrape when the tread blocks hit plastic or metal. This is especially common with larger tires, offset wheels, wheel spacers, mud flaps, fender liners, body mounts, loose splash shields, and packed mud or ice.
- Turn the steering to full lock both directions while parked.
- Check the front and rear of each front tire for fresh rub marks.
- Inspect mud flaps, fender liners, body mount areas, sway bars, upper control arms, and skid plates.
- Repeat the check with the suspension loaded on the ground, not only while the truck is lifted.
Note: If the clicking started right after new tires, wheels, spacers, suspension work, or brake service, inspect that work first. The timing is a major clue.
Use Diagnostic Aids: Chassis Ears, Video, and Marking Paint
If the noise is hard to locate, use simple diagnostic aids before buying parts.
- Phone video: Record the wheel well during slow turns from a safe distance. Slow-motion playback can show tire rub, link movement, or a loose shield.
- Chassis ears: Clip sensors near the suspected CV joint, hub, control arm, sway-bar link, and steering area. The loudest channel often points to the source.
- Paint marks: After torqueing suspension or wheel hardware correctly, mark fastener positions. If the marks move later, the joint or fastener needs attention.
- Side-to-side comparison: Compare the noisy side with the quiet side. A torn boot, shifted bushing, shiny contact point, or hotter hub is easier to spot this way.
Listen for repeatability. A rotating click that speeds up with wheel speed is different from a one-time pop as the suspension loads. Matching the sound to speed, steering angle, and load is the difference between diagnosis and guessing.
Rebuild vs Replace a CV Axle
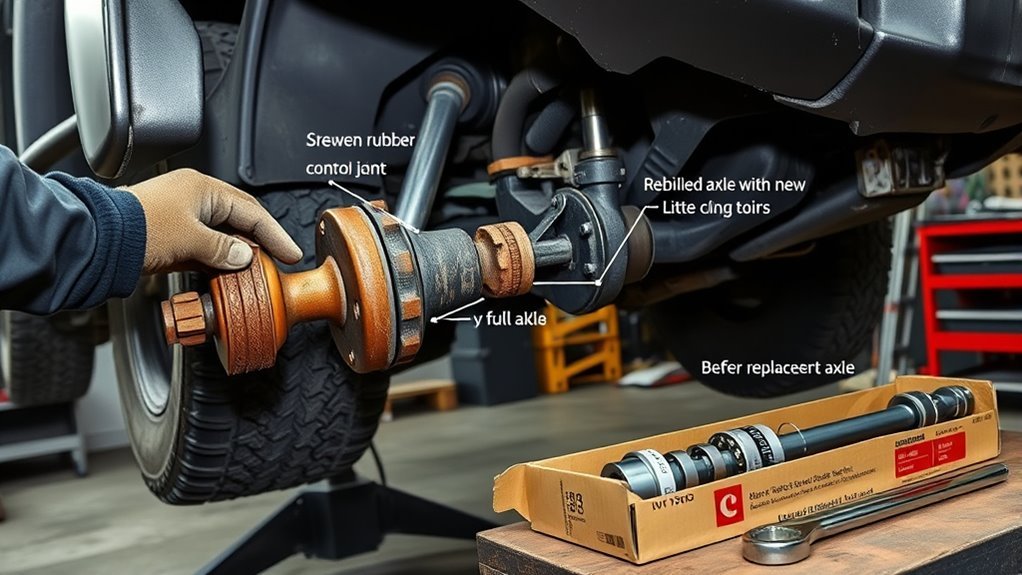
If you confirm the CV axle is the source, the next decision is boot service, joint repair, remanufactured axle, aftermarket axle, or Toyota Genuine replacement. The right choice depends on how long the boot has been torn, whether the joint clicks, whether the truck is lifted, and how you use the vehicle.
| Condition found | Best repair direction | Why |
|---|---|---|
| Boot cracked but not leaking; joint quiet | Monitor closely or replace boot soon | Early catch may prevent joint contamination |
| Boot torn with fresh grease, no clicking yet | Boot service may be reasonable after inspection | Joint may still be usable if clean and smooth |
| Clicking on turns or gritty joint | Replace joint or axle assembly | Noise usually means internal wear is already present |
| Lifted truck with repeated boot failures | Correct geometry and use quality axles/boots | Excess angle can keep damaging replacement parts |
GKN’s repair guidance stresses using the correct boot, clamp, grease, and manufacturer torque instructions, and it recommends replacing defective joints when wear is visible. For a daily driver or trail vehicle, do not save a small amount on a boot-only repair if the joint is already clicking under load.
When to Stop Driving
Some clicks can be diagnosed at home, but others are warning signs. Stop driving and tow or get professional help if you notice any of these:
- Loose, missing, stripped, or damaged lug nuts or wheel studs.
- Wheel wobble, heavy vibration, or a wheel that does not sit flush on the hub.
- A growling bearing with heat, roughness, or obvious play.
- Sudden steering looseness, binding, or a clunk you can feel through the wheel.
- A torn CV boot with loud clicking, severe grease loss, or a joint that binds.
- Brake grinding, caliper movement, or a dust shield scraping hard against the rotor.
If the click is light and only appears over small bumps or during body roll, you may be dealing with a sway-bar link, bushing, liner, or brake hardware issue, but inspect it soon. Small suspension noises can become alignment, tire wear, or safety problems if ignored.
When to See a Dealer or Trusted Mechanic
See a trusted mechanic or Toyota dealer when the noise persists after basic checks, when the truck is under warranty, when wheel bearing or steering play is suspected, or when the diagnosis requires disassembly. Ask for a written diagnostic report instead of a vague “front-end noise” recommendation.
Request that the technician checks:
- Front CV axles, boots, clamps, and axle play.
- Wheel bearing and hub play, roughness, and heat.
- Wheel studs, lug nuts, wheel seats, and mounting faces.
- Brake dust shields, pad hardware, caliper brackets, and rotor clearance.
- Upper and lower control arms, ball joints, tie rods, steering linkage, and sway-bar/KDSS hardware.
- Tire rub at full lock and under suspension compression.
Ask for photos or video of any worn part, the exact failed component, parts options, labor breakdown, and whether an alignment is required after repair. If aftermarket suspension or wheels are installed, tell the shop before diagnosis so they can check compatibility and torque specs from the correct manufacturer.
Frequently Asked Questions
Can wheel alignment cause clicking when turning?
Alignment by itself usually does not create a sharp click. However, bad alignment, loose cam bolts, worn bushings, or lifted suspension geometry can make tires rub or load joints incorrectly. If the click started after alignment or suspension work, recheck control-arm hardware, tire clearance, and steering components.
Does tire tread pattern make clicking noises?
Aggressive tread usually makes hum, whir, or slap sounds, not a sharp mechanical click. A stone stuck in the tread, a loose tire chunk, a rubbing sidewall, or a tread block hitting a mud flap or liner can click as the wheel turns.
Could brake components create a turning click?
Yes. Loose pad hardware, missing anti-rattle clips, a bent dust shield, a small rock behind the rotor, or loose caliper bracket hardware can click or scrape during turns. This is especially worth checking if the noise started after brake service or trail driving.
Is clicking worse in cold or wet conditions?
It can be. Cold rubber bushings and boots may stiffen, grease may move differently, and wet or muddy conditions can wash debris into shields, joints, and suspension points. If the sound changes with weather, inspect rubber boots, bushings, brake shields, and trapped debris.
Are aftermarket CV joints more prone to clicking?
Some aftermarket axles work well, but quality, joint angle, boot material, clamp fit, and installation matter. Cheap axles may have shorter boot life or more vibration. For lifted 4Runners or trucks used off-road, compare Toyota Genuine, reputable new aftermarket, and quality remanufactured options before choosing.
Can I drive with a clicking CV joint?
A mild click may let you drive slowly to a repair appointment, but it should not be ignored. Avoid hard acceleration, highway trips, towing, and off-road driving until inspected. If the joint binds, vibration is severe, or grease is gone, stop driving and repair it.
Why does my 4Runner click only after a lift kit?
A lift can change CV angles, sway-bar position, tire clearance, brake-line routing, and control-arm geometry. Check CV boots, full-lock tire rub, sway-bar links, skid plates, brake hoses, ABS wires, and all suspension hardware that was touched during the install.
Conclusion
When a 4Runner clicks while turning, start with the easy safety checks, then narrow the sound by load, speed, and steering angle. On 4WD models, a worn outer CV joint is a common cause of rhythmic clicking on tight turns, but loose lug nuts, brake hardware, wheel bearings, tire rub, sway-bar links, tie rods, control-arm bushings, and KDSS hardware can all mimic it. Reproduce the sound safely, inspect before buying parts, and get a written diagnosis if the noise involves steering, wheel bearings, wheel fasteners, or a clicking CV joint that already has grease loss or play.
Sources
- Toyota 2026 4Runner Warranty & Maintenance Guide — maintenance intervals, off-road daily inspection items, steering linkage and boot inspection guidance.
- GKN Automotive LÖBRO Workshop Tips — CV joint/driveshaft inspection, boot failure, cornering noise, grease, and replacement guidance.
- Wheel & Tire Council Aftermarket Wheel Installation Guidelines hosted by NHTSA — wheel fastener seat, thread engagement, star-pattern torque, and calibrated torque-device guidance.
- Wheel Hub, Studs and Lug Nuts Inspection Instruction hosted by NHTSA — loose lug nut warning signs and hub/stud inspection considerations.
- Timken Bearing Damage Analysis Reference Guide — bearing damage signs, abnormal noise, vibration, lubrication, and inspection approach.