How to Check Brake Pad Thickness on a Toyota 4Runner
What’s in This Article
- Quick Visual Brake Pad Check for Toyota 4Runner
- Before You Begin
- Inspect Pads Through the Wheel Without Removing It
- Measure Pad Thickness: Tools and When to Remove the Wheel
- Brake Pad and Rotor Wear: What to Look For
- Why Your 4Runner’s Brake Pads Wear Unevenly
- Replace Pads or Get Professional Help
- Frequently Asked Questions
A thin brake pad can turn a normal stop into a costly rotor repair. Your Toyota 4Runner gives you a few clear warning signs before that happens.
This guide shows you how to check pad thickness through the wheel, measure pads more accurately when needed, and spot wear patterns that need service.
Quick Answer
Park your 4Runner on level ground, set the parking brake, and shine a flashlight through the wheel openings. Look for about 1/4 inch, or 6 mm, of friction material as a healthy visual target. Plan service soon near 4 mm, and replace pads when they reach about 3 mm or your Toyota service limit. Get professional help right away if you hear grinding, feel pedal vibration, or see uneven inner and outer pad wear.
Key Takeaways
- Check pad thickness during tire rotations or about every 5,000 miles to 6 months.
- Use 1/4 inch, or about 6 mm, as a healthy visual target, not the final wear limit.
- Replace brake pads soon when they reach about 3 to 4 mm or the model-specific service limit.
- Compare inner and outer pads because uneven wear can point to caliper or slide pin trouble.
- Ask a technician to inspect the brakes if you hear grinding or feel vibration through the pedal.
Quick Visual Brake Pad Check for Toyota 4Runner
Start by parking your 4Runner on level ground, setting the parking brake, and turning off the engine. Shine a bright flashlight through the wheel spokes so you can see the friction material between the brake caliper and rotor.
A healthy visual target sits near 1/4 inch, or about 6 mm, of pad material. If the pad looks closer to 3 to 4 mm, schedule brake service soon instead of waiting for noise.
Compare the inner and outer pads on the same wheel when you can see them. Even thickness usually points to normal contact, while tapered or one-sided wear can point to sticky slide pins, caliper problems, or hardware issues.
According to Toyota’s maintenance guide for the 4Runner, routine service includes visual inspection of brake linings, brake pads, and discs at regular maintenance intervals. Use that visit as a reminder to write down pad thickness and any noise you notice.
Before You Begin
Estimated total time: Plan about 10 to 20 minutes for a visual check. Plan 30 to 45 minutes if you safely remove a wheel for a closer measurement.
What you’ll need:
- Bright flashlight
- Brake pad thickness gauge or vernier calipers
- Wheel chocks
- Jack and jack stands if you remove a wheel
- Lug wrench and torque wrench if you remove a wheel
- Gloves and eye protection
Follow this basic order:
- Park on level ground and set the parking brake.
- Shine a flashlight through the wheel openings.
- Compare pad thickness on both sides of the rotor when visible.
- Measure with a brake pad gauge or calipers if the view looks unclear.
- Remove the wheel only when you can support the vehicle safely.
- Schedule service if pads look thin, uneven, glazed, cracked, or noisy.
Warning: Never work under a vehicle supported only by a jack because the vehicle can shift or fall.
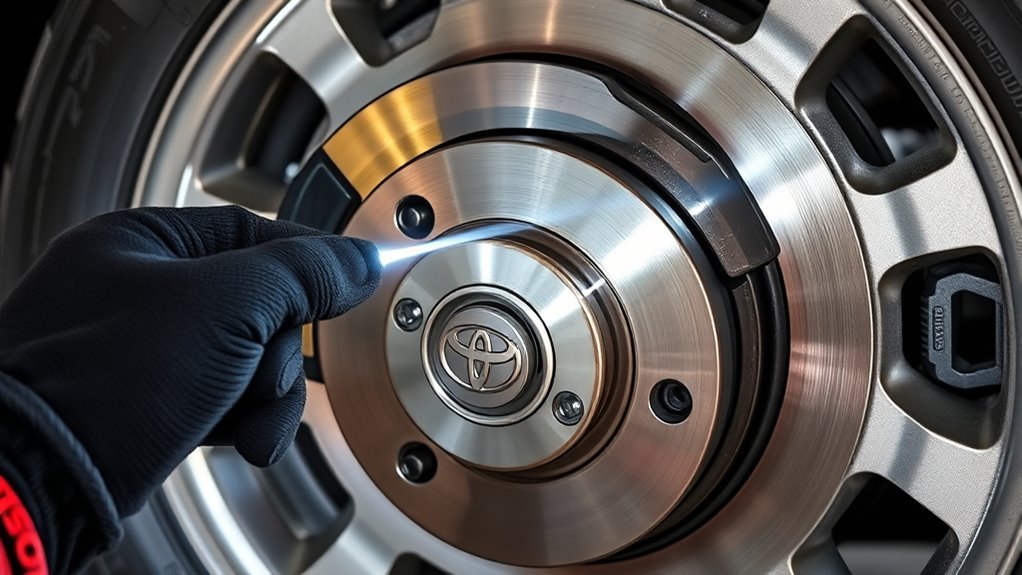
Inspect Pads Through the Wheel Without Removing It
With the vehicle parked on level ground and the parking brake set, shine a flashlight through the wheel openings. Look for the brake pad pressed near the rotor, then judge the visible pad thickness against the metal backing plate.
If the pad has a wear slot, make sure the slot still shows. A fading or missing slot often means the pad needs closer inspection.
Position the beam from several angles to cut glare. Compare the left and right wheels, and compare inner and outer pad thickness when the wheel design lets you see both sides.
Heavy brake dust on one wheel can support your findings, but dust alone does not prove the pad has worn out. Pair dust with a visual thickness check, noise history, and a closer measurement when needed.
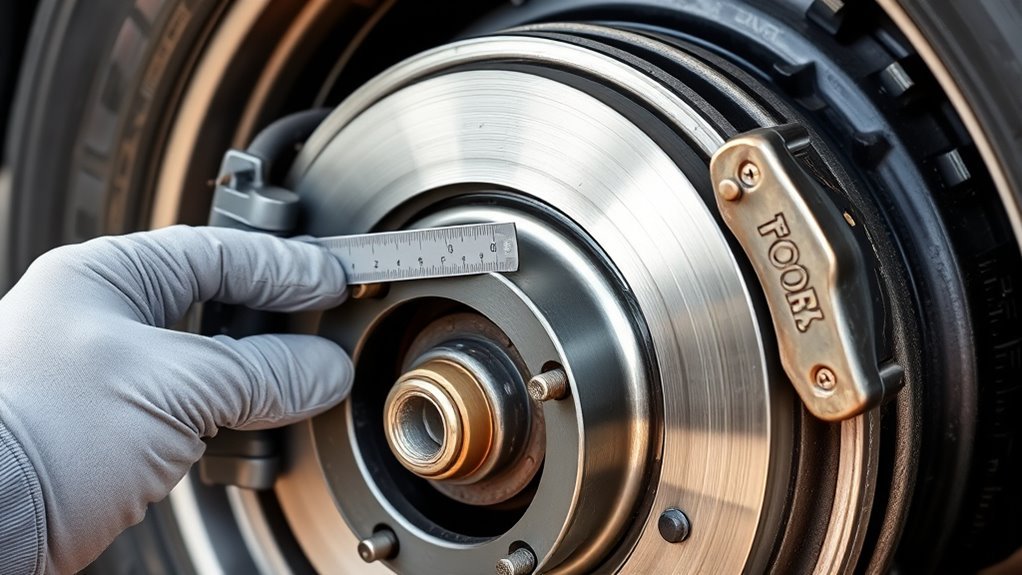
Measure Pad Thickness: Tools and When to Remove the Wheel
Use a brake pad gauge for the easiest home measurement. You can also use vernier calipers if you can reach the pad squarely without touching the rotor at an angle.
Measure only the friction material thickness, not the metal backing plate. If the calipers sit crooked or the wheel blocks your view, remove the wheel so you can measure from a clear angle.
Use about 6 mm as a healthy check point. Plan service soon at about 4 mm, and replace pads near 3 mm unless your owner’s manual or service information gives a different limit.
Write down each reading by wheel location, such as left front inner or right rear outer. This record helps you spot fast wear before it turns into rotor damage.
Note: Rotor minimum thickness varies by model year, trim, axle, and rotor part number, so use the stamped rotor marking or Toyota service data.
Brake Pad and Rotor Wear: What to Look For
When you inspect brake parts, start with pad thickness and rotor condition. Pads should wear evenly across the face, and the rotor should look smooth enough for even contact.
Watch for deep grooves, blue or purple heat marks, cracks, glazing, and rough ridges near the rotor edge. These signs can reduce braking feel and may call for rotor service.
Check for uneven wear between the inner and outer pads. CarParts.com’s technical guidance notes that seized slide pins, sticky caliper pistons, and wheel alignment issues can cause uneven pad wear.
If braking creates vibration, ask a technician to check rotor thickness and disc runout with proper tools. A simple visual check cannot confirm runout.
Why Your 4Runner’s Brake Pads Wear Unevenly
If your 4Runner’s pads wear unevenly, the braking system may not apply pressure evenly across the pad surface. Start with the simple causes first, then move to parts that need professional diagnosis.
| Cause | Effect |
|---|---|
| Hard braking | Extra heat, glazing, and faster pad wear |
| Stuck caliper slides | One pad drags and wears faster |
| Warped or damaged rotors | Uneven contact and pedal vibration |
| Old or contaminated brake fluid | Soft pedal feel and hydraulic concerns |
Inspect slide pins, pad hardware, rotor faces, and pad matching when wear looks uneven. If your pedal feels soft, spongy, or delayed, stop guessing and get the hydraulic system checked.
Replace Pads or Get Professional Help
Replace pads when they reach about 3 mm, hit the model-specific service limit, or make metal-on-metal grinding noise. Replace pads on both sides of the same axle so braking stays balanced.
Get professional help if you see uneven wear between left and right sides, deep rotor scoring, a soft brake pedal, or shaking during stops. These symptoms can point beyond normal pad wear.
Toyota’s maintenance guide also calls for brake fluid level and condition checks during service. Keep those checks tied to pad inspection so you can catch related problems early.
When to Replace
Plan replacement when brake pad thickness reaches about 3 to 4 mm. If your Toyota service information gives a stricter limit for your model year, follow that limit.
Replace pads sooner if you hear grinding, see cracks, find missing friction material, or notice severe taper from one end of the pad to the other. These signs can damage the rotor and reduce braking control.
Do not replace only one pad on an axle. Replace the axle pair and inspect the rotor, hardware, and caliper movement at the same time.
When to Seek Professionals
When you feel a soft or vibrating brake pedal, hear unusual noise, or notice delayed stopping, ask a professional to diagnose the system. These symptoms can point to rotor, caliper, brake hose, or hydraulic faults.
A technician can inspect pad thickness, rotor condition, slide pin movement, calipers, and brake fluid condition. That full check helps you avoid replacing pads while leaving the true cause untouched.
| Symptom | Professional action |
|---|---|
| Soft pedal | Check brake fluid, hoses, and hydraulics |
| Vibrations | Inspect rotor thickness, runout, and calipers |
| Uneven wear | Check slide pins, hardware, and caliper movement |
Frequently Asked Questions
How do you check if a brake pad is thick enough?
Shine a flashlight through the wheel and compare the pad material to the metal backing plate. Use a brake pad gauge or calipers if the view looks unclear.
What is the minimum thickness of rotors on a Toyota 4Runner?
A Toyota 4Runner does not have one universal rotor minimum thickness for every year and trim. Check the number stamped on the rotor, your owner’s manual, or Toyota service data for your exact model.
Should you replace Toyota 4Runner brake pads at 4 mm?
At 4 mm, you should plan brake service soon and inspect the pads more often. Replace them right away if you also hear noise, see uneven wear, or plan heavy towing or mountain driving.
Can you check 4Runner brake pads without removing the wheel?
Yes, you can do a quick visual check through many wheel designs with a flashlight. Remove the wheel if you cannot see both pads clearly or need a precise measurement.
Why does one brake pad wear faster than the other?
One pad can wear faster when slide pins stick, hardware binds, a caliper piston drags, or the pad sits misaligned. Uneven wear needs a closer inspection because new pads alone may not fix the cause.
Safety Disclaimer: This article is for informational purposes only and does not replace professional vehicle inspection or repair advice. Consult a qualified technician before driving if your brakes grind, vibrate, pull, leak fluid, or feel unsafe.
Conclusion
Your brake pad thickness tells you whether your 4Runner can keep stopping with confidence. Check the pads with a flashlight first, then measure them when the view looks unclear.
If pads sit near 3 to 4 mm, show uneven wear, or make grinding noise, schedule service before the rotors take damage. Keep a simple record at each tire rotation so you can catch wear early.
A few minutes of brake inspection can help you avoid bigger repairs and keep every drive safer.
References
- 2024 4Runner Warranty & Maintenance Guide – Toyota, 2024
- How to Check the Thickness of Your Brake Pads – Haynes Manuals, 2019
- Brake Pad Maintenance Guide – AISIN, 2019
- How to Detect Uneven Brake Pad Wear – CarParts.com, 2026