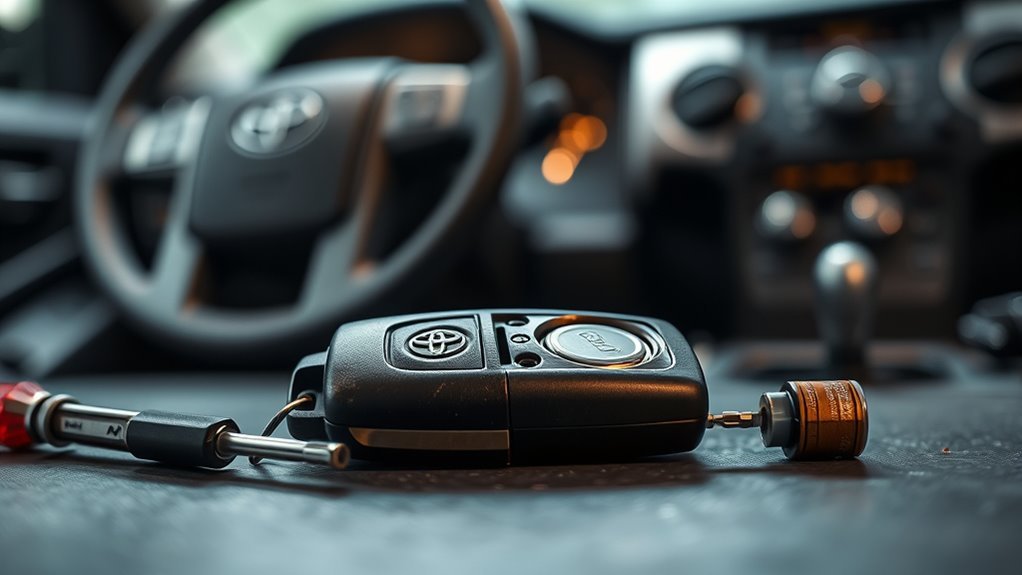
A Toyota Tundra check engine light is not a signal to start buying parts. It is a signal to gather data first. Read the OBD-II codes, save the freeze-frame information, check simple causes such as a loose gas cap or weak battery, then use live data and visual inspections to decide whether the problem is a sensor, wiring, intake leak, exhaust leak, or emissions component.
Quick Answer
To diagnose a Toyota Tundra check engine light, scan for stored, pending, and permanent OBD-II codes, record freeze-frame data, inspect the gas cap, battery, wiring, vacuum lines, intake, and exhaust, then compare live fuel-trim and oxygen/air-fuel sensor data before replacing parts.
Key Takeaways
- Scan first, repair second. The code points to a system, not always to the exact failed part.
- A loose gas cap, weak battery, vacuum leak, dirty MAF sensor, or damaged wiring can trigger the check engine light.
- Do not clear codes before saving freeze-frame data or before an emissions test; clearing codes resets readiness monitors.
- For P0153, P0420, or P0430, test sensors, fuel trims, wiring, and exhaust leaks before replacing oxygen sensors or the catalytic converter.
- Before paying for a catalytic converter, check whether your Tundra is still covered by emissions warranty.
At a Glance
| Time Required | 15 minutes for a basic scan; 1–3 hours for deeper testing |
| Difficulty | Beginner for code reading; intermediate for live-data and wiring checks |
| Tools Needed | OBD-II scanner, flashlight, multimeter, basic hand tools, gloves, eye protection |
| Cost | Free to low cost for basic checks; parts and professional diagnosis vary by code, model year, and labor rate |
Warning: If the check engine light is flashing, the engine is misfiring badly, the truck smells like raw fuel, power drops suddenly, or the exhaust area is overheating, reduce load and stop driving as soon as it is safe. A severe misfire can damage the catalytic converter. Let hot exhaust parts cool before inspecting underneath, and use proper jack stands if you raise the truck.
Read Codes and Understand the Check Engine Light
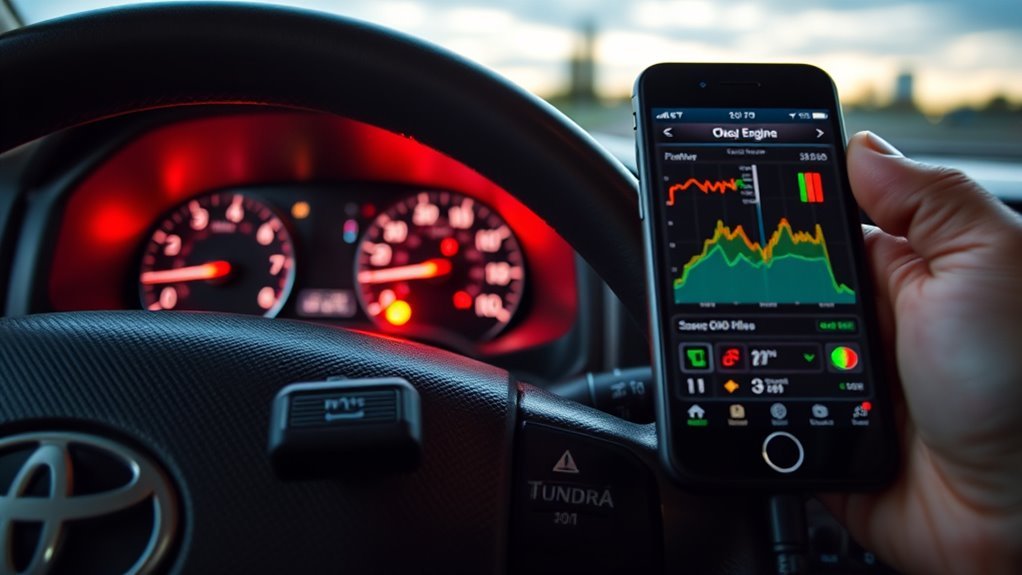
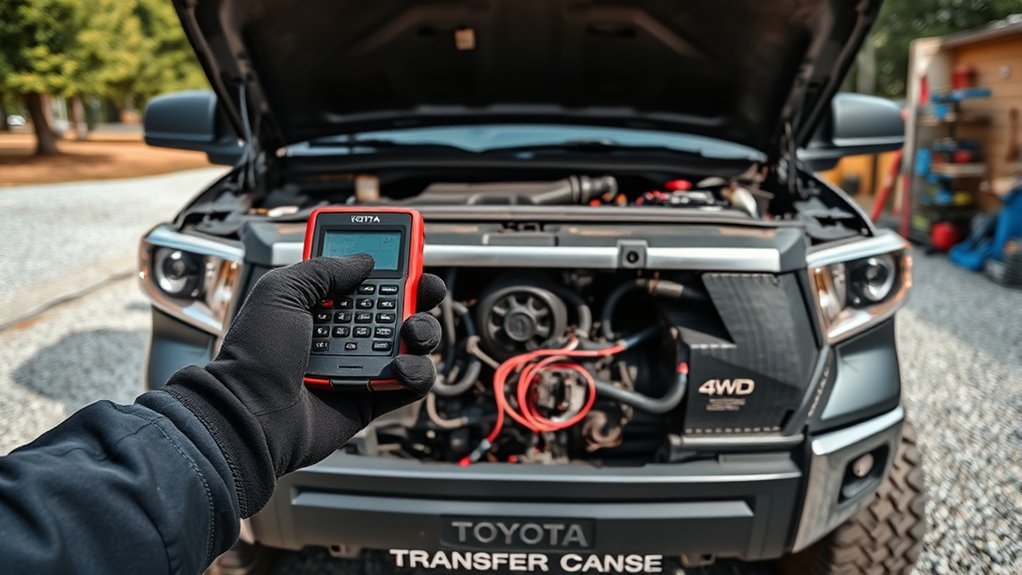
Start with an OBD-II scanner. Plug it into the diagnostic port under the dash, turn the ignition on, and read every stored, pending, and permanent diagnostic trouble code. Save or photograph the codes before clearing anything.
Also save the freeze-frame data. Freeze frame shows what was happening when the code set, such as engine load, coolant temperature, vehicle speed, fuel trims, and RPM. That data often tells you whether the fault happened during a cold start, highway cruise, idle, towing, or acceleration.
For official emissions context, Toyota notes that the OBD system monitors the emission-control system and that a malfunction indicator lamp may affect inspection readiness. The EPA also explains that vehicle inspection and maintenance programs use emissions checks to identify vehicles that need repairs. See Toyota’s owner resources and the EPA’s I/M program information for background: Toyota Manuals and Warranties and EPA Vehicle Inspection and Maintenance Information.
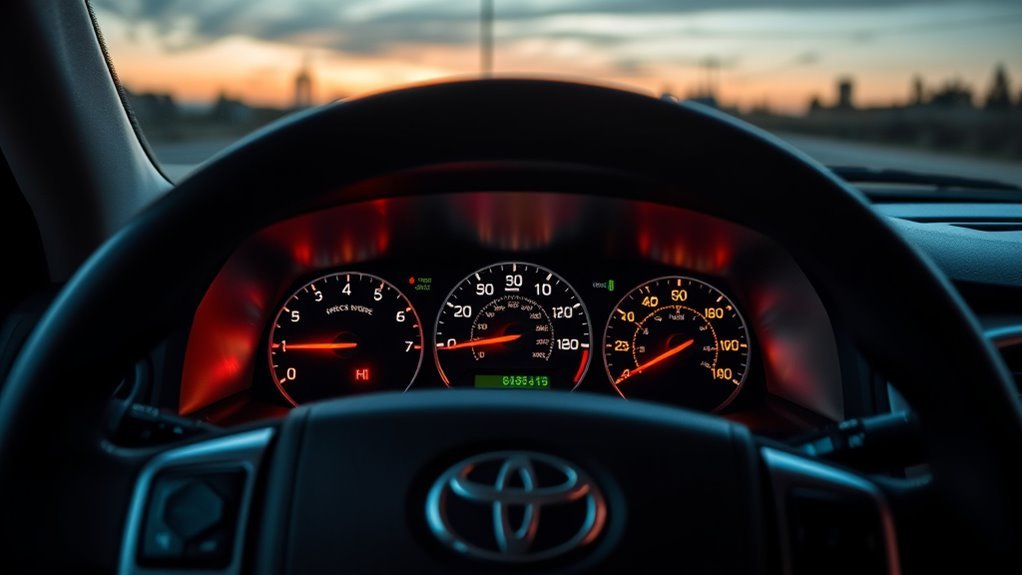
Solid vs. Flashing Check Engine Light
A solid check engine light usually means the truck has detected a fault and stored a code. The Tundra may still drive normally, but you should scan it soon and avoid heavy towing or hard acceleration until you know the cause.
A flashing check engine light is more urgent. It often points to an active misfire that can overheat or damage the catalytic converter. Do not keep driving normally with a flashing light.
Record the Code Type Before Clearing
- Stored codes are confirmed faults that the computer has saved.
- Pending codes are faults the truck has seen but may not have confirmed yet.
- Permanent codes are emissions-related codes that may not clear with a scan tool or battery disconnect until the OBD system verifies the repair.
Note: Clearing codes too early can erase helpful evidence and reset readiness monitors. Clear codes only after you have recorded them and made the repair or when a diagnostic procedure specifically calls for it.
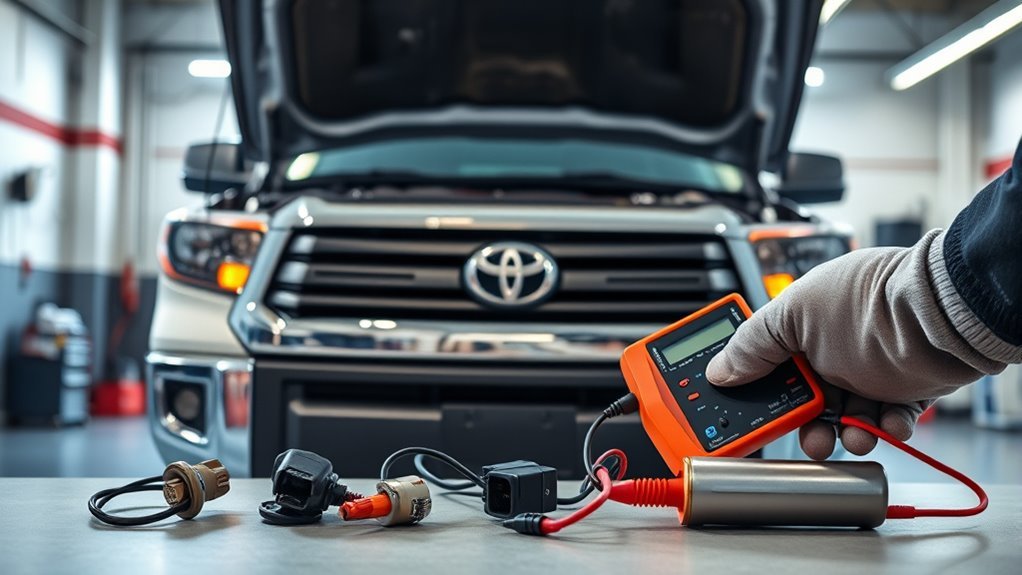
Quick Visual And Maintenance Checks Before Buying Parts
Before replacing sensors, perform a careful visual inspection. Many Tundra check engine lights come from basic issues that take minutes to find.
Gas Cap And EVAP Check
Check the fuel cap first. Make sure it is the correct cap, the seal is not cracked, and it clicks securely when tightened. A loose or damaged cap can trigger evaporative-emissions codes such as small or large leak codes. If the cap was loose, tighten it, drive normally, and recheck the code status with a scanner instead of clearing it immediately.
Visual Leak And Wiring Check
Trace vacuum hoses and intake tubing for cracks, loose clamps, disconnected lines, or split rubber boots. Unmetered air can skew fuel trims and make the computer think an oxygen or air-fuel sensor is slow or inaccurate.
Inspect wiring around oxygen sensors, air-fuel ratio sensors, the MAF sensor, and the catalytic converter area. Look for melted insulation, rubbed harnesses, green corrosion, loose pins, missing connector locks, or oil-soaked plugs. Heat and road debris can damage wiring under a truck.
Also look for exhaust leaks before the catalytic converter. A leak upstream of a sensor can pull in outside air and create false lean readings or catalyst-efficiency codes.
Fluid Levels And Service Caps
Check oil level, coolant level, transmission fluid according to the correct Toyota procedure for your model year, and brake fluid. Low or contaminated fluids may not always cause a check engine light directly, but they can point to maintenance problems that affect drivability.
Inspect the air filter and air box. A loose air box lid, torn intake boot, or poorly seated filter can affect MAF readings.
Battery And Ground Connections
A weak battery or poor ground can cause confusing electrical symptoms. Check battery voltage, terminal tightness, corrosion, and engine/chassis ground connections. Clean and tighten connections before replacing sensors. If the battery recently died or was disconnected, expect readiness monitors to be incomplete until the truck completes the required self-tests.
Common Causes By Symptom: O2, Cat, MAF, Vacuum, Gas Cap
The code family matters. A P0455 EVAP leak code does not follow the same diagnostic path as a P0153 oxygen-sensor slow-response code or a P0420/P0430 catalyst-efficiency code. Use the code to choose the next test.
Gas Cap And EVAP Symptoms
EVAP-related codes often appear with no drivability symptoms. The truck may run perfectly, but the OBD system sees a fuel-vapor leak. Start with the gas cap, filler neck, visible EVAP hoses, and any recent fuel-system work. Do not top off the tank after the pump clicks off, because overfilling can stress EVAP components.
MAF And Intake Symptoms
A dirty or skewed MAF sensor can cause rough idle, hesitation, poor fuel economy, lean codes, or rich codes. Use the correct MAF-safe cleaner only; do not touch the sensing wire. On a scan tool, look at MAF airflow, short-term fuel trim, and long-term fuel trim. If fuel trims improve when a vacuum leak is fixed or the intake is sealed, the sensor may not be the root cause.
O2 And Air-Fuel Sensor Symptoms
Many Tundras use upstream air-fuel ratio sensors rather than simple narrowband oxygen sensors, especially on newer model years. That means the live-data values may not look like old-style 0.1–0.9 volt O2 switching. Use the data labels and service information for your exact year and engine.
A code such as P0153 points toward a slow response on Bank 2 Sensor 1, but it does not prove the sensor is bad by itself. Wiring faults, exhaust leaks, intake leaks, contamination, and MAF errors can all affect the reading. The current SAE diagnostic-trouble-code standard defines the standardized DTC system used for OBD reporting: SAE J2012 Diagnostic Trouble Code Definitions.
Catalytic Converter Signs
Catalyst-efficiency codes such as P0420 or P0430 can point to a weak catalytic converter, but they should not trigger automatic replacement. First check for misfires, fuel-trim problems, oil consumption, coolant burning, exhaust leaks, and sensor issues. Those problems can damage a new converter if they are not fixed first.
Before replacing a catalytic converter, check warranty coverage. Federal emissions rules provide longer coverage for specified major emissions components such as catalytic converters on many light-duty vehicles.
Federal emissions warranty rules are listed in 40 CFR § 85.2103. Coverage depends on vehicle classification, age, mileage, maintenance, failure type, and region, so verify by VIN with Toyota or a dealer before approving an expensive repair.
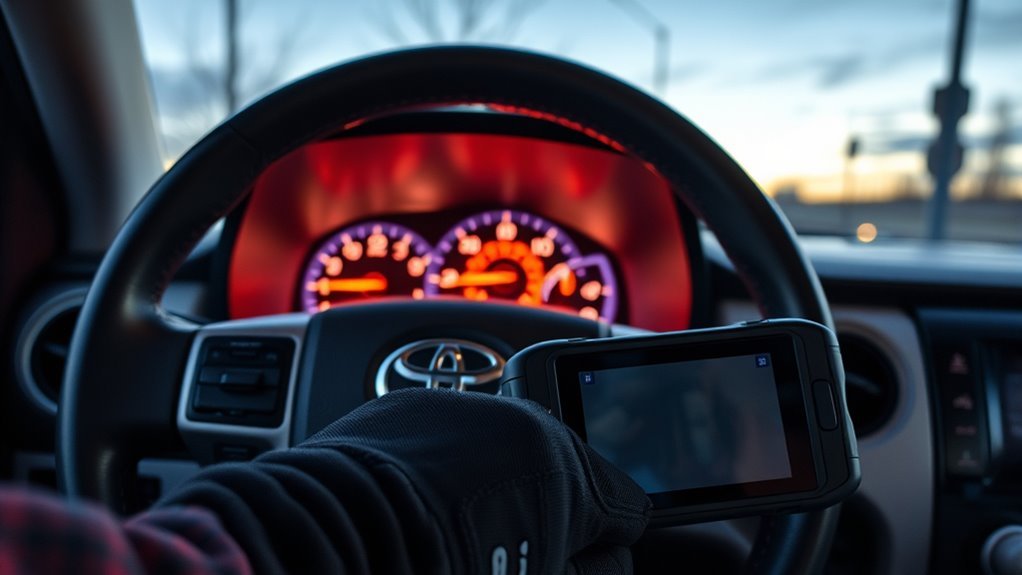
DIY Diagnostic Tests: Live OBD-II, Wiring Checks, And Bank Comparison
Once the simple checks are done, use live OBD-II data to narrow the fault. You do not need a dealer-level scan tool for every first step, but a scanner that shows live data is much more useful than a basic code reader.
| Test | Purpose | What To Do Next |
|---|---|---|
| Freeze-frame review | Shows when the fault happened | Match the test drive to the same conditions |
| Fuel-trim check | Finds lean or rich trends | Check intake leaks, MAF data, fuel delivery, and exhaust leaks |
| Bank-to-bank sensor comparison | Compares Bank 1 and Bank 2 behavior | Investigate the bank that reacts slowly or reads differently |
| Wiring wiggle test | Finds intermittent harness faults | Repair terminals, insulation, grounds, or connector locks |
| Exhaust leak check | Prevents false sensor and catalyst codes | Fix leaks before replacing sensors or converters |
| Readiness monitor check | Confirms emissions self-tests are complete | Drive the proper cycle and recheck monitor status |
Pro Tip: Compare both banks before replacing a sensor. If Bank 2 acts differently but wiring and exhaust are clean, the Bank 2 sensor becomes more suspect. If both banks show similar lean trims, look for a shared issue such as intake air, MAF data, fuel pressure, or a vacuum leak.
Swapping upstream sensors from bank to bank can be useful on some vehicles, but do it only if the sensors are the same part number, the connectors match, and you can safely access them without damaging threads or wiring. On many trucks, comparing live data is safer and faster than physically swapping sensors.
Repair Vs Replace: Sensors, Wiring, Or Exhaust – Cost/Time Guide
Repair decisions should follow the evidence. A code points to a circuit or system; it does not automatically approve a part replacement.
- Repair wiring first when you find damaged insulation, corroded terminals, loose pins, broken grounds, or melted harness sections.
- Clean or reseat intake parts when MAF readings and fuel trims suggest unmetered air or a dirty sensor.
- Replace an O2 or air-fuel ratio sensor when live data, wiring checks, exhaust-leak checks, and bank comparison support sensor failure.
- Replace a catalytic converter only after misfires, fuel-control issues, oil/coolant contamination, exhaust leaks, and sensor faults are ruled out.
- Use OEM or high-quality equivalent parts for emissions sensors and catalytic converters, especially in states with strict emissions rules.
If a shop recommends a catalytic converter, ask for the scan data, codes, fuel-trim readings, and the reason the converter failed. A converter often fails because another problem overheated or contaminated it.
Clear Codes, Readiness Monitors, And Prepping For Smog
For emissions inspection, the goal is simple: no active check engine light, no unresolved emissions faults, and the required readiness monitors set. The process is not always as simple as driving 10–30 miles.
The California Bureau of Automotive Repair explains that readiness monitors are OBD self-tests that verify emission-control operation, and that monitors must rerun after repairs, battery disconnects, or emissions-component replacement. BAR’s OBD test reference also notes that monitor completion depends on specific operating conditions such as speed, temperature, pressure, and engine load: BAR On-Board Diagnostic Test Reference.
BAR also announced readiness-monitor regulation changes effective October 1, 2025, with phased, data-driven implementation. In plain English: do not assume one old rule applies everywhere forever. Check your state’s current inspection rules before testing. BAR’s update is here: New OBD readiness monitor regulations explained.
Best Practice Before An Emissions Test
- Scan for stored, pending, and permanent codes.
- Repair the root cause instead of clearing the light repeatedly.
- Clear codes only after the repair, if needed.
- Drive through a mix of cold start, idle, steady cruise, deceleration, and normal city driving.
- Recheck readiness monitors with your scanner before going to the test station.
- If a permanent DTC remains, keep driving only after confirming the repair is complete and no active fault has returned.
Note: A battery disconnect or code clear can make a truck fail inspection because the monitors become “not ready.” It may also erase the evidence you need to diagnose the original fault.
Frequently Asked Questions
Why is my check engine light on in my Toyota Tundra?
Common causes include a loose gas cap, EVAP leak, vacuum leak, dirty or skewed MAF sensor, oxygen or air-fuel sensor issue, wiring fault, misfire, or catalytic-converter efficiency problem. Scan the truck first so you know which system set the code.
Why is my check engine light on even though nothing feels wrong?
Many emissions faults do not create obvious drivability symptoms at first. EVAP leaks, slow sensor response, catalyst-efficiency codes, and pending faults can turn the light on while the truck still drives normally. Do not ignore it; read the code and freeze-frame data.
What is the most common simple cause of a check engine light?
A loose or damaged gas cap is one of the simplest causes, especially when the code is EVAP-related. Other easy checks include battery terminals, air intake clamps, vacuum hoses, and disconnected sensor plugs.
Should I clear the code before a smog or emissions test?
No. Clearing codes resets readiness monitors and can make the truck fail or be rejected until the monitors run again. Fix the problem, then use a scanner to confirm that the required monitors are ready before the test.
Does a P0420 or P0430 code always mean the catalytic converter is bad?
No. These codes mean catalyst efficiency is below the expected threshold, but misfires, exhaust leaks, fuel-trim problems, oil burning, coolant burning, or sensor faults can cause or mimic converter failure. Diagnose those first and check emissions warranty before replacement.
Conclusion
A Tundra check engine light is easiest to fix when you slow down and follow the data. Scan the truck, save the freeze-frame information, inspect the simple items, compare live data, and repair the cause instead of guessing at parts. Clear codes only after the repair, confirm readiness monitors, and check warranty coverage before approving expensive emissions repairs.
Sources
- Toyota Manuals and Warranties — owner manual and warranty resources for Toyota vehicles.
- U.S. EPA Vehicle Emissions Inspection and Maintenance Information — emissions inspection and OBD/I-M program background.
- California Bureau of Automotive Repair OBD Test Reference — readiness monitor, MIL, communication, and permanent DTC inspection standards.
- BAR: New OBD readiness monitor regulations explained — 2025 readiness-monitor update and phased implementation details.
- 40 CFR § 85.2103 Emission warranty — federal emissions warranty periods for covered components.
- SAE J2012 Diagnostic Trouble Code Definitions — standardized DTC framework used by OBD systems.