Replacing Toyota Camry ignition coils is usually a manageable DIY job on many 4-cylinder Camry models, but the right process starts before you remove a single bolt. A rough idle, misfire code, or flashing check engine light can point to a bad coil, yet spark plugs, wiring, connectors, oil leaks, fuel problems, or compression issues can cause similar symptoms. Use this guide to diagnose the problem, order the right coil, replace it safely, and confirm the repair.
Quick Answer
To replace a Toyota Camry ignition coil, confirm the misfire first, disconnect the negative battery cable, remove the engine cover if needed, unplug the coil connector, remove the coil hold-down bolt, pull the coil straight out with a slight twist, clean the plug well area, install the VIN-matched coil, reconnect the connector, and test-drive the car.
Key Takeaways
- Do not replace coils by guesswork. Scan for codes such as P0301–P0306 or P0351–P0356 and inspect the related spark plug, connector, and wiring first.
- Many 4-cylinder Camrys have easy coil-on-plug access, while some V6 models require extra access steps for the rear bank.
- Use your Camry’s VIN, model year, and engine to order the correct coil; coil shape and connector style vary by generation.
- A flashing check engine light can mean an active misfire. Reduce engine load and avoid continued driving until the issue is diagnosed.
At a Glance
| Time Required | 20–45 minutes for an accessible 4-cylinder coil; longer on V6 models with rear-bank access work |
| Difficulty | Easy to moderate, depending on engine layout |
| Tools Needed | OBD-II scanner, 10 mm socket, ratchet, extension, small pick or flat screwdriver, vacuum or compressed air, torque wrench, gloves, safety glasses |
| Cost | DIY cost depends on coil brand and quantity; shop replacement averages about $325–$453 for a Toyota Camry according to RepairPal |
Before You Replace Anything: Confirm the Coil Is the Problem
A failing ignition coil can cause rough idle, hesitation, poor acceleration, stalling, lower fuel economy, a hard start, or a check engine light. However, those same symptoms can also come from worn spark plugs, a damaged coil connector, oil in the spark plug tube, a fuel injector issue, or a mechanical problem.
Start with a scan tool. Common misfire codes include P0300 for random misfire and P0301–P0306 for a misfire on a specific cylinder. Coil circuit codes such as P0351–P0356 can point toward the coil circuit, connector, wiring, or ignition driver, not always the coil itself.
Warning: If the check engine light is flashing, avoid hard acceleration and long-distance driving. A severe misfire can send unburned fuel into the exhaust and overheat the catalytic converter. Reduce engine load and diagnose the problem as soon as possible.
For a single-cylinder misfire on an accessible coil-on-plug engine, a simple swap test can help. Move the suspected coil to another cylinder, clear the code, and see whether the misfire follows the coil. If the misfire stays on the same cylinder, inspect the spark plug, connector, wiring, fuel injector, and compression before buying more parts.
Top Reasons to Replace Your Toyota Camry’s Ignition Coils

An ignition coil turns battery voltage into the high voltage needed to fire the spark plug. When a coil is weak, cracked, oil-soaked, or electrically faulty, the cylinder may not burn the air-fuel mixture correctly. Replacing a confirmed bad coil can restore smoother idle, better acceleration, easier starting, and more consistent combustion.
The key word is confirmed. New coils will not fix a worn spark plug, loose connector, leaking valve cover gasket, clogged injector, or low-compression cylinder. That is why diagnosis comes first.
A coil replacement is most effective when it fixes a verified coil fault, not when it is used as a guess for every misfire.
Signs Your Ignition Coils May Be Failing
Watch for these common symptoms, especially if they appear with a cylinder-specific misfire code:
- Engine misfire: The engine may shake, stumble, or idle roughly.
- Hesitation under load: The car may jerk or lose power while accelerating or climbing a hill.
- Check engine light: A stored code can identify the affected cylinder or ignition circuit.
- Hard starting or no-start: A badly failed coil can prevent a cylinder from firing.
- Reduced fuel economy: Incomplete combustion can waste fuel and increase exhaust emissions.
- Fuel smell or popping: Unburned fuel may enter the exhaust when a cylinder misfires.
Note: A bad coil and a bad spark plug can feel almost identical from the driver’s seat. If the spark plugs are overdue, oil-fouled, cracked, or incorrectly gapped, address that before blaming the coil.
Ordering the Right Ignition Coils: What You Need to Know
Toyota Camry ignition coil fitment depends on model year, engine, emissions package, and sometimes production date. Do not order by “Camry” alone. Use your VIN or exact year, trim, and engine size when checking fitment through Toyota’s official parts site, a dealer parts counter, or a reputable aftermarket catalog.
Selecting Compatible Parts
- Match by VIN whenever possible. This reduces the risk of getting the wrong connector, bolt tab, or boot length.
- Choose OEM or high-quality aftermarket coils. Cheap coils can cause repeat misfires, poor fit, or early failure.
- Check whether you need one coil or a set. If one coil fails and the others test well, replacing only the failed coil is reasonable. If the car has very high mileage and several coils are original, replacing the full set may save repeat labor.
- Inspect the connector before ordering. Brittle or broken locking tabs can mimic a bad coil. If the connector is damaged, the repair may require a pigtail or wiring repair instead of another coil.
Reviewing Shipping Policies
Before ordering, confirm delivery time, return rules, and whether electrical parts can be returned after installation. Some sellers will not accept returns on installed ignition components, even if the coil did not fix the misfire. Keep the box and receipt until the repair is confirmed.
Understanding Return Options
Use a seller that clearly lists warranty coverage and fitment rules. If a part does not match your Camry’s connector or mounting point, stop before forcing it into place. Forcing the wrong coil can damage the connector, boot, or valve cover area.
Key Safety Tips for Ignition Coil Replacement

Ignition coils are simple parts, but they are part of a high-voltage ignition system. Work carefully and do not rush the job.
| Safety Tip | What to Do | Why It Matters |
|---|---|---|
| Cool the Engine | Let the engine cool before touching coils, covers, or plugs. | Prevents burns and protects plastic connectors. |
| Disconnect Battery | Disconnect the negative battery cable before unplugging coils. | Reduces electrical risk and accidental starts. |
| Wear Protection | Use gloves and safety glasses. | Protects against debris, sharp edges, and brittle plastic. |
| Keep Dirt Out | Clean around the coil and spark plug tube before removal. | Prevents grit from falling into the plug well. |
| Use Correct Torque | Follow the repair manual for your exact year and engine. | Prevents stripped threads and cracked plastic tabs. |
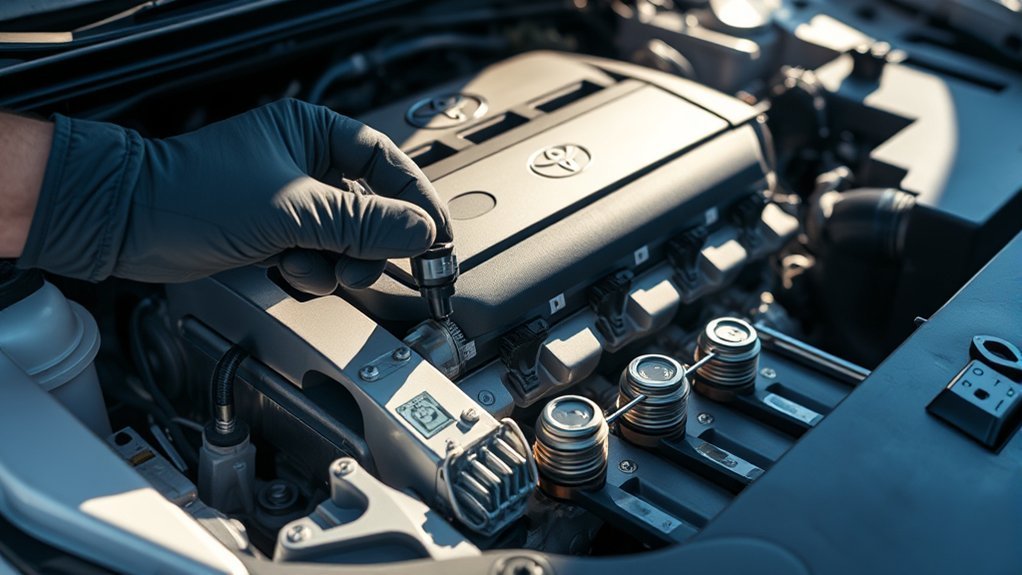
Step-by-Step Guide to Locating Ignition Coils
On many modern Camrys, each ignition coil sits directly above a spark plug. The easiest way to find them is to look for small electrical connectors lined up along the valve cover.
- Park on a level surface, set the parking brake, and switch the ignition off.
- Open the hood and let the engine cool.
- Remove the plastic engine cover if it blocks access. Some covers use 10 mm fasteners; others lift off rubber grommets.
- Look for the coil connectors and coil hold-down bolts on top of the engine.
- On V6 models, identify whether the rear bank is accessible. Some V6 procedures involve extra components and are better handled with a repair manual or professional help.
Note: Toyota’s official Owners manuals and warranty pages can help with basic vehicle information, while model-specific repair procedures and torque specifications are available through Toyota Technical Information System.
Essential Tools for Ignition Coil Replacement
Gather the tools before you start so the engine bay stays clean and organized.
- OBD-II scanner for reading and clearing codes
- 10 mm socket and ratchet
- Socket extension for recessed bolts
- Small pick or flathead screwdriver for connector tabs
- Torque wrench that reads low inch-pound or Newton-meter values
- Vacuum with a small tube attachment or low-pressure compressed air
- Clean shop towels
- Safety glasses and gloves
- Dielectric grease only if the coil or spark plug boot instructions allow it
Pro Tip: Take a quick photo before unplugging anything. It gives you a reference for connector routing, coil order, and any clips or hoses you move out of the way.
Best Practices for Removing Ignition Coils
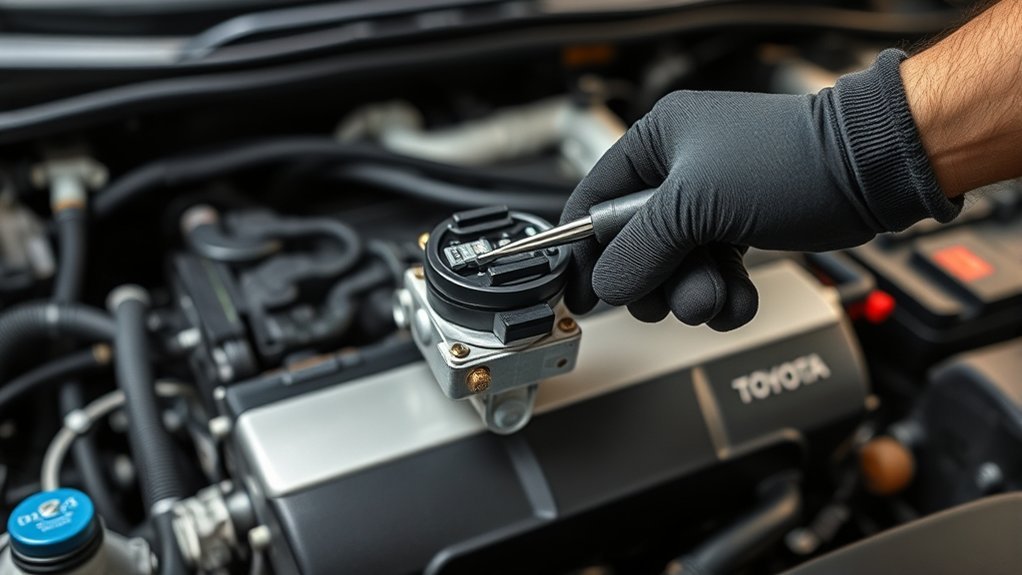
Once the battery is disconnected and the coil is accessible, remove the coil gently. Most broken parts during this job are brittle connector tabs, not the coil itself.
- Release the connector: Press the locking tab and pull the connector straight back. If the tab is stiff, use a small pick carefully; do not yank the wires.
- Remove the hold-down bolt: Use the correct socket, usually 10 mm on many Camry engines. Keep the bolt where it cannot fall into the engine bay.
- Break the boot seal: Twist the coil slightly left and right to loosen the rubber boot.
- Lift the coil out: Pull straight up. Avoid prying against plastic parts.
- Inspect the old coil: Look for cracks, carbon tracking, oil contamination, swelling, corrosion, or a torn boot.
If a coil has been dropped, cracked, or struck hard, replace it rather than reinstalling it. Damage may not be visible but can still cause a misfire later.
How to Clean Around Spark Plugs Effectively
Cleaning matters because debris can fall into the spark plug well while the coil is out. If you are only replacing a coil and not removing the spark plug, still clean the area so dirt does not sit around the boot.
Tools Needed for Cleaning
- Vacuum with a small tube attachment
- Soft detailing brush
- Shop towel
- Low-pressure compressed air, used carefully
Cleaning Techniques Explained
| Step | Action |
|---|---|
| 1. Prepare Workspace | Clear loose tools and wipe the valve cover area. |
| 2. Vacuum Debris | Use a small tube to remove dust around the plug well. |
| 3. Brush Light Dirt | Loosen stubborn dust with a soft brush, then vacuum again. |
| 4. Check for Oil | If oil is inside the plug tube, diagnose the valve cover tube seal before installing a new coil. |
Safety Precautions to Follow
Do not blast high-pressure air directly into an open spark plug hole. If you remove a spark plug, keep the area clean and cover exposed openings when needed. Dirt inside the cylinder can damage the engine.
How to Reinstall Ignition Coils Effectively
Reinstallation is simple, but alignment and torque matter.
- Compare the new coil with the old coil. The connector, boot length, mounting tab, and shape should match.
- Slide the coil boot straight down into the spark plug well.
- Press gently until the boot seats on the spark plug.
- Install the hold-down bolt by hand first to avoid cross-threading.
- Tighten the bolt to the specification for your exact model year and engine. Do not guess or overtighten.
- Reconnect the electrical connector until it clicks.
- Repeat for any other coils being replaced.
- Reinstall the engine cover and reconnect the negative battery cable.
Warning: Do not force a coil that does not seat correctly. The spark plug may be loose, the boot may be misaligned, the part may be wrong, or debris may be blocking the plug well.
Post-Replacement Checks for Your Ignition Coils
After the new coil is installed, confirm the repair before calling the job done.
- Start the engine: It should idle smoothly without shaking or sputtering.
- Watch the dashboard: The check engine light should not flash. A stored light may need to be cleared after the repair.
- Scan for codes: Clear old codes, then recheck after a test drive.
- Listen and smell: Shut the engine off if you hear arcing, smell raw fuel, or notice severe shaking.
- Test drive gently: Confirm smooth acceleration under light and moderate load.
- Reinspect the connector: Make sure the plug is locked and the harness is not stretched or touching hot parts.
What If the Camry Still Misfires After Replacing the Coil?
If the misfire returns, do not keep replacing coils. Use the code and cylinder location to continue diagnosis.
- Misfire stayed on the same cylinder: Inspect the spark plug, injector, compression, plug well oil, and wiring.
- Misfire moved with the coil: The coil is likely faulty or incompatible.
- P035x code returned: Check the connector, power, ground, signal wire, and harness condition.
- Multiple cylinders misfire: Look beyond one coil. Possible causes include vacuum leaks, fuel delivery, sensor issues, or engine mechanical problems.
- Engine runs worse: Confirm every connector is seated in the correct location and no hose or harness was left disconnected.
Pro Tip: If your Camry has high mileage and the spark plugs are due, replacing coils without inspecting the plugs can shorten the life of the new coils. A worn plug gap makes the coil work harder.
Frequently Asked Questions
How much does it cost to replace ignition coils on a Toyota Camry?
Shop pricing varies by year, location, and how many coils are replaced. RepairPal lists the average Toyota Camry ignition coil replacement cost at about $325–$453, with parts making up most of the estimate. DIY cost depends on whether you buy one coil or a full set.
How long do Camry ignition coils last?
There is no single mileage interval that applies to every Camry. Many ignition coils last well beyond 60,000 miles, and some last much longer, but heat, worn spark plugs, oil leaks, moisture, and poor electrical connections can shorten their life. Replace coils when testing confirms a failure or when visible damage is present.
Should I replace one ignition coil or all of them?
If one coil has failed and the others test well, replacing only the failed coil is usually fine. If the Camry has high mileage, several original coils, or repeated coil failures, replacing the full set may be more practical. Always inspect spark plugs and connectors at the same time.
Can I drive with a bad ignition coil?
A mild misfire should be repaired soon, and a flashing check engine light should be treated as urgent. Continued driving with a severe misfire can overheat and damage the catalytic converter. If the engine is shaking badly, smells like raw fuel, or the light is flashing, reduce load and arrange diagnosis or towing.
What codes usually point to a bad ignition coil?
Cylinder misfire codes such as P0301, P0302, P0303, P0304, P0305, and P0306 can point toward the cylinder that needs diagnosis. Coil circuit codes such as P0351–P0356 may involve the coil, connector, wiring, or engine control circuit. Codes are clues, not final proof.
Do I need to replace spark plugs when replacing ignition coils?
Not always, but you should inspect them. If the plugs are worn, oil-fouled, cracked, overdue, or incorrectly gapped, replace them with the correct plugs for your engine. Bad spark plugs can overwork new coils and cause the misfire to return.
Conclusion
Replacing Toyota Camry ignition coils is a straightforward repair when the coil is easy to reach and the fault has been confirmed. The best results come from a careful process: scan the codes, identify the affected cylinder, inspect the plug and connector, order the correct VIN-matched coil, keep debris out of the plug well, use the correct torque specification, and verify the repair with a scan and test drive. If the check engine light flashes, the rear V6 bank is difficult to access, or the misfire remains after replacement, stop guessing and move to proper diagnosis.
Sources
- Toyota Owners Manuals and Warranties — supports owner manual and maintenance-document access.
- Toyota Support: Technical Information System — supports repair manual, wiring diagram, service bulletin, and maintenance schedule availability.
- Toyota Genuine Parts — supports VIN/year/engine-based part lookup.
- RepairPal Toyota Camry Ignition Coil Replacement Cost — supports current cost range, symptoms, and diagnosis cautions.
- Motorist Assurance Program: Check Engine Light — supports flashing check engine light and misfire urgency guidance.