What’s in This Article
- What the Camry EVAP System Does
- Key Camry EVAP Components
- How the System Works During Normal Operation
- Common EVAP Fault Symptoms
- How OBD-II EVAP Self-Tests Work
- Home Checks for a Camry EVAP Leak
- How to Locate EVAP Leaks
- Common Repairs and Parts
- Differences by Year and Model
- Preventive Maintenance
- Frequently Asked Questions
A Camry EVAP fault can look small at first, but it can still trigger a check engine light and block an emissions test. Your Camry’s evaporative emission control system (EVAP) traps fuel vapors in a charcoal canister, then sends them into the engine through a purge valve. This guide shows you how the system works, which symptoms matter, and how you can test the most common leak points safely.
Quick Answer
The Camry EVAP system stores fuel vapors instead of letting them escape. If the system leaks or a valve sticks, you may see a check engine light, smell fuel, or fail an emissions inspection. Start with the fuel cap, then scan for EVAP codes, inspect hoses, and use a smoke or vacuum test to confirm the leak.
Key Takeaways
- Check the fuel cap first because a loose or worn cap can trigger EVAP codes.
- Use an OBD-II scanner before replacing parts so you know which fault the computer stored.
- Inspect hoses, fittings, the canister, and purge valve before running advanced tests.
- Use a smoke machine or vacuum test to find leaks that you cannot see.
- Repair the fault, clear the codes, and complete the drive cycle before an emissions test.
What the Camry EVAP System Does

Think of the EVAP system as your Camry’s sealed fuel vapor circuit. Gasoline gives off vapors inside the tank, and the system routes those vapors to a charcoal canister. The charcoal stores the vapors until the engine can burn them.
When the engine reaches the right operating conditions, the computer opens the purge valve. Engine vacuum then pulls stored vapors into the intake. This process reduces hydrocarbon emissions and keeps the fuel system sealed during normal driving.
Modern On-Board Diagnostics II (OBD-II) systems also check the sealed system for leaks. Federal rules for many newer vehicles require the system to detect very small leaks, including a 0.020-inch leak on 2017 and later light-duty vehicles when test conditions allow it. Older Camrys can use different leak thresholds, so always compare your results with the service data for your model year.
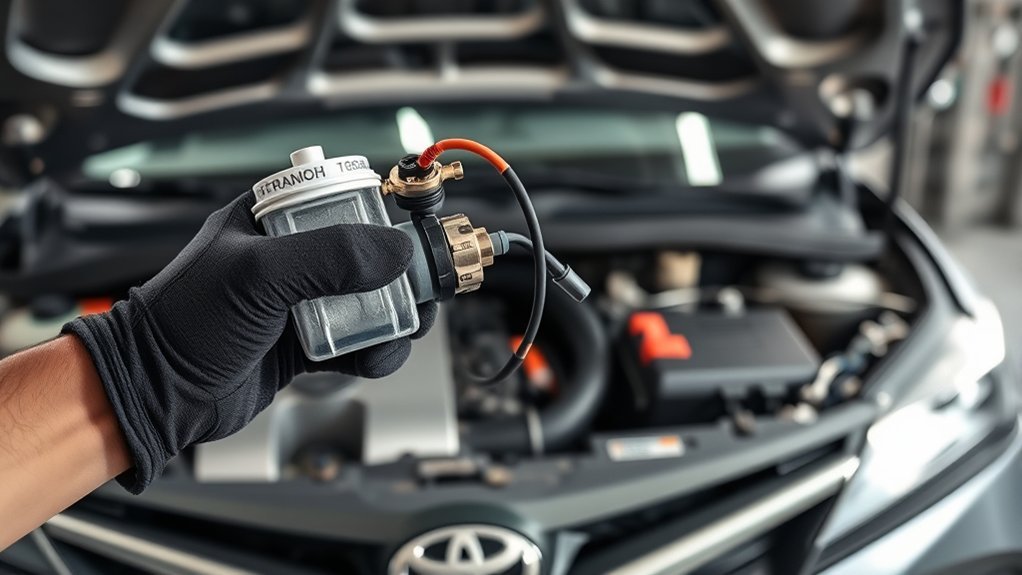
Key Camry EVAP Components: Tank, Canister, Purge, and Vent Valves
Start by learning the main EVAP parts before you test anything. The fuel tank creates and stores vapor. The charcoal canister holds that vapor, while the purge valve and vent valve control airflow through the system.
Fuel Tank Role
Your Camry’s fuel tank does more than store gasoline. It also connects to vapor lines, pressure sensors, and the canister. Those parts let the system route vapors and check for leaks.
Inspect the fuel tank area if you smell fuel, see damage under the car, or keep getting EVAP leak codes. Do not remove fuel lines unless you know the correct pressure and safety procedure for your model.
| Component | Purpose | Benefit |
|---|---|---|
| Fuel tank | Routes fuel vapor | Helps seal the fuel system |
| Canister | Stores vapor | Reduces vapor release |
| Sensors | Track pressure changes | Helps detect leaks |
Purge and Vent Valves
The purge valve meters stored fuel vapors from the canister into the intake. The computer opens it only under the right engine conditions. If it sticks open, your Camry may idle rough after fueling or set an incorrect purge flow code.
The vent valve lets fresh air enter the canister during purge. It also helps seal the system during leak tests. A stuck vent valve can cause hard refueling, EVAP monitor failures, or repeat leak codes.
How the Camry EVAP System Works During Normal Operation
During normal driving, the canister holds fuel vapors until the engine can use them. The vehicle computer watches engine temperature, load, speed, and fuel tank conditions. When conditions look right, it opens the purge valve and sends vapor into the intake.
Fresh air enters through the vent side of the system so vapor can flow smoothly. The computer checks whether the system responds as expected. If pressure changes too fast or too slowly, it can store a diagnostic trouble code (DTC).
This setup gives you two benefits. It keeps fuel vapors out of the air, and it gives you useful fault data when the system leaks or a valve stops working.
Common Camry EVAP Fault Symptoms
If your Camry has an EVAP problem, the first sign often comes from the check engine light. You may also notice fuel odor, hard starting after refueling, rough idle, or a failed emissions inspection. Use symptoms as clues, but confirm the fault with scan data and testing before you replace parts.
Check Engine Light
The check engine light turns on when the computer stores a confirmed fault. Common EVAP codes include P0440 for a general EVAP fault, P0441 for incorrect purge flow, P0442 for a small leak, P0455 for a large leak, and P0456 for a very small leak. Your exact code list can vary by model year and engine.
Check the gas cap before you move to harder tests. Toyota quick reference guides note that a loose or unlocked fuel cap can turn on the check engine light. Tighten the cap until it clicks, then inspect the seal for cracks, dirt, or damage.
Strong Fuel Odor
A strong fuel odor near your Camry can point to an EVAP leak, damaged vapor line, cracked canister, or leaking fuel system part. Treat fuel smell as a safety issue, not just an emissions concern. Park away from flames, sparks, heaters, and smoking areas until you find the source.
Use an OBD-II scanner to see whether the car stored EVAP codes. Then inspect the cap, canister, hoses, and fuel tank area. If you see wet fuel, heavy fumes, or damaged lines, stop home testing and call a qualified mechanic.
Warning: Fuel vapor can ignite, so never smoke or use open flames near EVAP testing work.
How Camry OBD-II EVAP Self-Tests Work
Your Camry does not test the EVAP system at every moment. The computer runs the EVAP monitor only when fuel level, temperature, speed, and other conditions fit the test. Many systems need the fuel tank between about one-quarter and three-quarters full to run a reliable monitor.
During the test, the computer seals the system and checks pressure or vacuum change. A stable reading suggests the tank, lines, canister, and valves hold pressure. A fast pressure change can point to a loose cap, cracked hose, stuck valve, or canister fault.
For 2000 and newer vehicles, inspection programs often describe EVAP leak detection around the 0.020-inch standard. Earlier OBD-II vehicles may use a larger 0.040-inch leak threshold. This is why a scan result should always match the correct repair information for your Camry’s year.
Step-by-Step Home Checks for a Camry EVAP Leak
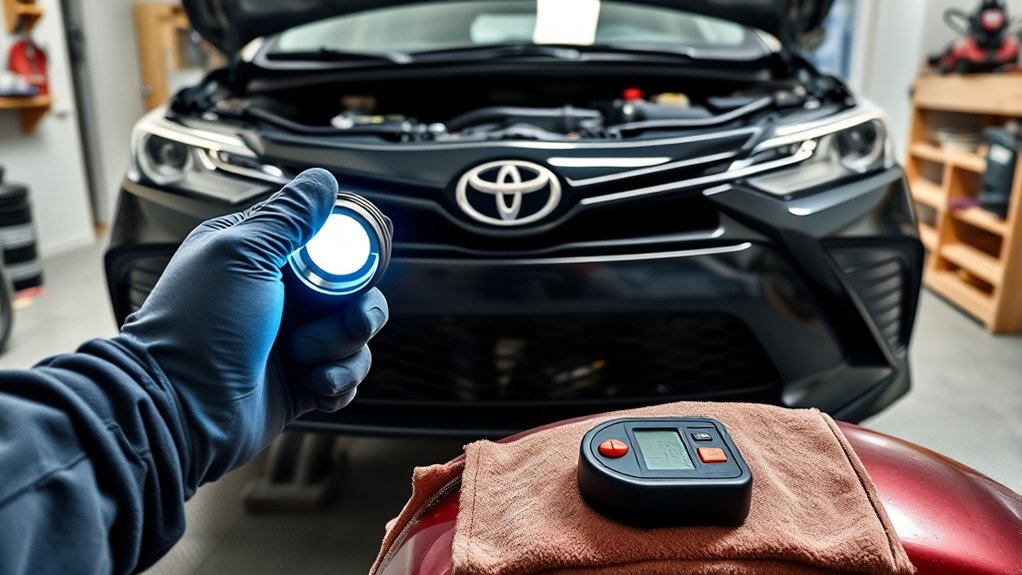
Start with simple checks before you use a smoke machine or replace parts. You need a basic OBD-II scanner, a flashlight, gloves, and a safe work area with good airflow. Do not test near ignition sources because gasoline vapors can burn fast.
Visual Fuel System Inspection
Begin with the parts you can check without disassembly. Look at the fuel cap seal, filler neck, visible hoses, canister area, purge valve, vent line, and electrical connectors. Replace cracked hoses and tighten loose clamps only when you can access them safely.
Use this simple order so you do not miss easy causes:
- Tighten the fuel cap until it clicks and inspect the seal.
- Read all stored and pending EVAP codes with an OBD-II scanner.
- Inspect visible vapor hoses for cracks, loose ends, or rubbing marks.
- Check the canister area for broken mounts, dirt blockage, or impact damage.
- Test the purge valve only if your scanner or service data supports the procedure.
| Component | What to look for | Action |
|---|---|---|
| Fuel tank | Damage or fuel smell | Have a technician inspect it |
| Charcoal canister | Broken case or loose mount | Secure or replace it |
| Purge valve | Sticking or leaking | Test before replacing |
| Hoses/clamps | Cracks or disconnection | Replace or tighten |
Simple Smoke and Pressure Tests
After the visual inspection, use a controlled smoke test to find leaks you cannot see. Add smoke through the correct service port or test connection for your model. Watch the cap, filler neck, canister, hoses, and fittings for smoke escape.
You can also use a hand vacuum pump or low-pressure gauge on parts that support that test. A stable reading suggests the part holds. A falling reading means air escapes somewhere in that section.
Use low pressure only. Too much pressure can damage EVAP parts, force fuel vapor out, or give you a false result.
Locate EVAP Leaks With Smoke, Vacuum, and Scan Tools
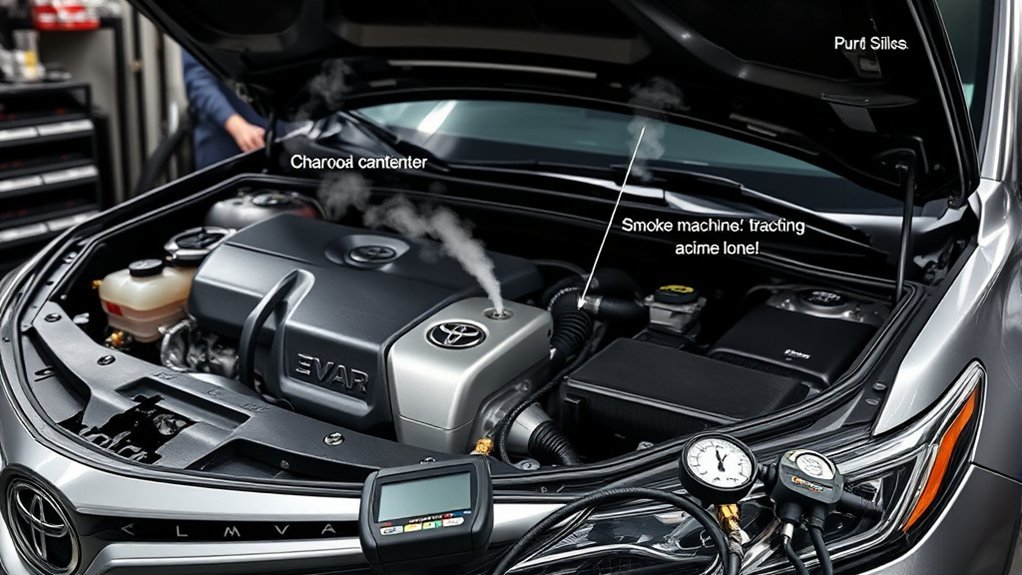
A strong EVAP diagnosis uses three tools together. The scanner tells you which fault the computer saw. The smoke machine shows a visible leak path. The vacuum or pressure gauge shows whether a part holds or leaks.
Start with the code and freeze-frame data. Then inspect the likely area before you add smoke. This saves time and helps you avoid replacing a good purge valve when a fuel cap or hose caused the fault.
| Tool | Purpose |
|---|---|
| Smoke machine | Shows visible leak paths |
| Hand vacuum pump | Checks whether parts hold vacuum |
| OBD-II scanner | Reads DTCs and monitor status |
| Pressure gauge | Tracks pressure decay |
| Service information | Gives model-specific test steps |
Document each result before you move to the next test. Good notes help you prove the repair worked after you clear the codes.
Pro tip: Check pending codes after a repair because they can return before the check engine light turns on.
Typical Camry EVAP Repairs and Parts to Replace
Most Camry EVAP repairs involve the fuel cap, vapor hoses, purge valve, vent valve, charcoal canister, or pressure sensor. Confirm the failed part before you buy anything. EVAP parts often look similar, but one weak hose or dirty cap seal can mimic a more expensive failure.
Replace a saturated or cracked charcoal canister if testing proves it cannot store or seal vapor. Replace a purge valve if it sticks open, sticks closed, or leaks when it should seal. Repair cracked lines and damaged fittings because even a small opening can stop the monitor from passing.
After the repair, clear codes with your scanner. Then drive the car under the conditions needed for the EVAP monitor to run. Check monitor readiness before you go to an emissions inspection.
Differences in Camry EVAP Systems by Year and Model
Camry EVAP systems use the same basic idea across many years, but the test strategy and parts can differ. Older OBD-II vehicles often used larger leak thresholds, while newer systems can detect smaller leaks when conditions allow. Some models also place the canister, valves, and pressure sensor in different locations.
Do not assume a 1990s Camry and a newer hybrid Camry use the same test steps. Use your model year, engine, and emissions label to choose the correct service data. This matters most when you test valves, run an EVAP monitor, or order replacement parts.
Federal OBD rules and state inspection programs also changed over time. That is why one Camry may pass after a basic cap repair, while another may need a full monitor drive cycle before the inspection system marks it ready.
Preventive Maintenance and When to See a Pro
Preventive EVAP care starts with simple habits. Tighten the fuel cap after every fill-up, stop refueling after the pump clicks, and inspect the cap seal when you service the car. Toyota maintenance guidance also lists fuel tank vapor vent system hoses and the fuel tank cap gasket as inspection items.
Check visible vapor hoses after any fuel system work. Look for cracks, loose connections, corrosion, or signs of rubbing. Replace damaged parts before the leak gets worse.
See a professional if you smell strong fuel, find wet fuel, lack safe test tools, or keep getting codes after basic checks. A technician can use scan commands, smoke testing, and service data to confirm the failure without guessing.
Frequently Asked Questions
How does the Toyota EVAP system work?
The Toyota EVAP system traps fuel vapors in a charcoal canister. When the engine reaches the right conditions, the purge valve opens and the engine burns those vapors instead of releasing them.
What are the symptoms of a bad EVAP system on a Toyota?
Common symptoms include a check engine light, fuel smell, failed emissions test, hard starting after refueling, or rough idle. You need a scanner and leak test to confirm the cause.
How do I get my Toyota EVAP monitor ready?
Fix the EVAP fault first, then clear the codes and drive the car until the monitor runs. Many EVAP monitors need the right fuel level, temperature, and driving pattern before they show ready.
Can a loose gas cap cause a Camry EVAP code?
Yes. A loose, damaged, or dirty fuel cap can let vapor escape and trigger an EVAP leak code. Tighten the cap until it clicks, inspect the seal, and clear the code only after you confirm the cap is secure.
Is it safe to drive with an EVAP code?
A small EVAP leak may not change how the car drives, but you should not ignore it. Strong fuel odor, wet fuel, or hard starting after refueling needs quick attention because fuel vapor can create a fire risk.
Safety Disclaimer: This article is for informational purposes only and does not replace professional auto repair advice. Work on fuel vapor systems only in a well-ventilated area, and consult a qualified technician if you smell fuel, see leaks, or feel unsure about any test.
Conclusion
Your Camry’s EVAP system protects the air and helps your car pass emissions checks by sealing and burning fuel vapors. Start with the simple items first: check the cap, scan the codes, inspect visible hoses, and confirm the leak with smoke or vacuum testing. Replace only the part that fails the test, then clear the code and confirm monitor readiness. A careful process helps you avoid repeat repairs and keeps your Camry ready for the next inspection.
References
- 40 CFR 86.1806-17, Onboard diagnostics — Electronic Code of Federal Regulations, current regulation
- EVAP System Monitor — New York Vehicle Inspection Program, OBD-II inspection guidance
- 2024 Toyota Camry Warranty & Maintenance Guide — Toyota, 2024
- 2024 Toyota Camry Quick Reference Guide — Toyota, 2024
- Toyota P0441 Diagnostic Code Guide — Toyota Parts Center