Paint chips on a Toyota RAV4 are easiest to fix while they are still small. A tiny rock chip may look harmless, but once the color coat is broken, moisture, road salt, sun exposure, and washing can make the spot more visible over time. The good news: most small chips can be repaired at home with the right paint code, careful prep, thin coats, and patience.
Quick Answer
To repair paint chips on a Toyota RAV4, find your Toyota paint code, clean the chip with soap and water followed by isopropyl alcohol, mask the area, apply matching touch-up paint in thin coats, let it dry fully, then protect the repair with clear coat. Use primer first if bare metal is exposed.
Key Takeaways
- The correct paint code matters more than the model name because the RAV4 has been sold in many similar-looking colors.
- Clean, dry, wax-free paint gives touch-up paint the best chance to bond properly.
- Several thin coats look better than one thick blob of paint.
- Bare metal chips need primer before color to reduce the chance of rust returning under the repair.
- Large dents, peeling clear coat, or chips larger than a pencil eraser usually need professional paint work for a truly seamless finish.
At a Glance
| Time Required | 30-60 minutes of hands-on work, plus drying time between coats |
| Difficulty | Beginner for small chips; moderate for deep chips or metallic/pearl colors |
| Tools Needed | Touch-up paint, clear coat, isopropyl alcohol, microfiber cloth, painter’s tape, fine applicator, toothpick or micro brush, and optional 2000-3000 grit wet/dry sandpaper |
| Cost | Usually about $20-$80 for DIY supplies, depending on whether you buy a paint pen, bottle, clear coat, primer, or full repair kit |
Why You Should Address Paint Damage on Your Toyota RAV4
Small paint chips are more than a cosmetic issue. Your RAV4’s paint system helps protect the body panels underneath. When a chip cuts through the clear coat and color coat, the exposed area can hold moisture and grime. If the chip reaches bare metal, rust can start forming, especially in wet climates or areas that use road salt.
Fixing chips early also helps your RAV4 look newer for longer. A few dark specks on the hood, bumper edge, or fender can make an otherwise clean SUV look neglected. Prompt touch-up work will not always make a chip disappear completely, but it can reduce contrast, slow further damage, and help maintain the vehicle’s appearance.
Note: Touch-up paint is best for small chips, scratches, and road rash. If the paint is peeling, cracked around a dent, or missing across a large panel, a body shop repair will usually look better and last longer.
Find Your Toyota RAV4’s Paint Code Quickly
Before buying touch-up paint, locate your RAV4’s exact paint code. Do not rely only on the color name because Toyota has used many gray, silver, white, black, red, blue, and green finishes that look similar at first glance.
On many Toyota vehicles, the paint code is printed on the manufacturer label in the driver’s side door jamb. Look for a line marked C/TR, which stands for color and trim. The first three-character code before the slash is typically the exterior paint code. For example, 1G3 is Toyota Magnetic Gray Metallic. If the label is faded or missing, check your owner’s documents or contact a Toyota dealer with your VIN.
| Where to Check | What to Look For | Why It Matters |
|---|---|---|
| Driver’s side door jamb | Manufacturer label with a C/TR line | This is the fastest place to confirm the factory paint code on many Toyota models. |
| Owner’s manual or Toyota Owners resources | Vehicle documentation and model information | Useful if the door label is damaged or hard to read. |
| Toyota dealer parts counter | VIN-based paint lookup | Best option when you want OEM paint and want to reduce the risk of ordering the wrong color. |
Select the Ideal Touch-Up Paint for Your RAV4
Once you have the paint code, choose the right product for the size and depth of the chip. Genuine Toyota touch-up paint is a strong first choice because Toyota sells color-matched touch-up products for small chips and blemishes through its official parts network. You can also use reputable aftermarket kits if they mix paint by code and provide clear instructions.
[Products Worth Considering]

Protect your Toyota RAV4 interior with this custom‑fit windshield sun shade that blocks 99% of harmful UV rays and reduces cabin heat. The mirror cut‑out ensures a seamless fit without gaps, while durable 240T polyester and bendable wire keep it sturdy through repeated use. Foldable and stored in a convenient pouch, it offers easy installation and removal for everyday comfort.

The Autovir windscreen shade offers full windshield coverage for Toyota RAV4 models from 2019 to 2026, blocking up to 99.95% of UV rays and reducing interior heat. Its multi‑layer reflective material provides SPF 100 and UPF 80+ protection while keeping the dashboard, seats, and steering wheel cooler. The foldable design installs quickly and stores conveniently in the glove box, and reinforced stitching ensures long‑lasting durability for daily use.
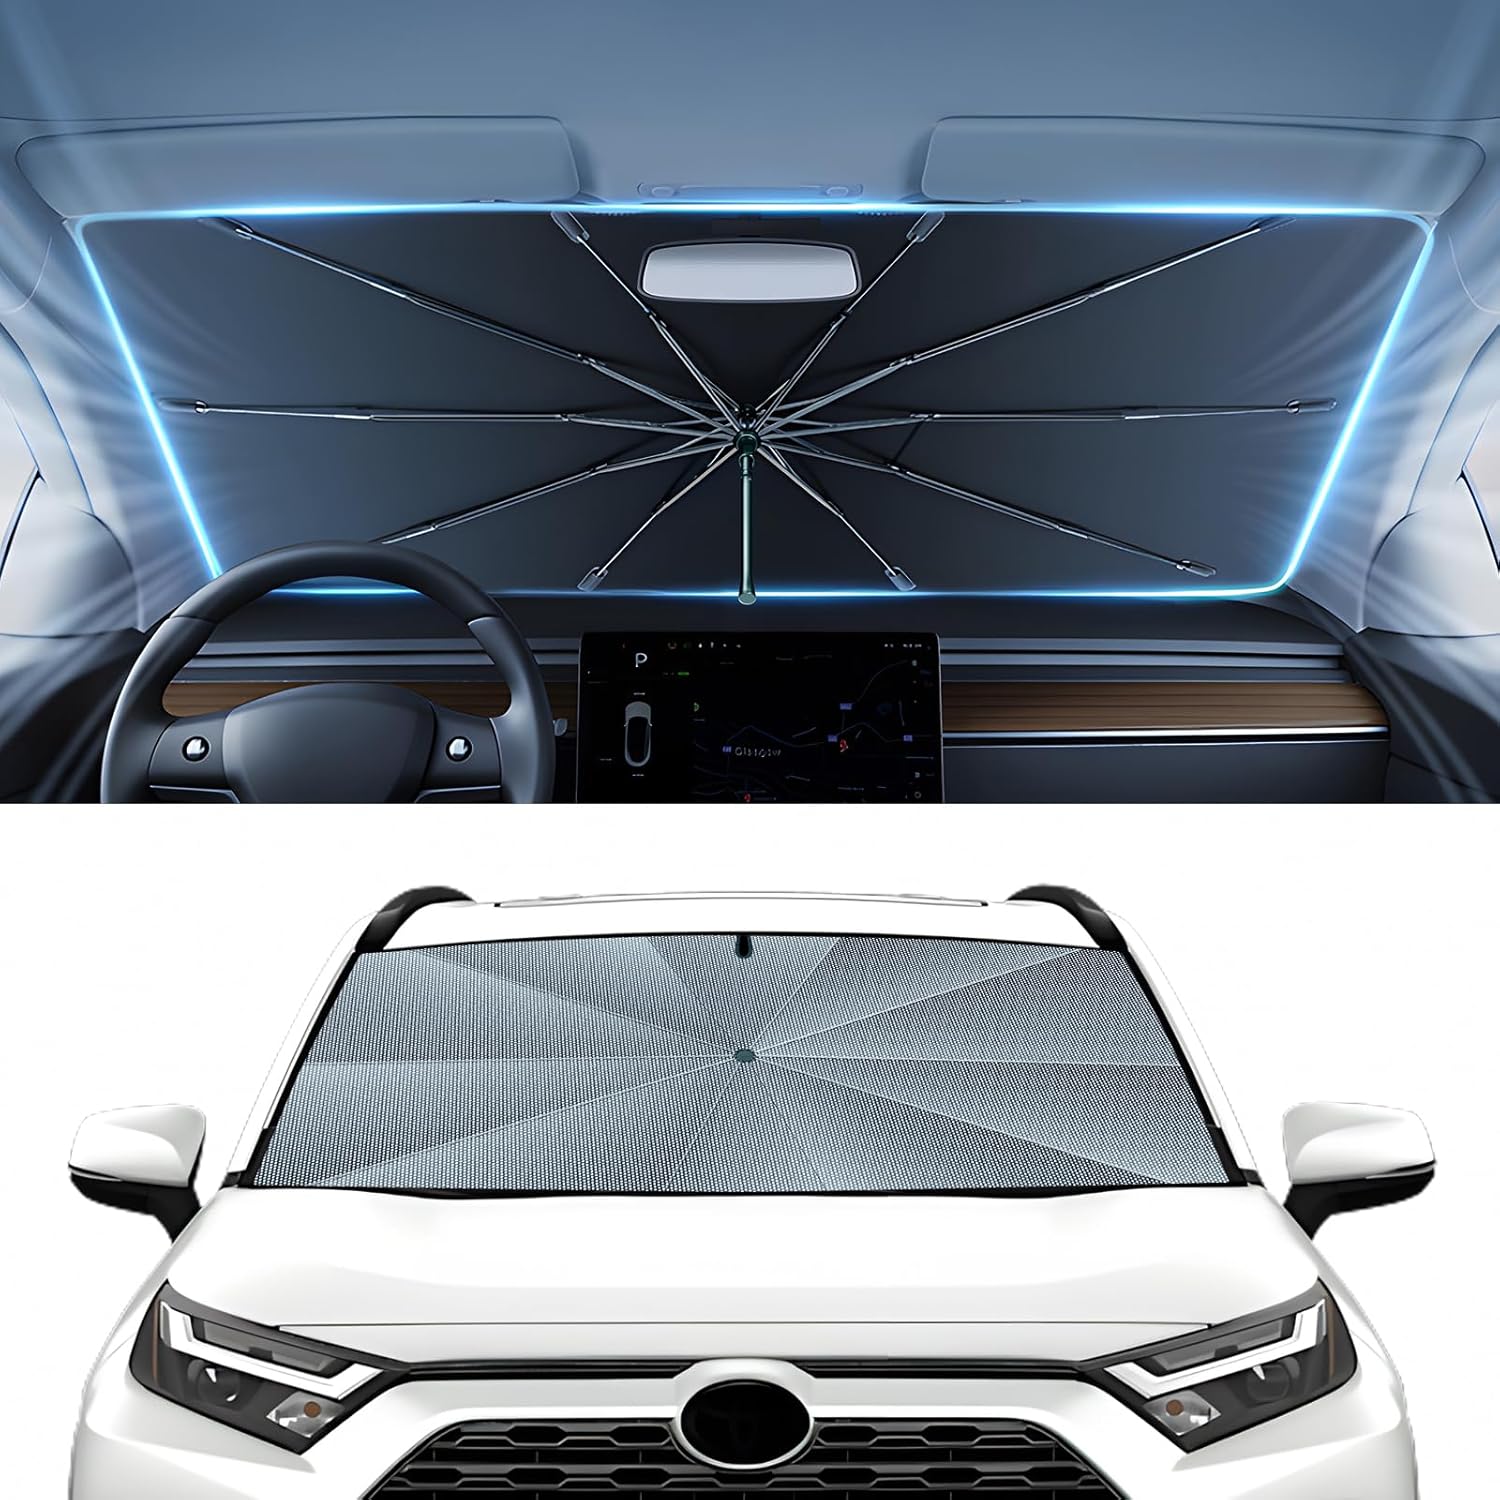
The Autorder windshield sun shade umbrella provides full coverage for Toyota RAV4 models from 2019 to 2026, blocking heat and UV rays with its advanced ice crystal material. Its ten reinforced skeletons and anti‑puncture edges ensure durability and stability, while the effortless umbrella‑style deployment and compact storage bag make it convenient for everyday use. Keep your car interior cool and protected from sun damage with this easy‑setup, high‑performance sunshade.
Genuine vs. Aftermarket Options
Genuine Toyota touch-up paint is designed for Toyota factory colors and is a good option for small chips where you want a simple paint pen or bottle. Toyota also sells a clear coat touch-up product designed as a finishing layer over repaired exterior paint areas.
Aftermarket repair kits, such as Dr. ColorChip or Langka, can be useful when you have many tiny hood chips or road rash. These systems are designed to help spread, blend, or level paint across multiple small chips. They can save time, but you still need the correct color code and careful prep.
| Product Type | Best For | Watch Out For |
|---|---|---|
| Toyota touch-up paint pen or bottle | One-off chips and small scratches | Easy to overapply if you press too hard or use the built-in brush on a tiny chip. |
| Toyota clear coat | Adding shine and protection after color dries | Too much clear can leave a raised spot that needs careful leveling. |
| Chip repair kit | Multiple chips, hood specks, and road rash | Results depend on paint match, technique, and chip depth. |
| Professional body shop paint | Large chips, dents, peeling clear coat, and show-car results | Costs more, but usually gives the cleanest finish on large damage. |
Pro Tip: For tiny chips, skip the oversized built-in brush and use a toothpick, micro brush, or fine artist brush. Smaller applicators make it easier to place paint only inside the chip instead of smearing it onto the surrounding clear coat.
Prepare the Area for Paint Chip Repair
Preparation is the step that separates a neat touch-up from a messy one. Paint will not bond well to wax, grease, road film, polishing oils, or dust. Work in a shaded, dry, well-ventilated area. The panel should be cool to the touch, not baking in direct sun.
- Wash the area first: Use car wash soap and clean water to remove loose dirt and grit.
- Dry completely: Water trapped in the chip can interfere with adhesion.
- Degrease the chip: Wipe the spot with isopropyl alcohol on a clean cloth or swab.
- Inspect the depth: If you see bare metal, add automotive primer before color. If you only see color damage, primer may not be needed.
- Remove loose edges: If paint is flaking, gently remove only loose material. Do not pick at firmly attached paint.
- Mask around the chip: Use painter’s tape to protect nearby paint, trim, plastic, or headlights.
Warning: Automotive coatings and solvents can release fumes and may contain hazardous materials. Work with good ventilation, keep paint away from flames and sparks, wear gloves and eye protection, and follow the product label for drying, disposal, and safety instructions.
[Products Worth Considering]

The KDOWES front windshield sun shade offers a custom fit for Toyota RAV4 SUVs, featuring a double‑layer heat shield that blocks up to 99% of solar rays and reduces interior temperature by up to 40°F. Reinforced steel rings and Velcro fasteners ensure easy installation and a secure fit, while the foldable cartilage steel ring allows convenient storage. This high‑quality, reflective fabric protects upholstery, dashboard, and electronics from UV damage, keeping the cabin cool and comfortable.

The Pigenius windshield sunshade protects your Tundra's interior from heat and UV damage while keeping the cabin cool. Its accordion design folds easily for storage and quick setup, and the triple‑laminate construction provides durable, reflective protection. Ideal for long trips and daily commutes, it guards dashboards, seats, and steering wheels from sun‑related wear.
Toyota RAV4 Paint Chip Repair: A Step-by-Step Guide
Use this method for small chips on the hood, fenders, doors, liftgate, or bumper cover. Read the instructions on your exact paint product first because drying times and coat recommendations can vary.
Essential Tools Required
- Paint matched to your RAV4’s code: Toyota Genuine touch-up paint or a reputable code-matched aftermarket product.
- Clear coat: Helps restore gloss and adds a protective surface over the color coat.
- Automotive primer: Needed only when bare metal is exposed.
- Cleaning supplies: Car wash soap, clean water, microfiber towels, cotton swabs, and isopropyl alcohol.
- Application tools: Toothpicks, micro brushes, a fine artist brush, or the applicator supplied with your kit.
- Masking supplies: Painter’s tape or automotive masking tape.
- Optional leveling supplies: 2000-3000 grit wet/dry sandpaper, polishing compound, and a soft microfiber towel.
Step-by-Step Repair Process
| Step | What to Do | Best Practice |
|---|---|---|
| 1. Wash | Clean the damaged area with car wash soap and water. | Do not touch up paint over dust, road film, or wax. |
| 2. Degrease | Wipe the chip with isopropyl alcohol and let it dry. | Use a clean swab so you do not push dirt into the chip. |
| 3. Mask | Place painter’s tape around the repair area. | Keep tape slightly away from the chip edge so paint can settle naturally. |
| 4. Prime if needed | Apply a tiny amount of primer if bare metal is visible. | Let primer dry according to the label before adding color. |
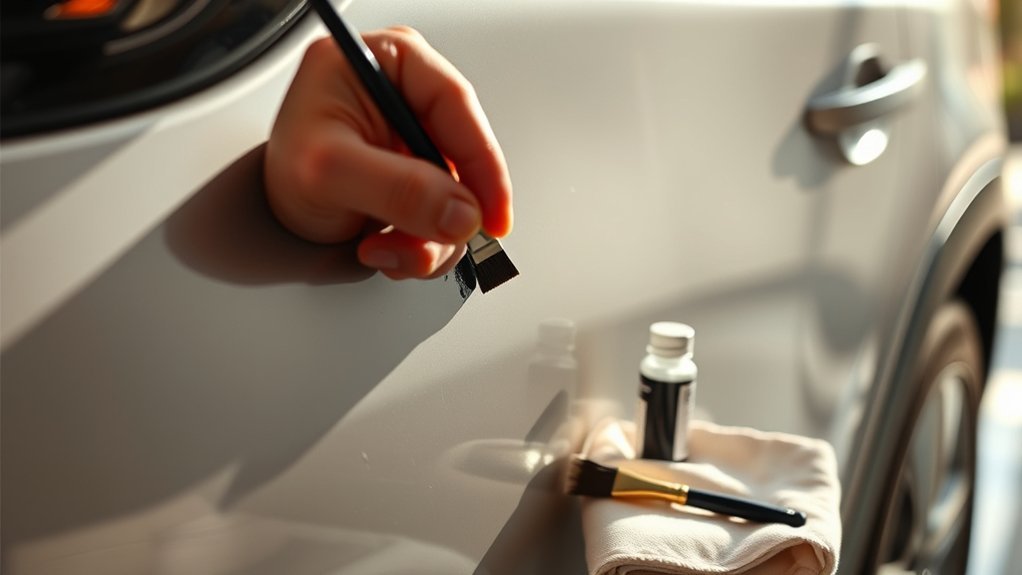
| 5. Apply color | Add touch-up paint in thin layers. | Let each layer dry before adding the next. Build the repair gradually. |
| 6. Add clear coat | Apply a thin clear coat after the color has dried. | Do not flood the chip; too much clear leaves a raised blob. |
| 7. Cure and inspect | Allow the repair to cure fully before washing or polishing. | Avoid pressure washing or harsh chemicals on the fresh repair. |
| 8. Level if necessary | If the repair is raised, carefully wet sand and polish only after the paint has cured. | Skip sanding if you are not comfortable; it is easy to damage nearby clear coat. |
Tips for Best Results
- Shake the paint well: Metallic and pearl pigments need to be mixed thoroughly before use.
- Test first: Try the paint on a hidden area, test card, or scrap surface before applying it to a visible panel.
- Use less paint than you think: A small chip needs a tiny drop, not a brushload.
- Do not rush drying: Thick coats skin over on top and stay soft underneath.
- Expect improvement, not invisibility: Touch-up paint reduces the appearance of chips but rarely matches a sprayed body shop finish perfectly.
A clean chip, the correct Toyota paint code, and several thin coats will usually look better than one heavy coat applied in a hurry.
How to Handle Deep Chips, Bare Metal, and Plastic Bumper Chips
Not every chip should be treated the same way. The correct repair depends on what layer is damaged.
Chips That Only Damage Clear Coat
If the chip looks pale or cloudy but the color underneath is still present, you may only need clear coat or light polishing. Be careful: polishing will not replace missing paint, and aggressive rubbing can thin the surrounding clear coat.
Chips That Reach the Color Coat
If the spot shows a contrasting color but no metal, clean it well and apply matching touch-up color in thin coats. Add clear coat once the color has dried.
Chips That Expose Bare Metal
Bare metal chips need extra attention. Clean the area, remove loose rust if present, apply a small amount of automotive primer, then add color and clear. If rust has spread beyond the chip, the repair may need sanding, rust treatment, and professional refinishing.
Chips on Plastic Bumpers
The front and rear bumper covers are plastic, so they will not rust like metal panels. However, chips on bumper covers can still spread or collect dirt. Use compatible touch-up paint, avoid heavy sanding, and be gentle around textured lower bumper trim.
Expert Tips for a Flawless Paint Repair
A flawless-looking chip repair comes down to restraint. Most DIY mistakes happen because too much paint is applied too quickly. The paint should sit inside the chip, not dome far above the surrounding finish.
- Use a magnifying light: It helps you place paint inside the chip instead of around it.
- Build the repair slowly: Fill the chip in stages until it is nearly level with the surrounding paint.
- Be careful with metallic colors: Metallic flakes can look darker or lighter depending on brush direction and paint thickness.
- Give pearl colors extra patience: Some pearl finishes use more than one layer, so a single paint pen may not perfectly duplicate the factory sprayed look.
- Do not wet sand too soon: Sanding soft paint can tear the repair out of the chip.
Note: If your RAV4 has a tri-coat pearl finish, ask the paint supplier whether the repair requires a base color, mid-coat, and clear coat. Pearl finishes are harder to blend by hand than solid colors.
Best Products for Toyota RAV4 Paint Chip Repair
The best product depends on how many chips you have and how exact you want the repair to look. For a few isolated chips, a Toyota paint pen or bottle matched by code is usually enough. For dozens of small chips across the hood, a dedicated chip repair kit may be easier to work with.
- Genuine Toyota touch-up paint: Best for owners who want an OEM color-matched product for small chips and blemishes.
- Genuine Toyota clear coat: Useful as the finishing layer over color touch-up paint.
- Dr. ColorChip repair kits: Designed for DIY paint chip repair and useful when you have many small chips or road rash.
- Langka paint chip repair system: Designed to help smooth and blend touch-up paint repairs.
- Automotive masking tape: Helps protect nearby trim and paint during coating or painting work.
Common Mistakes to Avoid
Even the right paint can look bad if it is applied poorly. Avoid these common problems:
- Ordering by color name only: Always use the paint code, not just “silver,” “white,” or “black.”
- Applying paint over wax: Wax and sealants can prevent proper adhesion.
- Using household tape: It can leave residue or fail to create a clean edge.
- Applying one thick coat: Thick paint shrinks, wrinkles, and leaves a raised blob.
- Skipping primer on bare metal: Color coat alone is not the best protection for exposed metal.
- Washing too soon: Fresh touch-up paint needs time to cure before it is exposed to water pressure, soap, or road grime.
- Over-sanding: Wet sanding can improve a raised repair, but it can also cut through the surrounding clear coat if done carelessly.
How Can You Maintain Your RAV4’s Paint Post-Repair?
After the repair has cured, gentle maintenance will help the area last longer. Treat fresh touch-up paint carefully for the first few weeks, especially if you repaired a front hood chip that gets direct sun, bug splatter, and road debris.
| Action | Frequency | Why It Helps |
|---|---|---|
| Wash with pH-balanced car soap | Every 2-4 weeks or as needed | Removes grime without stripping protection as aggressively as harsh cleaners. |
| Apply wax, sealant, or ceramic spray | After the repair has fully cured, then as the product recommends | Adds a sacrificial layer against UV rays, water, and contaminants. |
| Inspect repaired areas | Monthly | Catches lifting, rust, or new chips early. |
| Park in shade when practical | Whenever possible | Reduces heat and UV exposure on fresh and older paint. |
| Avoid harsh automatic brushes | Ongoing | Reduces swirl marks and stress on fresh touch-up areas. |
Community Insights on Paint Repair Techniques
RAV4 owners often share the same pattern of advice: get the paint code right, use less paint, and be patient. Many DIY repairs look worse because the chip was overfilled, not because the paint color was completely wrong.
Community discussions also show that expectations matter. A carefully done touch-up can make chips much less noticeable from a few feet away, but it may still be visible up close under bright light. If you want a showroom-level repair on a hood or door panel, sprayed refinishing is the better route.
When to Choose a Body Shop Instead
DIY touch-up paint is not the right fix for every type of damage. Choose a professional repair if:
- The chip is larger than a pencil eraser.
- The surrounding paint is cracked, lifting, or peeling.
- There is a dent that needs bodywork before painting.
- Rust has spread under the paint.
- The damage crosses a body line or sharp edge.
- Your RAV4 has a pearl or metallic finish and the repair is in a highly visible area.
- You are preparing the vehicle for resale and want the cleanest possible appearance.
Frequently Asked Questions
What is the 3-step paint process for a RAV4 chip repair?
The basic 3-step process is prep, paint, and protect. First, clean and degrease the chip. Second, apply primer if bare metal is exposed, then add matching color in thin coats. Third, apply clear coat after the color dries to restore gloss and help protect the repair.
How do I prep a car for paint chip repair?
Wash the area with car soap and water, dry it completely, then wipe the chip with isopropyl alcohol to remove wax, grease, and residue. If the chip has loose paint, remove only the loose edges. Mask nearby paint or trim before applying primer, color, or clear coat.
What are the stages of painting a vehicle?
A full vehicle paint job usually involves surface preparation, sanding, masking, primer, base color, clear coat, curing, and finishing. A small chip repair is a simplified version of that process: clean the area, prime if needed, apply color, then finish with clear coat.
Do Toyota RAV4 paint chips need primer?
Primer is recommended when the chip reaches bare metal. If the chip only affects the clear coat or color coat and the underlying surface is still sealed, primer may not be needed. Use the instructions that come with your specific touch-up paint or repair kit.
How long should touch-up paint dry before clear coat?
Drying time depends on the paint product, temperature, humidity, and coat thickness. Follow the label on your paint. In general, thin coats dry more evenly than thick coats, and clear coat should only be applied after the color coat is dry enough not to smear or lift.
Will touch-up paint make a chip invisible?
Usually, no. Touch-up paint can make chips much less noticeable and help protect the damaged spot, but it rarely matches the smooth, even appearance of a professionally sprayed panel. The best DIY results come from correct paint matching, careful cleaning, thin coats, and realistic expectations.
Conclusion
Repairing Toyota RAV4 paint chips is a practical DIY job when the damage is small and you use the right process. Start with the paint code, clean the chip thoroughly, apply primer only when needed, build color in thin layers, and finish with clear coat. The repair may not be invisible under close inspection, but it can protect the surface, reduce the chip’s appearance, and help keep your RAV4 looking cared for.
Sources
- Toyota Owners Manuals and Warranties — official Toyota resource for owner manuals and vehicle documentation.
- Toyota Genuine Touch-Up Paint Parts Category — official Toyota parts listing for touch-up paint products.
- Toyota Clear Coat Touch-Up Paint — official Toyota clear coat product information.
- U.S. EPA Automobile Refinish Coatings VOC Standards — background on automotive refinish coatings and air-quality considerations.
- 3M Automotive Masking Products — manufacturer information on masking products used in automotive paint work.
- Dr. ColorChip Automotive Paint Chip Repair Kits — manufacturer information for DIY chip repair kits.