How to Replace a RAV4 Engine Air Filter
What’s in This Article
- Quick 5-Step Air Filter Replacement
- What You’ll Need
- Engine Air Filter vs Cabin Air Filter
- Open and Secure the Hood
- Locate the Engine Air Filter
- Remove the Air Filter Cover
- Inspect the Old Filter
- Install the New Filter
- Reattach the Cover
- Reset or Check After Replacement
- Common Problems and Fixes
- Change Intervals
Estimated time: 10 to 20 minutes. Skill level: Beginner. Main part: A correct engine air filter for your RAV4 model year.
A dirty RAV4 engine air filter can make your engine work harder than it should. You can replace it at home with the right filter, a safe work area, and a few careful checks. This guide shows you how to open the airbox, inspect the old filter, install the new one, and confirm the cover seals correctly.
Quick Answer
To replace a RAV4 engine air filter, open the hood, locate the rectangular airbox, release the clips, and lift the cover. Pull out the old filter, match the new filter to the same orientation, seat every edge flat, and lock the cover clips. Inspect the filter often and replace it around the service interval in your owner’s manual, or sooner if you drive in dusty conditions.
Key Takeaways
- Use a replacement filter that matches your RAV4 model year and engine.
- Match the old filter’s orientation instead of guessing the top or airflow direction.
- Clean leaves and grit from the airbox before you install the new filter.
- Seat every filter edge flat so unfiltered air can’t bypass the seal.
- Replace the filter sooner when you drive on dusty roads or see heavy dirt.
Quick 5-Step Air Filter Replacement (RAV4)
- Open and secure the hood. Pull the hood release inside the cabin, open the secondary latch, and support the hood before you reach into the engine bay.
- Find the airbox. Look for the rectangular plastic air-filter housing, usually near the front driver-side area on many RAV4 models.
- Release the cover. Open the clips by hand when possible, then lift or slide the cover just enough to access the filter.
- Remove and compare the old filter. Pull the old filter straight out, then compare its size, shape, and orientation with the new one.
- Install and lock the new filter. Seat the new filter flat in the housing, close the cover, and snap the clips until the cover sits tight.
This quick process helps your RAV4 draw cleaner intake air and keeps debris away from the engine. Work slowly around plastic clips because they can crack if you twist the cover or force a stuck tab.
What You’ll Need Before You Replace the RAV4 Air Filter
Before you open the hood, gather the correct replacement air filter, a clean cloth, a small vacuum, and a pair of safety gloves. Most RAV4 airbox clips release by hand, but a flathead screwdriver or pliers can help with a stubborn clip if you use light pressure.
- Correct engine air filter for your RAV4 model year and engine
- Owner’s manual or part lookup from a trusted parts source
- Clean cloth or small vacuum for loose debris
- Gloves to protect your hands from dirt and sharp edges
- Small flashlight if the engine bay has poor light
Use your owner’s manual or a verified parts catalog to confirm the exact filter size. Toyota states that genuine parts fit Toyota specifications, so a correct-fit filter matters more than a generic match.
[Products Worth Considering]

Protect your Toyota RAV4 interior with this custom‑fit windshield sun shade that blocks 99% of harmful UV rays and reduces cabin heat. The mirror cut‑out ensures a seamless fit without gaps, while durable 240T polyester and bendable wire keep it sturdy through repeated use. Foldable and stored in a convenient pouch, it offers easy installation and removal for everyday comfort.

The Autovir windscreen shade offers full windshield coverage for Toyota RAV4 models from 2019 to 2026, blocking up to 99.95% of UV rays and reducing interior heat. Its multi‑layer reflective material provides SPF 100 and UPF 80+ protection while keeping the dashboard, seats, and steering wheel cooler. The foldable design installs quickly and stores conveniently in the glove box, and reinforced stitching ensures long‑lasting durability for daily use.
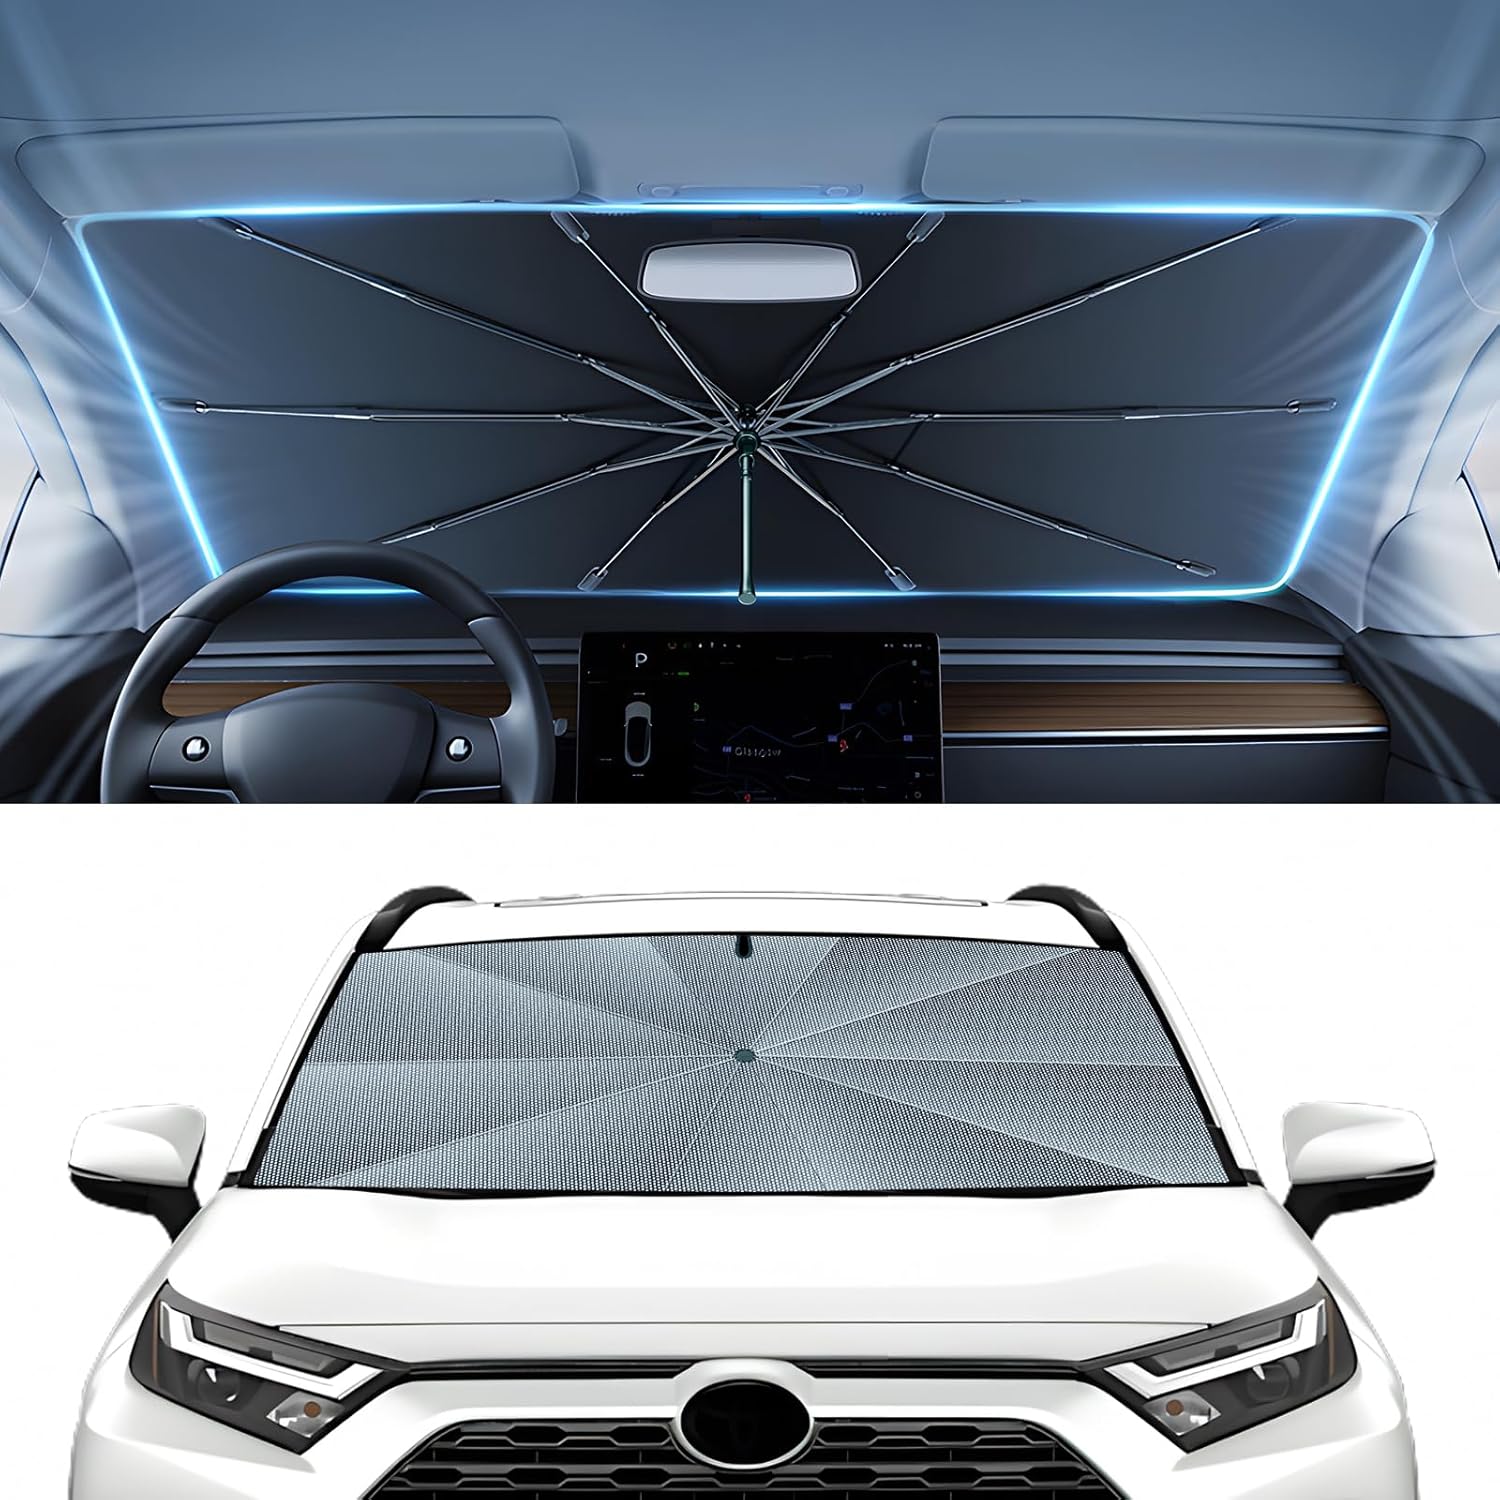
The Autorder windshield sun shade umbrella provides full coverage for Toyota RAV4 models from 2019 to 2026, blocking heat and UV rays with its advanced ice crystal material. Its ten reinforced skeletons and anti‑puncture edges ensure durability and stability, while the effortless umbrella‑style deployment and compact storage bag make it convenient for everyday use. Keep your car interior cool and protected from sun damage with this easy‑setup, high‑performance sunshade.
Engine Air Filter vs Cabin Air Filter
Your RAV4 has more than one filter, so confirm you bought the correct part before you start. The engine air filter cleans air before it enters the engine intake, while the cabin air filter cleans air that enters the passenger area through the heating and air conditioning system.
Note: Replacing the engine air filter will not clean cabin air, so replace the cabin filter separately if your vents smell dusty.
If your goal involves engine performance, use the engine air filter. If your goal involves interior air, vent odor, or pollen, you need the cabin air filter instead.
Open and Secure the Hood Safely
Open the driver door and pull the hood latch under the dashboard to release the hood. Move to the front of the vehicle, press the secondary latch, and raise the hood fully. Secure the hood before you place your hands near the airbox.
Locate and Release the Hood Latch
Reach under the driver-side dash and pull the hood latch until the hood pops up slightly. Confirm the hood has a small gap before you move to the front edge.
- Find the secondary latch near the front center of the hood.
- Keep your fingers clear of the hood edge while it rises.
- Check that the hood moves smoothly and does not bind.
- Stop and get help if the latch feels stuck or damaged.
Do not slam, twist, or force the hood. A stuck latch needs careful service, not extra pressure.
Secure the Hood With the Prop Rod or Struts
If your RAV4 has a support bar, place it firmly in the designated prop slot before you start. If your model uses hood struts, confirm the struts hold the hood steady and do not sag.
Warning: Never work under a hood that drops, wobbles, or lacks proper support.
Check hood stability with a light touch before you reach into the engine bay. If the prop rod, slot, or struts look damaged, stop and ask a professional to inspect them.
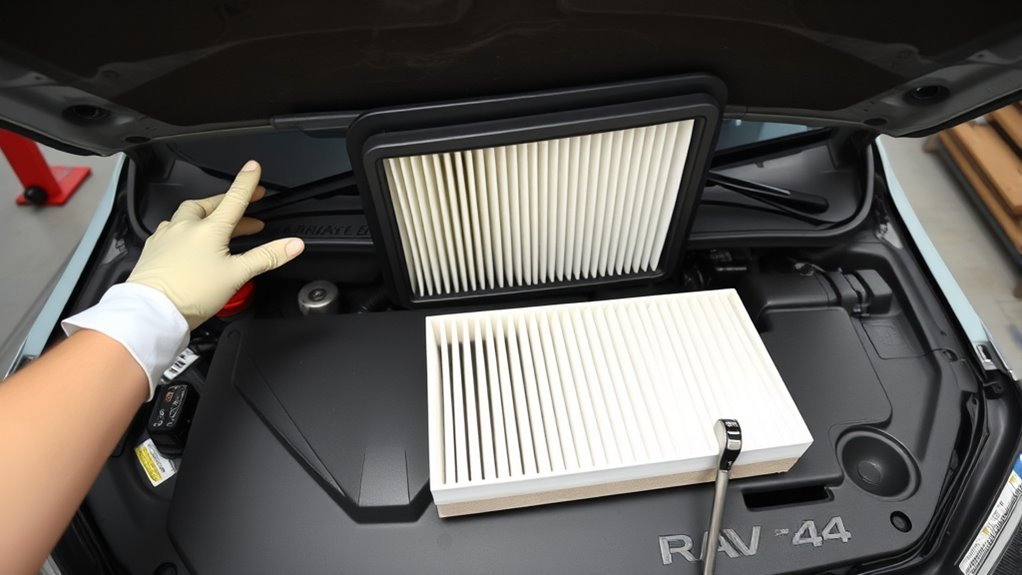
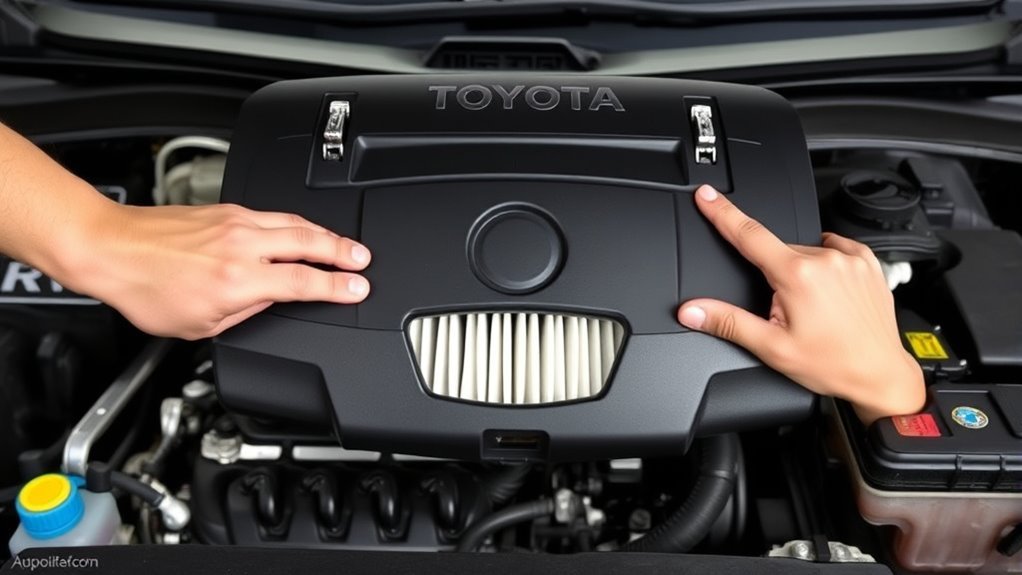
Locate the RAV4 Engine Air Filter
Stand at the front of the vehicle and look for a rectangular plastic housing with a removable cover and clips. On many RAV4 models, the engine air filter housing sits near the front driver-side area of the engine bay.
The exact location can vary by model year, engine, and market. Check your owner’s manual if the airbox shape or side does not match what you see.
- Locate the plastic airbox near the front of the engine bay.
- Identify the clips that hold the top cover in place.
- Confirm the cover hides a rectangular paper or panel filter.
- Make sure you can lift the cover without pulling hoses or wires.
Once you find the airbox, you can remove the cover and inspect or replace the filter.
Remove the Air Filter Cover Step-by-Step
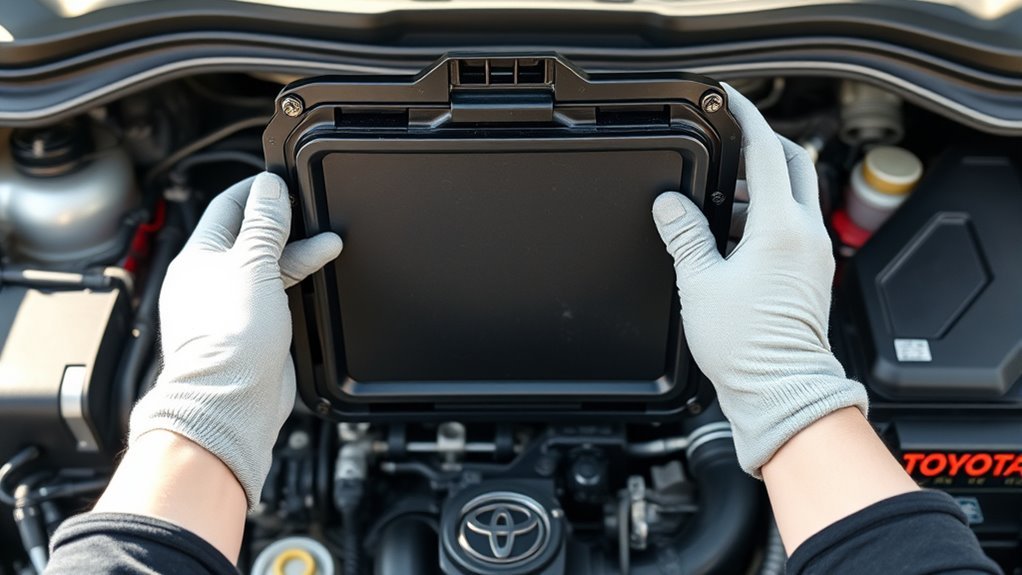
Start by locating the rectangular air filter housing, then release the retaining clips that hold the cover. Move the clips gently so you do not bend tabs or crack old plastic.
| Action | Purpose |
|---|---|
| Locate housing | Find the filter access point |
| Release clips | Free the cover |
| Lift or slide cover | Open the airbox |
| Expose filter | Prepare for removal |
| Check for resistance | Avoid broken tabs |
Lift the cover only as far as needed to remove the filter. Do not force it if it resists. Check for a hidden tab, hose, or clip before you pull harder.
Keep the cover aligned so you can reseat it the same way later. A twisted cover can pinch the filter seal and create an air gap.
[Products Worth Considering]

The KDOWES front windshield sun shade offers a custom fit for Toyota RAV4 SUVs, featuring a double‑layer heat shield that blocks up to 99% of solar rays and reduces interior temperature by up to 40°F. Reinforced steel rings and Velcro fasteners ensure easy installation and a secure fit, while the foldable cartilage steel ring allows convenient storage. This high‑quality, reflective fabric protects upholstery, dashboard, and electronics from UV damage, keeping the cabin cool and comfortable.

These silicone cup holder inserts provide a curved, anti‑shake design that securely grips water cups and bottles, preventing spills and rattling while driving. Made from high‑strength, waterproof silicone, they fit most vehicle cup holders and are easy to install with a self‑adhesive backing. The set includes six inserts, cleaning paper, and a manual for optimal placement and lasting stability.
Inspect the RAV4 Air Filter: What to Look For
Pull the old filter straight out and inspect the air filter under good light. Look for heavy discoloration, packed dust, leaves, torn pleats, crushed edges, or oil contamination.
A slightly gray filter may still work, but a packed or damaged filter needs replacement. Check the rubber or foam edge because a warped seal can let contaminated air bypass the element.
- Replace the filter if dirt covers most pleats.
- Replace it if you see tears, holes, or crushed pleats.
- Replace it if packed dust will not shake loose.
- Reseat or replace it if the edge looks warped.
Base your decision on visible condition, driving conditions, and the service interval in your owner’s manual. Dusty roads, construction areas, and rural driving can shorten filter life.
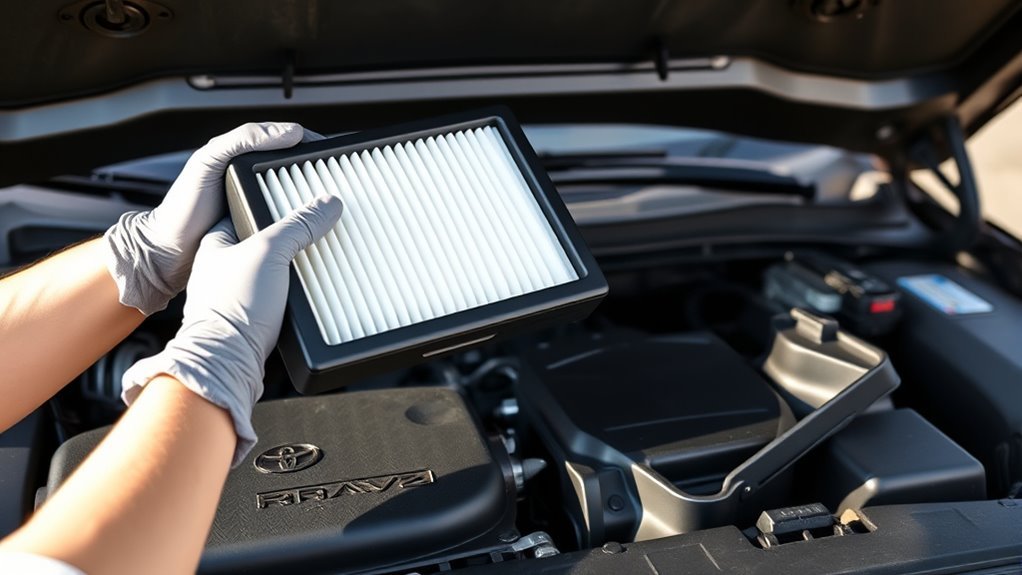
Install the New Filter With Correct Orientation
Compare the new filter with the old one before installation. Match the size, shape, seal, and direction so the new filter sits the same way in the housing.
Handle the filter by its frame when possible. Avoid crushing the pleats because bent filter media can reduce airflow and weaken the seal.
Correct Filter Orientation
Check the new filter for airflow arrows. If arrows appear, point them in the same direction the original filter used, usually toward the engine intake side.
If the filter has no arrow, match the old filter’s shape and seating marks. The correct orientation should sit flat without force.
- Compare the old and new filters before you install the new one.
- Match any airflow arrows, grooves, or angled edges.
- Seat the filter frame evenly against the housing.
- Stop and recheck the part if the filter will not sit flat.
Match the Curved or Angled Edge
If your old engine air filter has a curved or angled edge, place the new filter so that edge matches the original position. Do not assume every RAV4 filter uses the same top edge design.
Press gently around the frame and confirm the seal meets the housing on all sides. The filter should feel secure, but it should not need force.
Secure All Filter Edges
Fit the new air filter into the housing and press each side until every edge sits flush. Gaps can let unfiltered air enter the intake.
Pro tip: Run one finger around the filter frame before closing the cover to feel for raised edges.
- Inspect the seal by sight and touch.
- Press each corner until the frame sits even.
- Look for gaps, folds, or trapped debris.
- Reseat the filter if any edge lifts.
This simple check protects the intake and helps the airbox seal correctly.
Reattach the Cover and Secure the Clips Properly
Line up the tabs on the air filter’s top cover with their slots. Lower or slide the cover into place until it sits flat on the base.
Press evenly across the cover and check the full perimeter for gaps. If the cover rocks, open it again and check for a raised filter edge or trapped debris.
Reattach each clip by hooking it over its catch and pressing it closed with steady pressure. After both clips lock, give the cover a gentle tug to confirm they’re fully engaged.
Close the hood only after the airbox cover sits tight. A loose cover can cause poor sealing, intake noise, or drivability issues.
Do You Need to Reset Anything After Replacing the Filter?
Most RAV4 engine air filter changes do not require a dashboard reset or scan tool. You only need to confirm the cover, clips, and filter seal before you drive.
If a warning light appears after replacement, recheck the airbox first. A loose cover, unplugged sensor connector, or misseated filter can affect intake readings on some vehicles.
Three Common Problems and How to Fix Them (Clips, Fit, Debris)
While replacing the filter, watch for three common problems: broken clips, a poor fit, and debris in the housing. Fix each issue before you close the hood.
Inspect the clips first. If a clip bends or fails to hold, replace it or have a technician repair the housing so the cover seals correctly.
For a poor fit, confirm the filter part number, orientation, and edge contact. For debris, remove leaves, dust, and grit from the bottom of the housing before you install the new filter.
- Check clips for damage before closing the cover.
- Verify filter orientation and full edge contact.
- Clean the housing before the new filter goes in.
- Recheck the cover after both clips close.
These checks reduce the chance of air leaks and repeat work.
How Often to Change Your RAV4 Air Filter (Intervals & Why)
Toyota maintenance guides for many RAV4 model years list engine air filter replacement around the 30,000-mile service. Your exact interval can vary by model year, market, and driving conditions, so use your owner’s manual as the final guide.
Inspect the filter sooner if you drive on dusty roads, unpaved roads, construction zones, or in heavy pollen. Replace it early when you see packed dirt, torn pleats, oil contamination, or a seal that no longer sits flat.
A clogged filter can restrict airflow and affect acceleration, fuel use, and emissions. Regular checks help you act before a small maintenance item turns into a larger intake problem.
Frequently Asked Questions
How often should I change the engine air filter on my RAV4?
Many Toyota RAV4 maintenance schedules place engine air filter replacement around the 30,000-mile service. Check it sooner if you drive in dusty, rural, or construction-heavy areas.
Can I drive with a dirty RAV4 engine air filter?
You can drive for a short time with a mildly dirty filter, but you should not ignore a clogged or damaged one. Heavy dirt can restrict airflow and a torn filter can let debris enter the intake.
Does the engine air filter affect cabin air quality?
No. The engine air filter protects the engine intake, not the air you breathe inside the cabin. Replace the cabin air filter if you notice dusty vents, weak airflow, or musty smells inside the vehicle.
What happens if I install the RAV4 air filter backwards?
A backwards or misaligned filter may not seal correctly. That can let unfiltered air bypass the filter, so always match the old filter’s orientation and any airflow arrow.
Do I need tools to replace a RAV4 engine air filter?
Most RAV4 airbox clips release by hand. Keep a small flathead screwdriver or pliers nearby only for stubborn clips, and use gentle pressure to avoid damage.
Conclusion
Changing your RAV4’s air filter gives you a simple way to protect engine airflow and avoid needless intake problems. Use the correct filter, match the old orientation, and check the seal before you close the cover.
Inspect the filter during routine service and replace it sooner when dirt, damage, or harsh driving conditions call for it. A careful install takes only a few minutes and helps your RAV4 breathe cleanly on every drive.
References
- 2025 RAV4 Warranty & Maintenance Guide – Toyota, 2025
- Toyota Genuine Parts – Toyota, 2026
- 2020 RAV4 Do-It-Yourself Maintenance – Toyota Owners, 2026