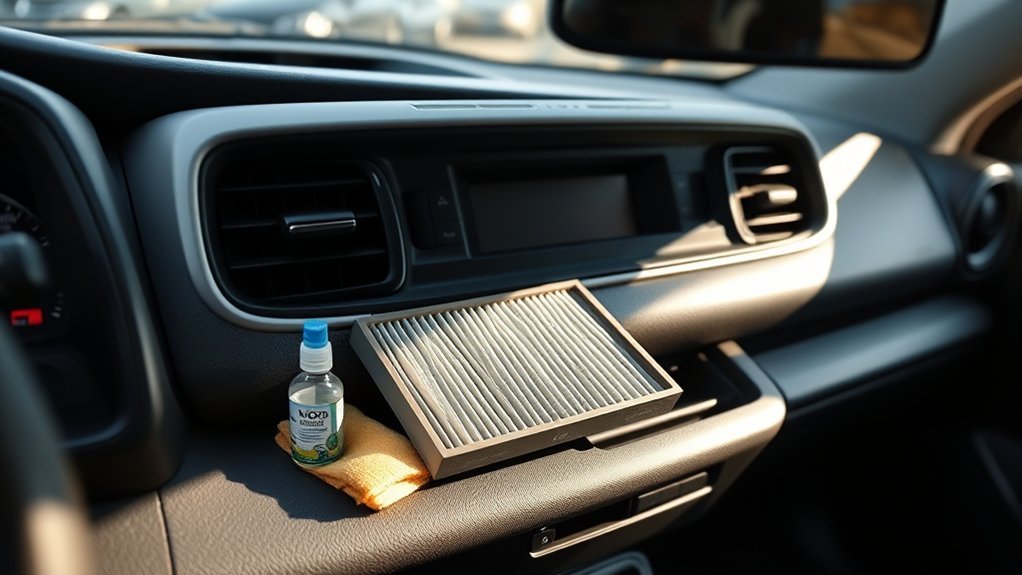
A blown fuse can shut off one RAV4 feature without warning, such as a light, outlet, radio, or wiper circuit. You can often replace a low-voltage cabin or engine-bay fuse in a few minutes if you use the diagram, match the amp rating, and avoid hybrid high-voltage parts. This guide shows you how to locate the fuse box, inspect the fuse, install the correct replacement, and know when to stop and get help.
What’s in This Article
- Quick Steps to Replace a Blown RAV4 Fuse
- Locate the Interior Fuse Box Under the Steering Wheel
- Find the Engine-Compartment Fuse Box on Your RAV4
- Check for Extra Fuse Boxes on Hybrid Models
- Read the Fuse Diagram and Pick the Right Fuse
- What Tools and Safety Steps You Need
- Remove and Inspect the Fuse
- Install the New Fuse and Test the Circuit
- When Fuses Keep Blowing: Troubleshooting Checklist
- Frequently Asked Questions
Quick Answer
Turn the RAV4 off, find the fuse box, and use the diagram on the cover or owner’s manual to identify the right fuse. Pull the suspected fuse with a plastic fuse puller, inspect or test it, then install a fuse with the same type and amp rating. If the new fuse blows again, stop replacing it and diagnose the circuit or contact a qualified technician.
Key Takeaways
- Use the fuse box diagram before you pull or replace any fuse.
- Match the replacement fuse by type, size, color, and amp rating.
- Never install a higher-amp fuse to keep a circuit working.
- Stay away from orange hybrid high-voltage cables, plugs, and parts.
- Get professional help if the same fuse fails more than once.
Estimated time: 5 to 15 minutes for a standard low-voltage fuse. Stop sooner if you see melted wiring, smell burning, find water in the fuse box, or need access near hybrid high-voltage parts.
Quick Steps to Replace a Blown RAV4 Fuse
Start with the interior fuse box under the driver’s side dash. Press the cover tab, remove the cover, and read the fuse map. If the affected circuit does not appear there, check the engine-compartment fuse box and your owner’s manual for your exact RAV4 year and trim.
Turn the vehicle off and remove the key, or keep the smart key away from the cabin. Use dry hands, insulated gloves, and a plastic fuse puller. Do not bridge contacts with metal tools.
- Identify the affected circuit on the diagram.
- Pull the suspected fuse straight out with a fuse puller.
- Inspect the metal strip or test the fuse with a multimeter.
- Install a matching fuse with the same amp rating.
- Seat the fuse fully, close the cover, and test the circuit.
If the circuit still fails, do not keep changing fuses. A short, damaged component, moisture, or wiring fault may need further diagnosis.
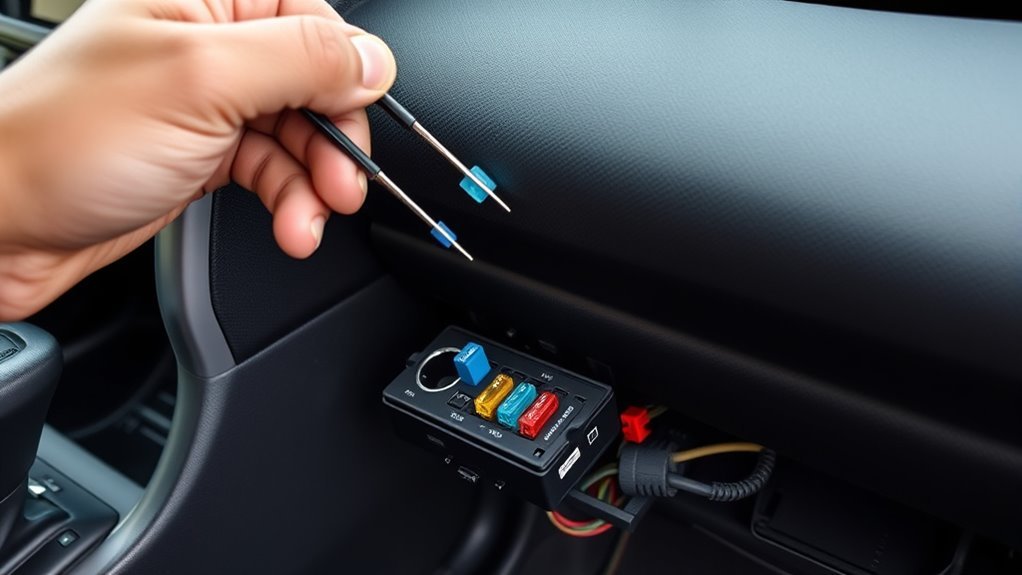
Locate the Interior Fuse Box Under the Steering Wheel
Sit in the driver’s seat and look below the dash near the steering wheel. Many RAV4 models place an interior fuse panel behind a plastic cover with a small release tab. Use a flashlight so you can see the cover, labels, and fuse slots clearly.
Press the tab and pull the cover off with steady pressure. Place the cover and any removed fuses in a small tray, so you don’t lose them under the seat. Check the diagram before you pull a fuse.
Use a plastic fuse puller or insulated needle-nose pliers to remove the suspected fuse. Pull straight out, not sideways. When you reinstall a fuse, push it fully into the correct slot because a loose fuse can cause the same circuit to fail again.
Find the Engine-Compartment Fuse Box on Your RAV4
Open the hood with the interior latch and secure it before you work. Many RAV4 models place an engine-compartment fuse box near the side of the engine bay, but the exact location can vary by year, engine, and market. Check your owner’s manual if the cover diagram does not match your vehicle.
| Step | Action |
|---|---|
| 1 | Open the hood and secure it |
| 2 | Find the engine-compartment fuse box |
| 3 | Press the tabs and remove the cover |
| 4 | Use a fuse puller to inspect and replace the fuse |
Replace a blown fuse only with one that has the same rating shown on the fuse box lid or in the manual. After you seat the fuse, return the cover to its original position. The cover helps protect the fuse box from moisture, dust, and debris.
Test the affected circuit before you close the hood. If the fuse fails right away, stop and check for a deeper electrical fault.
Check for Extra Fuse Boxes on Hybrid Models
Some RAV4 hybrid and plug-in hybrid layouts may include extra fuse panels or service points beyond the main cabin and engine-bay boxes. These locations can vary, so confirm the exact layout in your owner’s manual before you remove trim or covers.
Warning: Do not touch orange cables, orange service plugs, inverter parts, or hybrid battery components.
For normal owner service, focus only on low-voltage fuses listed in the owner’s manual. Leave high-voltage fuses and hybrid drive components to trained technicians.
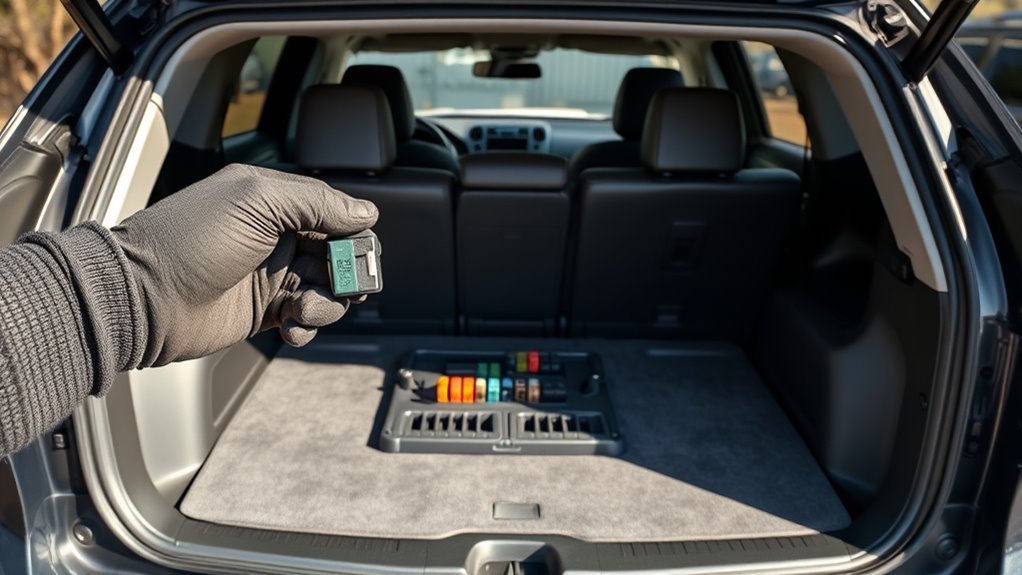
Trunk Fuse Box Location
If your RAV4 manual shows a rear or cargo-area fuse panel, open the rear trim cover gently. Release tabs or clips slowly so you don’t crack the plastic. Keep the cover nearby because it may show the fuse layout.
- Inspect the cover tabs or clips before you remove the cover.
- Match the suspect fuse to the manual diagram.
- Remove the fuse with a plastic puller, then replace it with the exact rating.
- Reseat the cover firmly to help block dust and moisture.
Do not guess at rear-panel fuses. Rear electronics and hybrid-related circuits can differ by trim and model year.
Hybrid-Model Power Fuses
Hybrid models include low-voltage circuits and high-voltage systems. You can inspect owner-serviceable low-voltage fuses only when the manual allows it. Do not inspect, pull, or replace high-voltage system fuses yourself.
If the manual points to a hybrid battery, inverter, service plug, or orange wiring, stop. Contact a Toyota dealer or a qualified hybrid technician. This protects you from shock risk and avoids damage to the hybrid system.
Read the Fuse Diagram and Pick the Right Fuse
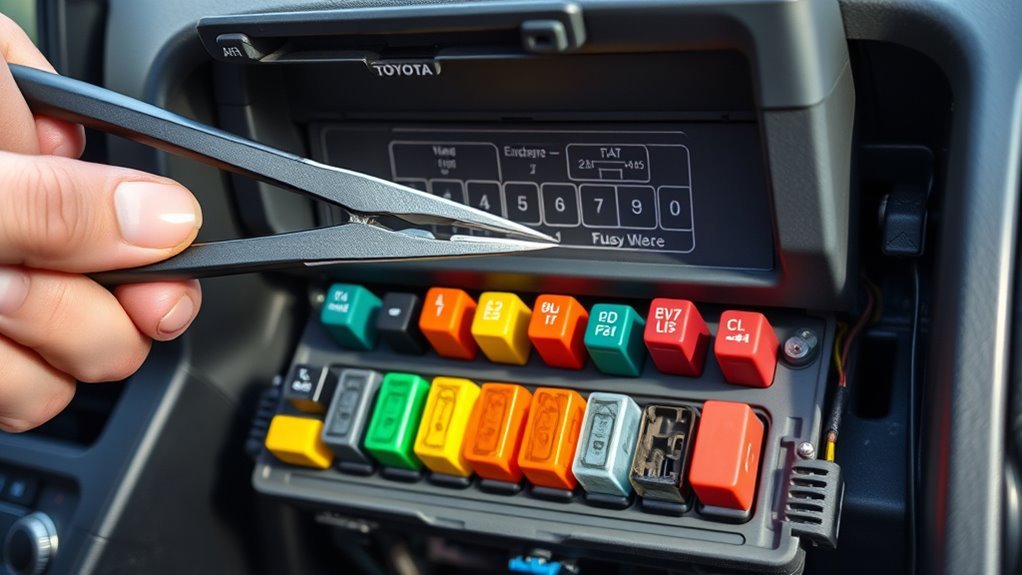
Find the fuse diagram on the inside of the fuse box cover or in your owner’s manual. The diagram links each fuse slot to a circuit, such as lights, power outlets, wipers, or audio. Match the fuse number and amp rating before you pull anything.
Fuse locations can change by model year and trim. A diagram from another RAV4 may not match your vehicle. Use your own cover diagram or manual as the final source.
Locate the Fuse Diagram
Open the fuse box cover and read the diagram printed on the underside. Look for the circuit name, fuse position, and amp rating. If the print looks faded or unclear, use the owner’s manual instead.
- Compare the diagram position with the physical fuse slot.
- Check the fuse color and the number stamped on top.
- Take a phone photo of the diagram before you start.
A quick photo helps you avoid wrong-slot errors and makes future checks easier.
Match Amp Rating Carefully
Use the diagram to confirm the fuse’s exact amp rating. Do not choose a fuse by color alone because color can help, but the stamped number and manual matter more.
| Step | Action |
|---|---|
| 1 | Read the diagram and note the amp rating |
| 2 | Compare the fuse type, color, and stamped number |
Install a replacement that matches the required amp rating exactly. Never use a higher-amp fuse. A higher rating can let too much current pass through the wiring before the fuse opens.
Match the physical type too, such as low-profile mini, mini blade, or micro fuse. If the new fuse does not fit cleanly, you likely have the wrong type.
What Tools and Safety Steps You Need
Before you touch a fuse, turn the vehicle off, remove the key, and confirm the fuse location in the owner’s manual. Keep your hands dry and work in good light. Do not let metal tools touch two terminals at once.
- Gather the owner’s manual, a flashlight, insulated gloves, a plastic fuse puller, and matching spare fuses.
- Turn the ignition off and keep the smart key away from the vehicle.
- Confirm the replacement fuse’s amp rating and body style.
- Stay away from orange hybrid high-voltage parts and cables.
Keep a small fuse assortment in the vehicle only if it includes the right types for your RAV4. Store spare fuses in a dry case so the contacts stay clean.
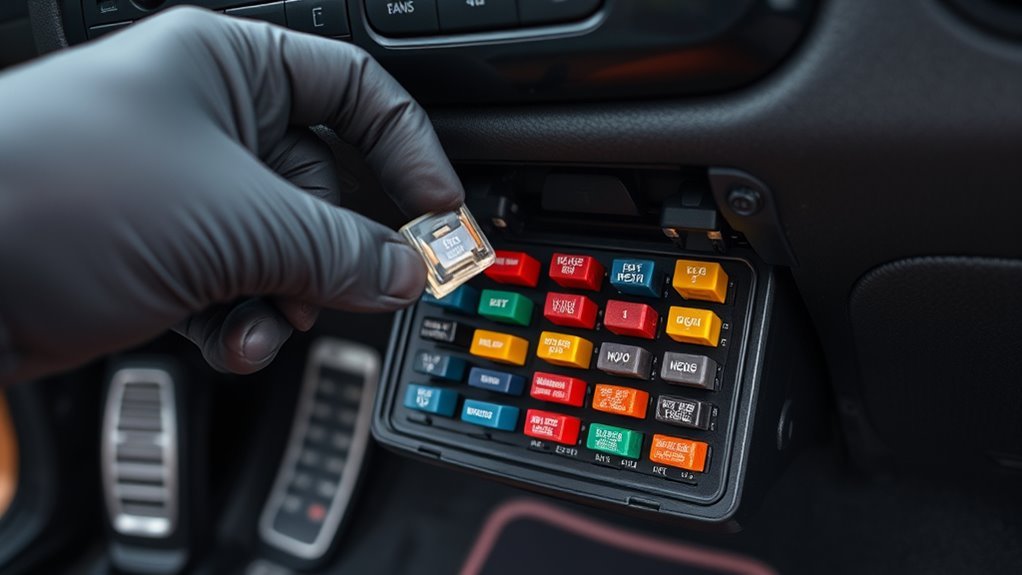
Remove and Inspect the Fuse
Locate the correct fuse box and remove the cover. Grip the suspected fuse with a plastic fuse puller. Pull the fuse straight out so you don’t bend the holder or loosen nearby fuses.
Inspect the metal strip through the clear fuse body. A broken, burnt, or melted strip usually means the fuse has blown. An intact strip suggests the fuse may still work, but a multimeter gives a more reliable test.
Check the amp rating stamped on the fuse before you discard it. Keep the old fuse until you confirm the replacement works. This helps you compare the type and rating one more time.
Install the New Fuse and Test the Circuit
Align the replacement fuse with the same slot and press it straight down until it seats firmly. The fuse should sit level with nearby fuses of the same style. If it sits high or feels loose, remove it and recheck the type.
- Verify seating: Look at the fuse and confirm the blades sit fully in the holder.
- Restore power: Turn the vehicle back on only after you clear tools from the area.
- Operate the circuit: Test the affected feature, such as lights, radio, outlet, or wipers.
If the circuit works, close the fuse box cover until it clicks. If the fuse blows again, do not install another one. A repeated failure points to a short, bad component, moisture, or damaged wiring.
When Fuses Keep Blowing: Troubleshooting Checklist
A fuse that fails again needs diagnosis, not more spare fuses. Start with basic safety. Turn the vehicle off, remove the key, and avoid probing circuits near hybrid high-voltage components.
- Check the fuse box for moisture, corrosion, melted plastic, or burnt smell.
- Inspect nearby wiring for rubbed insulation, loose terminals, or exposed copper.
- Disconnect the affected accessory only if the manual allows safe access.
- Test the circuit with the correct fuse installed and the load isolated.
- Call a qualified technician if the fault repeats or affects a safety system.
Do not upsize the fuse to stop repeated failures. That removes the circuit’s protection and can raise the risk of wiring damage.
Frequently Asked Questions
Can I Drive With a Blown Fuse Until I Replace It?
You can drive only if the blown fuse affects a noncritical feature and the vehicle still operates safely. Do not drive if the fuse controls headlights, brake lights, wipers, airbags, charging, cooling, or other safety-related systems. Replace the fuse or get service before driving.
Are OEM and Aftermarket Fuses Interchangeable in My RAV4?
You can use a reputable aftermarket fuse if it matches the required type and amp rating exactly. Original equipment manufacturer (OEM) fuses offer the safest fit when you feel unsure. Avoid no-name fuse kits with unclear markings.
How Do I Tell a Micro2 Fuse From a Mini Blade Fuse?
A Micro2 fuse has a slimmer body and narrower blade spacing than a mini blade fuse. Compare the old fuse with the replacement before you install it. If the fit does not feel right, stop and check the manual or parts listing.
Will Pulling a Fuse Erase Any ECU or Radio Codes?
Pulling one fuse usually affects only the circuit that fuse protects. Some modules may reset settings if you interrupt their power supply, but many stored diagnostic codes remain in memory. Use a scan tool if you need to confirm stored codes.
Is It Okay to Use Electrical Tape Instead of Replacing a Fuse?
No. Electrical tape cannot replace a fuse and cannot protect a circuit from excess current. Install the correct fuse, or leave the circuit off until you can repair the fault safely.
Safety Disclaimer: This article is for informational purposes only and does not replace professional automotive advice. Always consult your owner’s manual or a qualified technician before working near electrical systems, hybrid components, or safety-related circuits.
Conclusion
A blown RAV4 fuse is a small part, but it protects a circuit from bigger damage. Use the diagram, pull the fuse safely, and match the replacement by type and amp rating. If the same fuse blows again, treat it as a warning sign instead of a quick repeat repair. Your next step is simple: check the manual first, replace only the correct fuse, and get help when the fault points beyond the fuse itself.
References
- 2024 RAV4 Hybrid Owner’s Manual, Toyota Motor Sales, U.S.A., 2024.
- 2019 RAV4 Owner’s Manual, Toyota Motor Sales, U.S.A., 2019.
- Toyota Owner’s Manual, Checking and Replacing Fuses, Toyota Motor Sales, U.S.A.
- Hybrid System Electrical Safety Precautions, NHTSA hosted Toyota/Lexus technical service document, 2014.