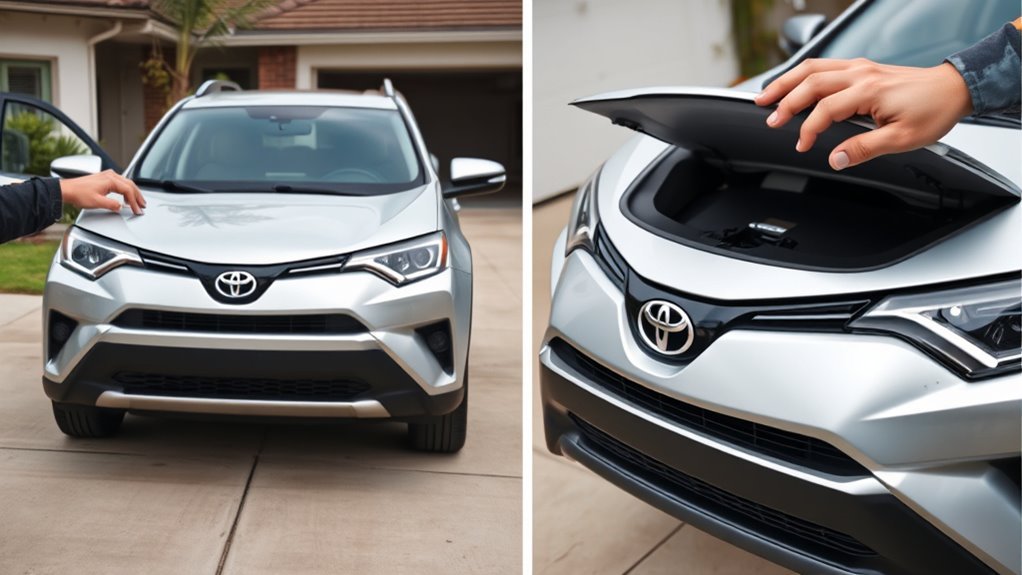
Pull the interior hood release lever on the driver’s side dash to pop the hood. Walk to the front, lift the bonnet slightly, find the secondary latch under the grille, push it left and lift the hood fully while confirming the latch is disengaged. Secure the hood with the prop rod or support arm in its slot. Close by lowering to about a foot then pressing firmly to latch. Continue for troubleshooting, safety checks, and model-specific notes.
Quick Answer: Find the RAV4 Hood Release Lever
Locate the hood release lever on the driver’s side dashboard, just left of the steering wheel; pull the lever upward to pop the hood slightly, then walk to the front of the vehicle, push the secondary release under the hood to the left, lift the hood fully, and secure it with the prop rod before working. You’ll note the RAV4’s hood design favors clear access: the primary lever sits within reach inside, the secondary release is tucked beneath the hood edge to prevent accidental opening. Approach with purpose, feel the give when the primary release operates, then confirm the secondary release clicks leftward to free the latch. This two‑stage release mechanism balances safety and quick access so you can act decisively. Once the hood’s up and the prop rod’s engaged, you’ve reclaimed control over maintenance and inspection. Inspect visually for secure seating of the prop rod and stable hood alignment before proceeding with tasks that move you closer to vehicular autonomy.
Step‑By‑Step: Pull the Interior Release From the Driver’s Seat
Sit in the driver’s seat and reach to the left side of the dashboard near the door; you’ll find the bonnet release lever there. Position yourself so the interior controls are within easy reach, maintaining an upright posture for clear visibility and assertive action. Grasp the bonnet release lever firmly with one hand.
Pull the lever upward in a single, decisive motion. You’ll hear a slight pop as the bonnet disengages from the primary catch. That sound confirms the mechanism has released; don’t assume release without it. Keep your other hand free to steady yourself if needed.
Close the driver’s side door before exiting the vehicle to preserve driver safety and prevent accidental interference while you move to the front. Locking the door isn’t required, but verify it’s shut. Move to the front of the RAV4 to complete the process, confident that you’ve executed the interior step correctly and have control of the vehicle’s bonnet system.
Release the Secondary Latch at the Front of the Car
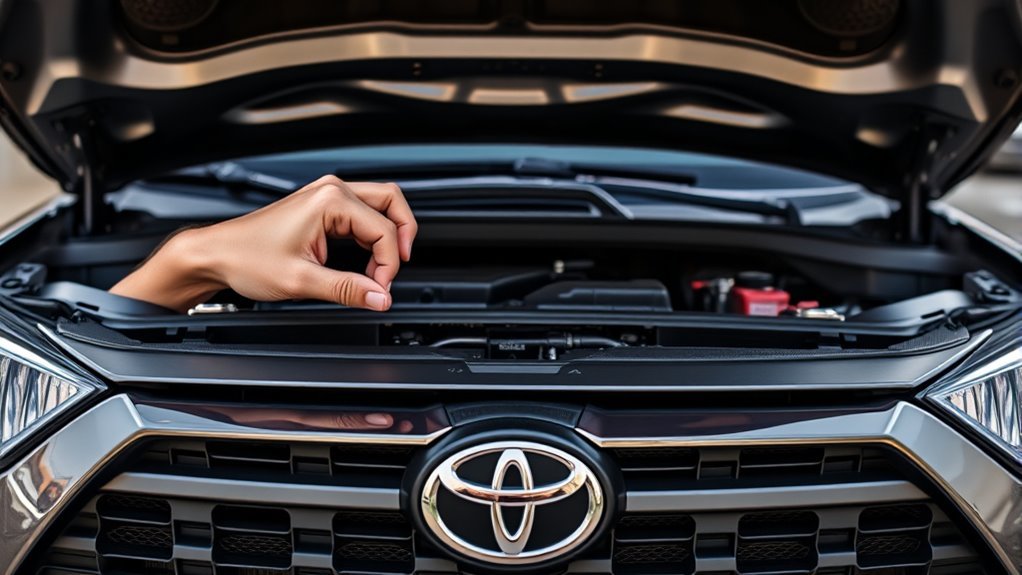
At the front of the RAV4, lift the bonnet a few inches with one hand so you can reach beneath the central edge to the secondary latch; keep a firm grip on the bonnet at all times. Position yourself centered, fingers sliding under the bonnet to locate the secondary latch mechanism just under the central lip. This is a deliberate, simple control; you’ll feel a small tab or lever.
Push the latch to the left with a decisive, controlled motion while your free hand supports upward pressure on the bonnet. The latch will disengage the catch; don’t force the bonnet open until you confirm release. The secondary latch exists for safety feature importance — it prevents accidental opening while driving — so always verify you’ve fully released it before proceeding. If the latch feels stuck, recheck your grip and reposition your fingers rather than applying excessive force. Once disengaged, you’ll be ready to lift the bonnet fully in the next step.
Lift the Hood and Confirm the Latch Is Fully Disengaged
Lift the bonnet slowly with one hand while you push the secondary latch to the left with the other, ensuring the catch fully releases before raising the hood all the way. With the bonnet lifted a few inches, feel beneath the front edge to locate the secondary latch—centered or slightly offset depending on latch types—and confirm it’s disengaged. Maintain gentle upward pressure as you actuate the latch so you don’t let it snap closed; you’re verifying full release, not forcing alignment. Check hood alignment visually: the gaps at the fenders and grille should remain even as you raise it. If resistance persists, lower the bonnet slightly, re-seat the primary release, and repeat the leftward push on the secondary latch. Continue only once the bonnet moves freely and the catch clears. This controlled method keeps you safe and preserves the mechanism, letting you proceed confidently to inspect the engine bay without compromising your autonomy or the vehicle’s components.
Secure the RAV4 Hood With the Support Arm or Prop Rod
Locate the support arm or prop rod near the hinge on one side of the bonnet and swing it into the designated slot on the bonnet’s underside so it locks in place, preventing the hood from collapsing while you work. You’ll feel or hear a click when the support arm seats correctly. Confirm the prop rod is fully engaged and vertical; this secures access and frees your hands for inspection or repair. If the rod isn’t stable, reposition it and re-seat until firm. Never rely on fingers or improvised objects—use the factory support arm or prop rod only. Before leaning over the engine bay, double-check the connection; your safety and independence depend on this simple act. When tasks are complete, you’ll remove the rod and stow it back at the hinge before lowering the bonnet. Maintain control, work confidently, and treat the support arm as essential safety equipment.
| Item | Action |
|---|---|
| Locate | Find near hinge |
| Seat | Insert in slot |
| Confirm | Listen for click |
| Verify | Check vertical stability |
| Stow | Return to hinge |
[Products Worth Considering]

Protect your Toyota RAV4 interior with this custom‑fit windshield sun shade that blocks 99% of harmful UV rays and reduces cabin heat. The mirror cut‑out ensures a seamless fit without gaps, while durable 240T polyester and bendable wire keep it sturdy through repeated use. Foldable and stored in a convenient pouch, it offers easy installation and removal for everyday comfort.

The Autovir windscreen shade offers full windshield coverage for Toyota RAV4 models from 2019 to 2026, blocking up to 99.95% of UV rays and reducing interior heat. Its multi‑layer reflective material provides SPF 100 and UPF 80+ protection while keeping the dashboard, seats, and steering wheel cooler. The foldable design installs quickly and stores conveniently in the glove box, and reinforced stitching ensures long‑lasting durability for daily use.

Upgrade your 2026 Toyota RAV4 interior with this soft, breathable armrest cover that offers full protection against scratches, dirt, and wear. Made from eco‑friendly material, it fits the console perfectly and stays securely in place with elastic straps. Installation is tool‑free, providing added comfort and reducing fatigue during long drives.
How to Close the Hood Correctly So It Latches
Make sure no tools or loose items remain in the engine bay before closing the hood. Lower the hood gently to about a foot above the latch, then let it drop and press down firmly with both hands on the front edge to engage the latch. Verify the hood is secure by pulling up slightly and inspect the latch mechanism periodically for debris or damage.
Lower Hood Gently
Lower the hood slowly until it’s about a foot above the latch, keeping it aligned with the vehicle body to prevent binding; then let it drop lightly so the latch can engage, and press down firmly in the center to seat the striker—finally, pull up gently on the hood to verify it’s fully latched.
Use hood alignment tips: stand centered, sight along the panel gaps, and correct any skew before lowering. Employ gentle lowering techniques—control the descent, avoid side-to-side motion, and let gravity seat the latch rather than forcing it. Once the hood meets the latch, allow the mechanism to engage without slamming. After seating, perform a final pull-up check to confirm security. These precise steps free you from worry on the road and guarantee safe, reliable closure.
Press Firmly To Latch
Stand centered at the front of the RAV4, place both hands near the hood’s center, and press down firmly until you hear a clear click indicating the latch has engaged. Maintain even pressure to guarantee hood alignment; an off-center push can prevent the latch mechanism from seating. Before pressing, scan the closure path and remove any debris that could obstruct engagement or damage the striker. If you don’t hear the click, repeat with controlled force—don’t slam—or inspect the latch mechanism for visible wear or blockage. Persistent failure to latch after multiple, careful attempts signals a potential mechanical issue; consult the vehicle manual or a qualified technician. Close confidently and deliberately to reclaim control over your vehicle’s security.
Verify Secure Closure
After lowering the hood to within a few inches of the latch, press down firmly with both hands until you hear a distinct click; this engages the primary latch and guarantees correct alignment. Confirm closure with a quick, decisive check so you’re free to move without worry.
- Try lifting the hood gently—if it stays put, the latch engaged correctly; if it moves, reopen and repeat the push.
- If it fails to secure, perform latch inspection: clear debris, check for bent components, and verify striker alignment.
- Incorporate hood maintenance into your routine: clean the latch area, lubricate moving parts sparingly, and schedule repairs if corrosion or damage appears.
These steps give you control and safety—secure closure, clear conscience.
If the Hood Won’t Open or Latch Properly : Troubleshooting
If the release lever feels stuck, firmly pull it while you inspect the cable for kinks or frays that indicate a break. If the hood pops but won’t lift, check the latch area for debris or corrosion and have someone pull the lever while you gently lift the hood to free a jammed catch. When the hood won’t stay latched after closing, clear any foreign material and apply lubricant to the latch mechanism to restore smooth engagement.
[Products Worth Considering]
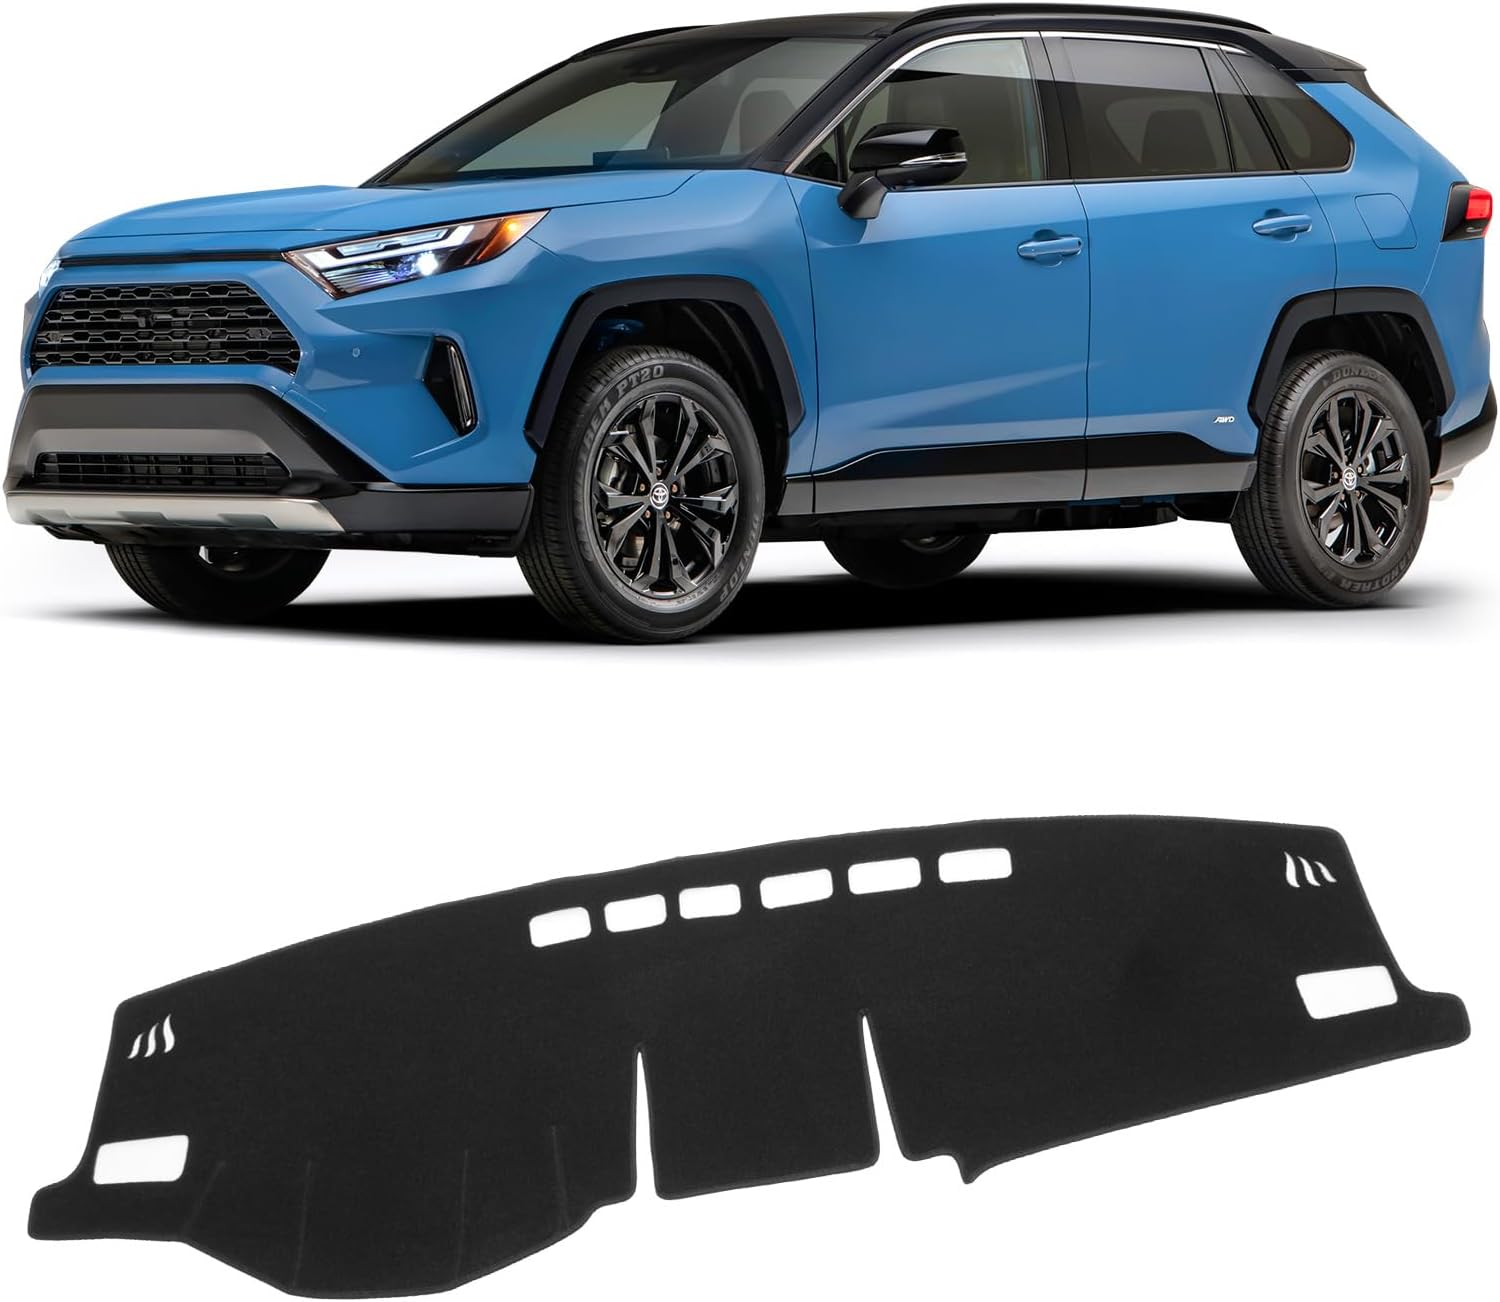
The KUST Black Dashboard Cover Mat offers a custom, eco‑friendly fit for Toyota RAV4 models from 2019 to 2025, protecting the dash from UV damage, scratches, and glare. Made from post‑consumer recycled polyester with a silicone anti‑slip underside, it stays soft, breathable, and odorless while securely adhering to the surface. Installation is quick and reversible, and the foldable design allows easy storage when not in use.

The TPXSIUE passenger storage organizer mat provides a custom‑fit, non‑slip silicone tray that keeps items secure and the console tidy. It slides into the grab‑handle slot without tools, protecting the interior from scratches and rattles while offering easy access to pens, gum, and other essentials. Designed for RAV4 models from 2019 to 2024, it delivers a perfect OEM‑like fit and enhances vehicle organization.
Stuck Release Lever
Try pulling the release lever gently while someone presses down on the hood to relieve pressure on the latch; this often frees a stuck mechanism. You want to liberate the hood with controlled force and clear intent. Begin a quick release mechanism and latch inspection sequence:
- Visually inspect the latch area for debris or corrosion; remove obstructions and test the lever while pressing the hood down.
- Examine the cable for frays, kinks, or disconnection; a damaged cable prevents release and needs replacement.
- If it still won’t open, have an assistant pull the lever while you carefully pry the latch from underneath with a flathead; stop if resistance risks damage.
If persistent, get professional help to avoid harming the release mechanism or hood.
Jammed Hood Latch
Check the hood release and latches for jams by first pulling the interior lever while a helper applies gentle downward pressure on the hood to relieve latch tension; this often lets the primary latch clear. If it stays stuck, inspect the hood release cable for kinks or corrosion and lubricate with a light penetrating oil. Visually check primary and secondary latches for debris, rust, or misalignment; clean with a brush and solvent. If the hood opens only partway, verify hinge alignment and adjust bolts as needed to restore travel. When accessible, carefully use a flat tool beneath the hood to manually trip the secondary latch, avoiding damage. Perform routine latch maintenance to prevent recurrence and reclaim control of your vehicle.
Model‑Year and Region Differences That Affect Opening (Bonnet vs Hood)
Because terminology and mechanisms can vary by region and model year, you should confirm whether your RAV4 uses a “hood” or “bonnet” release and what type of latch or support it has before attempting to open it. Learn the terminology differences and note any built-in safety features listed for your model year so you act with confidence and autonomy.
Confirm whether your RAV4 has a “hood” or “bonnet” release and which latch/support it uses before opening.
- Check region: North America manuals use “hood”; UK/Australia use “bonnet.” Use the correct term when asking for help or reading guides.
- Inspect model-year notes: Release lever location and secondary latch design can shift between years. Consult the owner’s manual for exact positions and diagrams.
- Identify supports: Some years include hydraulic lifts or different prop-rod setups. A hydraulic lift changes how you raise and secure the panel; a prop rod requires manual placement.
Follow these steps to eliminate confusion, reduce risk, and open the panel efficiently while asserting control over your vehicle maintenance.
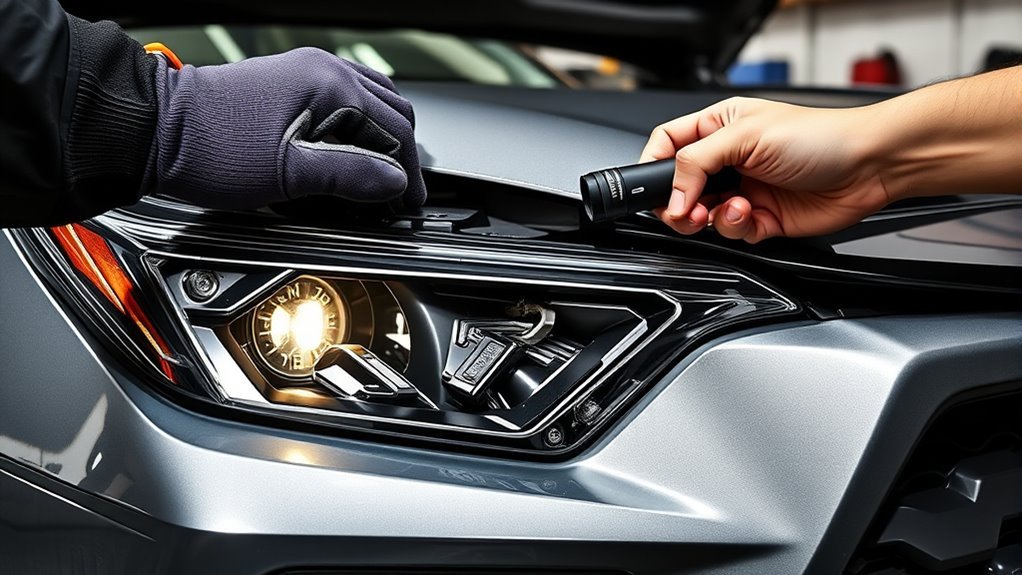
Safety Checks Before You Work in the Engine Bay
Before you open the hood, park on level ground, set the parking brake, turn the ignition off, and let the engine cool for at least 30 minutes to avoid hot components. Confirm the vehicle is stable and the ignition key is removed; this prevents accidental movement and electrical hazards. Engage gloves and safety goggles—personal protective equipment is nonnegotiable during engine maintenance. Visually inspect the engine bay for fluid leaks, frayed wiring, cracked hoses, or loose clamps; address obvious damage before further work. Smell for fuel or coolant odors that indicate active leaks; if detected, don’t proceed and seek repair. Keep flammable materials and loose clothing away from the bay. Note battery terminal condition and avoid shorting circuits when reaching inside. These safety precautions let you reclaim agency over routine maintenance while minimizing risk. Proceed only when you’ve verified stability, cooled components, protective gear, and absence of leaks or visible damage.
Frequently Asked Questions
Can I Open the Hood With the Key Fob or Remote?
No, you can’t open the hood with the key fob or remote; hood release requires manual interior lever access. For key fob functionality and remote access, use them for doors and trunk only—hood stays secured for safety.
Is There a Locking Device to Prevent Hood Theft?
Yes—you can install hood security measures: fit a keyed hood lock or latch shield, or weld a concealed cable theft prevention device to the latch assembly. You’ll follow precise steps, calibrate fit, and test secure operation.
Can I Use the Hood Release if the Interior Lever Is Broken?
Boldly bypass broken bars: you can’t use the interior hood release if it’s broken; instead, employ hood release alternatives like the emergency access cable pull, remote latch tool, or exterior keyed latch following safe, legal procedural steps for liberation.
How to Open the Hood After a Collision or Severe Damage?
You’ll assess collision damage, cut power, and free the hood latch manually: pry protective trim, release secondary catch with pliers or a long screwdriver, gently lever the hood open, and secure it before inspection or towing.
Are There DIY Replacement Parts for the Hood Support Arm?
Yes—you can buy aftermarket options for the hood support arm; you’ll order matched parts, follow installation tips, torque fasteners correctly, verify alignment, and test lift balance so you’ll reclaim control without depending on shops.
Conclusion
You’ve now got the steps to open, secure, and close your RAV4 hood safely — pull the interior release, free the secondary latch, lift and support the hood, then lower and latch it properly. If it sticks, troubleshoot cables, latch binding, or corrosion. Remember, “measure twice, cut once”: double‑check latches and supports before working under the hood to avoid injury or damage. Follow safety checks for a reliable, repeatable procedure every time.