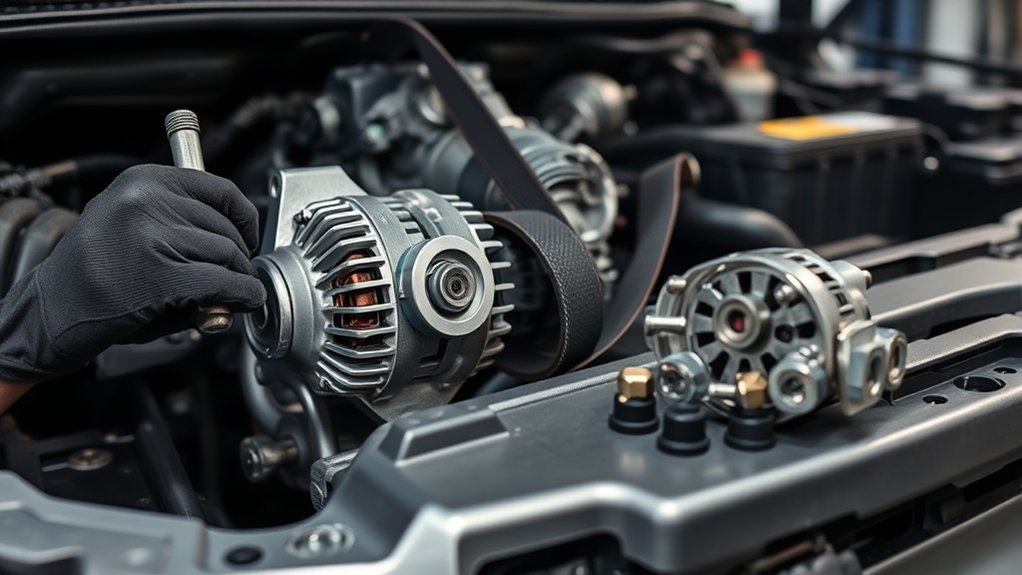
To replace a 2011 Toyota Tundra alternator, first confirm that the alternator is actually faulty, then identify the engine and factory amperage before ordering parts. The 4.6L and 5.7L V8 procedures require moving the power-steering vane pump aside, while the 4.0L V6 uses a different access path. After installation, verify charging output at the alternator and battery under load before driving.
Last updated: July 31, 2026 | By: Auto Review Nest Editorial Team
Editorial basis: Engine procedures and torque values were checked against Toyota service information, and charging-system tests were checked against DENSO guidance. Use VIN-specific Toyota repair data for the final procedure.
Quick Answer
On a 4.6L or 5.7L V8, disconnect the negative battery cable with a 10 mm wrench, remove the intake and lower splash shields, release the serpentine belt using a 14 mm wrench on the tensioner, unbolt and support the power-steering vane pump aside, disconnect the 10 mm B-terminal nut and wiring plug, remove the 14 mm mounting bolts, guide the alternator down past the sway bar, install the VIN-matched unit, and torque fasteners to factory specification.
Key Takeaways
- Test before replacing: a weak battery, loose cable, bad ground, slipping belt, or corroded connector can mimic a bad alternator.
- Match the alternator by VIN, engine, equipment, connector, pulley, and the output rating on the original unit. Toyota catalogs list 100A, 130A, and 150A configurations for this model year.
- Use loaded voltage and voltage-drop tests instead of judging the alternator from idle voltage alone.
- P0500 is a vehicle-speed-signal circuit fault. Toyota’s listed trouble areas do not identify the alternator as the direct cause.
- The detailed removal sequence below is V8-focused. Verify the engine-specific Toyota procedure and torque values before disassembly.
At a Glance
| Time Required | 2–4 hours for an experienced DIYer; longer if bolts are seized or diagnosis is needed |
| Difficulty | Moderate to advanced because access and fastener layout vary by engine |
| Engine Scope | Detailed steps: 4.6L (1UR-FE) and 5.7L (3UR-FE) V8; 4.0L V6 differences are identified separately |
| Tools Needed | 10 mm, 12 mm, 14 mm sockets/wrenches, 14 mm serpentine belt tool or breaker bar, 3/8-in drive torque wrench, digital multimeter, mechanic’s wire, jack, rated jack stands, wheel chocks, safety glasses |
| DIY Parts Budget | Commonly $180–$380 for an OEM-spec remanufactured or new alternator, plus belt or tensioner if worn |
Warning: Never work under a truck supported only by a floor jack. Park on level ground, set the parking brake, chock the rear wheels, and use properly rated jack stands at Toyota-approved support points. If the charging-system warning light is on, the battery is swollen, wiring is melted, or voltage is near 16 volts, stop driving and diagnose before continuing.
How Do You Diagnose a 2011 Toyota Tundra Alternator?
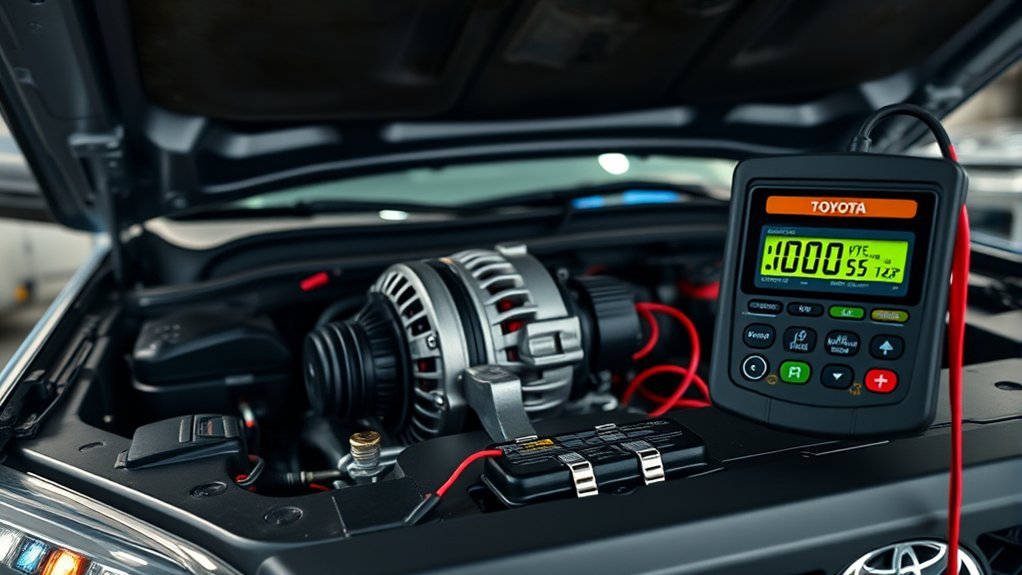
Start with the symptoms, but do not rely on symptoms alone. Flickering dash lights, a battery warning light, dim or unusually bright headlights, repeated jump-starts, whining bearing noise, or a battery that keeps going dead can point toward the alternator. They can also point toward a weak battery, poor ground, loose belt, bad fusible link, or damaged cable.
Begin with a fully charged battery. DENSO uses 12.6 volts or more as the open-circuit starting point for battery performance testing. For the alternator output test, raise engine speed to about 2,000 rpm, measure at both the alternator and battery, and switch on major electrical loads. DENSO’s broad test range is 13–15 volts, but the Toyota service specification for the exact engine and production date controls.
A useful diagnosis compares voltage at two places. If alternator-terminal voltage is healthy but battery-post voltage is lower, the problem may be resistance in the charge cable, fuse/fusible link, terminal, or ground path rather than the alternator itself. Use the 2011 Toyota Tundra owner resources and Toyota repair information for model-specific warnings and procedures.
- Check battery condition: Inspect for swelling, leaking, corrosion, loose terminals, and low resting voltage (12.6V resting is fully charged).
- Check the belt: Look for cracks, glazing, oil contamination, missing ribs, or a weak tensioner.
- Check output: Measure voltage at idle and again at 2,000 rpm with headlights, blower motor, and rear defogger on.
- Check voltage drop: At about 2,000 rpm with electrical loads on, test the alternator output stud to battery positive and the alternator case to battery negative. DENSO specifies 0.2 volt or less on each side.
- Scan for codes: Record codes and freeze-frame data before clearing anything.
Diagnostic boundary: Do not use P0500 as proof that the alternator is bad. Toyota defines P0500 as a missing vehicle-speed signal to the ECM and lists the speed-signal circuit, wheel-speed sensor, combination meter, skid-control ECU, and ECM as trouble areas. Diagnose the charging system and P0500 as separate faults unless testing shows a shared power or ground problem.
Which Alternator Fits a 2011 Toyota Tundra?
Do not order by year and trim alone. The 2011 Tundra was sold with 4.0L V6, 4.6L V8, and 5.7L V8 engines, and Toyota parts data shows multiple generator outputs. The correct choice depends on VIN-coded equipment and the original unit, not simply whether the truck is labeled SR5, Limited, or Platinum.
| Configuration Check | What the Catalog Shows | Ordering Rule |
|---|---|---|
| 4.0L V6 (1GR-FE) | 100A applications are listed | Confirm VIN, production date, connector, pulley, and original label |
| 4.6L (1UR-FE) or 5.7L (3UR-FE) V8 | 100A, 130A, and 150A applications appear across equipment combinations | Do not assume every tow-package truck or every V8 uses the same output |
| Any engine | Mounting, terminal, connector, and pulley details must match | Use the VIN and compare the replacement unit directly with the removed alternator |
Match these items before installation:
- VIN, engine code, drivetrain, cab, grade, and production date
- Tow package, rear entertainment, and other factory electrical equipment
- 100A, 130A, or 150A rating on the original alternator casing label (e.g., Denso part markings)
- Pulley type and rib count (confirm 6-groove or 8-groove pulley match)
- Electrical connector shape and charge-stud location
- Mounting ears, spacers, studs, and dowel alignment
For current OEM part lookup, use Toyota Genuine Parts, a Toyota dealer catalog, and the label on the original alternator. Enter the VIN whenever the catalog offers VIN lookup.
[Products Worth Considering]

Built for demanding automotive and repair tasks, this 247-piece mechanics tool set combines ratchets, sockets, combination wrenches, hex keys, and specialty bits to handle a wide range of jobs. The 72-tooth ratchets offer smooth control in tight spaces, while DirectTorque Technology helps reduce fastener rounding for more confident turning. A durable metal-latch case and full-polish chrome finish add convenient storage and long-lasting corrosion resistance.
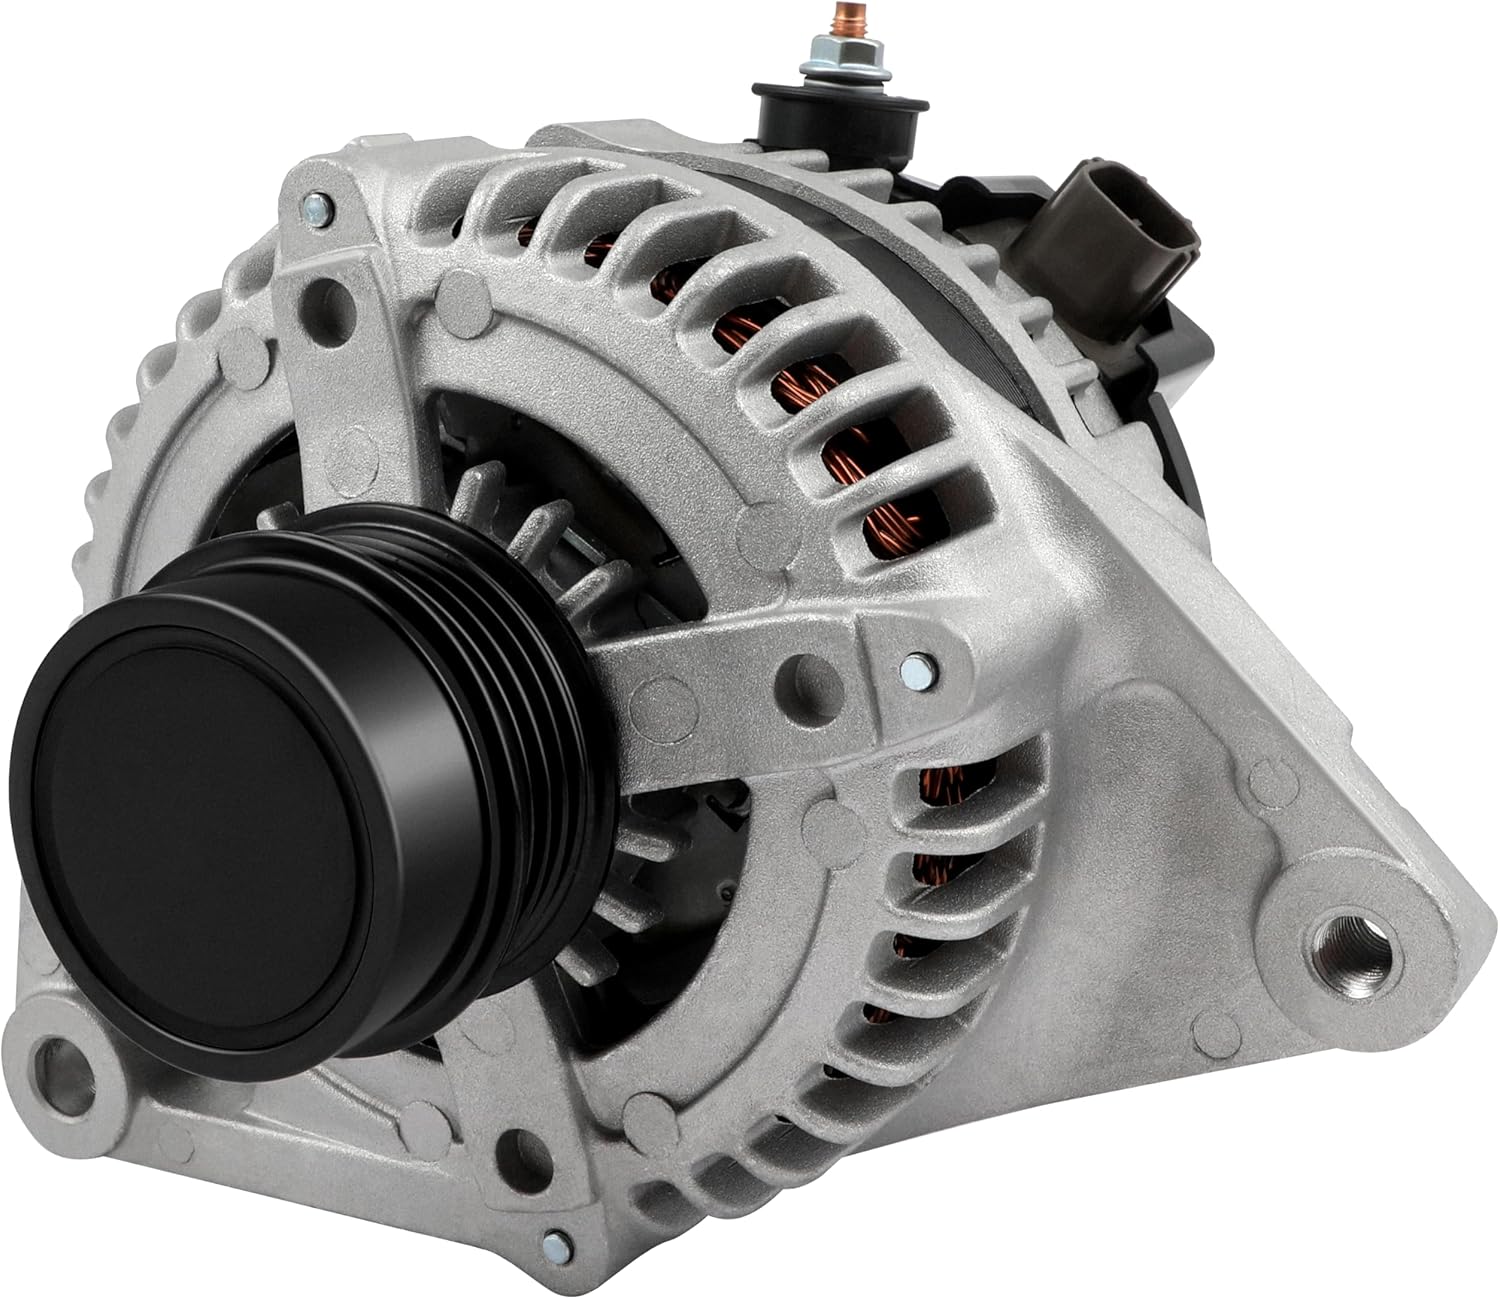
This high output alternator is designed to fit select Toyota, Scion, and RAV4 2.5L applications, delivering reliable charging performance for everyday driving. Built with a 12-volt, 100-amp design and precision-engineered components, it helps support battery recharge, stable electrical output, and consistent operation when your vehicle shows signs of charging issues.

This automotive test light combines a bright LED voltage display with quick polarity indication for fast, accurate circuit checks in a wide range of vehicle systems. It helps diagnose battery, charging, lighting, and fuse issues with a sharp stainless probe, long spring wire, and easy-to-use alligator clip for efficient troubleshooting.
What Tools and Parts Do You Need?
Have every tool on hand before the truck is lifted. Tight alternator access is the main challenge, and stopping mid-job to hunt for a wrench makes mistakes more likely.
| Category | What to Prepare |
|---|---|
| Hand tools | 10 mm socket/wrench (battery and B-terminal nut); 12 mm socket (wire bracket); 14 mm deep socket and combination wrenches (alternator and power-steering pump mounting); 14 mm serpentine belt tool or long-handle breaker bar; 3/8-in drive ratchet and long wobble extensions. |
| Precision tools | Calibrated torque wrench (covering 9 N·m to 45 N·m range), digital multimeter, OBD2 scan tool, belt-routing photo or diagram. |
| Support gear | Floor jack, heavy-duty rated jack stands, wheel chocks, mechanic’s wire or bungee cords (to hang power-steering pump), small parts organizer tray. |
| Parts | VIN-matched replacement alternator, replacement serpentine belt (if cracked or glazed), new charge-terminal nut if supplied. |
| Safety | Nitrile gloves, impact-rated safety glasses, insulated battery-terminal cover or shop towel. |
Pro Tip: Take photos of the belt routing, wiring connector, charge-stud orientation, bracket stack-up, and power-steering pump position before disassembly. These photos are faster than guessing during reassembly.
[Products Worth Considering]
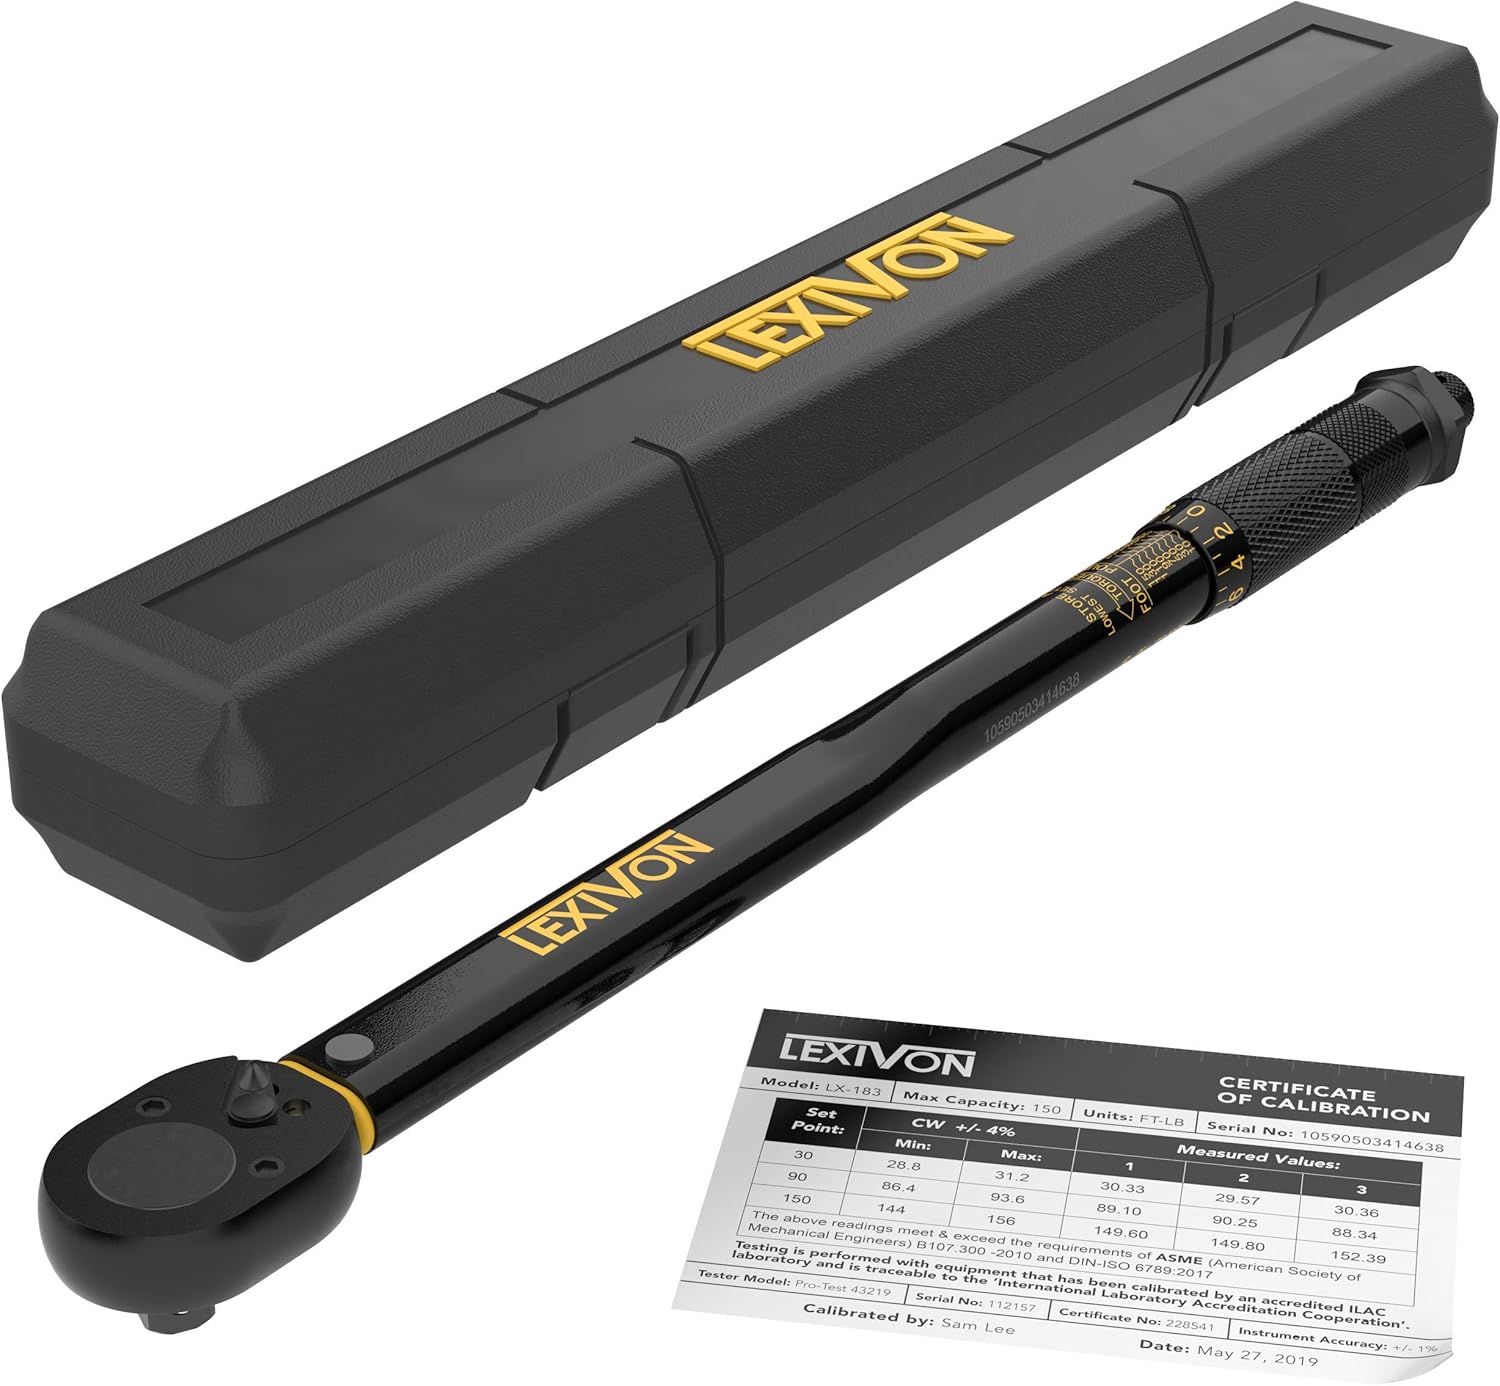
The LEXIVON 1/2-inch drive click torque wrench delivers accurate, dependable tightening for automotive and mechanical jobs with pre-calibrated precision. Its dual-range scale, reversible ratchet head, and ergonomic knurled handle make it easy to set, read, and use comfortably in a variety of applications. Built with hardened chrome vanadium steel and a corrosion-resistant finish, it is designed for lasting performance and reliability.

This GEARWRENCH 120XP ratchet set delivers exceptional speed and access with a 3° swing arc and flexible heads that reach fasteners in tight, awkward spaces. Dual-material comfort grips provide added leverage and control, while the compact head design helps you work more easily where standard ratchets cannot. Built with double-stacked pawls and a durable chrome finish, these ratchets are made for strength, smooth operation, and long-lasting use.

This all-in-one automotive service kit includes five essential tools for removing trim clips, electrical connectors, wire terminals, and hose clamps. Built for durability and control, it helps reduce damage during interior trim work, wiring repairs, and engine bay maintenance. Its ergonomic design is ideal for tight spaces, making it a practical choice for both DIY users and professional mechanics.
How Do You Prepare the Truck Safely?
Park the Tundra on a flat surface, set the parking brake, and chock the rear wheels. Open the hood and disconnect the negative battery cable first using a 10 mm wrench. Isolate the cable so it cannot spring back and touch the terminal. Remove the positive cable only if the repair area requires it.
- Turn the ignition off, remove the key, and disconnect the negative battery cable with a 10 mm wrench. Keep the cable isolated.
- For the V8 procedure, remove the upper engine V-bank cover, air-cleaner hose, and air-cleaner assembly as specified in Toyota service information.
- Lift the front of the truck at approved frame lifting points and securely seat rated jack stands beneath the frame.
- Gently rock the truck by hand to confirm stability before positioning yourself underneath.
- Remove the front engine under cover (skid plate/splash shield) and the passenger/driver side fender-apron splash seals needed for direct access. Keep clips and bolts organized by location.
Do not place jack stands under suspension arms, thin sheet metal, or any point that can bend or slip. If you are unsure about the correct lift and support points, use the Toyota owner manual and service information before crawling under the truck.
How Do You Release and Reinstall the Serpentine Belt?
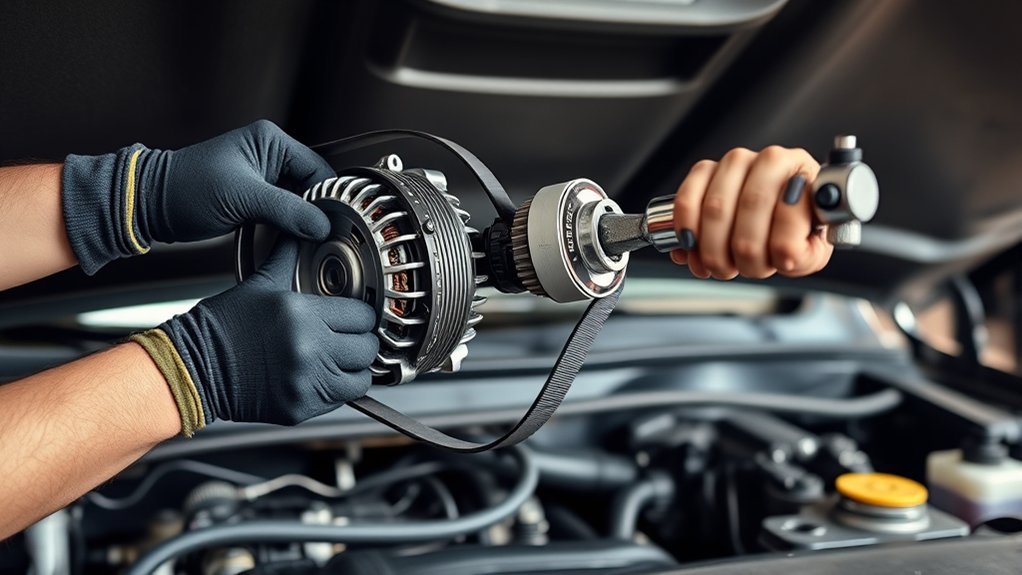
From below or through the front wheel arch, locate the automatic serpentine belt tensioner. Fit a 14 mm socket or belt-tensioner tool onto the tensioner pulley center bolt or cast release hex. Rotate the tensioner counterclockwise to relieve spring tension. Slip the belt off the alternator pulley first, then slowly release the tensioner arm. Do not allow the tool to snap back under spring tension.
If the belt is being reused, mark its rotation direction and inspect it carefully. Replace it if ribs are missing, the backing is cracked, it is oil-soaked, or the belt has a glazed surface. A slipping belt can create low charging voltage even with a good alternator.
Before reassembly, route the belt using the under-hood diagram or the photo you took before removal. Make sure every rib sits squarely inside every pulley groove. A belt that is misaligned by even one rib can shred quickly and damage adjacent wiring harnesses.
How Do You Move the Power-Steering Pump on V8 Models?
Toyota’s 4.6L (1UR-FE) and 5.7L (3UR-FE) V8 generator-removal procedures call for unbolting the vane pump assembly before removing the alternator. This does not apply to the 4.0L V6 procedure. Keep the hydraulic hoses connected to avoid bleeding the power-steering system.
- Confirm the battery is disconnected and the belt has been removed from the generator pulley.
- Disconnect the power-steering oil-pressure switch connector and any specified wire harness clips.
- Remove the power-steering vane-pump mounting bolts (14 mm) shown in the engine-specific procedure.
- On a 4.6L or 5.7L truck equipped with the factory tow package, check whether the oil-cooler line bracket must also be unbolted for clearance.
- Move the pump body forward and outward just far enough to clear the alternator mounting bolts.
- Support the pump securely with mechanic’s wire to the frame rail so the rubber hoses do not bear its weight or kink.
Warning: Do not disconnect hydraulic power-steering hoses unless you are prepared to catch fluid, replace crush washers, and bleed the system. For alternator replacement, the pump should only be unbolted and supported aside.
How Do You Disconnect and Unbolt the Alternator?
With the battery disconnected, remove the generator connector, terminal cap, B-terminal nut, charge cable, and wire-harness bracket in the order shown for the engine. Do not pull on the wires, and do not assume the V6 and V8 use the same fastener count or access angle.
- Flip open the protective rubber terminal cap from the alternator B-terminal stud.
- Using a 10 mm socket, remove the B-terminal charge-wire nut and position the heavy cable safely away from ground.
- Squeeze the lock tab and disconnect the 4-pin alternator control harness plug.
- Remove the 12 mm wire-harness bracket bolt and unclip the harness from the alternator housing.
- Inspect the connector pins, cable eyelet, and terminal boot for signs of heat damage, corrosion, or oil contamination.
- Support the alternator from below, then remove the lower and upper 14 mm mounting bolts. Keep them in installation order as lengths may vary.
Loosen the bolts in stages. If the alternator binds on its mounting dowels, leave one bolt threaded a few turns while you wiggle the housing free. That keeps the alternator from dropping suddenly.
How Do You Remove the Alternator Without Damaging Nearby Parts?
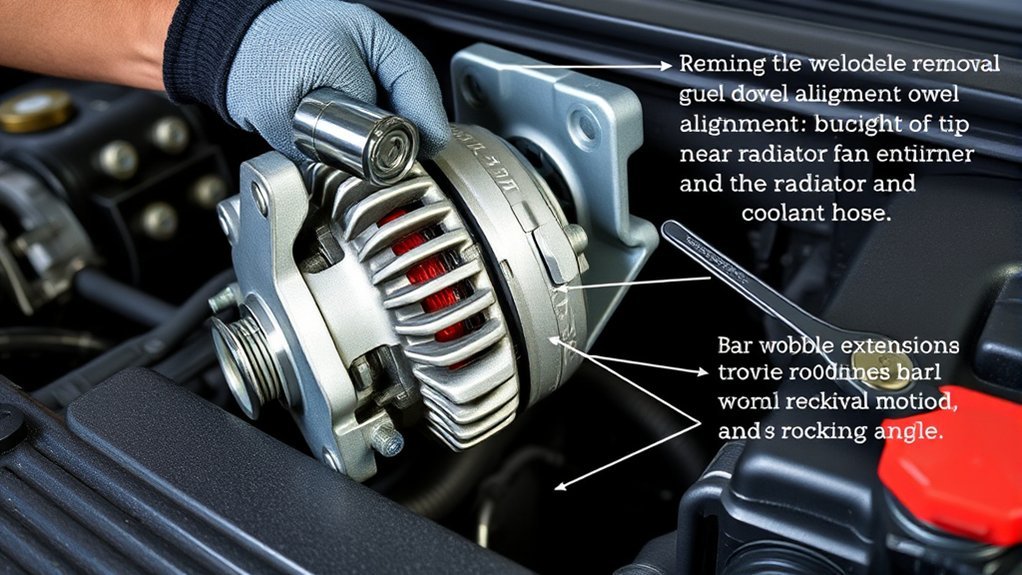
The alternator may feel stuck even after the bolts are out because the rear mounting ear incorporates a split-collar compression sleeve that clamps down tightly against the engine bracket. Support the alternator with one hand and gently rock it side to side to free it from the bracket dowel.
Guide the alternator down through the lower engine bay opening, maneuvering it between the sway bar, front frame rail, and lower radiator hose. Rotate the alternator pulley-downward to clear adjacent bracketry. If it hangs up, check immediately for snagged wiring harnesses rather than forcing the unit through.
How Do You Install and Torque the New Alternator?
Compare the old and new alternators on the bench before installation. The mounting ears, pulley rib count, charge stud, connector orientation, and housing dimensions should match exactly.
Mechanic’s Tip (Compression Bushing): Before installing the new unit, inspect the rear mounting ear. If the steel compression bushing is pressed inward, place a bolt and socket over the bushing and tap it outward 1–2 mm. This widens the gap, allowing the alternator to slide smoothly over the engine bracket without scratching dowels.
- Clean the engine bracket mounting surfaces and dowel areas with a clean rag.
- Guide the new alternator up into position from beneath the truck.
- Seat the alternator squarely on the mounting bracket and dowel pins.
- Hand-start all 14 mm mounting bolts and run them down fully before tightening.
- Torque mounting bolts to factory specification using a calibrated torque wrench.
- Reconnect the alternator 4-pin harness plug until it clicks firmly into place.
- Attach the B-terminal eyelet, torque the 10 mm nut to specification, and snap the rubber insulator boot securely over the stud.
The following torque values apply directly to the 2011 5.7L 3UR-FE and 4.6L 1UR-FE service procedures:
| Fastener Location | Fastener Size | Toyota Service Value |
|---|---|---|
| Generator mounting bolts and nuts | 14 mm | 43 N·m (32 ft-lb) |
| Generator B-terminal wire nut | 10 mm | 9.8 N·m (87 in-lb / 7.2 ft-lb) |
| Wire-harness bracket bolt | 12 mm | 31 N·m (23 ft-lb) |
| Power-steering vane-pump mounting bolts | 14 mm | 28 N·m (21 ft-lb) |
Verify all values for your specific VIN and engine code in the Toyota Technical Information System before final assembly.
Note: The small 10 mm B-terminal nut requires inch-pound torque. Over-tightening this stud nut will crack the internal rectifier plate or strip the copper threads.
What Should You Check During Reassembly?
Before reconnecting the battery, inspect the job methodically. Most immediate post-repair issues stem from an unseated harness connector, a belt offset by one rib, or a pinched wire harness.
- Confirm all alternator mounting bolts are torqued to 43 N·m (32 ft-lb).
- Confirm the B-terminal nut is torqued to 9.8 N·m (87 in-lb) and sealed with its rubber boot.
- Confirm the 4-pin control plug is fully locked.
- Reposition the power-steering pump, hand-start all bolts to avoid cross-threading aluminum threads, and torque to 28 N·m (21 ft-lb).
- Route the serpentine belt around every pulley, rotate the tensioner, and release tension slowly onto the belt.
- Visually check every pulley from multiple angles to verify that belt ribs are perfectly seated inside grooves.
- Reinstall the wheel-apron splash shields and lower skid plate.
- Reconnect the negative battery terminal and torque the 10 mm clamp bolt to 5.4 N·m (48 in-lb).
A clean alternator install is not finished when the bolts are tight. It is finished when the belt is aligned, wiring is secure, charging voltage is stable, and no codes or warning lights return.
How Do You Test the New Alternator?
Start the engine and observe the serpentine belt from a safe distance. It should run true with no chirping, flutter, or lateral wandering. Then run a loaded electrical check with a digital multimeter at approximately 2,000 rpm. Measure at both the alternator B-terminal stud and the battery terminal posts.
| Test | Expected Result | What to Do if It Fails |
|---|---|---|
| Engine off battery voltage | 12.4–12.7V on a healthy, charged battery | Charge and load-test the battery before concluding the alternator is at fault |
| Engine running voltage (No Load) | 13.8–14.6V at idle / 2,000 rpm (DENSO nominal range: 13.0–15.0V) | Check 7.5A ALT-S fuse, main fusible link, harness plug engagement, and ground cables |
| Loaded voltage test | Maintains 13.5–14.4V with headlights, HVAC blower on high, and rear defogger active | Perform voltage-drop tests on positive and ground circuits (maximum 0.2V drop per DENSO standard) |
| Overcharge check | Voltage must not exceed 15.0V continuously | Shut engine off immediately; test the internal voltage regulator, ALT-S sense line, and ground path |
| Scan tool check | No active or pending charging DTCs (e.g., P0560) after clearing and road testing | Trace communication and power circuits systematically |
If the Toyota charging-system warning light illuminates while driving, pull over safely and turn off the engine. The truck is operating entirely on reserve battery power and will stall once battery voltage drops below module operating thresholds.
[Products Worth Considering]

This A-Premium serpentine belt is engineered for select Toyota, Scion, and Pontiac vehicles with the L4 2.4L gas engine, delivering dependable air conditioning drive performance. Made with durable EPDM and precision dimensions, it helps resist cracking, reduce noise, and maintain stable tension for smooth operation. It's designed for straightforward installation and backed by a one-year unlimited-mileage guarantee for added confidence.

This A-Premium serpentine belt drive kit is designed for compatible Toyota Camry, RAV4, and Scion tC models with a DOHC 2.5L L4 engine. It includes a serpentine belt and belt tensioner to help maintain smooth engine operation, reduce noise, and support reliable power transfer. Built for dependable replacement performance, it also comes with a one-year unlimited-mileage guarantee for added peace of mind.
This genuine Toyota fuel tank cap assembly is designed for vehicle-specific fitment and reliable performance. As an OEM part, it delivers Toyota quality assurance and backed manufacturer warranty support, making it a dependable replacement choice for maintaining proper fuel system sealing and function.
Can a Bad Alternator Cause P0500 on a Tundra?
No, a failing alternator does not directly cause diagnostic trouble code P0500. Toyota technical manuals define P0500 strictly as a vehicle-speed-signal malfunction between the combination meter, skid-control ECU, wheel speed sensors, and the engine ECM. Replace the alternator only when charging-circuit diagnosis proves an electrical generation fault.
- Read engine, ABS/VSC/TRAC, skid-control, and combination-meter codes before clearing memory.
- Inspect wheel-speed sensor harnesses for chafing, road debris damage, or corrosion at hub plugs.
- Monitor live PID data to verify whether individual wheel speeds match the vehicle speed reading on the speedometer.
- Verify CAN communication buses and main chassis grounds if multiple ECUs report speed loss.
- Follow Toyota’s factory P0500 confirmation drive cycle for your specific drivetrain.
If your Tundra presents with both charging voltage faults and a P0500 code, resolve the charging fault first. Unstable or low system voltage (below 10.5V) can induce communication dropouts across serial data lines, generating ghost codes across secondary modules.
When to Stop DIY and Call a Professional
Stop and consult a professional repair facility if you encounter melted main harness wiring, a cracked or bubbling battery casing, an electrical burning odor, blown high-amperage fusible links in the main junction block, stripped threads in the aluminum engine block, or sustained charging output exceeding 15.5V.
Before purchasing components, check for open safety recalls or service campaigns via the official Toyota Recalls & Campaigns Lookup using your 17-digit VIN.
Frequently Asked Questions
How much does it cost to replace the alternator on a Toyota Tundra?
DIY replacement costs typically range between $180 and $380 for a quality OEM-spec replacement alternator, plus $30 to $60 if replacing a worn serpentine belt. Professional shop replacement typically ranges from $550 to $900 including parts, labor (2–3 hours), and charging system testing.
How long do Tundra alternators last?
Factory OEM Denso alternators on the Toyota Tundra commonly last between 120,000 and 180,000 miles (approximately 8 to 12 years). Premature failure is often accelerated by severe heat, engine oil leaks from the valve cover or power-steering pump, heavy towing electrical loads, or continuous jump-starts on a dying battery.
How long does it take to replace an alternator in a Toyota Tundra?
An experienced DIY mechanic can complete the job in 2 to 3 hours. First-time DIYers should plan for 3 to 4 hours to accommodate removing the skid plates, unbolting the power-steering pump, maneuvering the alternator past the sway bar, and running post-install voltage tests.
When replacing an alternator, what else should be replaced?
Inspect the serpentine belt, belt tensioner pulley, and idler pulleys for bearing play or surface wear while the belt is off. Replace the serpentine belt if it has over 60,000 miles or shows rib cracking. Load-test the battery, as a damaged alternator can weaken battery cells and vice versa.
Can a bad alternator cause a P0500 code on a Tundra?
No, P0500 is strictly a vehicle-speed-signal fault caused by wheel-speed sensors, speed signal circuits, the skid-control ECU, combination meter, or ECM. However, severe low voltage from a dead alternator can cause secondary communication errors across modules, which clear once stable charging voltage is restored.
Can I drive a 2011 Tundra with the battery warning light on?
Do not continue driving. When the battery light illuminates, the alternator has stopped charging the electrical system. The truck is running solely on residual battery capacity, which typically lasts only 15 to 30 minutes before the fuel pump, ignition, and power steering shut down.
What voltage should I see after replacing the alternator?
With the engine running at approximately 2,000 rpm, a healthy charging system will show 13.8 to 14.6 volts across the battery terminals (DENSO acceptable test range is 13.0 to 15.0 volts). Under heavy electrical load (high beams, blower motor on high, rear defogger on), voltage should remain above 13.5 volts.
Conclusion
Replacing the alternator on a 2011 Toyota Tundra restores reliable starting and onboard electrical power when performed with strict adherence to factory procedures. By matching your alternator amperage to your truck’s VIN, unbolting and supporting the power-steering pump without opening hydraulic lines, properly seating the mounting dowels, and torquing all fasteners to Toyota specifications (43 N·m for mounting bolts, 9.8 N·m for the B-terminal nut), you ensure a reliable repair that prevents recurring charging failures.
Sources
- DENSO Auto Parts — Charging System Troubleshooting — battery, belt, cable, voltage-drop, and alternator-output testing guidance.
- Toyota Owners — 2011 Tundra Manuals and Warranties — official owner resources for vehicle-specific guidance.
- Toyota Technical Information System — official Toyota repair manuals, wiring diagrams, TSBs, and service publications.
- Toyota Safety Recalls and Service Campaigns — VIN-based recall and campaign lookup.
- Toyota Genuine Parts — OEM parts lookup and fitment verification.