
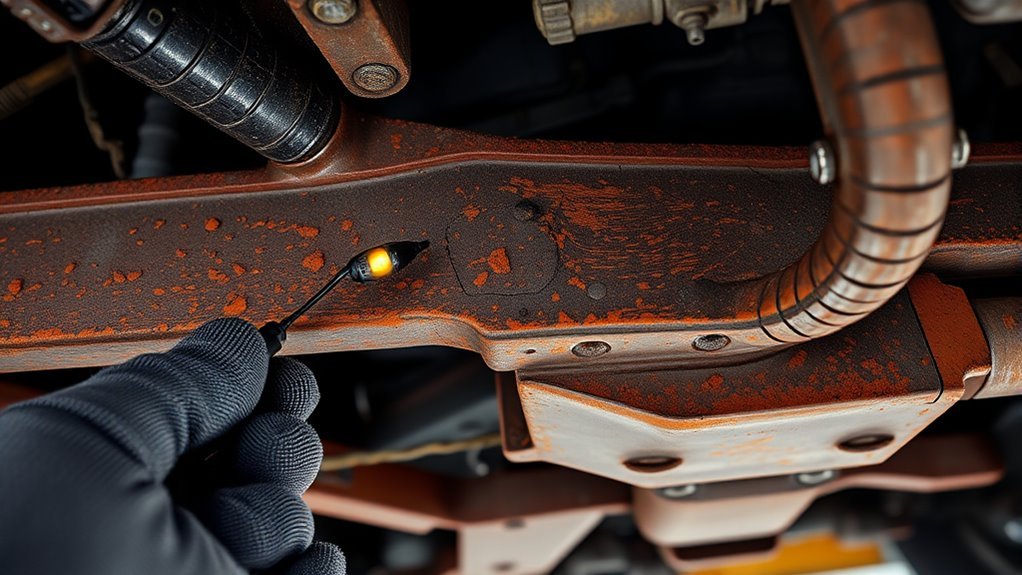
A Toyota 4Runner can look clean from the outside while rust develops inside its boxed frame rails or around suspension mounts. A careful frame inspection helps you separate harmless surface discoloration from deep scaling, perforation, cracks, or weakened mounting points. The process below shows you where to look, how to inspect safely, and when the vehicle should go to a structural repair professional.
Quick Answer
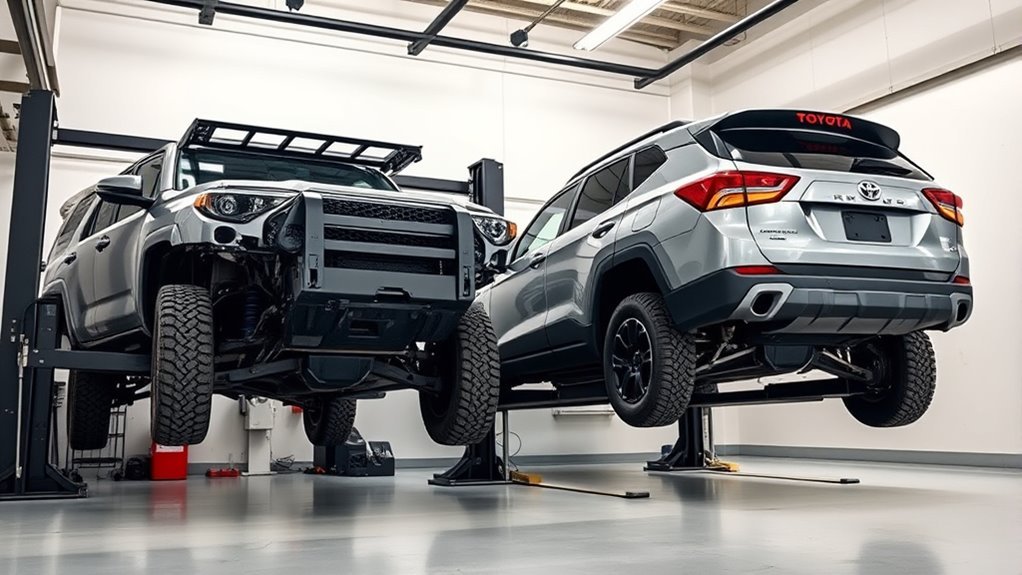
Clean and dry the underside, support the 4Runner safely, and inspect both frame rails from front to rear. Pay close attention to crossmembers, body mounts, suspension brackets, steering mounts, drain openings, and hitch mounts. Surface discoloration may be treatable, but holes, cracks, deformation, or thinning near a mount require professional assessment.
Key Takeaways
- Never crawl under a 4Runner supported only by its tire-changing jack.
- Inspect the frame itself separately from the rocker panels, exhaust, skid plates, and other body or underbody parts.
- Compare the same location on the left and right sides so unusual swelling, holes, repairs, or deformation are easier to spot.
- A pick and flashlight can reveal damage, but they cannot certify the frame’s remaining thickness or strength.
- Do not drive when corrosion affects a suspension mount, steering mount, crossmember, major body mount, or significantly perforated frame rail.
At a Glance
| Time Required | About 45 to 90 minutes after the underside is clean and dry |
| Difficulty | Moderate visual inspection; structural diagnosis requires professional equipment |
| Tools Needed | Bright flashlight, inspection mirror, gloves, eye protection, nylon or wire brush, plastic scraper, small pick, camera, and optional borescope |
| Cost | No added cost if you own the tools; professional lift, thickness, alignment, and repair assessments vary |
Warning: Park on solid, level ground, set the parking brake, place the transmission in Park, and chock the wheels. Use properly rated ramps, a professional lift, or approved jack stands positioned according to the owner’s manual. Never put any part of your body under a vehicle supported only by a jack.
Prep Your 4Runner for a Frame Inspection
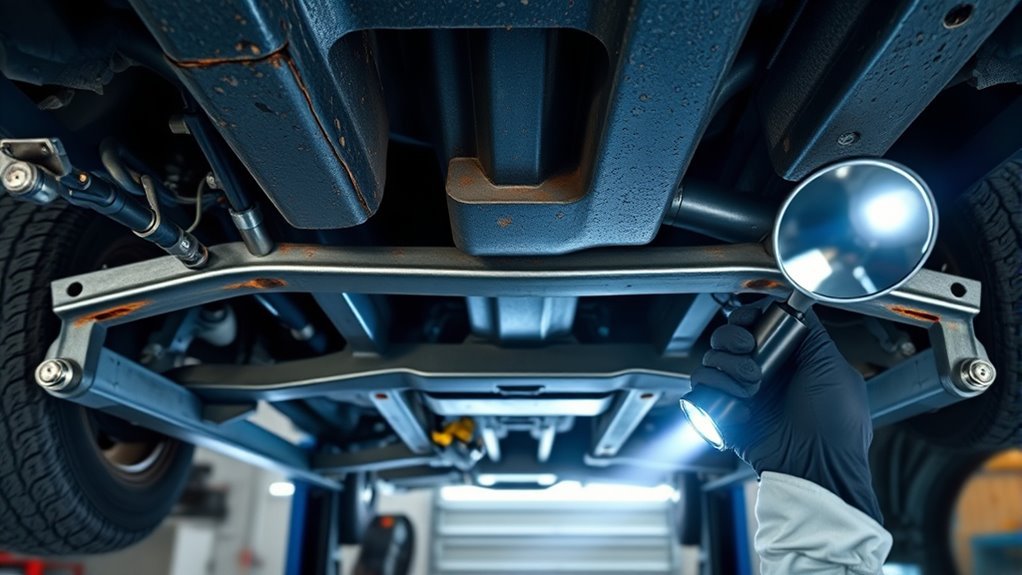
Let the exhaust, brakes, engine, and driveline cool before you touch anything underneath. Wear safety glasses because dirt and rust scale can fall as soon as you begin brushing the frame.
Clean and Dry the Undercarriage
Heavy mud, road salt, oil, and loose undercoating can hide corrosion. Rinse the wheel housings, frame rails, crossmembers, skid-plate areas, and suspension brackets. Use a suitable automotive degreaser on oily areas, but avoid directing high-pressure water into electrical connectors, seals, breathers, or damaged wiring.
Remove packed dirt instead of simply wetting it. Toyota’s 4Runner owner guidance recommends cleaning the vehicle’s underside and wheel housings and keeping drain openings in rocker panels and frame members clear because trapped dirt and water can promote corrosion. Allow the underside to dry before inspecting it.
Pro Tip: Take one photo of each major frame area before brushing it. Then take a second photo after loose dirt and scale are removed. This makes hidden staining, holes, and previous repairs easier to document.
Gather Your Inspection Tools
- A bright LED flashlight
- An inspection mirror
- Eye protection and work gloves
- A nylon brush and small hand wire brush
- A plastic scraper
- A small pick or blunt probe
- A phone or camera
- Chalk or removable tape for marking locations
- An optional borescope for boxed sections
Do not begin with a grinder, powered wire wheel, or hammer. Aggressive tools can remove evidence of the original metal profile, damage brake or fuel lines, puncture thin steel, and make a later professional assessment more difficult.
Review the Vehicle’s History
Ask where the 4Runner has been driven and stored. Risk increases with long-term exposure to deicing salt, ocean spray, standing mud, flooded roads, and blocked drain openings. The Federal Highway Administration identifies road salt as a contributor to corrosion of motor vehicles and exposed steel.
Review service invoices for earlier notes about underbody corrosion. Look for photographs of previous repairs and ask whether the frame has been welded, plated, straightened, or coated. Fresh black coating on an older frame is not automatically a problem, but it deserves close inspection because it can hide scale, seams, or repair plates.
Check for Warning Signs Before Going Underneath
You can spot some structural concerns before raising or entering the area beneath the vehicle. Check for:
- A vehicle that sits lower on one corner
- Uneven gaps between the body and bumpers
- Doors or the rear hatch that suddenly fit differently
- Clunks during braking, turning, or driving over bumps
- Steering wander or an alignment that will not stay corrected
- Uneven tire wear combined with visible mount corrosion
- A hitch, bumper, skid plate, or suspension bracket that appears loose or tilted
- Rust flakes or pieces of metal collecting beneath the parked vehicle
These symptoms do not prove that the frame is damaged, but they increase the urgency of a lift inspection. Do not perform a high-speed test drive to “see what happens” when a suspension or steering mount already appears compromised.
Inspect High-Risk 4Runner Frame Zones
A 4Runner uses body-on-frame construction. The frame rails, crossmembers, suspension brackets, and body mounts form the chassis structure. Rocker panels, wheel-arch lips, floor seams, and pinch welds are part of the body. Inspect both groups, but do not treat cosmetic body rust as equal to a weakened frame mount.
The exact bracket layout varies by generation, trim, and drivetrain. Follow the frame from front to rear and compare the same point on both sides.
[Products Worth Considering]

These low profile jack stands provide secure vehicle support for routine garage and repair work on most cars and small vehicles. Built with a welded steel frame, adjustable ratchet design, and wide base for stability, they offer dependable lifting support with a concave saddle for safer contact. The low minimum height and compact design make them a practical choice for many automotive maintenance tasks.

This 9-piece torque wrench set gives DIYers and professionals a versatile way to tighten fasteners with confidence across bikes, motorcycles, cars, trucks, and industrial equipment. It includes three click torque wrenches, multiple adapters, dual-scale measurement, and clear audible feedback to help prevent overtightening. Built with durable materials and stored in a portable case, it is designed for precise, organized, and reliable use.

This replacement bed cleat tie down anchor kit restores secure cargo management for compatible Toyota truck bed rail systems. Designed to match OEM dimensions and fit, these anchors help keep gear, tools, and luggage firmly in place during daily hauling. Built for dependable use in demanding pickup truck conditions, the kit offers a practical replacement for worn factory tie-downs.
1. Front Frame and Suspension Mounts
- Front frame horns and bumper mounting points
- Radiator-support brackets and nearby frame sections
- Front crossmembers
- Lower-control-arm mounting brackets
- Steering gear or steering-rack mounting areas
- Front body mounts
- Weld seams and reinforcement plates
Look for swelling around seams, layered scale, elongated bolt holes, cracked welds, or a bracket separating from the rail. Pay special attention to the metal immediately behind suspension bolts, not just the visible bolt head.
2. Center Frame and Body Mounts
- Outside, inside, top, and bottom faces of both frame rails
- Transmission and transfer-case crossmember areas
- Center body mounts and outriggers
- Fuel-tank and skid-plate mounting areas
- Brake-line, fuel-line, and wiring attachment points
- Drain openings in boxed sections
Remove only shields or skid plates that you can reinstall correctly. Dirt can collect between a skid plate and the frame, while clamps can trap moisture around lines. Do not probe brake lines, fuel lines, or wiring with a metal pick.
3. Rear Frame and Suspension Mounts
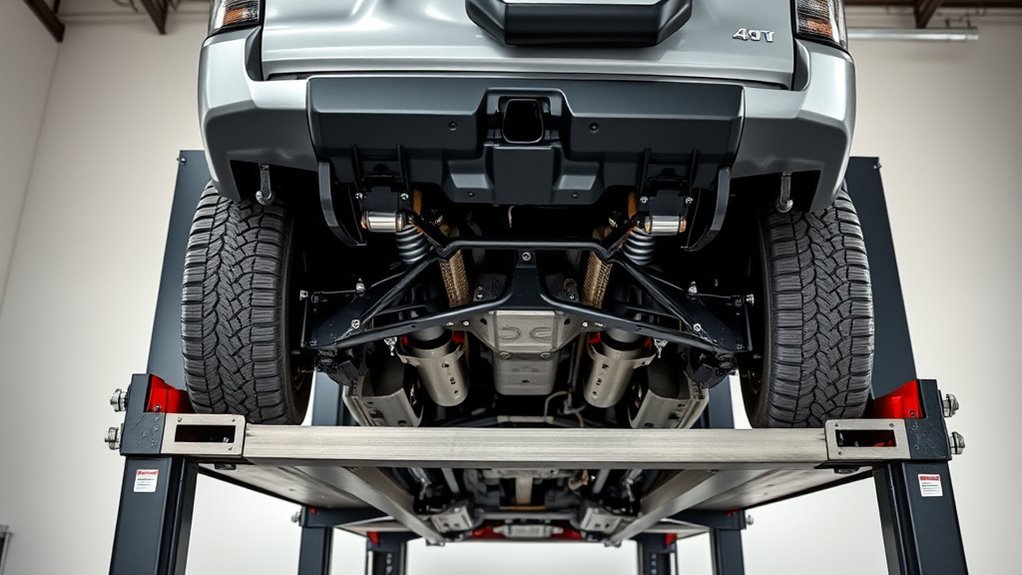
- Rear lower- and upper-control-arm brackets
- Panhard-bar or lateral-control mounting area
- Rear spring and shock mounting areas
- Rear crossmember
- Rear body mounts
- Hitch, tow-loop, and bumper attachment points
- Open rail ends and internal cavities
Rear rails may collect mud and salt near openings, brackets, and hitch hardware. Examine the metal around each bracket, including the side that faces the center of the vehicle.
4. Body and Underbody Areas
After checking the frame, inspect rocker panels, pinch welds, floor seams, wheel-arch lips, cargo-floor areas, and body-mounting surfaces. These areas do not all carry the same loads as the frame, but serious body corrosion can affect seat-belt anchors, body attachment, water sealing, and inspection eligibility.
Note: Rust on an exhaust pipe, removable skid plate, or replaceable bracket does not automatically mean the main frame rail is structurally damaged. Identify which component is rusting before deciding how serious the problem is.
Tools and Techniques for Probing Rust and Cracks
[Products Worth Considering]

These custom mud flaps are designed to fit select 2026 Toyota RAV4 models and help protect the lower body from mud, snow, gravel, sand, and road debris. Built for a no-drill installation using factory mounting points, they offer a clean, secure fit with added stability for everyday driving and harsh weather conditions.
These roof rack cross bars are designed specifically for Toyota RAV4 models from 2013 to 2018 with side rails, offering a secure fit across multiple trims. Built with thickened aluminum, durable clamps, rubber padding, and stainless steel hardware, they provide dependable cargo support for travel and daily hauling. The easy-install design and high load capacity make them a practical upgrade for carrying luggage and other gear.

Easily Maneuver Your View: Tired of struggling with hard-to-reach areas during inspections? This two-way articulating borescope effortlessly navigates tight and complex spaces with its flexible and maneuverable probe. Enjoy crystal-clear visual feedback that saves you both time and money. Whether for automotive maintenance or household inspections, this tool transforms your inspection journey, making the process faster and easier than ever.
Use Light From More Than One Angle
Shine the flashlight across the metal rather than directly at it. Side lighting makes pits, lifted coating, cracks, and swollen seams cast small shadows. Use the mirror to inspect the tops of rails and the back sides of brackets.
Brush and Scrape Gently
Start with a nylon brush or plastic scraper. Use a hand wire brush only where necessary to remove loose scale. Stop when you reach stable coating or solid metal. You are inspecting the frame, not preparing it for welding.
Probe Only Suspect Metal
Use a small pick with light hand pressure on an area that is already flaking, swollen, or visibly perforated. Do not strike the pick or use it to create a hole in otherwise intact coating. If light pressure causes the pick to enter the steel, the area has advanced metal loss and needs professional evaluation.
A pick can reveal a soft or perforated area, but it cannot measure how much thickness remains around the hole. Rust often extends farther beneath coating or scale than the visible opening suggests.
Tap With Caution
Light tapping with a small plastic-handled tool may help you compare one area with the matching area on the opposite rail. A dull sound, falling scale, or flexing metal is a warning sign, but sound alone cannot prove that a frame is safe.
Inspect Boxed Sections With a Borescope
Insert a borescope only through an existing factory opening. Do not drill a frame rail to gain access. Look for packed debris, standing moisture, layered scale, internal swelling, or light showing through a perforation.
Document the Location and Size
Place a ruler beside the affected area in photographs. Record whether the defect is on the inside, outside, top, or bottom of the rail and measure its distance from a recognizable bracket or crossmember. Photograph the matching location on the other side.
Know the Limits of a Home Inspection
Basic measurements between the rails may reveal obvious asymmetry, but they cannot verify factory alignment. A structural or collision-repair shop may use manufacturer datum dimensions, a frame rack, ultrasonic thickness testing, magnetic-particle inspection, dye-penetrant testing, or other methods appropriate to the material and defect.
The visible rust hole is not always the full repair area. The surrounding steel may already be thin beneath paint, coating, or scale.
Grade Rust Severity: Surface, Scale, Perforation, and Structural
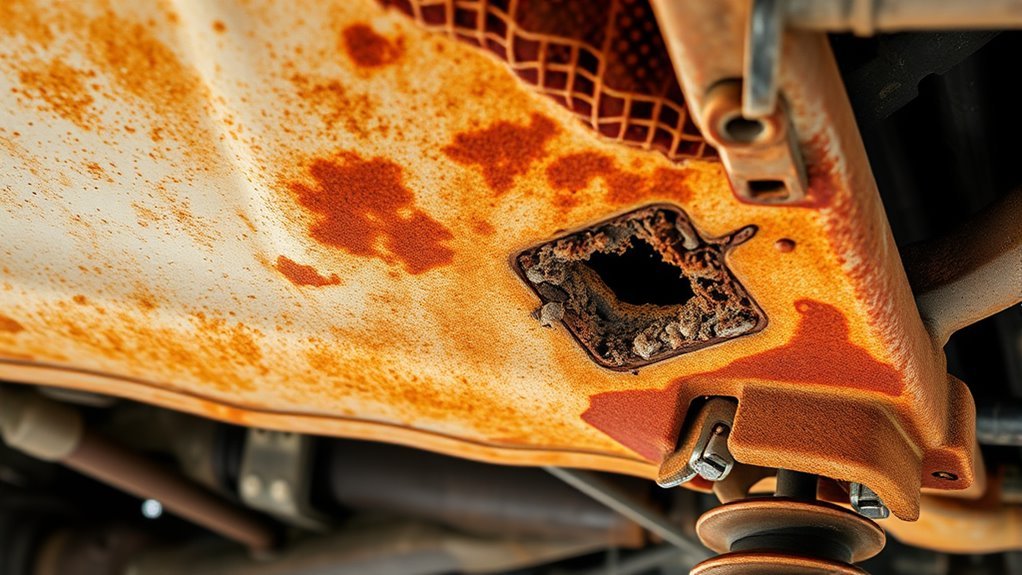
The following categories are practical inspection labels, not a universal engineering standard. When you are unsure between two levels, use the more serious level until a professional examines the area.
| Level | What You May See | Next Step |
|---|---|---|
| Surface rust | Thin orange or brown staining with no swelling, deep pits, holes, or loose layers | Clean, inspect closely, treat, coat, and monitor |
| Scale and deep pitting | Flaking layers, swollen seams, rough pits, or metal loss that continues after loose scale is removed | Obtain a lift and thickness assessment before grinding or coating |
| Perforation | A visible hole, a probe entering with light pressure, or internal light visible through the rail | Treat as serious; determine whether the location is structural and stop driving when safety-critical areas are involved |
| Structural damage | Cracks, sagging, deformation, separated brackets, widespread thinning, or corrosion around steering, suspension, crossmember, major body-mount, or hitch attachments | Do not drive; arrange towing and a vehicle-structural assessment |
Surface Rust
Surface rust is normally limited to the outer surface. After cleaning, the steel should remain firm with no deep pitting or lifting layers. A common treatment sequence is to remove loose contamination, clean the surface, apply a compatible rust treatment or primer, and finish with a durable automotive chassis coating.
Follow the product instructions for surface preparation, temperature, drying time, and compatibility. Do not coat wet metal or seal loose scale beneath a thick layer.
Scale and Deep Pitting
Scale means corrosion has produced layers that lift or break away. Deep pitting reduces the metal’s effective thickness even when no complete hole is visible. Heavy scale near a suspension or steering mount deserves professional measurement before treatment.
Perforation
Perforation is a through-hole. Its importance depends on location, surrounding thickness, and load path. A small hole in a replaceable nonstructural shield is different from a hole in a frame rail beside a control-arm bracket.
Do not assume that welding a plate over the visible opening restores the original strength. The repair area must extend to sound material and account for nearby brackets, lines, heat-sensitive parts, and the vehicle manufacturer’s repair limitations.
Structural Damage
Corrosion becomes a direct safety concern when it weakens or distorts a frame rail, crossmember, steering mount, suspension mount, body mount, hitch attachment, or welded joint. Cracks and separated brackets are also structural warning signs even when little orange rust is visible.
Warning: Stop driving and arrange towing if a suspension or steering bracket is separating, a frame rail is cracked or sagging, a crossmember is loose, or a probe enters heavily corroded metal near a major mount. A failure in these areas can change wheel position or vehicle control.
Decide Next Steps: DIY Treatment, Professional Repair, or Frame Replacement
[Products Worth Considering]

Fitment: The Mid Frame Rust Repair kit is compatible with 1996-2004 Toyota Tacoma Extended Cab.

Fitment: Mid Rear Frame Section fit for 1996-2002 4-Runner 3rd Gen without having to cut off any of the original frame

FITMENT: Compatible with 1993-2004 Ford Ranger models
When DIY Treatment May Be Reasonable
DIY treatment may be appropriate when corrosion is limited to firm surface rust, the frame retains its shape, no holes or cracks are present, and all mounting points remain solid. Clean the area, remove only loose rust, use compatible corrosion-control products, and inspect the repair regularly.
Do not use thick coating as a substitute for removing loose contamination and checking the steel. Coating can slow future exposure, but it does not restore lost thickness.
When to Get a Professional Assessment
Arrange a lift inspection when you find:
- Heavy scale or deep pitting
- Any frame-rail perforation
- Cracks in a rail, bracket, crossmember, or weld
- Corrosion around steering or suspension mounts
- Loose or distorted body mounts
- Evidence of previous frame plating or welding
- Fresh coating over uneven or swollen metal
- Different measurements or shapes on the left and right sides
- A recurring alignment problem or unexplained suspension movement
Look for a collision or structural repair facility that can measure frame geometry and metal condition. A welder’s certification is useful, but the repair also needs an appropriate design, sound surrounding metal, vehicle-specific procedures, and compliance with local inspection requirements.
When Frame Replacement May Be the Better Option
Replacement may be more sensible when corrosion affects several rails or crossmembers, surrounds multiple suspension or body mounts, extends inside long boxed sections, or leaves too little sound metal for a controlled repair. The vehicle’s overall condition and market value also matter.
Ask for separate written estimates for localized structural repair, section replacement where permitted, and complete frame replacement. A low initial quote may not include removal of the body, fuel system, brake lines, wiring, suspension, seized fasteners, alignment, coatings, or hidden damage found after disassembly.
Repair Urgency Table
| Condition | Action |
|---|---|
| Light, firm surface rust | Clean, treat, coat, photograph, and monitor |
| Heavy scale or deep pitting | Get a professional thickness assessment before aggressive cleaning |
| Perforation away from a major mount | Limit use and obtain a structural repair assessment promptly |
| Perforation, cracking, or separation at a steering, suspension, crossmember, body-mount, or hitch location | Do not drive; tow the vehicle for evaluation |
| Widespread internal and external frame thinning | Compare frame replacement with retiring the vehicle |
Check Recalls, Warranty Coverage, and Inspection Rules
Search the 4Runner’s VIN through the NHTSA recall lookup. A recall search can identify open safety recalls, but it does not prove that every corrosion concern is recalled or covered by warranty.
Review the warranty booklet for the exact model year and contact Toyota with the VIN if you believe coverage or a service program may apply. Rust-through wording, exclusions, time limits, affected components, and regional programs can differ by model year.
Safety-inspection standards also vary. As one example, Virginia’s current inspection regulation rejects frames with rust holes, cracks, sagging, bending, or corrosion that weakens the structure. It also states that welded frame repairs must follow manufacturer recommendations. Do not assume that another state or country uses the same wording.
Understand the NHTSA Review and 4Runner Lawsuit
In 2018, a vehicle owner asked NHTSA to investigate alleged premature frame corrosion in 2002–2006 Toyota 4Runners. NHTSA reviewed the petitioner’s vehicle, complaints involving older third- and fourth-generation 4Runners, corrosion environments, suspension-link allegations, and the earlier frame settlement involving other Toyota models.
In a notice published on March 24, 2022, NHTSA denied defect petition DP18-002. The agency said the available evidence was insufficient to support further defect action and described the reported patterns as late-life corrosion associated mainly with severe corrosive environments. The decision did not declare every older 4Runner rust-free, and it did not prevent NHTSA from acting later if new evidence justified it.
A separate putative class action, Weinreich v. Toyota Motor Sales U.S.A., Inc., included allegations concerning 2005–2011 4Runners. On January 11, 2023, the federal court granted Toyota summary judgment and closed the action. Therefore, it should not be described as a successful rust settlement or recall for 1996–2002 4Runners.
Reduce Future Frame Corrosion
- Rinse the underbody and wheel housings after repeated exposure to road salt, coastal spray, or deep mud.
- Remove packed debris instead of leaving it wet inside rail openings and brackets.
- Keep factory drain openings clear.
- Allow the frame to dry before applying a corrosion-control product.
- Repair chipped or damaged coatings before corrosion spreads beneath them.
- Do not coat over loose scale, active moisture, brake lines, moving parts, hot exhaust components, or labels that must remain readable.
- Inspect the frame after off-road impacts, flood exposure, beach use, or repairs involving the suspension or body mounts.
A practical schedule is to inspect an older salt-belt or coastal 4Runner after winter and again before towing, off-road use, or a long trip. Vehicles in dry regions may need less frequent checks, but age, storage, and prior ownership still matter.
Frequently Asked Questions
What year of Toyota 4Runner has rust problems?
Any model year can develop corrosion. Older vehicles deserve closer inspection because they have had more time and environmental exposure. NHTSA’s 2018–2022 petition review focused on 2002–2006 vehicles and also examined complaint data involving 1996–2009 4Runners, but it did not establish those years as a group with a premature vehicle-based corrosion defect. Salt, coastal exposure, drainage, washing, previous repairs, and storage history are more useful risk factors than a single year cutoff.
What was the Toyota 4Runner frame-rust lawsuit?
The federal case commonly discussed online was Weinreich v. Toyota Motor Sales U.S.A., Inc. It involved allegations concerning corrosion in 2005–2011 4Runners. The court granted Toyota summary judgment on January 11, 2023, and closed the case. It was not a successful 4Runner frame-replacement settlement and should not be confused with programs involving certain Tacoma, Tundra, or Sequoia frames.
How bad must rust be for a 4Runner to fail inspection?
There is no single nationwide rule. Jurisdictions that inspect frames commonly reject rust holes, cracks, sagging, deformation, loose mounts, or corrosion that weakens a structural member. Check the exact regulation used where the vehicle is registered. Passing a basic inspection also does not guarantee that every hidden frame cavity is free from serious corrosion.
Is it safe to drive a 4Runner with frame rust?
Light surface rust on firm metal is different from structural corrosion. Do not drive if a frame rail is cracked or sagging, a bracket is separating, or corrosion has weakened a steering, suspension, crossmember, body-mount, or hitch attachment. Arrange towing when wheel position or vehicle control could be affected.
Can a rusted 4Runner frame be welded?
Some localized damage may be repairable when enough sound metal remains and an appropriate vehicle-structural procedure is available. A plate placed over thin or contaminated steel is not automatically safe. Widespread thinning, internal corrosion, or damage around several mounts may make frame replacement or vehicle retirement the safer choice.
Should I undercoat a rusty 4Runner frame?
Inspect and clean the frame first. Undercoating should not be applied over loose scale, trapped moisture, unknown perforation, or an unassessed structural repair. Use products intended for automotive chassis corrosion control and follow their preparation and application instructions.
How should I inspect a used 4Runner before buying it?
Inspect it on a lift, compare both rails from front to rear, look inside boxed sections, review service history, check for fresh coating and previous welds, and run the VIN through NHTSA’s recall lookup. For an older salt-belt or coastal vehicle, a paid structural inspection is safer than relying only on photographs or a parking-lot check.
Conclusion
A useful 4Runner frame inspection is more than a quick look for orange metal. Clean the underside, support the vehicle correctly, inspect both rails from front to rear, and pay special attention to suspension, steering, crossmember, body-mount, and hitch attachment areas. Treat firm surface rust before it spreads, but do not grind, coat, or plate over serious damage without knowing how much sound steel remains.
Holes, cracks, deformation, separating brackets, and widespread scaling are not “monitor it someday” conditions. Document what you find, stop driving when a critical mount is involved, and get a lift-based structural assessment. No amount of optimism restores steel that is already missing.
Sources
- Toyota 4Runner Owner’s Manual — underbody cleaning, wheel-housing cleaning, and drain-opening guidance
- U.S. Department of Transportation: Denial of Motor Vehicle Defect Petition DP18-002 — NHTSA’s 2022 review of alleged 4Runner frame corrosion
- National Highway Traffic Safety Administration Recall Lookup — VIN, license-plate, and model recall searches
- Virginia Administrative Code 19VAC30-70-120 — example of current structural frame inspection and repair requirements
- Weinreich v. Toyota Motor Sales U.S.A., Inc., January 11, 2023 — federal court outcome of the cited 4Runner corrosion litigation
- Federal Highway Administration: Road Weather Management Report — relationship between road-deicing salt and vehicle or steel corrosion


[…] corrosion beyond the door opening, use the site’s 4Runner frame inspection guide to inspect rails, crossmembers, suspension mounts, and boxed structural […]