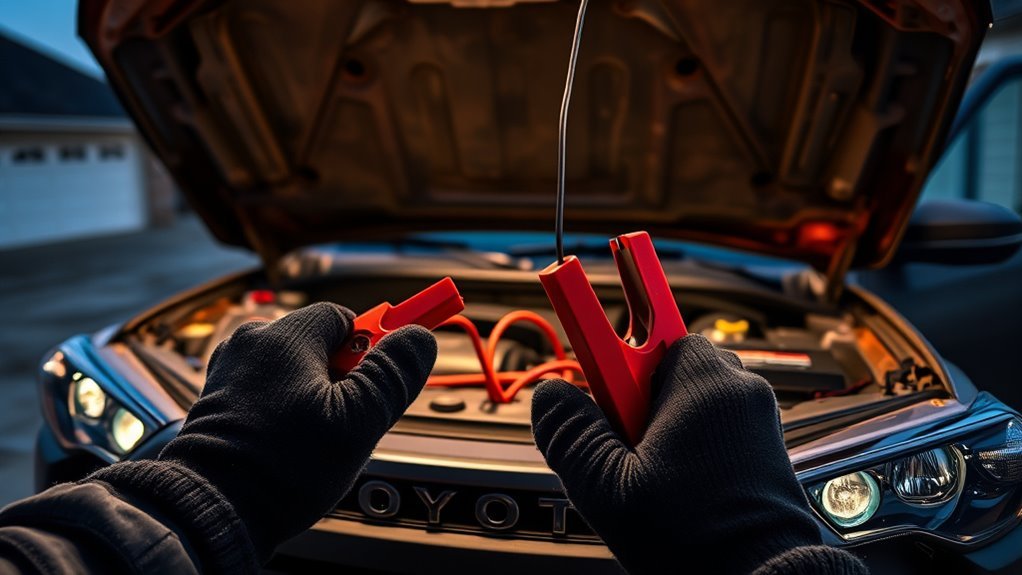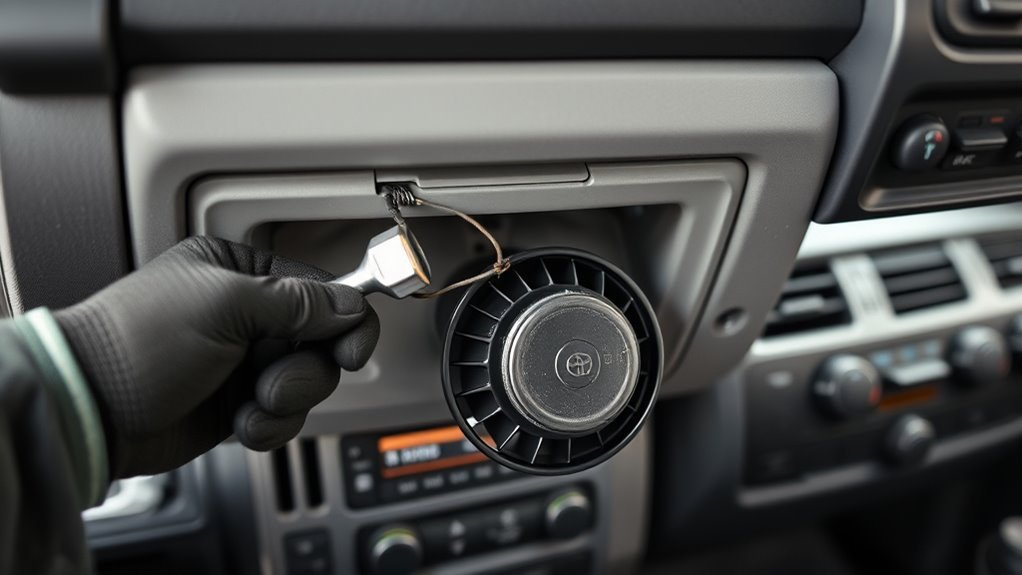
If your 4Runner blower motor isn’t working, start by checking the fuse, relay and chassis ground, then power the motor directly with fused jumper leads to isolate wiring versus motor failure; measure voltage at the motor connector across speed settings and inspect the resistor/speed‑control module, replacing any corroded connectors or worn bearings. Bypass the resistor to confirm module faults, and swap the motor only after verifying grounds and relay operation — follow the steps below to troubleshoot and repair.
Quick Checklist: 4Runner Blower Motor Fixes That Work
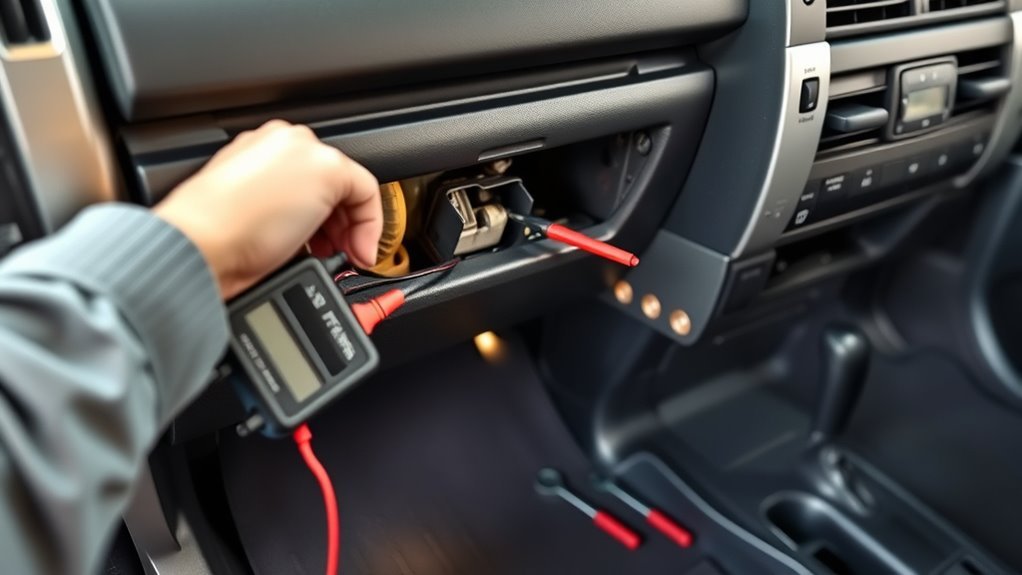
Before you dig in, confirm the simple stuff first: check the blower motor fuse, verify a solid ground, and try powering the motor directly with jumper wires to isolate it from the vehicle wiring. You’ll want to follow a compact checklist that frees you from guesswork: verify the fuse and replace if blown, confirm the ground with a meter or temporary jumper, and bench-test the motor to rule out wiring. Next, inspect the resistor pack and speed control module for heat damage, corrosion, or open circuits; these parts often fail even when the motor is sound. When replacing components, favor OEM parts for proven fit and longevity. Keep records of voltage, resistance, and test steps so you can undo or repeat actions confidently. Understand basic blower motor types and apply focused troubleshooting techniques to isolate faults fast. This approach gives you control, reduces dependency on shops, and gets your 4Runner’s ventilation back on your terms.
[Products Worth Considering]

This automotive circuit tester checks low-voltage DC systems from 3-65V, making it useful for diagnosing headlights, taillights, fuses, sockets, and other vehicle wiring issues. The digital backlit display provides clear voltage readings with fine accuracy, while the bidirectional polarity indicator helps you test from either ground or positive. Built with a durable probe, insulated tip, and extra-long spring wire, it is designed for dependable everyday use in automotive and household electrical work.

This 12V relay box provides six organized relay slots and six fuse positions, helping you build cleaner, safer electrical setups for vehicles and marine systems. Pre-wired, color-coded 12 AWG wiring simplifies installation while the sealed cover and gasket help protect against dust and splashing water in demanding environments. It is a versatile solution for controlling lights, pumps, motors, and other accessories in automotive, truck, RV, or boat applications.

This steering clock spring is designed to restore reliable steering wheel controls across a wide range of Toyota models. It supports audio, cruise control, and other multifunction commands while matching OEM part numbers for confident replacement fitment. Built for dependable signal transfer and straightforward installation, it is an effective solution for repairing steering column control issues.
How to Tell Electrical vs Mechanical Blower Failures
Start by running electrical diagnosis steps: check fuses and grounds, use jumper leads to power the motor directly, and test the resistor/speed module to confirm whether power or control is the issue. If the motor doesn’t run with direct power, focus on mechanical inspection tips—listen for squeaks/grinds and look for rust, play in the shaft, or visible bearing wear. If it runs fine under direct power but fails at speed settings or intermittently, you’ve isolated an electrical/control fault rather than a mechanical one.
Electrical Diagnosis Steps
One clear way to separate electrical from mechanical blower problems is to follow a quick, ordered diagnostic: check the fuse, verify a solid ground, measure voltage at the motor and resistor connectors, and then bench-test the motor with jumper wires—if the motor runs cleanly when directly powered the fault is electrical (fuse, switch, resistor, or speed module); if it clicks, grinds, or struggles to spin it’s likely mechanical (worn bearings or debris).
Start electrical troubleshooting by inspecting the fuse; replace if blown. Verify the ground with a fused jumper to the battery to rule out intermittent returns. With a multimeter, measure voltage at the blower motor and resistor connectors across speed settings; inconsistent readings point to the resistor or speed control. Finally, bench-test the motor with jumper wires to confirm whether power or internal motor mechanics cause failure.
Mechanical Inspection Tips
When diagnosing blower problems, focus first on direct mechanical signs: look for debris blocking the fan, spin the motor by hand to feel for stiffness or roughness, and listen for grinding or squeaks when you activate the fan—these point to worn bearings or foreign objects rather than electrical faults. You want clear differentiation between mechanical issues and electrical faults during your blower motor inspection.
- Inspect for physical obstructions and debris that impede movement; trapped material signals mechanical failure.
- Check bearing play and noise; stiffness or grinding predicts overheating and failure from mechanical wear.
- Measure motor resistance with a multimeter; out-of-range readings indicate electrical problems, while a stiff, non-spinning motor indicates mechanical issues.
Stay decisive, remove constraints, and fix the true cause.
Check Fuses, Relay, and Fuse‑Box Power First
Start by checking the blower fuse for the climate control circuit, since a blown fuse is the most common simple failure. Then test the blower relay—listen for the click and swap with a known-good relay or bench-test it to confirm operation. Finally, use a multimeter to verify fuse‑box power and check the fuse box for corrosion or damage that could interrupt voltage.
Inspect Blower Fuse
Before you pull the blower motor fuse, cut power to the vehicle and visually inspect the fuse for a blown element, then verify it with a multimeter for continuity; if it’s open, replace it with the same amperage part. Perform a focused blower motor fuse inspection to restore control and avoid unnecessary disassembly. Check fuse-box power before blaming the motor.
- Locate the fuse in the box, look for a broken filament, then test continuity with a multimeter.
- With ignition off, test for voltage at the fuse terminals after restoring power; no voltage means trace the upstream circuit.
- Replace blown fuses with identical amperage parts and keep spare fuses to maintain freedom from avoidable failures.
Be methodical, safe, and uncompromising in your diagnostics.
Test Relay Operation
1. You’ll test relay operation after fuses are confirmed good. Listen for a click when you activate climate controls; that click often proves the relay’s switching action. If silent, probe further.
| Step | Action | Expected |
|---|---|---|
| 1 | Listen for click | Audible switch |
| 2 | Inspect relay types | Matching spec |
| 3 | Check terminals | Clean, tight |
| 4 | Multimeter voltage | Battery-level present |
| 5 | Visual condition | No corrosion/damage |
Use a multimeter to measure voltage at relay terminals; you need battery voltage on the feed and switched output when engaged. Inspect for corrosion, burned contacts, or loose pins — common issues that block current. Replace any suspect relay with the correct type and reclaim control of your HVAC system.
Check Fuse‑Box Power
Check the fuse box power first, since a blown fuse or faulty relay is the most common and quickest-to-fix cause of a dead blower motor. You’ll liberate yourself from downtime by confirming continuity and eliminating simple electrical faults before deeper diagnostics.
- Locate the fuse box and identify the blower motor fuse using the vehicle manual; test the fuse for electrical continuity with a multimeter.
- Remove and bench-test the blower relay or swap with a known-good relay to verify function; a bad relay cuts power despite a good fuse.
- Inspect the fuse box for corrosion, loose terminals, or heat damage; clean contacts and replace compromised fuses to restore reliable power.
Act methodically; simple fixes free you from unnecessary labor.
Test the 4Runner Blower Motor Directly and Verify Ground
Start by removing the blower motor and powering it directly with fused jumper leads to the battery so you can confirm it runs independently of the vehicle wiring; if it does, you’ve isolated the fault to the vehicle side (speed control, resistor pack, or ground). For motor testing, connect a fused positive jumper to the motor’s hot terminal and a solid fused ground to the motor housing or ground terminal. If it spins reliably at full power, you’ve ruled out internal motor failure and confirmed it can end blowing issues.
Next, verify the chassis ground in the vehicle: clean the ground point, tighten mounting hardware, and use a fused jumper from battery negative to the motor ground while mounted to check for intermittent operation. Measure voltage at the blower motor connector across different fan-speed settings; consistent readings indicate supply integrity. Inspect all connector pins and wiring for corrosion or looseness—restore secure connections to reclaim control and electrical freedom.
Bypass and Test the Resistor/Speed‑Control Module
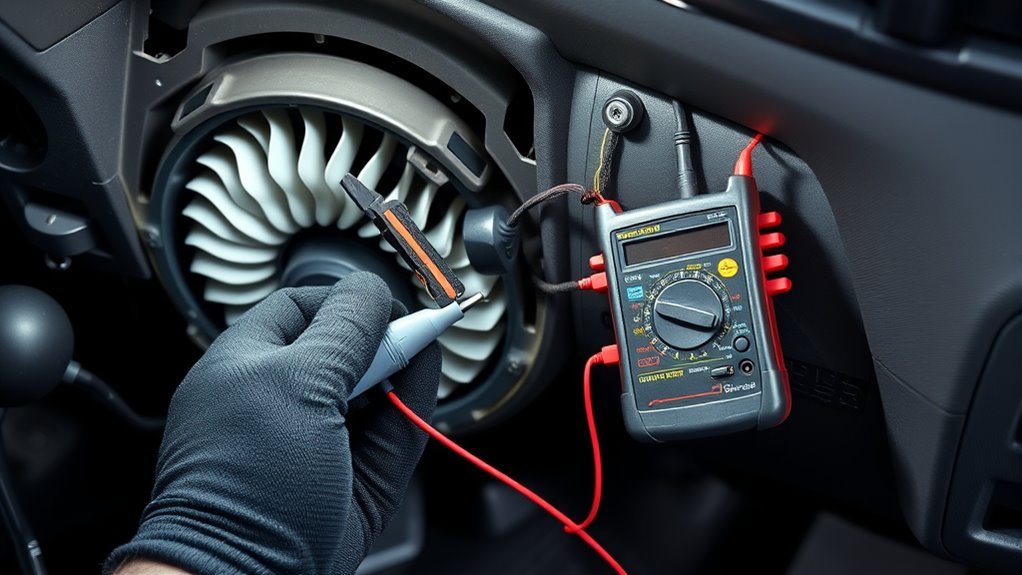
If the motor runs directly from the battery but sputters or won’t respond through the dash controls, bypass the resistor/speed‑control module with fused jumper leads to confirm the module is at fault; disconnect the module, hook a fused positive to the motor hot and ground to chassis, then cycle the blower speeds—if the motor works on direct power and the voltages at the module terminals don’t change as you adjust speed, the resistor or control module is defective and should be replaced (after verifying grounds). You’ll liberate control by isolating the faulty part through disciplined module bypassing and resistor testing.
- Use fused jumper leads to apply battery positive to the motor and a good chassis ground; observe steady operation.
- Measure voltages at the module/resistor connector while cycling the dash controls; lack of change indicates module failure.
- Verify ground integrity before condemning parts; poor grounds mimic resistor issues.
Proceed confidently: module bypassing plus targeted resistor testing tells you whether to move forward without needless parts swapping.
[Products Worth Considering]

This Plustool crimping tool is designed for reliable, rock-solid connections with heat shrink connectors in AWG22-10 applications. Its ratcheting mechanism, quick release lever, and adjustable compression wheel help deliver consistent crimps with less effort, while the ergonomic cushioned handle improves comfort during repeated use. Ideal for electrical repairs, vehicle wiring, and home appliance projects, it offers precise control without damaging insulation.

The V500 Pro is an all-in-one automotive electrical diagnostic tool that combines circuit testing, wire tracing, oscilloscope analysis, multimeter functions, injector testing, relay and fuse checks, and component activation in one device. It helps technicians and DIY users quickly find open circuits, short circuits, broken wires, and current leaks while reducing disassembly and guesswork. With a rotating screen, built-in flashlight, and adjustable low-voltage power supply, it is designed to speed up troubleshooting in tight and low-light work areas.

This AstroAI digital multimeter is designed for accurate troubleshooting of automotive and household electrical systems. It measures AC/DC voltage and current, resistance, continuity, capacitance, frequency, duty cycle, diode, and temperature, while the True RMS and auto-ranging functions help deliver reliable readings. A backlit LCD, data hold, kickstand, and safety-focused fuse protection make it practical and dependable for everyday diagnostics.
When and How to Replace Blower Motor, Resistor, or Relay
When you’re ready to replace the blower motor, resistor, or relay, disconnect the battery first, then remove the faulty component in reverse order of installation—pull the blower motor from its housing, unbolt or unplug the resistor (usually mounted near the motor), and swap relays from the fuse box with matched replacements—taking care to secure connectors and grounds before reassembly. Choose the correct blower motor types for your 4Runner: OE-equivalent or high-performance aftermarket units, matching mounting, connector, and current draw. Replacement tips: label connectors, photograph routing, and inspect mounting grommets. For resistors, confirm fan works only on limited speeds before replacing; fit the resistor in its original location and torque fasteners to spec. For relays, replace with identical part numbers and test socket continuity. Always verify ground straps and connector integrity; a bad ground undermines new parts. After installation, reconnect the battery and run the climate control through all speed settings to confirm the blower motor and resistor operate across the full range.
Common Gotchas: Bearings, Heat Shutdowns, Wiring Faults
Because worn bearings, thermal cutoffs, and wiring issues often masquerade as random failures, you should inspect mechanical, thermal, and electrical causes together rather than chasing symptoms in isolation. Listen for rough bearings and try spinning the fan by hand; resistance or noise points to bearing maintenance needs that, left alone, cause overheating and thermal shutdowns. Check for repeatable cool-down cycles — that’s a classic heat shutdown signature.
Inspect mechanical, thermal, and electrical causes together—listen for rough bearings, spin the fan, and watch for heat shutdown cycles.
- Perform wiring inspection for frays, corrosion, and poor crimps; intermittent feeds mimic motor failure.
- Verify grounding checks at chassis and motor terminal; a bad ground creates unpredictable speeds and drops.
- Confirm resistor location (inside the fan housing on 5th‑gen) only after eliminating bearings and wiring as causes.
Work methodically: isolate the motor, test supply under load, and monitor temperature. You’ll liberate the system from recurring faults by combining bearing maintenance, overheating prevention, wiring inspection, and solid grounding checks.
Parts, Tools, and Cost Guide for 4Runner Blower Repairs
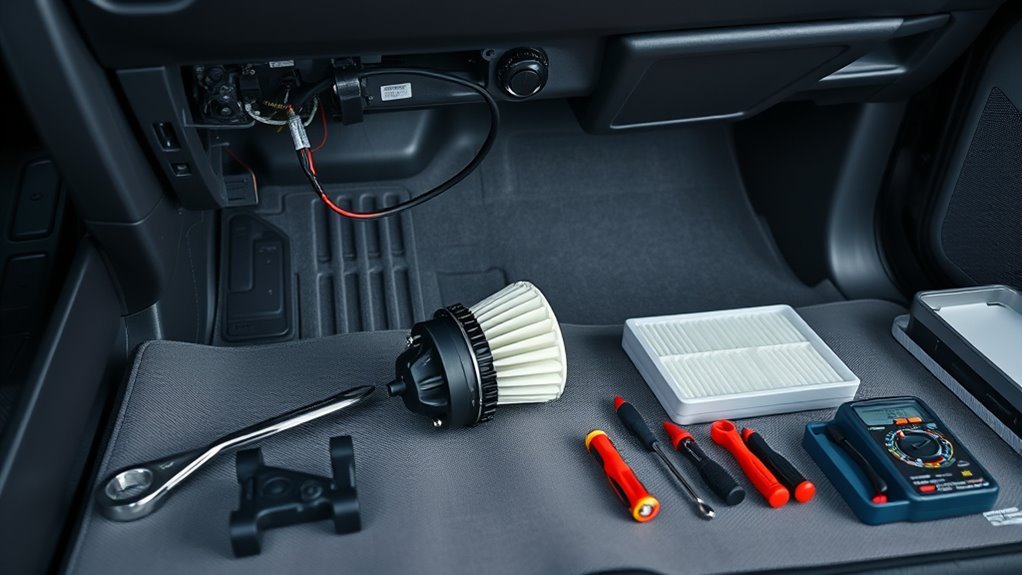
Several parts and a few basic tools will get your 2016 4Runner blower back in service without surprises. You’ll weigh OEM versus aftermarket: OEM gives reliability and fitment; aftermarket saves cash if the part lists clearly and you follow installation tips. Expect a blower motor around $130 plus shipping; dealerships may charge full MSRP. Add a resistor as a backup if you’re seeing intermittent operation—the resistor sits in the fan housing and often fails.
Bring a ratchet set, a wire brush for rust treatment, and jumper wires to test power and grounds. Have basic hand tools and safety gloves; a multimeter is invaluable for diagnosing wiring faults. Budget shipping and a spare resistor to avoid repeat labor. During installation, secure connectors, clean contact surfaces, and torque fasteners to spec. You’ll finish faster and freer when you choose the right part, prep correctly, and apply precise installation tips.
Frequently Asked Questions
What Would Cause the Blower Motor to Stop Working?
A blown fuse, bad ground, failed speed control module, overheating bearings or internal resistor, or mechanical failure can stop the blower motor; follow troubleshooting steps to check fuses, grounds, connectors, and inspect bearings and fan for liberation.
How to Reset Blower Motor?
Disconnect the battery for 10–15 minutes, then reconnect with ignition On and cycle all fan speeds. For blower motor troubleshooting, inspect fuses, grounds and electrical connections; replace the speed control module if issues persist.
What Will a Blower Motor That Stops Running Do to My System?
Like a betrayed ally, a blower motor failure chokes system airflow, so you’ll lose cabin circulation, risk overheating or freezing, strain electrical components, and accelerate HVAC wear—forcing urgent diagnostics and repairs to regain control.
What Is the Most Common Problem With a Toyota 4runner?
The most common problem you’ll face is blower motor failure, tied to electrical failures and occasional engine issues; you’ll want to inspect fuses, grounds, resistors, and replace OEM components to regain reliable, liberated control of your climate.
Conclusion
You’ve got a clear troubleshooting path: start with fuses, relays, and power; then test the motor and ground, bypass the resistor/module, and replace worn bearings, the motor, resistor, or relay when needed. Think of the blower as the HVAC’s heart—if one part fails, the whole flow stops. Use a multimeter, jumper wires, and basic hand tools, and expect modest parts costs; replace only what fails after targeted tests to avoid unnecessary work.
[Products Worth Considering]

This waterproof 6-circuit fuse block helps keep automotive and marine wiring neat, protected, and easy to troubleshoot. Built for 12V-32V DC systems, it includes a negative bus, LED blown-fuse indicators, and corrosion-resistant busbars for dependable performance in cars, boats, RVs, and trucks. The flame-retardant base and damp-proof cover add an extra layer of safety for demanding electrical installations.

This professional circuit tracer helps diagnose open and short circuits in vehicle wiring with synchronized LED bars and audible feedback for easier fault tracking in noisy environments. It offers open, short, and continuity modes plus adjustable sensitivity to help locate broken wires, shorts to ground, and hidden harness faults in cars, trucks, RVs, trailers, and boats. Designed for low-voltage DC systems, it supports efficient troubleshooting of lighting, accessories, stereo wiring, and other automotive electrical problems.

This 12-way blade fuse block provides organized, reliable circuit protection for automotive, marine, RV, and other 12V or 24V electrical systems. The built-in LED indicator helps quickly identify blown fuses, while the protective cover and included terminals support a clean, secure installation. With multiple fuse ratings included, it offers a convenient all-in-one solution for managing and protecting your wiring.