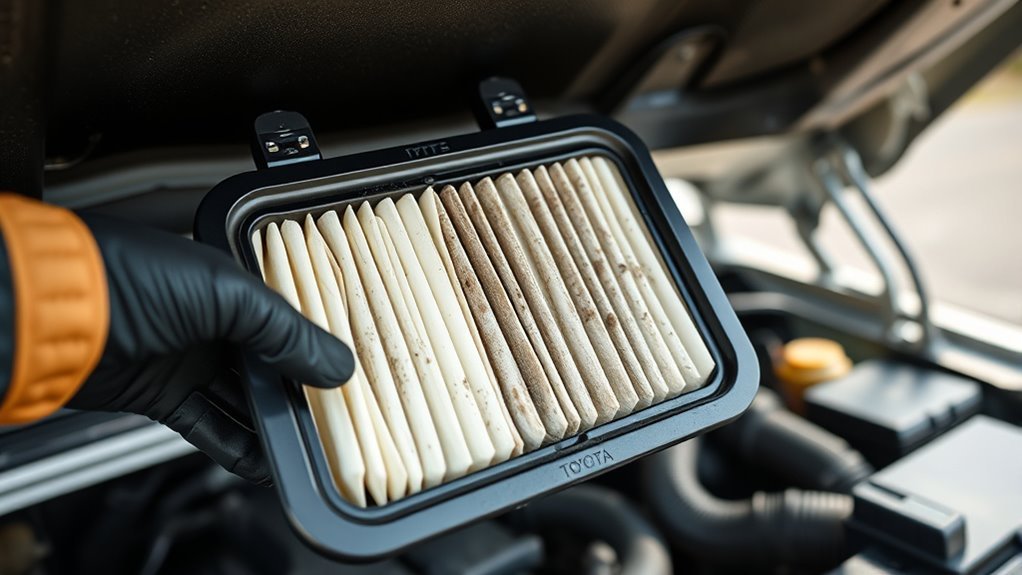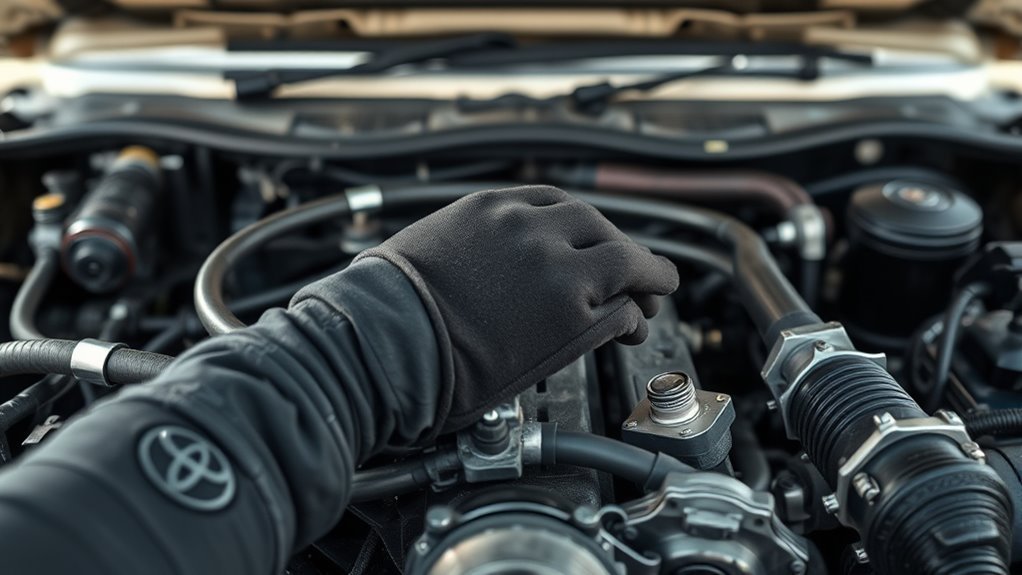
Inspecting your Land Cruiser’s belts and hoses is straightforward: visually and manually check the serpentine, V‑belts and coolant hoses for cracks, fraying, bulges, leaks or contamination; squeeze hoses for soft spots or hardening from ECD; confirm serpentine tension with ~1/4–1/2 inch deflection and map hose routing to spot chafing. Replace hoses every four years or at first failure and serpentine belts near 50,000 miles. Continue for step‑by‑step checks, tools, and troubleshooting tips.
Check Belts and Hoses: Quick 5‑Step Inspection
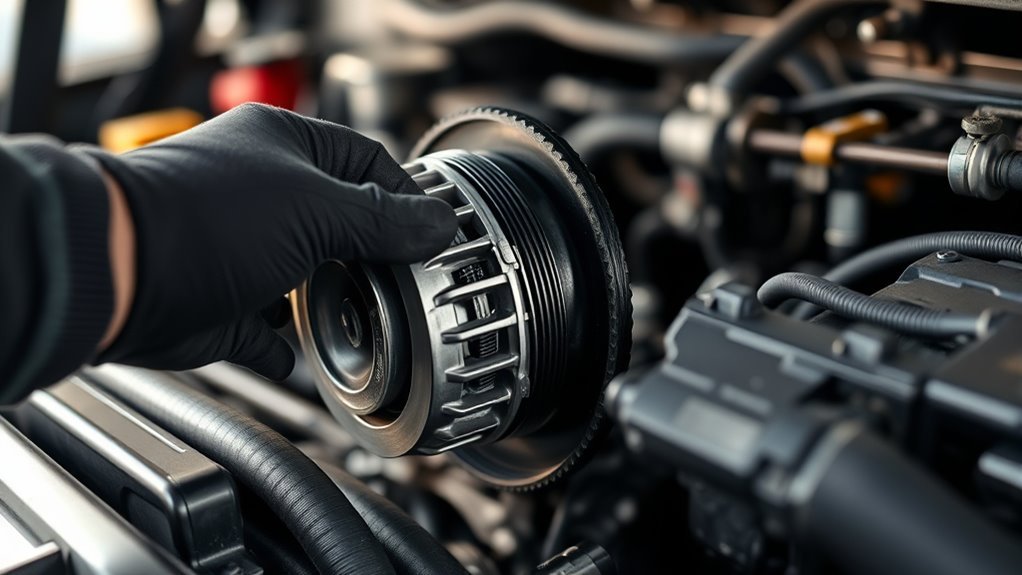
Start by visually and manually inspecting the serpentine belt and all coolant hoses: look for cracks, fraying, missing chunks on the belt, and soft spots, bulges, or cracks on hoses, since these are the primary failure indicators. Now follow five concise steps. 1) Confirm belt tension: with the engine off, press mid-span; typical deflection is about 1/4–1/2 inch—excessive slack means adjustment or replacement, especially near 50,000 miles. 2) Scan hose routing for chafing or improper contact with moving parts; reroute or secure clamps if you find abrasion points. 3) Squeeze hoses along their length to detect hidden soft spots or hardening; any anomaly requires replacement, and swap hoses every four years or on failure. 4) Check the coolant-recovery tank level; low fluid may indicate leaks in hoses or connections. 5) Inspect for oil contamination on hoses and belts—oil accelerates electrochemical degradation and mandates immediate service. Refer to the owner’s manual for exact intervals.
[Products Worth Considering]

These custom floor mats are designed to fit the Toyota Land Cruiser GX550 with a 5-seat layout for a precise, secure install. Made from durable TPE, they help shield your interior from spills, mud, snow, dirt, sand, pet hair, and everyday debris while making cleanup quick and easy.

Custom-fit floor mats and cargo liner designed to provide edge-to-edge protection for the Toyota Land Cruiser Prado. Made from durable TPE material, they offer all-weather defense against rain, slush, snow, mud, and everyday dirt while remaining easy to install, clean, and maintain. The odorless, non-slip design helps keep your interior safer, cleaner, and more comfortable in every season.

This reusable stretch belt installation and removal tool helps guide stretch-fit belts on and off pulleys with greater control during service. It is designed to improve alignment, reduce belt damage, and make installation easier on compatible vehicles. Built for repeated use, it offers a practical solution for mechanics and DIY repairs working with stretch belt systems.
Key Belt and Hose Locations Under the Land Cruiser Hood
When you open the Land Cruiser’s hood, note the serpentine belt running along the front of the engine—it drives the alternator, water pump and power-steering pump—while the timing belt sits behind the timing cover on the engine block and requires service per the schedule. You’ll trace belt tension at the serpentine tensioner; check its pulley alignment and play. Follow hose routing from the radiator: upper and lower coolant hoses connect radiator to engine, while smaller vacuum and brake lines run along the firewall and inner fender. Learn these paths so you can act decisively.
| Component | Location |
|---|---|
| Serpentine belt & tensioner | Front of engine |
| Timing belt | Behind timing cover |
| Coolant, vacuum, brake hoses | Radiator, firewall, inner fender |
Work methodically: map each hose routing, verify clamps and connections, and note parts that need scheduled replacement. This knowledge frees you to prevent failures and keep the Land Cruiser reliable.
What to Look For: Cracks, ECD, Bulges, Contamination
When you inspect hoses, check for internal cracking from electrochemical degradation (ECD) by looking for stiff or hardened sections and tracing any fine, networked fissures at cut ends. Scan hose surfaces for bulges, soft spots, or deformation that indicate structural weakness and imminent failure. Note any oil or heavy grime contamination, since these accelerate ECD and warrant immediate cleaning or replacement.
Internal Cracking (ECD)
Internal cracking from electrochemical degradation (ECD) weakens hose walls and can lead to sudden failure, so inspect hoses regularly for hairline cracks, soft spots, bulges, and signs of oil contamination. You’ll probe along the hose length with your fingers and a light, feeling for soft or thin areas and noting any visible axial or circumferential fissures. Electrochemical effects often start internally and won’t show until advanced; prioritize hoses on high-voltage or dissimilar-metal assemblies. Record findings, tag suspect hoses, and replace any with cracking, softness, or oil saturation. For degradation prevention, adhere to a four-year replacement interval or sooner at first sign of wear. Maintaining this regimen liberates you from unexpected breakdowns and preserves system integrity.
Surface Bulges & Contamination
If you spot surface bulges or oil staining on belts and hoses, stop and inspect immediately, since these signs often precede sudden failure. You’ll perform bulge identification by running fingertips along belts and hose exteriors, feeling for soft spots, raised areas, or irregularities. Visually check belts for cracks, fraying, and edge separation; note any localized swelling that signals internal delamination. For hoses, probe for softness and surface cracking indicative of electrochemical degradation (ECD) or internal collapse. Trace sources of oil contamination and remove residue; oil accelerates rubber breakdown and hides defects. Replace components that show bulges, oil staining, ECD, or soft spots. Maintain contamination prevention by keeping engine bays clean and correcting leaks promptly so you retain control and freedom from roadside failure.
When to Replace Belts and Hoses (Mileage, Age, Event Prep)
Follow mileage and age guidelines when scheduling belt and hose replacements: inspect every 15,000 miles, plan serpentine belt replacement near 50,000 miles and V-belts by four years or 36,000 miles, and replace hoses every four years or at first sign of soft spots, cracks, or bulges. For event preparation, verify every component meets safety standards and shows no excessive wear to avoid failures during competition. Always cross-check the owner’s manual for model-specific intervals and record replacement dates and mileages.
Mileage-Based Replacement Intervals
When preparing maintenance schedules or event inspections, check your Toyota’s owner’s manual for exact mileage-based intervals and then follow these general guidelines:
- Inspect drive belts every 60,000 miles, then at 15,000-mile increments to catch wear; watch for replacement signs like glazing, fraying, or noise.
- Replace serpentine belts around 50,000 miles; treat this as a firm mileage interval to avoid sudden failures that constrain your freedom to travel.
- Replace V-belts after four years or 36,000 miles and replace hoses every four years or immediately at the first sign of failure (cracks, bulges, leaks) to prevent coolant loss and overheating.
Follow these mileage intervals and monitor replacement signs to keep your Land Cruiser reliable and ready for any journey.
Age And Event Preparation
Because age and upcoming events both raise the stakes, you should inspect belts and hoses at least every 15,000 miles and replace serpentine belts near 50,000 miles, V-belts every four years or 36,000 miles, and hoses every four years or immediately on any sign of damage; this schedule helps prevent electrochemical degradation, cracking, glazing, fraying, or leaks from forcing a withdrawal from an event. You’ll follow a strict maintenance strategy: document mileage and installation dates, verify factory specifications, and log inspections before any event. At inspection, actively check for cracks, glazing, fray, hardening, soft spots, or seepage. Replace parts showing defects or any deviation from spec. This procedural approach preserves reliability, maximizes event readiness, and frees you from preventable failures.
Parts and Tools to Have Before a DIY Inspection
A basic 200-piece tool set will cover most needs for a Land Cruiser belt and hose check, but you’ll also want a torque wrench for correct reassembly and a 10mm socket to remove timing cover bolts if you inspect the timing belt; keep a flashlight handy to spot cracks, fraying, or bulges, and plan to rent or buy specialty items (for example, a Toyota 4.7L crank tool) for tasks the standard set can’t handle. Organize tools before you start: tool organization speed improves safety and accuracy. Create an inspection checklist that lists fasteners, gauges, and replacement parts so you don’t improvise mid-job.
A well-organized 200-piece kit plus a torque wrench, 10mm socket, flashlight, and specialty tools ensures thorough belt and hose checks.
Follow this compact parts/tools list:
- Torque wrench, 10mm socket, ratchet set.
- Bright handheld flashlight, pry bar, hose pick.
- Specialty tools (Toyota 4.7L crank tool), replacement belts, coolant-rated hoses.
Procedure: stage tools, verify calibration of torque wrench, confirm parts fitment, and use the checklist to track removed items. This approach frees you to act deliberately and finish with confidence.
[Products Worth Considering]

This engine water pump kit is designed to help maintain reliable cooling performance across a wide range of compatible Toyota, Lexus, Scion, and Pontiac vehicles. Built with aluminum and tested for leak-free operation, it offers a direct replacement solution that supports engine efficiency and long-term service life. The kit includes a professional water pump and gasket for a convenient installation-ready repair.

This A-Premium serpentine belt is designed to deliver dependable drive performance for a wide range of compatible Toyota, Hyundai, Kia, Lexus, and Scion vehicles. Built with EPDM construction and precision dimensions, it helps promote stable tension, reduced noise, and reliable operation in demanding driving conditions. It is a practical replacement choice for maintaining accessory system performance and long-term confidence.

This A-Premium serpentine belt drive kit is designed for compatible Toyota Camry, RAV4, and Scion tC models with a DOHC 2.5L L4 engine. It includes a serpentine belt and belt tensioner to help maintain smooth engine operation, reduce noise, and support reliable power transfer. Built for dependable replacement performance, it also comes with a one-year unlimited-mileage guarantee for added peace of mind.
Common Belt and Hose Failures and Quick Fixes You Can Try
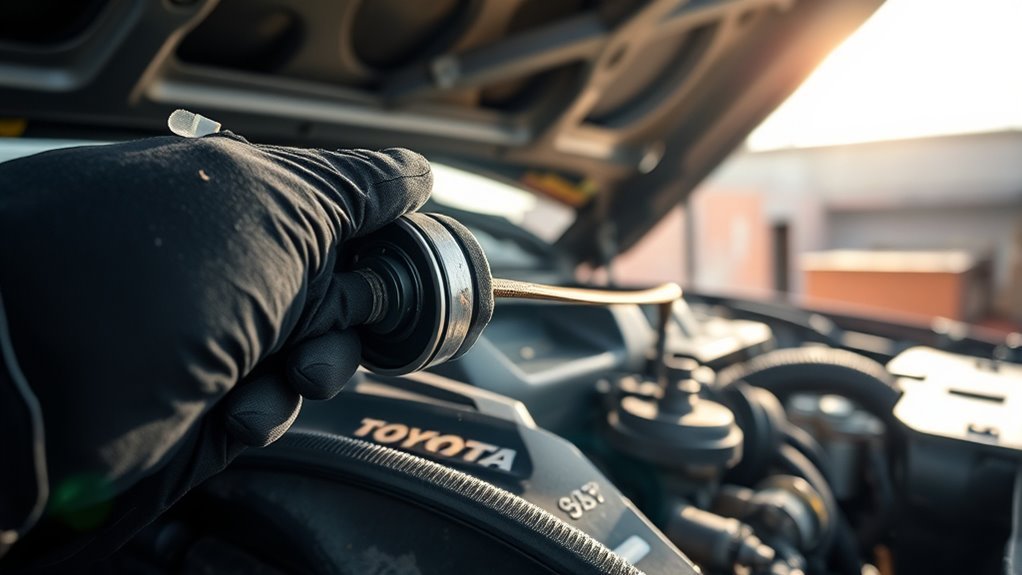
With your tools staged and checklist ready, inspect belts and hoses for the common failures that cause most roadside breakdowns. Check belts for cracks, fraying, glazing and listen for high-pitched sounds or vibration that indicate belt slippage or improper tension. Run the engine briefly and observe alignment; use a wrench to test tension per spec. For glazing or minor fray, clean pulleys and retension; replace if cracks cross the rib or wear exceeds limits.
Probe hoses for soft spots, bulges, oil contamination and signs of hose deterioration including internal cracking from electrochemical degradation. Squeeze along length; bend to expose hidden splits. If a hose is soft, swollen, contaminated, or older than four years, swap it out—don’t patch. For coolant weeps, tighten clamps or replace the hose and clamp as needed.
Document findings, tag replaced parts, and reset maintenance intervals so you stay free from unexpected failures and keep control of your vehicle’s reliability.
When to Get Professional Service : What to Ask the Shop
When should you bring your Toyota Land Cruiser to a shop for belt and hose work? Bring it when you detect visible damage, unusual noises, or if you’re past recommended replacement intervals. At the shop, be direct and procedural: verify qualifications, request documentation, and secure warranty terms.
Ask these three core questions before they start:
- What is your service experience with Land Cruiser belts and hoses, and can you show past inspection reports?
- Do you use ECD-resistant hoses and follow Toyota replacement intervals and torque specs for belt installation?
- Will you provide a detailed inspection report listing wear signs (cracks, soft spots), corrective actions, parts/labor warranty, and measured belt tension?
Require that they use correct tools (torque wrench) and produce a written checklist. Refuse work without clear answers and documentation. You’re freeing yourself from uncertainty by demanding technical competence, transparency, and durable parts.
Frequently Asked Questions
How Often Should You Check Belts and Hoses?
Check belts and hoses at least every 15,000 miles, inspect thoroughly around 60,000, and replace as needed; you’ll monitor belt wear, watch for hose leaks, and act decisively to prevent failures and reclaim control.
How Much Does It Cost to Replace a Timing Belt on a Toyota Land Cruiser?
Like rebuilding a clock, you’ll pay roughly $175 for an Aisin timing belt kit; total timing belt replacement for Land Cruiser maintenance runs about $400–$1,200 depending on labor, added parts, and mechanic experience.
What Are Car Belts and Hoses?
Car belts and hoses are engine components that transfer power and fluids; you’ll monitor belt wear and hose deterioration, inspect for cracks, swelling, or leaks, and replace degraded parts promptly to maintain freedom from breakdowns.
Conclusion
You’ve walked the engine bay like a mechanic tracing a heartbeat, inspecting belts and hoses for cracks, glazing, bulges or soft spots that spell trouble. Keep a simple toolkit and replacement parts ready, and swap aged or damaged components before a trip. Small leaks, frays or glazing are early warnings—fix them now. If you’re unsure, take photos, note mileage and symptoms, and let a pro confirm. Regular checks keep the Land Cruiser reliable.
[Products Worth Considering]
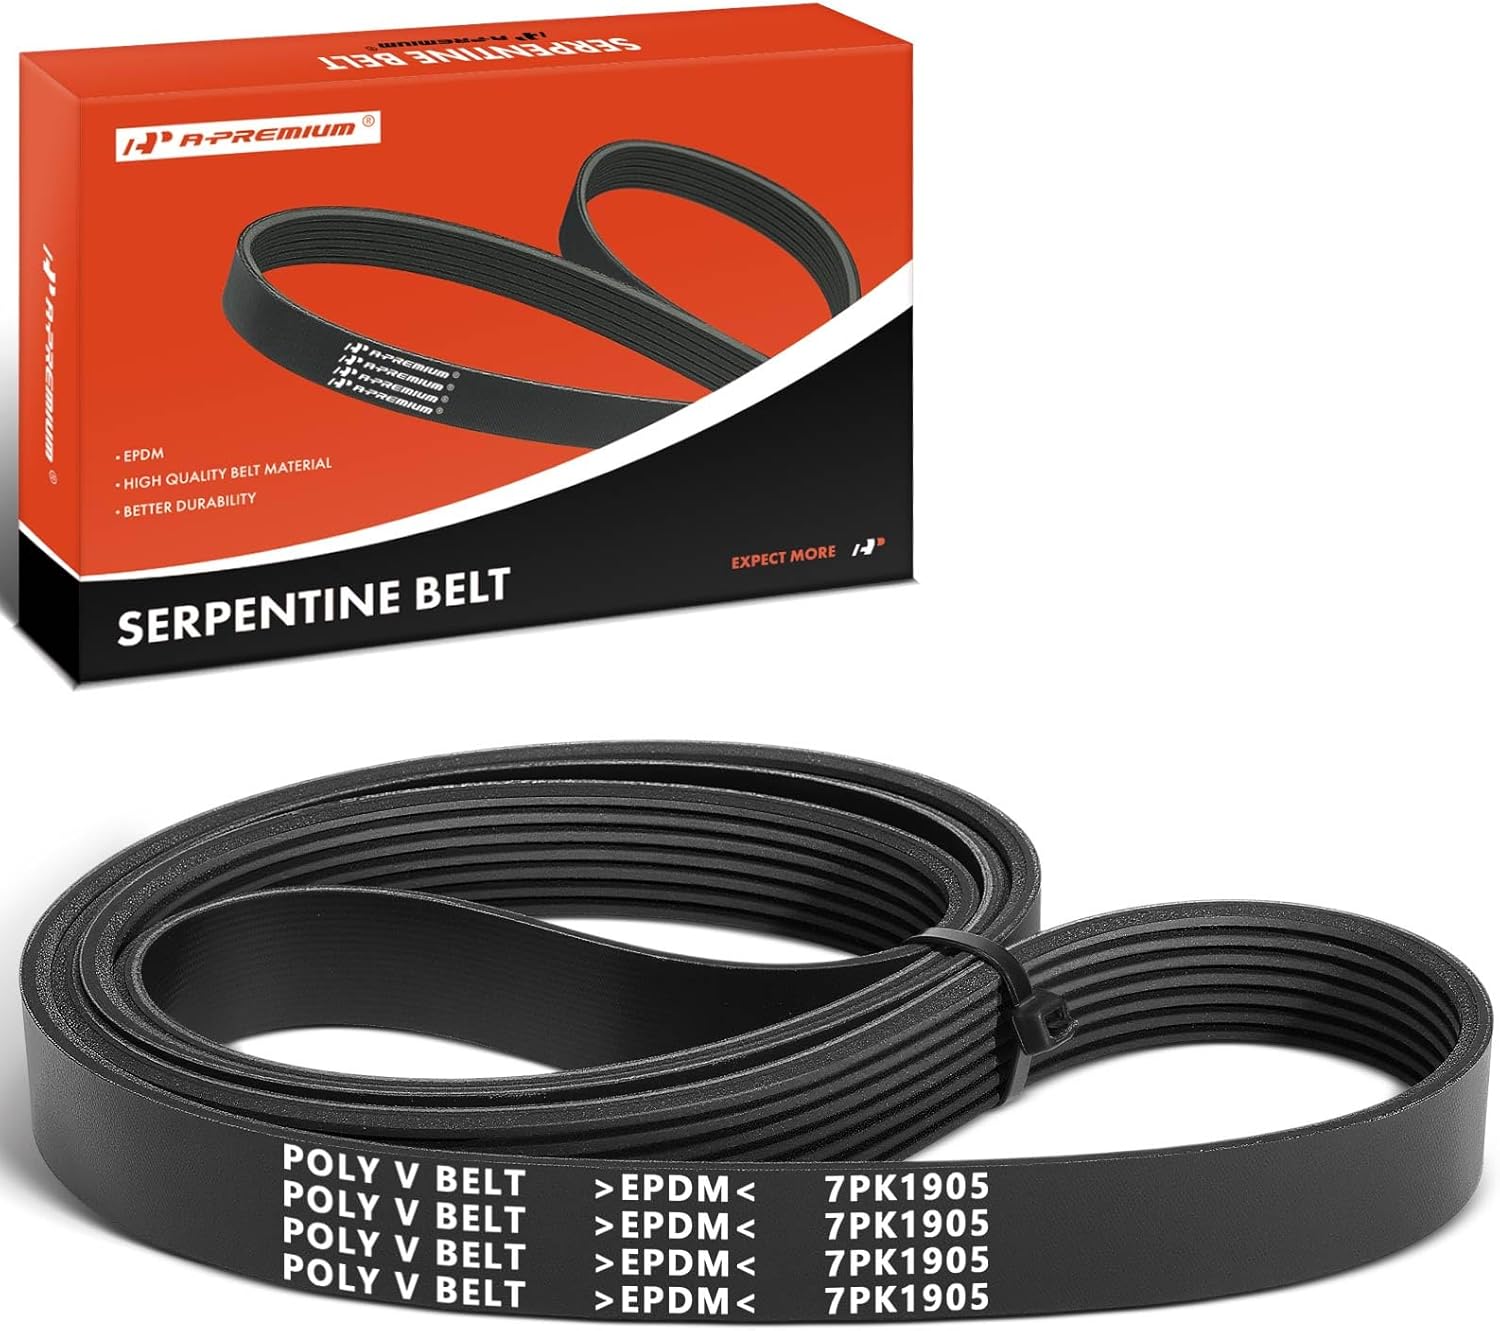
This A-Premium serpentine belt is engineered for select Toyota, Scion, and Pontiac vehicles with the L4 2.4L gas engine, delivering dependable air conditioning drive performance. Made with durable EPDM and precision dimensions, it helps resist cracking, reduce noise, and maintain stable tension for smooth operation. It's designed for straightforward installation and backed by a one-year unlimited-mileage guarantee for added confidence.

This wheel alignment tool makes it easy to check and adjust toe-in and toe-out at home for better handling, stability, and more even tire wear. Designed for one-person use, it includes tape-measure slots for simple setup and accurate measurements without extra help. Its stainless steel construction and broad vehicle compatibility make it a practical addition to any DIY garage.
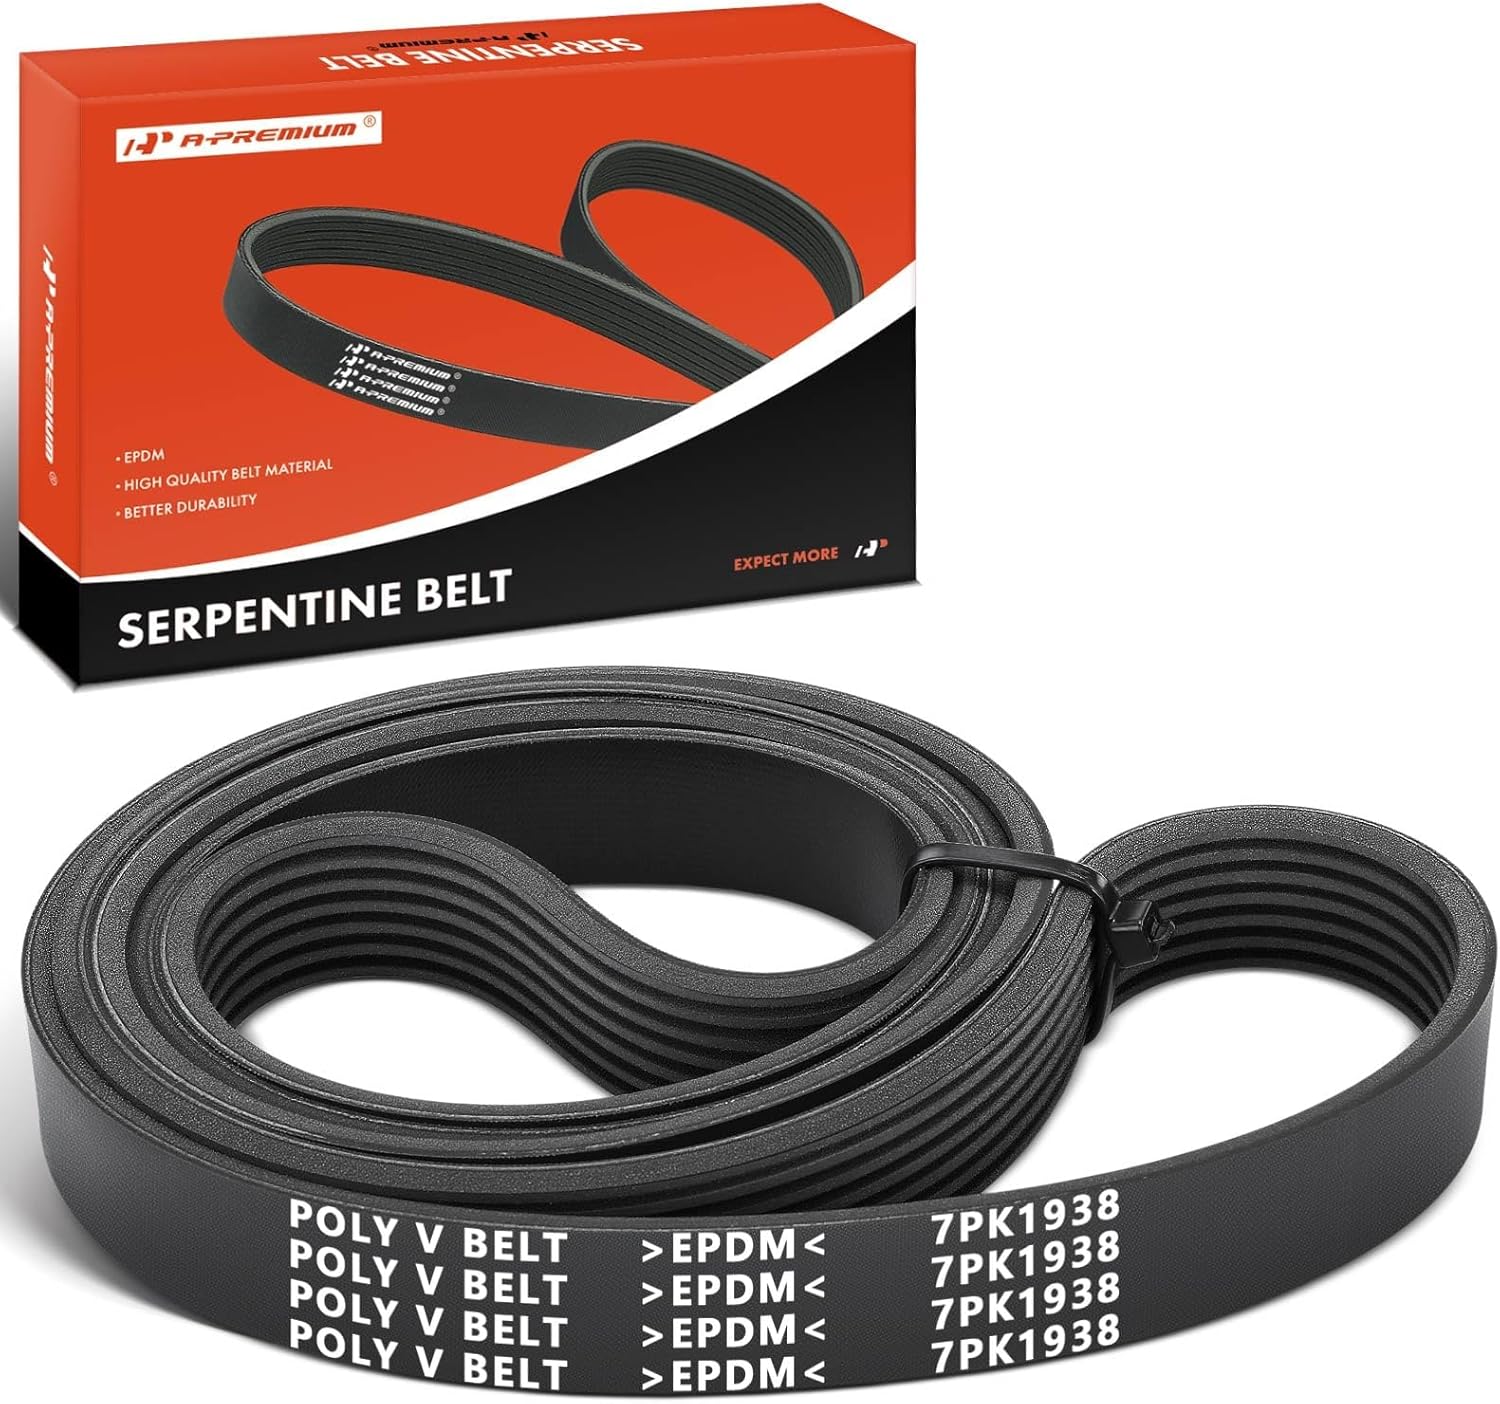
This A-Premium serpentine belt is designed to deliver dependable drive performance for compatible Toyota and Scion vehicles with exact-fit sizing for smooth operation. Built with premium EPDM and polyester cord construction, it helps resist cracking, reduce noise, and maintain stable tension in demanding engine conditions. It is a practical replacement choice for restoring reliable accessory drive performance and long-term confidence.