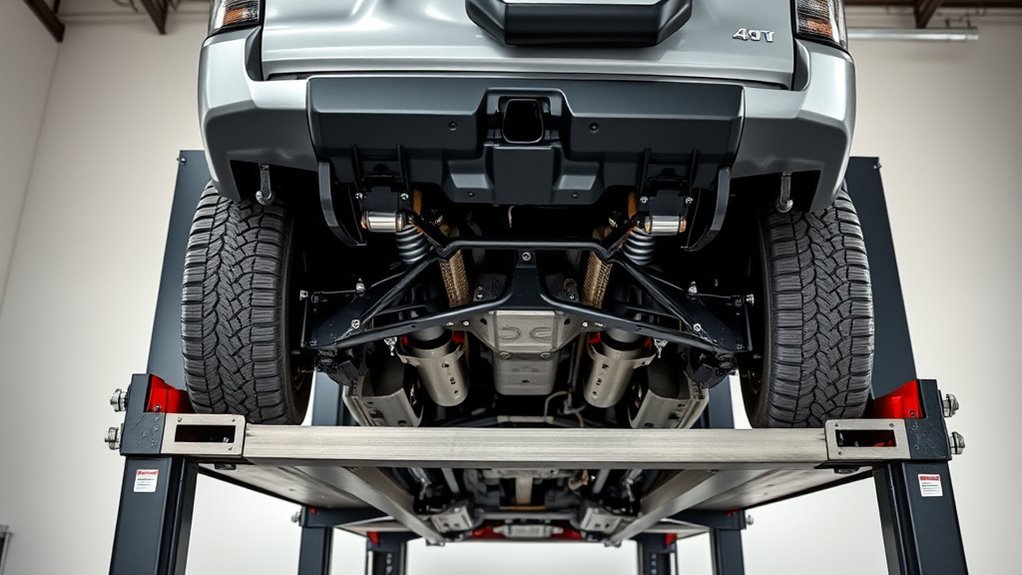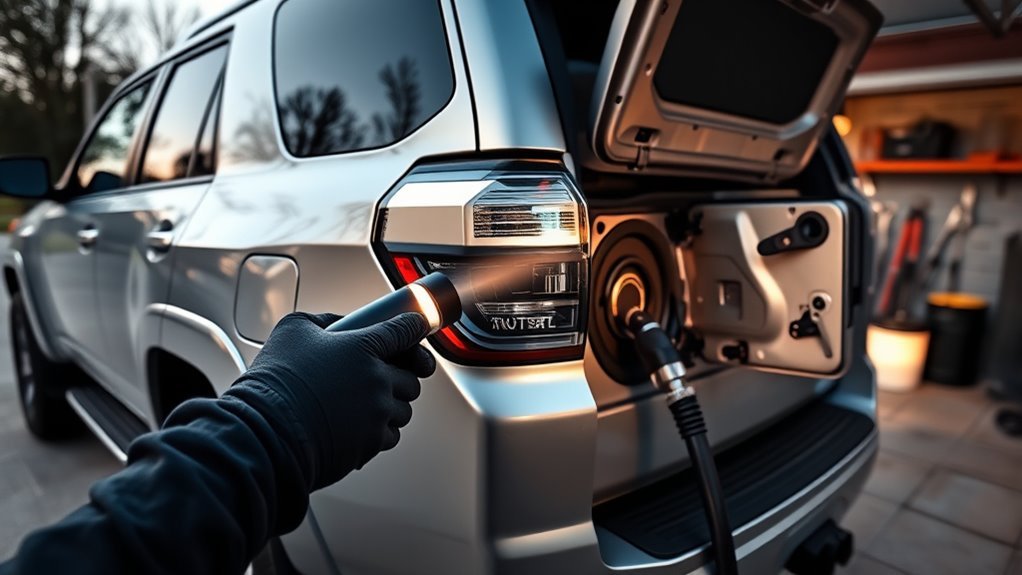
If your Toyota 4Runner won’t engage 4WD, do not assume the transfer-case actuator has failed. First identify your model year, trim, and whether the vehicle uses part-time or full-time 4WD. Then confirm the correct shifting procedure, read the 4WD warning indicators, scan for stored trouble codes, and check battery power, fuses, wiring, switches, and actuator operation in that order.
Quick Answer
A 4Runner that will not engage 4WD may simply have an incomplete shift, incorrect shift conditions, low electrical voltage, a blown circuit fuse, damaged wiring, a faulty selector/position switch, or a transfer-case actuator problem. Confirm the proper procedure for your exact year and 4WD system before replacing parts.
Key Takeaways
- 4Runner 4WD systems differ by model year and trim, so identify your system before testing it.
- A flashing 4WD or 4LO indicator can mean the transfer shift has not completed; it does not automatically prove that the actuator is bad.
- Scan stored codes before clearing them or disconnecting components.
- Check battery condition, the correct model-specific fuses, connectors, grounds, and harnesses before replacing the actuator.
- Do not disassemble, manually time, or jumper a transfer-case actuator without the correct Toyota service information for that vehicle.
At a Glance
| Time Required | About 10–30 minutes for basic checks; circuit or mechanical diagnosis can take much longer. |
| Difficulty | Beginner for shift-procedure and visual checks; intermediate to advanced for electrical or actuator diagnosis. |
| Tools Needed | Owner’s manual, flashlight, scan tool capable of reading relevant control modules, multimeter, and the correct wiring/service information for advanced testing. |
| Cost | Basic checks may cost nothing. Repair cost depends on the failed component, model year, parts choice, and labor required. |
Identify Your 4Runner 4WD System First
The first troubleshooting step is determining which 4WD system your 4Runner actually has. Toyota has used different transfer cases, controls, indicators, and shift procedures across generations and trims.
For example, the 2024 4Runner lineup included part-time 4WD as well as full-time 4WD on applicable models. The redesigned 2025 generation is offered in 2WD, part-time 4WD, and full-time 4WD configurations depending on grade and powertrain, and the 2026 lineup continues to use more than one drivetrain configuration.
Before testing anything, use your VIN and model year to find the correct Toyota Owner’s Manual. For circuit diagrams, connector pinouts, component tests, and actuator timing procedures, use the correct Toyota service information through Toyota Technical Information System.
Note: “4WD won’t engage” can mean several different things: the indicator flashes but never becomes steady, the selector produces no response, 4LO will not engage, the vehicle is stuck in one range, or the dash indicates 4WD while the drivetrain does not appear to deliver the expected traction. Those symptoms do not all have the same cause.
Try the Correct 4WD Shift Procedure Before Troubleshooting
A transfer case may refuse to complete a shift when the required conditions are not met. The exact procedure depends on the model and system, so follow your owner’s manual rather than relying on one universal speed or selector sequence.
On applicable Toyota systems, shifting between high and low transfer ranges requires the vehicle to be stopped, the brake pedal held, and the transmission placed in Neutral before the 4WD control is moved to the low-range position. Other high-range changes can be performed while moving within limits specified by the owner’s manual.
If the 4WD or 4LO indicator continues flashing after a command, the transfer case may be between requested positions rather than mechanically failed. Toyota instructions for applicable 4Runner systems have advised driving straight while gently accelerating or decelerating, or moving forward or backward a short distance, then retrying the shift procedure. If the indicator continues to flash after the prescribed procedure, the system should be diagnosed for a fault.
Warning: Never operate the 4WD selector while the drive wheels are spinning. Also avoid forcing a part-time 4WD system into use on high-traction pavement unless your owner’s manual specifically permits that mode. Follow the operating instructions for your exact drivetrain.
Quick Checks to Run First: Fuses, Dash Lights, and Power to the Actuator

Once you have confirmed the correct shift procedure, check the basic electrical and warning information before removing parts.
- Record the dash indicators. Note whether 4WD, 4HI, 4LO, center-differential, ABS, TRAC, VSC, check-engine, or master-warning lights are on or flashing. The exact indicators vary by year.
- Scan the vehicle before clearing codes. A basic emissions-only code reader may not access the transfer/4WD, ABS/VSC, or body control modules. Use a scan tool that can communicate with the relevant Toyota systems.
- Check battery condition. A weak battery, poor battery terminal connection, or charging-system problem can cause misleading electrical symptoms. Correct obvious low-voltage problems before condemning an actuator.
- Check the correct fuses. Do not assume every 4Runner has one fuse labeled “4WD” under the dash. Use the fuse chart and wiring diagram for your year and drivetrain and inspect the fuses supplying the transfer/4WD control circuits.
- Inspect visible connectors and wiring. Look for loose connectors, corrosion, moisture, damaged insulation, pin damage, previous repairs, and rodent-chewed wiring around the transfer case and along the harness.
Pro Tip: Photograph the warning lights and write down every diagnostic trouble code before disconnecting the battery or unplugging components. That information can be more useful than a replaced part.
[Products Worth Considering]

This tire repair screw kit offers a fast, simple way to seal punctures without removing the tire or visiting a shop. Made with durable carbon steel and rubber, the pre-sealed plugs help create a secure repair for tubeless tires in emergency situations. With two convenient sizes and portable individual packaging, it is a handy solution for cars, motorcycles, bicycles, trucks, and other compatible vehicles.

The KONNWEI KW208 is a versatile 12V battery tester designed to quickly analyze battery health, cranking performance, and charging system status for cars, trucks, boats, motorcycles, and more. It supports multiple battery types and provides clear guidance on whether a battery should be recharged or replaced, helping you diagnose issues before they become failures. With plug-and-play use, high accuracy, and multilingual support, it offers a convenient way to test batteries in-vehicle or out-of-vehicle.

This automotive circuit tester checks low-voltage DC systems from 3-65V, making it useful for diagnosing headlights, taillights, fuses, sockets, and other vehicle wiring issues. The digital backlit display provides clear voltage readings with fine accuracy, while the bidirectional polarity indicator helps you test from either ground or positive. Built with a durable probe, insulated tip, and extra-long spring wire, it is designed for dependable everyday use in automotive and household electrical work.
What a Flashing 4WD or 4LO Light Can Mean
A flashing indicator deserves careful interpretation. Depending on the Toyota system, it can mean the commanded shift is still in progress, the required shift conditions have not been met, the transfer mechanism has not reached the requested position, or the control system has detected a malfunction.
| Symptom | Possible Direction | Next Step |
|---|---|---|
| Indicator flashes only during a shift | Shift may not yet be complete | Follow the exact owner-manual procedure and confirm the indicator reaches its normal steady state. |
| Indicator keeps flashing | Position disagreement, incomplete shift, actuator, switch, wiring, or transfer-case fault | Scan relevant modules and diagnose the stored codes. |
| No indicator or response from selector | Power supply, fuse, selector input, wiring, module, or switch issue | Check codes, power supply and selector inputs using the correct diagram. |
| 4LO will not engage | Shift prerequisites not met or low-range system fault | Confirm the required vehicle-stop, brake and transmission-position conditions for your model. |
| Grinding, binding, or abnormal mechanical noise | Possible actuator, linkage, transfer-case, or internal mechanical problem | Stop repeatedly commanding the system and arrange proper mechanical diagnosis. |
Test the 4WD Switch, Actuator, and Wiring: Voltages, Continuity, and Common Probes
If the correct shift procedure does not restore operation, move to circuit diagnosis. Do not assume that every terminal at the actuator connector should show steady battery voltage. Transfer-case actuators can include motor circuits, position-feedback circuits, grounds and electronically controlled signals.
Start with the vehicle-specific wiring diagram. Identify the correct terminals before backprobing anything. With the proper information, you can determine whether the problem is on the command side, power/ground side, feedback side, or inside the actuator or transfer case.
[Products Worth Considering]
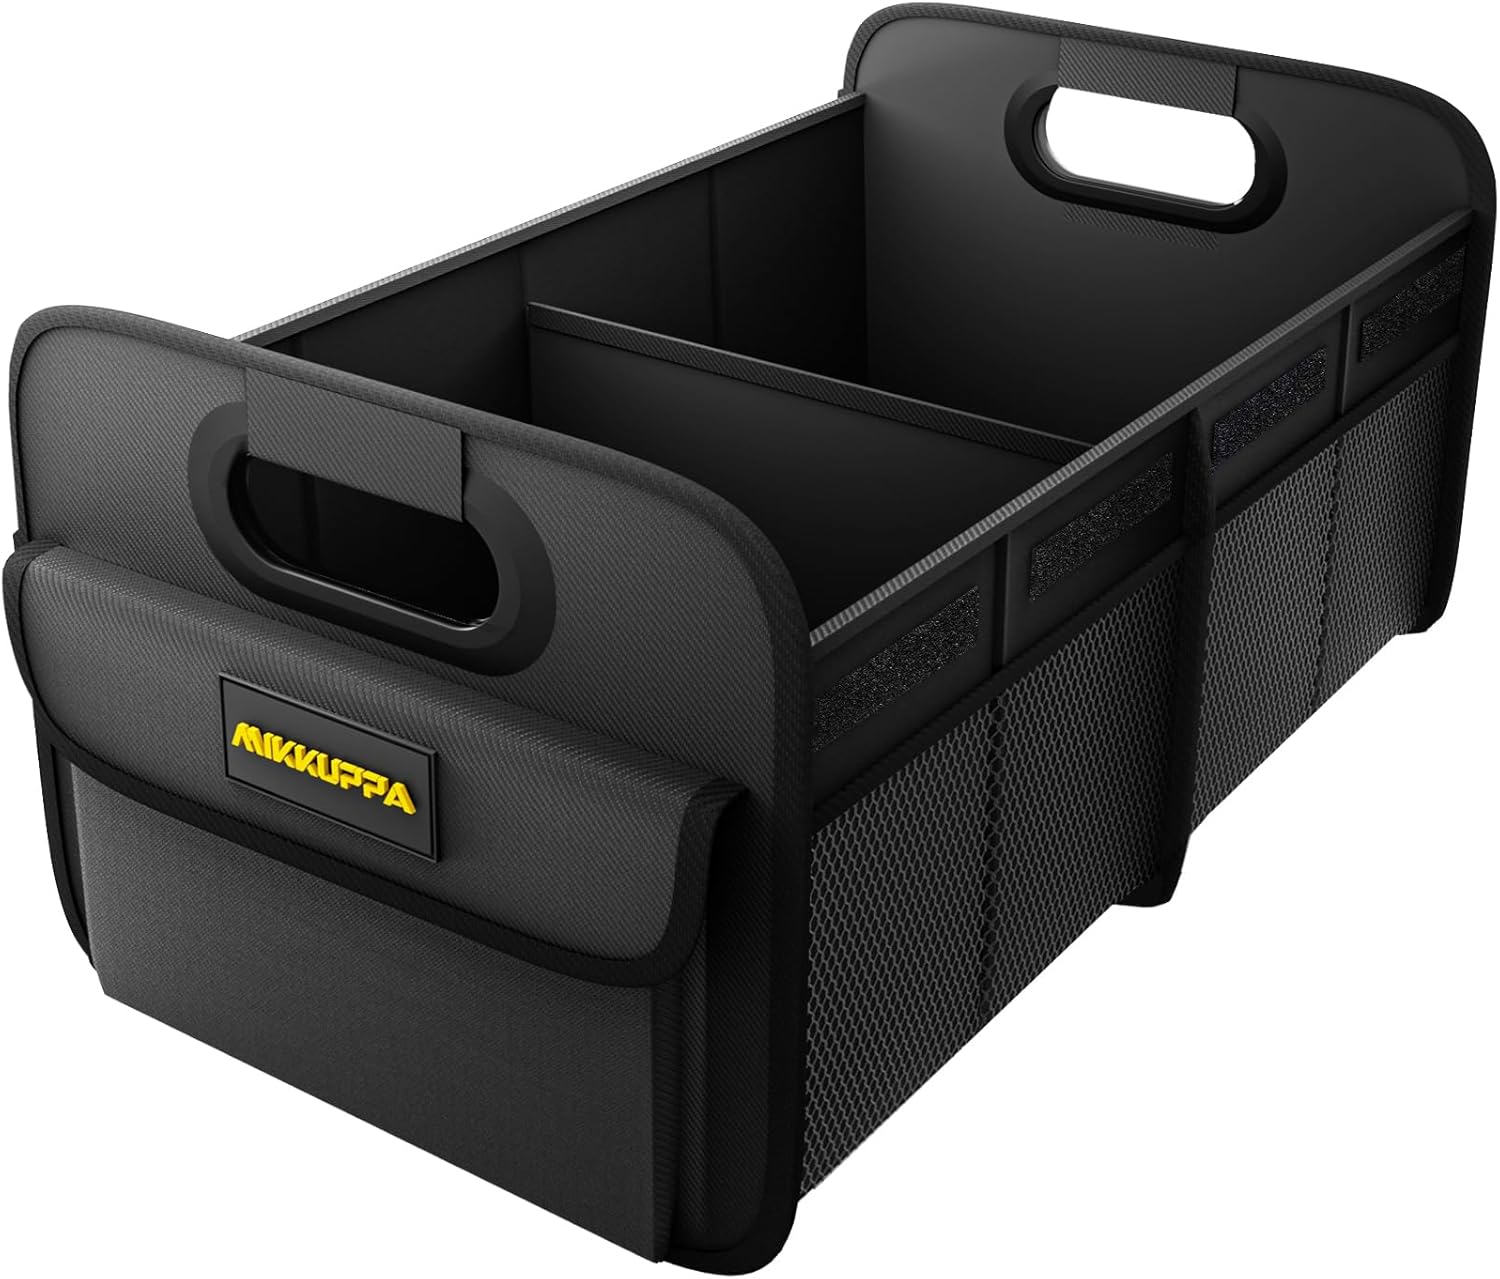
Keep your vehicle neat and organized with this collapsible trunk organizer designed to hold groceries, daily essentials, travel gear, and more. Built from durable fabric with a non-slip base, it stays in place while helping you maximize cargo space and keep items separated and easy to find. Its foldable design and exterior pockets make it a versatile storage solution for SUVs, road trips, picnics, and everyday driving.

Masoll’s TPMS sensor set includes four advanced sensors and a relearn tool to help GM vehicle owners replace factory tire pressure sensors at home. Designed for broad compatibility with GM vehicles after 2006, it supports dual-frequency operation for easier fitment across Chevy, GMC, Buick, Cadillac, Pontiac, and select trucks. With low power use, high accuracy, and DIY installation, it offers a convenient way to clear TPMS warnings and restore proper tire pressure monitoring.

Engineered for Seamless Compatibility with 4WD Models: Designed as a direct-fit replacement for 4Runner (2003–2018 4.0L/4.7L) and GX460 (2010–2017 4.6L V8), this actuator assembly ensures flawless integration into 4WD systems. Restores proper shift motor functionality for vehicles with Four Wheel Drive, eliminating hesitation or failure in 4x4 engagement.
1. Check the Selector or 4WD Control Input
Use scan-tool data when available to see whether the vehicle recognizes the selected mode. If the scan data does not change when the selector is moved, investigate the selector switch, its connector, related wiring, and control-module input before replacing the transfer-case actuator.
If the service procedure specifies a continuity test for a mechanical switch, test only the listed terminals and compare the reading with the Toyota specification.
2. Verify Power and Ground Correctly
Check the specified supply circuits and grounds under the conditions listed in the wiring diagram. A circuit can show voltage with no load and still fail when the actuator operates, so advanced diagnosis may require a voltage-drop or loaded-circuit test rather than a simple open-circuit voltage reading.
3. Inspect the Harness
Follow accessible harness sections between the transfer case and body. Pay special attention to areas exposed to water, road debris, heat, previous repairs, and rodents. A rubbed-through wire, corroded connector terminal, or poor ground can create intermittent operation that looks like an actuator failure.
4. Use Diagnostic Codes as a Starting Point
Do not replace a part solely because its name appears in a diagnostic trouble-code description. A code may indicate that a commanded position was not reached, but the cause could still be power supply, wiring, a position sensor, mechanical binding, or the actuator itself. Follow the diagnostic sequence for that specific code.
Warning: Do not apply battery power or ground directly to unidentified actuator terminals. Incorrect jumpers can damage the actuator, control electronics, wiring, or position circuitry.
Easy Fixes That Often Work: Switches, Connectors, Shift Procedure, and Simple Wiring Repairs
Some 4WD complaints can be resolved without opening the transfer case. Start with faults you can verify rather than replacing parts by mileage.
- Correct an incomplete shift: repeat the Toyota-specified procedure after confirming the correct vehicle speed, transmission position, brake input, and selector position.
- Repair obvious wiring damage: damaged harness insulation, broken conductors, loose grounds, and corroded connector terminals should be repaired using proper automotive wiring practices.
- Correct battery or terminal problems: low system voltage or high-resistance battery connections should be repaired before retesting the 4WD system.
- Repair a confirmed selector fault: replace or repair the selector/control switch only after testing confirms that its signal is missing or incorrect.
- Clean external contamination where appropriate: dirt around an external connector or control can be cleaned carefully, but there is no universal Toyota requirement to remove and clean a “4WD shift selector sensor” every month.
Do not assume a switch must be replaced at a particular mileage. Component life varies widely with age, environment, use, water exposure, maintenance history, and the specific 4WD system.
[Products Worth Considering]

Push Button Switch: The ON-OFF rocker switch with SPST design (single pole single Throw) is manufactured to fit in the OEM switch blank for your cars. It come with a small pigtail that plugs into the back of the switch for better installation. Note: switch size 1.54" x 0.83", please measure your present switches and compare the sizes

Push Button Switch: The ON-OFF rocker switch with SPST design (single pole single Throw) is manufactured to fit in the OEM switch blank for your cars. It come with a small pigtail that plugs into the back of the switch for better installation.
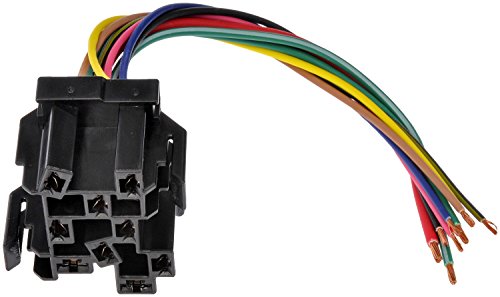
Direct replacement - this headlight switch connector matches the appearance and function of the factory hardware on specified applications
When to Remove the Actuator or Transfer Case: Timing, Alignment, and Reassembly Tips

Actuator or transfer-case removal should come after the basic operating, electrical, and scan-tool checks. Before disassembly, you should have evidence that the actuator, its feedback mechanism, linkage, or an internal transfer-case component is actually at fault.
Transfer-case actuator position and gear timing can be critical. Procedures differ across model years, and an actuator installed in the wrong position may produce incorrect feedback or prevent the transfer case from reaching its commanded range.
- Confirm the trouble code and diagnostic test results point toward the actuator or mechanical transfer mechanism.
- Obtain the correct Toyota repair procedure for the VIN/model year.
- Record the transfer-case position and actuator position exactly as the procedure specifies before removal.
- Inspect connectors, seals, wiring, actuator mounting surfaces, and any accessible linkage for damage.
- Follow Toyota’s specified alignment, timing, installation, torque, initialization, and verification procedure.
- After repair, clear codes only when appropriate, command each permitted transfer mode, and confirm that the indicators and scan-tool position data agree.
Warning: Do not cut access slots, force actuator gears, manually reposition transfer components, or bench-power an actuator unless the service procedure for your exact unit specifically calls for that method. Incorrect timing can create a second fault or leave the drivetrain between operating positions.
If you must work underneath the vehicle, park on a stable level surface, apply the parking brake, chock the wheels, and use correctly rated lifting and support equipment. Never work under a vehicle supported only by a jack.
Can ABS, VSC, or Traction-Control Faults Affect 4WD?
An ABS or wheel-speed sensor problem can trigger ABS, traction-control, or stability-control warnings and can affect functions that depend on wheel-speed information. However, a warning light does not prove that the wheel-speed sensor is the reason the transfer case will not change ranges.
If ABS, VSC, TRAC and 4WD warnings appear together, scan all relevant control modules. Record the codes and diagnose them in the order recommended by the service information. A shared power, communication, wiring, or sensor problem can sometimes produce several warning lights at once.
Stop It Coming Back: Periodic 4WD Use, Maintenance Checks, and Parts to Watch
Some Toyota 4WD systems have owner-manual instructions calling for periodic operation in four-wheel drive to help lubricate front-drive components. Older 4Runner manuals, for example, specified driving at least 10 miles (16 km) in 4WD each month on applicable systems. Do not automatically apply that interval to every generation; follow the manual for your exact model.
If your vehicle uses part-time 4WD, perform any periodic 4WD operation only under conditions allowed by the owner’s manual. Avoid unnecessary driveline binding on high-traction surfaces.
| Task | What to Do |
|---|---|
| Operate | Follow your model-year Toyota manual for recommended periodic 4WD operation. |
| Inspect | Check accessible connectors, harnesses, seals, warning indicators, and obvious damage. |
| Log | Keep a record of intermittent symptoms, warning lights, trouble codes, and repairs. |
| Replace | Replace switches, sensors, actuators, or wiring only when diagnosis confirms the fault. |
Check for Recalls and Service Campaigns
Before paying for an expensive repair, enter the vehicle’s VIN in the Toyota Safety Recall and Service Campaign lookup. You can also check the NHTSA recall database for open safety recalls and manufacturer communications associated with the vehicle.
A recall lookup does not diagnose an ordinary 4WD failure, but it can identify an applicable manufacturer campaign or safety repair that should be handled through the prescribed remedy.
When to Stop DIY Troubleshooting
Professional diagnosis is a better choice when the transfer case makes grinding or binding noises, the vehicle appears stuck between ranges, multiple control modules have communication faults, the actuator needs internal disassembly or timing, or the required test involves connector pinouts and circuits you cannot identify confidently.
A Toyota-capable scan tool plus the factory wiring and repair information can often prevent unnecessary actuator replacement. Ask the technician for the stored codes and test results rather than approving parts solely because the system “looks like an actuator problem.”
The best 4WD diagnosis starts by proving what the transfer case was commanded to do, whether the control module saw the command, and whether the actuator actually reached the requested position.
Frequently Asked Questions
Will using a non-OEM or wrong actuator void my vehicle warranty?
Using an aftermarket part does not automatically cancel the entire vehicle warranty. In the United States, FTC guidance states that an automaker generally cannot require branded parts or service simply to keep warranty coverage intact. However, coverage may be denied for damage caused by a defective, incompatible, or improperly installed aftermarket part. Use the correct actuator for the vehicle and keep repair documentation.
Can a bad ABS or wheel-speed sensor prevent 4WD engagement?
A wheel-speed or ABS fault can affect ABS, traction-control and stability functions and may appear alongside other drivetrain warnings. It should not automatically be blamed for a transfer-case shift failure. Scan the ABS/VSC and 4WD-related modules and diagnose the actual stored codes.
Is engaging 4WD while moving harmful?
It depends on the 4WD system and requested range. Some 4Runner systems permit certain high-range shifts while the vehicle is moving within a specified speed, while low-range shifts commonly require the vehicle to be stopped and the transmission in the required position. Follow the owner’s manual for your exact model, and never operate the selector while the wheels are spinning.
Are aftermarket lockers compatible with the stock 4WD system?
Compatibility depends on the axle, differential, gear ratio, locker design, model year, and the vehicle’s electronic traction and stability systems. Do not assume a locker is compatible simply because it physically fits a 4Runner axle. Verify the manufacturer’s exact application and installation requirements before modifying the drivetrain.
How much does professional transfer-case actuator replacement cost?
There is no reliable universal price. The total depends on the model year, exact actuator or transfer-case design, whether related parts are needed, local labor rates, and how much disassembly is required. Get a diagnosis and itemized estimate before authorizing replacement, because wiring, switches, connectors, or an incomplete shift can sometimes mimic an actuator failure.
Conclusion
If your Toyota 4Runner will not engage 4WD, start with the correct model-specific shift procedure rather than replacing the actuator. Identify whether the vehicle uses part-time or full-time 4WD, note whether the 4WD indicators are steady or flashing, scan all relevant modules, and then check battery condition, model-specific fuses, connectors, wiring, selector inputs, and actuator circuits.
If electrical testing points to the transfer-case actuator or internal mechanism, use the correct Toyota service procedure for alignment and timing. Avoid universal fuse locations, mileage-based parts replacement, improvised actuator modifications, and assumptions based on a single warning light.
Sources
- Toyota Owner’s Manuals and Warranties — model-specific 4WD controls, operating procedures, warnings, and maintenance information.
- Toyota Technical Information System — factory repair information, wiring diagrams, diagnostic procedures, and specifications.
- Toyota 2026 4Runner Brochure — current 4Runner drivetrain and part-time/full-time 4WD configuration information.
- Toyota Safety Recalls & Service Campaigns — VIN-based Toyota recall and campaign lookup.
- National Highway Traffic Safety Administration Recall Lookup — VIN-based safety recall information and manufacturer communications.
- Federal Trade Commission: Auto Warranties and Service Contracts — guidance on aftermarket parts and vehicle warranty coverage.