
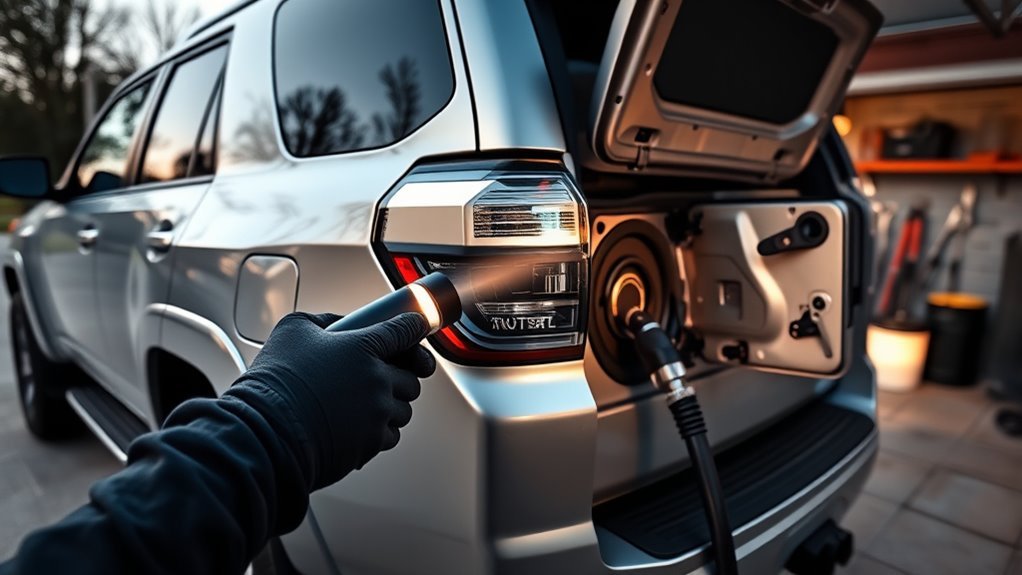
A gasoline smell after refueling your Toyota 4Runner may come from a small spill, a loose or damaged fuel cap, a cracked filler hose, an EVAP-system fault, or a pressurized fuel leak. The location and strength of the odor matter. A strong smell that follows the vehicle, enters the cabin, or comes with visible wet fuel needs immediate attention.
Quick Answer
Stop topping off the tank, tighten the fuel cap, and check for spilled or dripping fuel around the filler area, tank, underbody, and engine bay. Do not drive if you see liquid fuel or smell a strong odor inside the cabin. If basic checks find nothing, have the EVAP and fuel systems professionally tested.
Key Takeaways
- Stop filling when the pump automatically clicks off. Topping off can cause spills and send liquid fuel into parts designed to handle vapor.
- A fuel cap is an important first check, but it is not the only possible cause.
- Visible fuel, dripping, cabin odor, dizziness, or a rapidly worsening smell means you should stop driving.
- Component locations and test procedures vary by 4Runner model year, engine, and modification history.
- A smoke test can locate EVAP leaks, while a separate professional fuel-pressure inspection may be needed for liquid leaks.
At a Glance
| Time Required | About 10 minutes for basic visual checks; professional diagnosis varies |
| Difficulty | Easy for cap and spill checks; advanced for EVAP, injector, or fuel-pressure testing |
| Tools Needed | Flashlight, nitrile gloves, paper towels, and an optional OBD-II scanner; approved EVAP equipment for professional testing |
| Cost | Basic checks are free; repair cost depends on the model year, failed component, access, parts, and local labor rate |
Warning: Do not start, drive, smoke near, charge a battery beside, or perform electrical testing around a vehicle with dripping gasoline. Move away from ignition sources and arrange a tow. If you feel dizzy, nauseated, weak, or develop a headache, get into fresh air and seek medical advice.
Quick Fixes for Gas Smell After Refueling
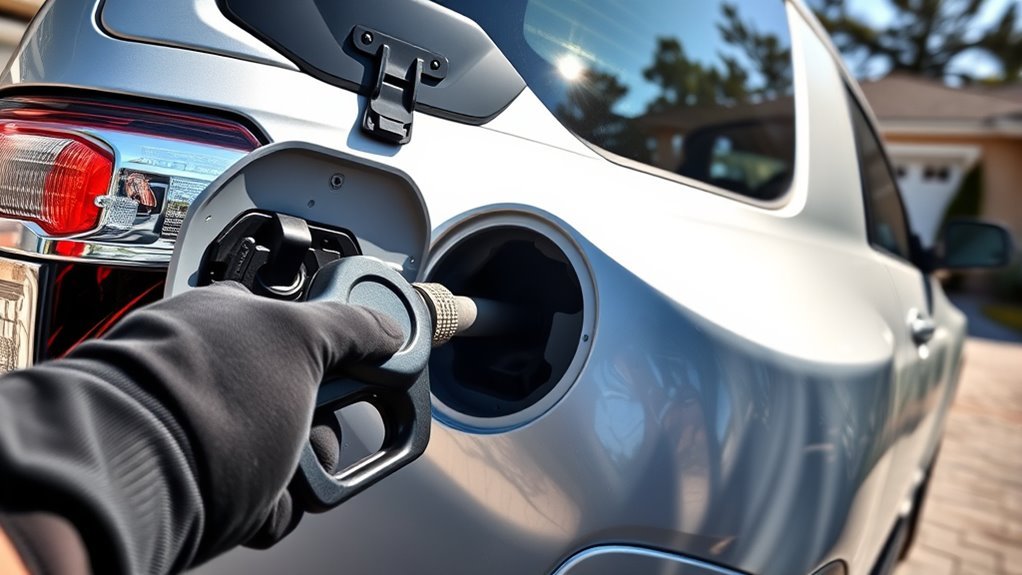
Begin with checks that do not require opening the fuel system. Work outdoors, turn the engine off, keep flames and sparks away, and allow hot exhaust parts to cool.
- Stop at the first pump click. Do not squeeze in additional fuel after the nozzle shuts off automatically. Toyota’s refueling guidance tells drivers to stop after automatic shutoff and avoid topping off.
- Check for a fresh spill. Look around the fuel door, painted body panel, tire, and ground. Fuel left on the body can create a temporary smell even when the vehicle has no mechanical leak.
- Tighten the fuel cap. Turn it as instructed for your model until it is fully seated. Inspect the cap seal for cracks, hardening, dirt, or deformation.
- Check the filler opening. Look for damage, corrosion, staining, a displaced seal, or fuel that has collected inside the fuel-door pocket.
- Move the vehicle only if it is safe. If there is no visible leak and the smell is mild, move away from the pump and see whether the odor fades. Do not continue if the smell stays strong or enters the cabin.
- Record warning lights and symptoms. Note whether the engine is hard to start after filling, idles roughly, stalls, or shows a check-engine message.
Pro Tip: Before replacing the cap, clean dirt from the cap seal and filler seating surface. If replacement is needed, use the correct cap for the exact model year and market rather than choosing one only by appearance.
[Products Worth Considering]

This replacement fuel gas cap is designed to fit a wide range of Toyota and Lexus vehicles, making it a practical solution for a lost, worn, or damaged original cap. It helps restore a secure fuel tank seal and supports proper vehicle operation while offering broad compatibility across many popular model years. The package includes one gas cap, and buyers should confirm fitment before ordering.

This fuel tank filler cap is designed as a direct replacement for a wide range of Toyota and Lexus vehicles, helping restore a secure seal for the fuel system. It is tested before shipping and built from durable materials for dependable fit and long-lasting use. Installation is simple, making it a practical solution for replacing a lost, worn, or damaged gas cap.
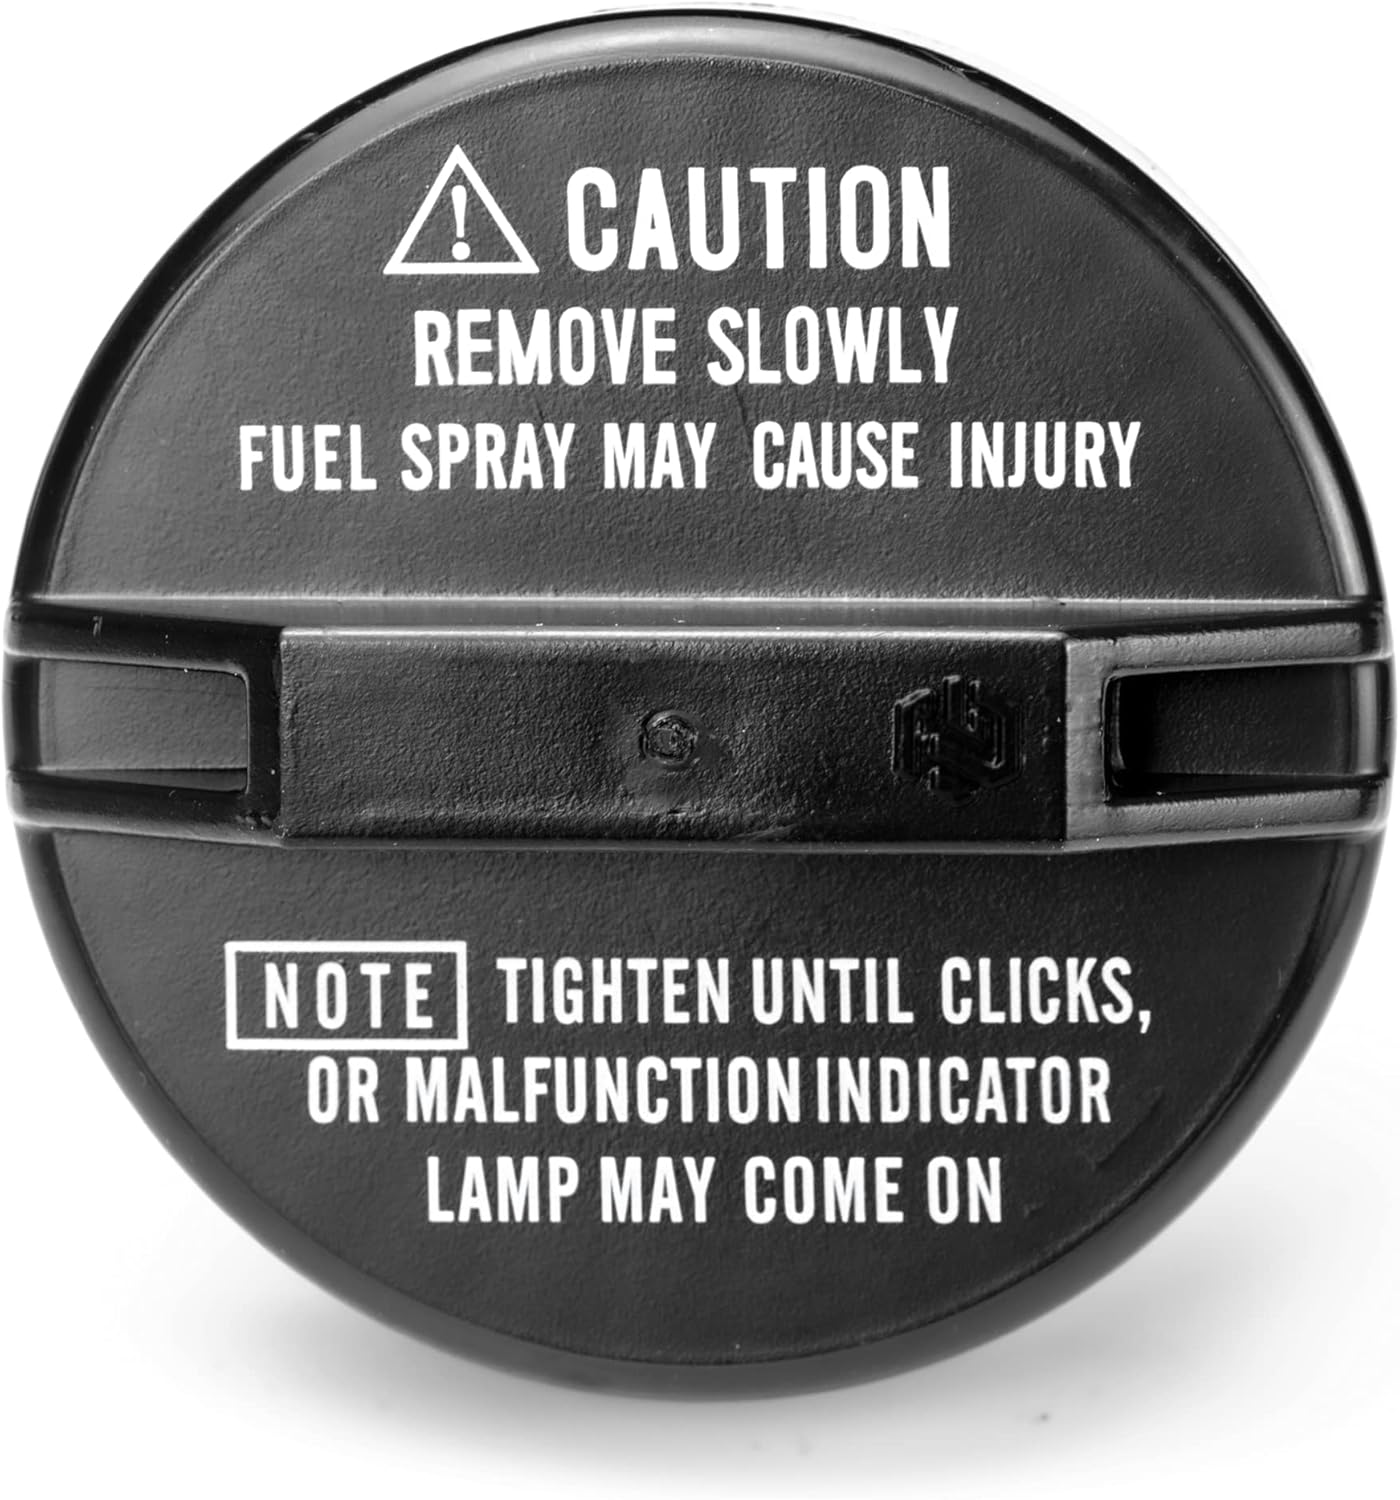
This replacement fuel cap is designed to restore a secure seal for a wide range of Toyota and Lexus vehicles. Built for direct fit compatibility, it helps maintain proper fuel system function while offering easy installation and dependable everyday performance. It is a practical solution for replacing a worn or missing gas cap with confidence.
Is a Brief Gasoline Smell After Filling Normal?
A faint odor that appears only while you are beside an operating fuel pump may come from refueling vapor or a small exterior spill. It should fade after you leave the station and the spill evaporates safely.
Treat the smell as a vehicle problem when it:
- Follows the 4Runner after you leave the station
- Returns after every fill-up
- Is strongest beside the filler door or under the rear of the vehicle
- Enters the passenger cabin
- Appears under the hood
- Comes with wetness, drips, staining, rough running, hard starting, or a warning light
| Where the smell is strongest | More likely areas to inspect | Recommended action |
| Fuel door or filler opening | Spill, loose cap, damaged cap seal, filler pipe, or nearby vapor hose | Clean a minor spill safely, inspect the cap, and arrange diagnosis if the odor returns |
| Under the rear of the vehicle | Tank, pump-module seal, filler hose, vent hose, canister, or fuel line | Do not drive if fuel is wet or dripping |
| Under the hood | Injector seal, injector body, fuel rail, supply connection, or modified fuel hardware | Keep the engine off and obtain professional service |
| Inside the cabin | External leak entering through ventilation, rear-body opening, damaged seal, or contaminated interior material | Open the doors outdoors, leave the vehicle, and do not drive with a strong odor |
| At the tailpipe | Rich running, misfire, failed sensor input, injector fault, or incomplete combustion | Scan for codes and diagnose engine operation separately from an external fuel leak |
Inspect for Fuel Leaks: Filler Neck, Lines, Rail, and Tank
A cold-engine visual inspection can help identify the general area of a leak. Do not disconnect fuel hoses, loosen rail fittings, remove injectors, or energize the fuel pump while searching for a leak.
[Products Worth Considering]

The AstroAI AIRUN H is a compact 12V tire inflator designed for quick, convenient inflation of car, motorcycle, and bike tires. It features a digital pressure gauge, programmable auto shut-off, and a built-in LED light for easy use in low-light conditions. With a long power cord and durable construction, it is made for reliable roadside and home tire maintenance.

One application of oil and fuel system UV leak detection dye

✔️ All-In-One Leak Detection Kit – Quickly identify refrigerant, coolant, oil, ATF, and fuel leaks across automotive and HVAC systems with a complete, ready-to-use kit.
Fuel Cap and Filler Neck Inspection
Inspect the cap, filler opening, visible filler pipe, and nearby hoses. The exact design differs by model year, so use the owner’s manual or Toyota repair information for your specific 4Runner.
- Confirm that the cap seats evenly and tightens correctly.
- Inspect the rubber seal for cuts, flattening, dirt, or hardening.
- Look for rust, cracks, impact damage, or fuel staining around the filler pipe.
- Check visible hose clamps and rubber sections without pulling or twisting them.
- Look beneath the filler area for wet spots shortly after refueling.
- Note whether the odor becomes strongest only when the tank is full.
An odor that appears only with a full tank can point toward an upper tank seal, filler connection, vent line, rollover valve, or EVAP component that is exposed to more vapor or liquid after refueling.
Fuel Line, Tank, and Pump Area
Use a flashlight from a safe position beside the vehicle. Do not crawl beneath a vehicle unless it is securely supported with equipment rated for its weight. A factory jack alone is not safe for underbody inspection.
- Check the ground for drops or a spreading wet patch.
- Look for damp dirt, fresh staining, or washed-clean areas on the tank and protective shields.
- Follow only the visible portions of the fuel and vapor lines.
- Inspect for corrosion, abrasion, crushed sections, or damaged connectors.
- Check whether recent off-road impact, towing equipment, body repair, or undercoating work may have disturbed a line.
Do not assume every 4Runner routes these parts behind the same wheel-well panel. Tank, canister, filler, and line layouts vary across generations and powertrains.
Engine-Bay Fuel Leaks
With the engine off and cool, look for fresh wetness or staining around accessible injector areas, fuel-rail connections, and supply lines. Do not touch or tighten a suspected fitting until the system has been depressurized according to the correct service procedure.
Warning: Do not ask another person to cycle the ignition or start the engine while you watch a suspected fuel leak. Pressurized gasoline can spray onto skin, electrical equipment, or hot engine parts.
Diagnose the EVAP System
The evaporative-emission control system prevents fuel vapor from escaping freely. It normally includes the sealed fuel system, vapor hoses, charcoal canister, purge control, vent control, pressure sensing, and related valves. Vapor is stored in activated charcoal and later drawn into the engine under controlled conditions.
Common EVAP-related clues include:
- A check-engine light after refueling
- A fuel-cap warning
- Hard starting immediately after filling
- Rough idle for a short time after the engine starts
- An odor near the canister, tank, filler, or vapor lines
- A recurring smell without visible liquid fuel
[Products Worth Considering]

【Advanced OBD2 Modes】Go beyond basic code reading! This scanner lets you run an EVAP system leak test and an O2 sensor performance check-two powerful diagnostic tools usually found only in professional-grade equipment. The O2 test helps fine-tune your air-fuel mixture for better gas mileage and lower emissions, while the EVAP test gives you insight into your fuel tank's seal and overall health

【ACCURATE DIAGNOSTICS】OBD2 scanner for Quickly read and clear DTCs (engine fault codes). The device includes a built-in library of 98,963 universal code definitions, enabling you to accurately identify the cause of a check engine light—potentially allowing you to fix the issue yourself without a trip to the repair shop.
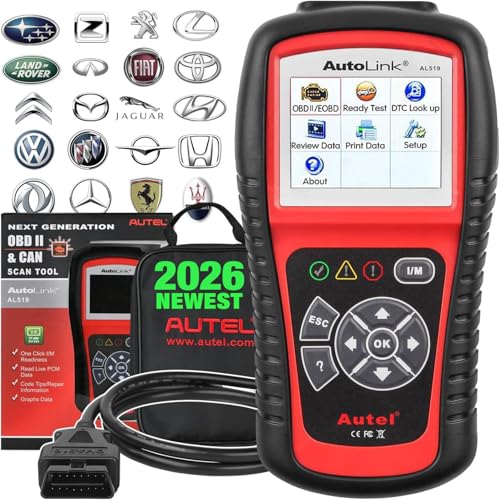
🔥【AL519 Autel Classic OBD2 Code Reader, Upgraded Ver. of AL319/ MS309】Autel develops more new features in AutoLink AL519 base on the old AL319, MS309. Instead of just reading and clearing codes, this AL519 OBD2 scanner can perform full OBDII functions (mode 1~10), and provide quick DTCs lookup and live data in text & graph. It can also retrieve generic(P0, P2, P3, and U0), manufacturer specific(P1, P3, and U1) codes and pending codes, car VIN#, turn off CEL, check I/M readiness status, locate bad parts like a O2 sensor, do evap leak test, etc. 📢Note: Autel AL519 works only for cars of 2015 or before, pls contact us check the compatibility first.
Scan Before Replacing Parts
An OBD-II scanner can show whether the engine computer recorded an EVAP leak, purge-flow problem, pressure-sensor issue, or another fault. Record the exact code, freeze-frame information, fuel level, and symptoms before clearing anything.
A trouble code identifies the system or test that failed. It does not automatically prove that the named valve or sensor is defective. A cracked hose, poor electrical connection, loose cap, blocked vent, damaged canister, or wiring fault can produce similar results.
Purge-Valve Testing
A purge valve may stick open, remain closed, leak when it should seal, or fail electrically. The correct test may include:
- Checking wiring, connector condition, resistance, and power supply
- Commanding the valve with a compatible scan tool
- Confirming whether it seals when commanded closed
- Measuring vacuum or flow according to Toyota service specifications
- Comparing the result with fuel-trim and pressure-sensor data
Listening for a click after startup is not enough to confirm that the valve seals and flows correctly.
Charcoal Canister, Vent Valve, and Hoses
Inspect accessible vapor hoses for disconnection, cracks, hardening, abrasion, or damage from road debris. A canister may fail because of physical damage, internal contamination, a blocked vent, or liquid fuel entering a system designed mainly for vapor.
Repeatedly topping off the tank increases the chance of spills and can interfere with vapor-control operation. Stop at the first automatic pump shutoff.
Professional EVAP Smoke Test
An approved low-pressure EVAP tester introduces test vapor into the sealed system so a technician can locate escaping vapor. The technician must follow the correct connection point, valve commands, pressure limit, and service procedure for the vehicle.
A smoke test is useful for vapor leaks, but it may not replace a separate inspection for a pressurized liquid-fuel leak. Do not feed shop air or an improvised smoke source into the fuel system.
Injector Seals, the MAF Sensor, and Rich Running
Injector O-rings, injector bodies, fuel-rail connections, and supply fittings can release raw fuel under pressure. These faults need prompt professional repair. Injector removal requires depressurizing the system, preventing contamination, replacing the correct seals, lubricating them as specified, and checking for leaks after assembly.
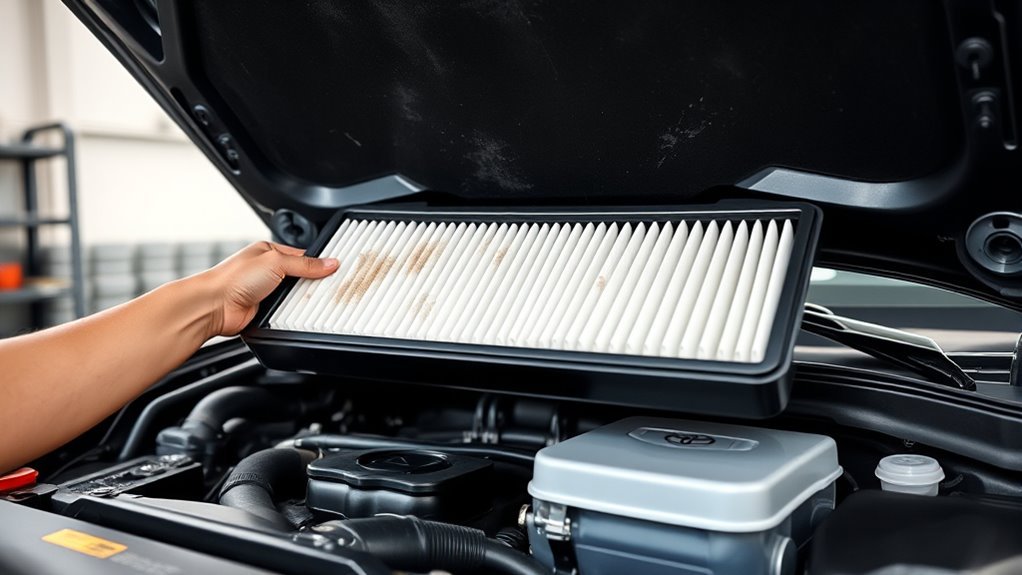
A mass airflow sensor, or MAF sensor, is different. It measures intake airflow and may affect fuel delivery if its reading is inaccurate, but it does not normally release gasoline vapor. Do not replace or clean the MAF simply because the vehicle smells like fuel.
Consider MAF or air-fuel diagnosis when the odor is mainly at the exhaust and the vehicle also has symptoms such as:
- Rich fuel-trim readings
- Poor acceleration
- Rough idle
- Misfire
- Black exhaust smoke
- Relevant airflow or mixture codes
If service data supports MAF cleaning, use only a cleaner approved for MAF elements and do not touch the sensing wires. This is a drivability repair, not a substitute for finding an external leak.
Modified, Supercharged, or Forced-Induction 4Runners
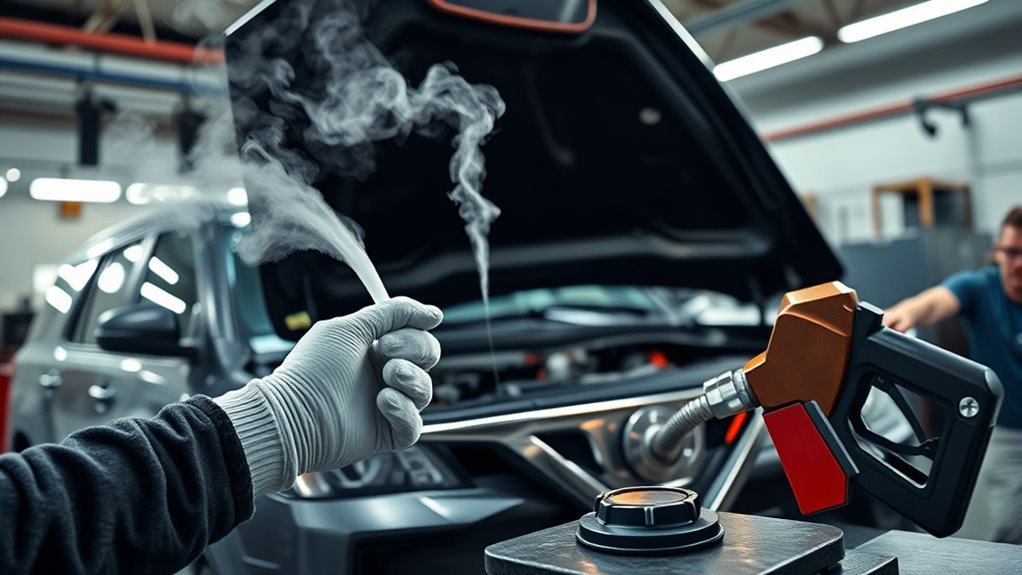
This section applies only when the 4Runner has aftermarket forced induction, added injectors, modified fuel plumbing, a nonfactory fuel-pressure regulator, or other related hardware. Do not assume a standard vehicle has the same layout or failure points.
Modified Fuel-System Leaks
Inspect the installation records and all added components, including injector adapters, auxiliary injectors, fuel-line fittings, regulators, rails, clamps, and wiring. A leak that appears during acceleration may not be visible during a stationary cold-engine check.
Testing under load should be performed in a controlled workshop environment. Do not open the hood and search for a leak while another person revs or loads the engine.
- Verify that hoses and fittings are rated for the fuel and pressure used.
- Check whether added parts contact sharp edges or hot surfaces.
- Inspect injector seals and adapters installed with the modification.
- Confirm that the regulator and vacuum or boost reference line are connected correctly.
- Review the installer’s torque, routing, and calibration requirements.
Vacuum and Purge Control on Modified Vehicles
Aftermarket intake or boost changes can alter vacuum routing or damage a hose during installation. Inspect modified vacuum and purge connections against the installation instructions and Toyota service information.
A cracked reference line, incorrect check valve, reversed connection, or poorly routed hose can cause drivability and purge-control problems. Diagnosis should include scan data and controlled valve testing rather than sound alone.
Note: Standard, turbocharged, supercharged, and hybrid-assisted 4Runner powertrains do not all use identical fuel and vapor-control layouts. Always identify the model year, engine, and modifications before ordering parts.
Step-by-Step Diagnostic Priority
- Check for immediate danger. Look for dripping fuel, a spreading wet area, strong cabin odor, smoke, or symptoms of vapor exposure.
- Confirm refueling procedure. Stop at the first click and do not top off.
- Check the fuel cap and spill area. Inspect the cap seal, filler opening, body panel, tire, and ground.
- Locate the strongest odor. Compare the filler area, rear underbody, engine bay, cabin, and exhaust.
- Perform a cold visual inspection. Look for wetness, staining, abrasion, corrosion, or disconnected hoses without opening the system.
- Read stored codes. Save the codes and freeze-frame data before clearing them.
- Check the exact model-year information. Use the proper Toyota manual, wiring information, and component locations.
- Perform professional testing. Use an approved EVAP smoke test, scan-tool commands, electrical checks, and fuel-pressure procedures as required.
- Repair only the confirmed fault. Avoid replacing the cap, canister, purge valve, injectors, and sensors as a group.
- Verify the repair. Check for leaks, confirm normal starting and idle, rescan the vehicle, and make sure the odor does not return after a controlled refueling test.
When to Seek a Mechanic and Repair Priorities

Arrange professional diagnosis promptly when the odor returns after each fill, the check-engine light is on, the engine becomes hard to start, or the basic cap and spill checks do not identify the cause.
Visible gasoline, a strong cabin odor, or fuel dripping near the tank or engine is a stop-driving condition, not a wait-and-see maintenance item.
Tow the Vehicle When
- You see liquid fuel dripping or pooling.
- The smell is strong inside the passenger compartment.
- Fuel is wet around the engine or exhaust.
- The odor becomes rapidly stronger.
- The engine runs poorly and you suspect an injector or rail leak.
- You feel dizzy, nauseated, weak, or develop a headache near the vehicle.
Repair Priority and Relative Cost
| Repair group | Typical priority | Relative expense |
| Cap, cap seal, or minor spill cleanup | Check first when no liquid leak is present | Usually lower |
| Accessible vapor hose, clamp, or small EVAP valve | Repair after testing confirms the fault | Lower to moderate |
| Charcoal canister, filler assembly, or difficult-to-access EVAP component | Repair promptly when damaged or leaking | Moderate to higher |
| Injector, fuel rail, pressurized line, pump seal, or fuel tank | High safety priority | Varies widely and may be higher |
Ask the shop for the diagnostic codes, leak location, failed test result, proposed part numbers, labor estimate, and confirmation procedure. An exact price cannot be estimated responsibly without the model year and confirmed failure.
Frequently Asked Questions
Why does my Toyota 4Runner smell like gas?
Possible causes include spilled fuel, a loose or damaged cap, a cracked filler or vapor hose, a leaking tank seal, an EVAP-system fault, or a pressurized leak near an injector, rail, or fuel line. Locate the strongest odor and check for visible fuel before driving.
What neutralizes a fuel smell?
Nothing makes an active fuel leak safe except repairing the leak. For a small residual spill, remove ignition sources, ventilate the area, absorb the liquid with a suitable fuel-compatible absorbent, and dispose of contaminated material according to local rules. Baking soda or activated charcoal may reduce a remaining odor only after the fuel has been removed.
Why does my car smell like gas only after fueling?
A full tank exposes the upper tank seals, filler connections, and vapor system to more liquid and vapor. Topping off may also send fuel where only vapor should travel. Check for a spill, tighten the cap, and have the filler, tank seals, vent hoses, canister, and purge system tested if the smell returns.
Can I drive a 4Runner that smells like gasoline?
Do not drive if you see wet fuel, find drips, smell a strong odor inside the cabin, or detect fuel near the engine or exhaust. Arrange a tow. A faint pump-area smell that disappears after leaving the station may be a minor spill, but any persistent or recurring odor still requires inspection.
Can a bad purge valve cause hard starting after refueling?
Yes. A purge valve that leaks when it should be closed may allow excessive fuel vapor into the intake, which can contribute to hard starting or rough running after a fill. The valve should be tested rather than replaced from symptoms alone.
Why are Toyota 4Runners often less fuel-efficient than smaller SUVs?
Many 4Runner versions prioritize body-on-frame durability, cargo capacity, ground clearance, towing ability, and four-wheel-drive performance. Vehicle weight, tire choice, roof accessories, speed, terrain, and model year also affect consumption. Check the official fuel-economy rating for your exact configuration rather than comparing all 4Runners as one vehicle.
Conclusion
Start with the safest checks: stop topping off, inspect for a spill, tighten and examine the fuel cap, and determine where the odor is strongest. Do not drive if gasoline is wet, dripping, entering the cabin, or collecting near the engine or exhaust.
If no liquid leak is visible, save any diagnostic codes and have the EVAP system tested with the correct equipment. A cracked filler hose, damaged tank seal, failed vapor component, or purge-control problem can occur alone or in combination. Replace only parts supported by inspection and test results, then confirm that the smell does not return after refueling.
Sources
- Toyota 4Runner Manuals and Warranties — model-year-specific owner information and access to Toyota manuals
- Toyota Refueling and Fuel-Cap Instructions — automatic pump shutoff, topping-off precautions, cap tightening, and refueling safety
- U.S. EPA Guide to Evaporative Emission Controls — gas-cap, charcoal-canister, purge-valve, and vapor-hose operation
- U.S. EPA: Do Not Top Off Your Gas Tank — spill, vapor, pollution, and vapor-recovery concerns
- U.S. EPA Evaporative Emissions Test Program — controlled pressure and smoke-based leak testing
- CDC/NIOSH Gasoline Safety Information — flammability, exposure routes, symptoms, and first-aid precautions


[…] not drive with a strong raw-fuel smell. See the 4Runner fuel-smell guide for the separate fuel-system diagnostic […]