If your 2021 Toyota 4Runner has stuck lug nuts, start with the wheel on the ground, the parking brake set, and the opposite wheel securely chocked. Use a correctly fitting six-point socket and breaker bar first, then move to penetrating oil, an impact wrench, or a lug-nut extractor only as needed. Final torque depends on wheel material: Toyota specifies 83 ft·lbf for steel wheels and 76 ft·lbf for aluminum wheels.
Quick Answer
Keep the tire on the ground while you first break a stuck lug nut loose. Use a snug six-point socket, penetrating oil, and steady breaker-bar pressure. Escalate to an impact wrench or extractor for stubborn or rounded nuts. Reinstall on clean, dry threads and use the correct steel- or aluminum-wheel torque specification.
At a Glance
| Difficulty | Moderate; stop if the stud, nut, wheel lock, or wheel begins to suffer damage |
| Tools Needed | Wheel chock, six-point socket, breaker bar, penetrating oil, eye protection, gloves, and torque wrench; impact wrench or extractor if needed |
Quick Checklist: Safety, Tools, and Correct 4Runner Torque
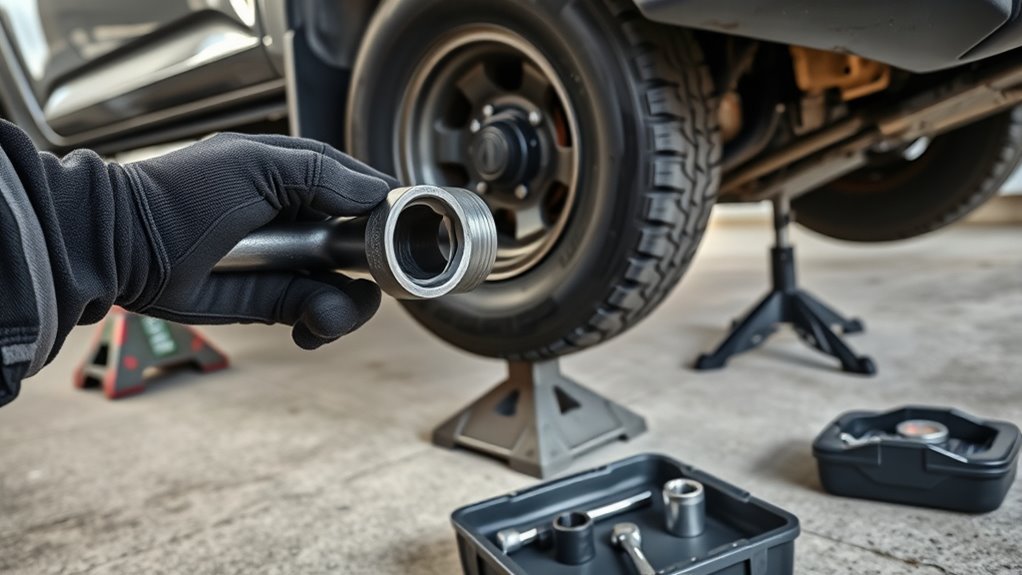
The safest setup is to loosen the stuck nut before lifting the 4Runner. Park on firm, level ground, shift into Park, set the parking brake, chock the wheel diagonally opposite the one you are working on, and keep the problem tire firmly on the ground while applying breaker-bar force.
Gather a correctly sized six-point socket, a strong breaker bar, penetrating oil, eye protection, gloves, and a torque wrench. If the nut is rounded or badly seized, you may also need an impact-rated socket, an impact wrench, or a spiral lug-nut extractor.
Warning: Do not apply heavy breaker-bar force while the 4Runner is balanced on its factory jack. Break the lug nut loose while the tire is still on the ground. Raise the vehicle only after the fasteners have started to loosen, and follow the vehicle’s approved jacking procedure.
Torque is especially important because the original 83 ft·lbf figure does not apply to every factory wheel. The 2021 4Runner Owner’s Manual torque specifications list 83 ft·lbf (112 N·m) for steel wheels and 76 ft·lbf (103 N·m) for aluminum wheels. Toyota also provides the model’s manuals through its official 2021 4Runner manuals portal.
Before reinstalling a lug nut, inspect the stud and nut threads. Start every nut by hand so you know it is threading straight. Toyota warns against putting oil or grease on the wheel bolts or wheel nuts, so final torque should be applied to clean, dry fasteners.
Loosen Stuck 4Runner Lug Nuts Safely With a Breaker Bar
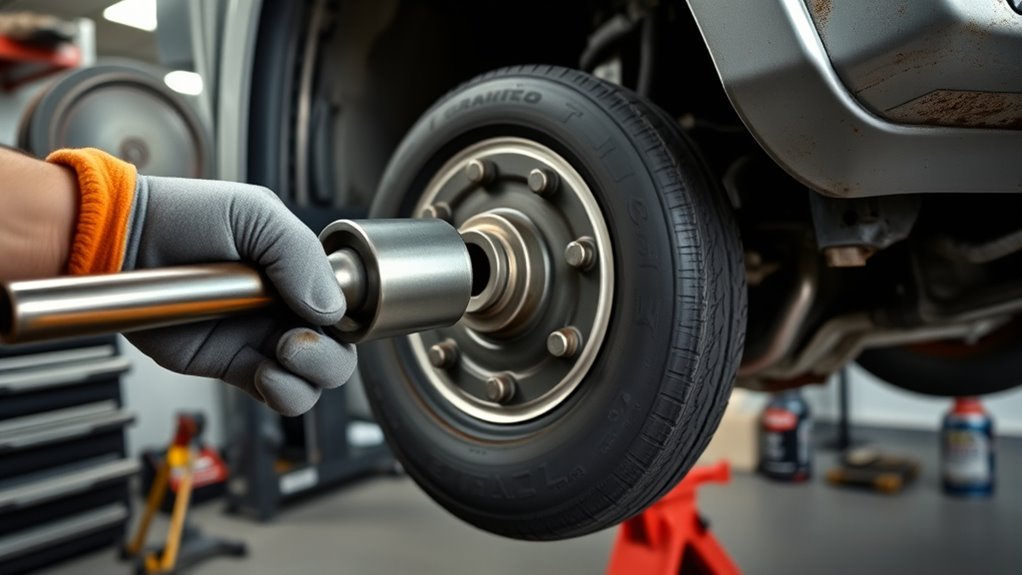
A breaker bar is the best first tool when a normal lug wrench cannot move the nut. The longer handle gives you controlled leverage without the hammering action of an impact wrench, and keeping the wheel on the ground prevents it from rotating while you work.
- Seat the socket fully. Use a snug six-point socket and push it squarely over the lug nut. If it rocks or slips, stop before the nut rounds further.
- Position the breaker bar correctly. Keep the bar and socket square to the nut. Breaker-bar guidance from AutoZone recommends smooth, increasing force instead of sharp jerks.
- Apply steady counterclockwise pressure. Use your body weight carefully while keeping your hands and face away from the path the bar could travel if the nut suddenly releases.
- Stop if the socket begins slipping. Continuing after the nut flats start rounding can turn a simple stuck nut into an extractor job.
Once the nut moves, work it loose gradually. If it becomes extremely tight again after beginning to turn, do not simply force it through the resistance. Damaged, rusted, or cross-threaded threads can bind, and excessive force may break the wheel stud.
If They Won’t Budge: Use Penetrating Oil Before More Force
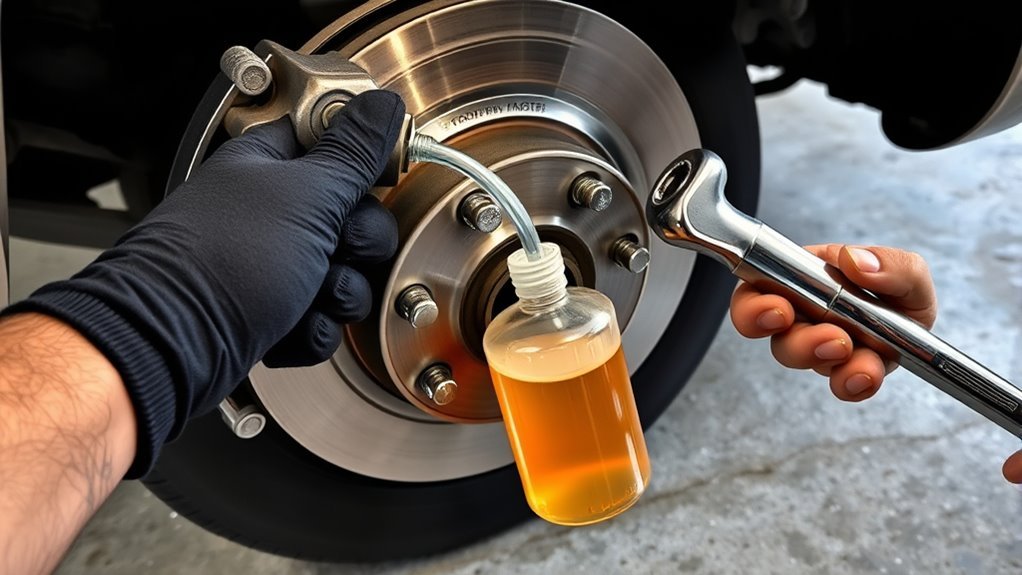
If steady breaker-bar pressure does not move the nut, give penetrating oil time to work before increasing force. Penetrants are most useful when rust or corrosion has reached the accessible parts of the nut and stud.
Spray the exposed area where the lug nut and stud meet and allow it to soak. For heavy corrosion, letting it work for at least 15 minutes before trying again is reasonable. A purpose-made product such as WD-40 Specialist Penetrant is formulated to work into rusted nuts, bolts, threads, and other seized parts.
After soaking, reseat the six-point socket and try the breaker bar again with smooth pressure. If the nut begins moving, turn it carefully and watch for signs that the stud is twisting with it.
Warning: Open-flame heat around a mounted wheel is a high-risk last resort. It can damage the wheel finish and nearby components, and it should never be combined carelessly with penetrating products. If breaker-bar, penetrant, impact, and extractor methods fail, professional removal is the safer next step.
Heat can expand a stubborn metal fastener, which is why it appears in some removal methods, but a mini torch next to a tire and finished wheel is not a good routine DIY step. The same applies to welding a nut or bolt onto a seized lug: leave those methods to a shop equipped to control heat and replace damaged hardware.
Use an Impact Wrench for Removal, Then Finish With a Torque Wrench
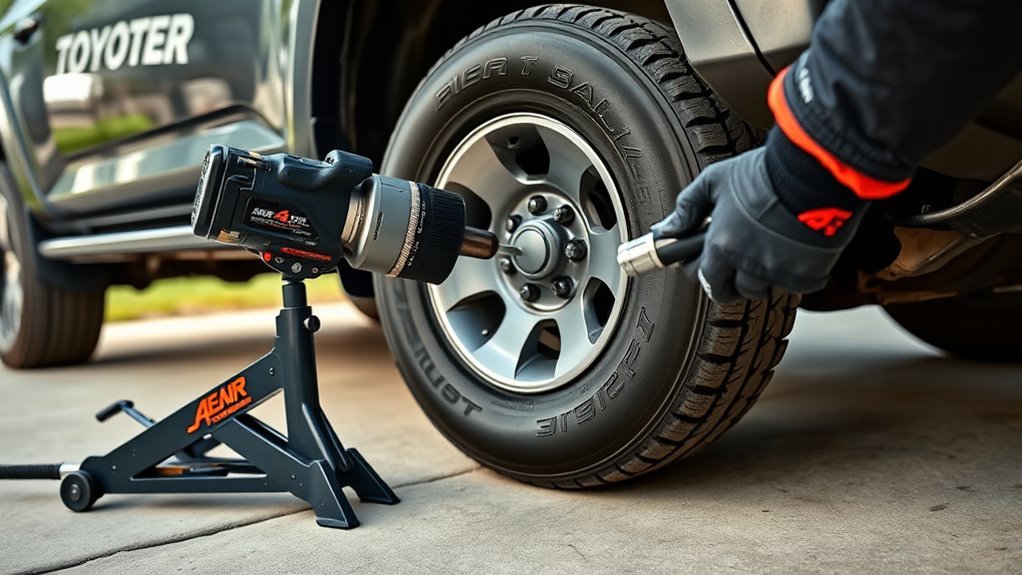
An impact wrench can free a lug nut that resists steady breaker-bar torque because it applies repeated rotational impacts. Use an impact-rated six-point socket that fits tightly, and work in short controlled bursts rather than holding the trigger continuously.
If the nut starts rounding, stop. A slipping impact socket can quickly destroy the remaining flats and make extraction harder. Also inspect decorative or capped lug nuts for deformation before continuing.
Use the impact wrench primarily for removal and quick run-down, not for setting final installation torque. Start each lug nut by hand, snug the wheel evenly, lower the vehicle as required for final tightening, and then use a calibrated torque wrench.
For the 2021 4Runner, finish in the crisscross order specified by Toyota, tightening the nuts progressively in two or three passes. Use 83 ft·lbf for steel wheels or 76 ft·lbf for aluminum wheels. Do not assume one torque value fits every wheel on the vehicle.
Remove Stripped or Locking Lug Nuts With the Right Tool
A rounded standard lug nut and a wheel lock need different approaches. For a wheel lock, use its matching key first. For a rounded conventional nut, a spiral extractor socket is usually preferable to repeatedly forcing a normal socket that can no longer grip the flats.
For a Wheel Lock
Seat the matching key fully and keep inward pressure on it while turning so the pattern stays engaged. McGard’s wheel-lock instructions also warn against impact-gun installation because over-tightening can damage the lock and key.
If the key is missing, do not immediately hammer or weld something onto the lock. If it is a McGard lock, replacement keys can be obtained using the lock-set identification information. A Toyota dealer or tire shop may also be able to identify and remove an original-equipment wheel lock.
For a Rounded Standard Lug Nut
Use a dedicated spiral or twist-style extractor sized to bite into the damaged outside surface. Drive the extractor on only as required by the tool’s instructions, then turn it with a breaker bar or suitable impact tool.
A slightly smaller sacrificial socket hammered over a damaged nut is sometimes used as a last-ditch workaround, but it can damage the nut further and may mark the wheel. A purpose-built extractor gives you a more controlled grip.
If the nut spins without backing off, the wheel stud turns with the nut, or the stud snaps, stop treating the problem as a simple stuck lug nut. The wheel hardware may need disassembly and stud replacement.
Note: If you are reaching the point of welding, open-flame heat, drilling, chiseling near the wheel, or applying enough force to twist a stud, have a tire shop or qualified mechanic remove the nut. Saving the wheel and hub can be more important than forcing the fastener off at home.
Prevent Future Seizing: Clean Threads and Use Correct Torque
The best prevention is simple: keep the mounting hardware clean, start lug nuts by hand, use the correct nut for the wheel, and finish with a torque wrench. Corrosion, cross-threading, and excessive installation torque are all common reasons a lug nut becomes unusually difficult to remove later.
Do not coat 4Runner wheel studs or lug nuts with oil, grease, or anti-seize before final tightening. Lubrication changes the relationship between applied torque and clamping force, while Toyota specifically tells owners to remove oil or grease from the wheel fasteners.
Clean Threads Regularly
Inspect the wheel studs and lug nuts whenever a wheel comes off. Remove loose rust and dirt without damaging the threads, then make sure the threads and wheel-contact surfaces are clean and dry before reassembly.
If you find flattened, stretched, crossed, badly rusted, cracked, or deformed threads, replace the damaged hardware instead of trying to compensate with extra torque. The lug nut should run onto the stud smoothly by hand for several turns before a wrench is used.
| Task | Tool | Frequency |
|---|---|---|
| Clean threads | Clean rag or suitable brush | Whenever the wheel is removed |
| Inspect studs and nuts | Visual and hand-thread check | Whenever the wheel is removed or removal feels abnormal |
| Torque check | Torque wrench | After wheel installation; Toyota also specifies a later tightness check for aluminum wheels after tire service |
Toyota’s aluminum-wheel precautions say that after rotating, repairing, or changing tires, you should check that the wheel nuts are still tight after 1,000 miles (1,600 km). That is different from the common 50- to 100-mile advice often given for other vehicles or aftermarket wheels, so follow the Toyota guidance for factory 4Runner aluminum wheels.
Rotate Tires on the Toyota Maintenance Schedule
Regular tire rotation gives you repeated opportunities to inspect the studs, lug nuts, wheel seats, and mounting surfaces before corrosion becomes severe. For the 2021 4Runner, Toyota schedules maintenance every 5,000 miles or six months, whichever comes first, and the 2021 4Runner maintenance guide includes tire rotation at the 5,000-mile/6-month service.
- Hand-start every lug nut before using a wrench or power tool.
- Clean dirt and corrosion from the studs, nuts, and wheel-contact surfaces whenever the wheel is off.
- Use the correct lug-nut type for the installed wheel and replace damaged fasteners rather than reusing them.
- Finish every installation with the correct steel- or aluminum-wheel torque, not the maximum setting on an impact wrench.
Key Takeaways
- Break a stuck lug nut loose while the tire is still firmly on the ground; do not apply heavy leverage while the 4Runner is balanced on its jack.
- Use a six-point socket and steady breaker-bar force first, then escalate to penetrant, an impact wrench, or an extractor.
- Open-flame heat and welding near a mounted wheel are professional-level last-resort methods, not routine DIY steps.
- Toyota specifies 83 ft·lbf for steel wheels and 76 ft·lbf for aluminum wheels on the 2021 4Runner.
- Keep wheel studs and nuts clean and dry; do not use oil, grease, or anti-seize to make future removal easier.
Frequently Asked Questions
How Does WD-40 Help Remove Lug Nuts?
WD-40 Specialist Penetrant can help loosen a rust-seized lug nut by creeping into tight gaps around the threads and corrosion. Let it soak, then use a correctly fitting six-point socket and steady breaker-bar pressure. Wipe away residue before reassembly because Toyota specifies clean, dry wheel fasteners.
Why Can’t I Get My Lug Nuts Off?
Most stuck lug nuts are caused by corrosion, over-tightening, cross-threading, or damaged nut flats that let the socket slip. Start with the least aggressive fix: correct socket, penetrating oil, and a breaker bar. Move to an impact wrench or extractor only if the nut still will not move.
What Is the 2021 Toyota 4Runner Wheel Nut Torque?
For a 2021 Toyota 4Runner, Toyota lists 83 ft·lbf (112 N·m) for steel wheels and 76 ft·lbf (103 N·m) for aluminum wheels. Tighten each nut in the specified crisscross sequence, in two or three passes, using a torque wrench.
Can I Use an Impact Wrench on Stuck 4Runner Lug Nuts?
Yes, an impact wrench can help remove a stubborn standard lug nut, but use a correctly sized impact-rated socket and short controlled bursts. Do not use the impact wrench to set final torque. For wheel locks, follow the lock maker’s instructions; McGard warns against impact installation.
When Should I Stop Trying to Remove a Stuck Lug Nut Myself?
Stop if the stud twists, the nut spins without coming off, the socket repeatedly slips, the wheel lock key is damaged, or you are considering open-flame heat or welding near the mounted wheel. At that point, a tire shop or mechanic can use dedicated removal tools and replace damaged hardware if needed.
Conclusion
For stuck 2021 Toyota 4Runner lug nuts, start with the least destructive method: a snug six-point socket, penetrating oil if needed, and controlled breaker-bar pressure while the tire remains on the ground. Escalate to an impact wrench or extractor only when necessary, and let a professional handle heat, welding, or damaged studs. Most importantly, reinstall clean, dry fasteners at the correct torque for your wheel material.
Sources
- Toyota 2021 4Runner Manuals and Warranties: Official access to the 2021 4Runner Owner’s Manual and maintenance documentation.
- 2021 Toyota 4Runner Owner’s Manual torque pages: Steel- and aluminum-wheel torque specifications and tightening procedure.
- 2021 Toyota 4Runner Warranty and Maintenance Guide: 5,000-mile or six-month maintenance schedule and tire rotation.
- McGard Installation and Removal Instructions: Wheel-lock removal, installation, torque, and lubrication guidance.
- WD-40 Specialist Penetrant: Intended use on rusted nuts, bolts, and threads.
- AutoZone Breaker Bar Guide: Breaker-bar positioning, steady-force technique, and lug-nut removal guidance.