When your RAV4’s check engine light comes on, start with simple diagnostics: tighten or replace the gas cap, check oil/coolant/transmission levels, and look for leaks, cracked hoses or loose wiring. Use an OBD-II scanner or free auto-parts read to capture codes, then cross‑reference them (common codes: P0420, P0300, P0171, P0131, P0442). Drive cautiously only if the light is steady and performance is normal; tow if it’s blinking or you lose power. Continue for step‑by‑step checks and repair guidance.
What Your RAV4’s Check Engine Light Means Now
When your RAV4’s Check Engine Light comes on, it’s warning you that an engine or emissions system component isn’t operating correctly and needs prompt attention to avoid further damage. You should treat the CEL significance as a diagnostic cue: a steady light usually signals a non-critical fault you can address soon, while a blinking light demands you stop and seek immediate professional help. Start engine diagnostics by checking simple items first — verify the gas cap is secure — then scan the OBD-II codes to pinpoint affected systems like oxygen sensors or spark plugs. Those parts directly influence fuel economy and emissions; ignoring codes risks escalating damage and locking you into dependence on costly repairs. Use the diagnostic report to decide targeted repairs or to relay clear information to a technician. Act promptly, reclaim control of your vehicle’s performance, and prevent needless emissions and expense through methodical, code-driven action.
When to Keep Driving : And When to Stop and Tow
If the check engine light is steady and the RAV4 feels normal, you can drive with caution but should book service soon to avoid escalation. If the light blinks, pull over as soon as it’s safe and arrange a tow to prevent serious engine damage. When the light comes on intermittently with performance loss, limit driving and get the vehicle inspected promptly.
Drive With Caution
Assess the situation calmly: a steady check engine light with normal driving usually means you can keep going but should schedule service soon. You’ll monitor gauges, listen for odd noises, and note any loss of power—prioritize driving safety while you preserve mobility. If performance stays steady, you can continue to your destination or nearest shop, but don’t ignore it; book diagnostics promptly to avoid escalation. If power dips, strange sounds start, or the car enters limp mode, limit movement and seek professional help. A blinking light, severe jolts, or smoke demands immediate stop and tow decisions (covered elsewhere). Make rational choices: conserve fuel, avoid high speeds, and choose routes toward help. Stay empowered—don’t gamble with worsening faults.
Stop And Tow
Pull over safely and stop driving the moment your check engine light starts blinking or the vehicle shows clear signs of trouble—severe misfires, sudden power loss, loud knocking, smoke, or limp mode—which indicate faults that can cause extensive engine or transmission damage if you continue. You want freedom from breakdowns, so prioritize towing safety and engine protection over risk. If the light is steady and performance feels normal, you can cautiously continue to a shop, but don’t delay diagnostics.
- Blinking light or severe symptoms: stop and arrange towing immediately for engine protection.
- Limp mode engaged: tow to prevent transmission and engine harm.
- Steady light, no symptoms: drive slowly to nearest service, but schedule prompt inspection.
- Unsure of severity: choose towing safety—it’s the liberating, safer option.
3 Quick Checks: Gas Cap, Fluids, Visible Problems
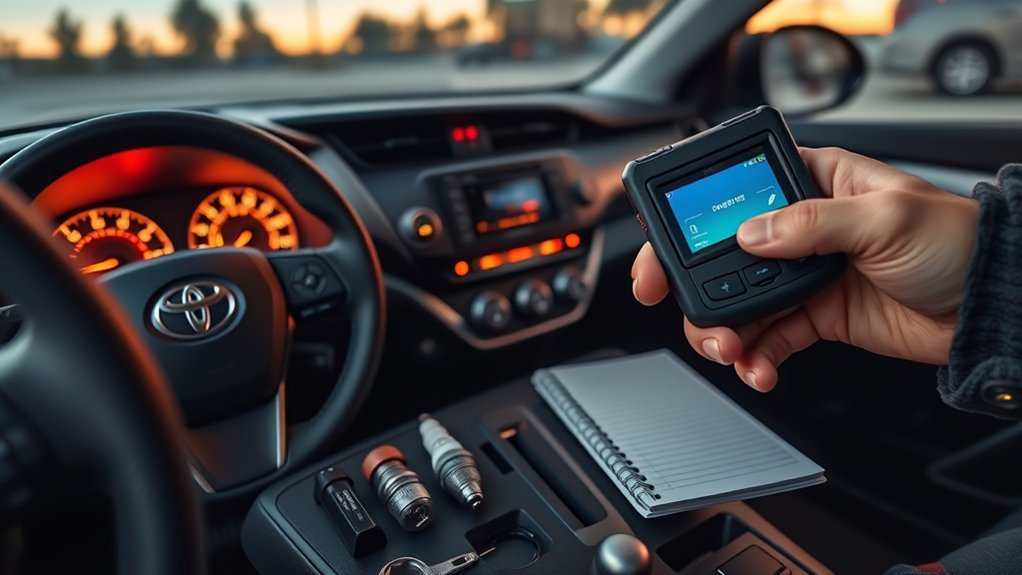
Start with the simplest checks you can do yourself: make sure the gas cap is tight and undamaged, verify engine oil, coolant, and transmission fluid levels (and look for contamination), and scan under the hood for visible leaks, cracked hoses, or worn belts. A loose cap can trigger gas cap issues by letting vapors escape and upsetting fuel pressure—tighten or replace it if damaged. Check fluids with the dipstick and reservoir markings; dark, gritty oil or discolored coolant signals contamination that can harm components. Inspect for fluid leaks around seals, hoses, and the oil pan; trace fresh drips to their source. Perform a quick spark plug inspection if you’re comfortable: remove a plug, look for fouling, wear, or oil deposits that suggest misfires. Finally, note any abnormal engine noises or vibrations during idle and light acceleration; those cues point to mechanical or ignition faults. These rapid, decisive checks free you to act—replace simple parts or seek targeted repairs.
Read OBD‑II Codes (Tools, Steps, Free Options)
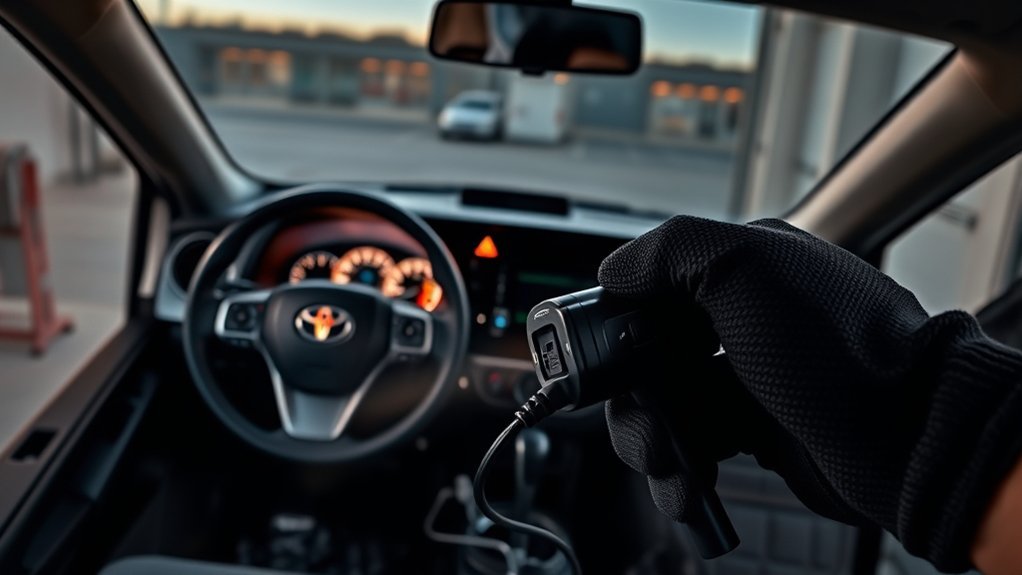
Grab an OBD‑II scanner or head to a parts store for a free read so you can identify the exact DTCs behind your RAV4’s check engine light. Plug the tool into the port near the driver’s right knee, pull the codes, and note the numbers for lookup. Use cheap scanners (under $20) or free store reads to monitor issues and guide your next diagnostic steps.
OBD‑II Scanner Options
If you want to know why your RAV4’s check engine light is on, an OBD‑II scanner is the fastest way to retrieve the diagnostic trouble codes that point to the problem. You can choose cheap plug‑in units, Bluetooth scanners that pair with smartphone apps, or higher‑end tools with advanced features for live data and freeze frames. Free code reads at parts stores save money while you decide. The port sits near your right knee—easy access.
- Buy an inexpensive handheld scanner (<$20) for basic codes.
- Use Bluetooth scanners plus smartphone apps for mobility and logging.
- Visit an auto parts store for a free read before buying.
- Compare scanners for advanced features, compatibility, and ease of use.
How To Read Codes
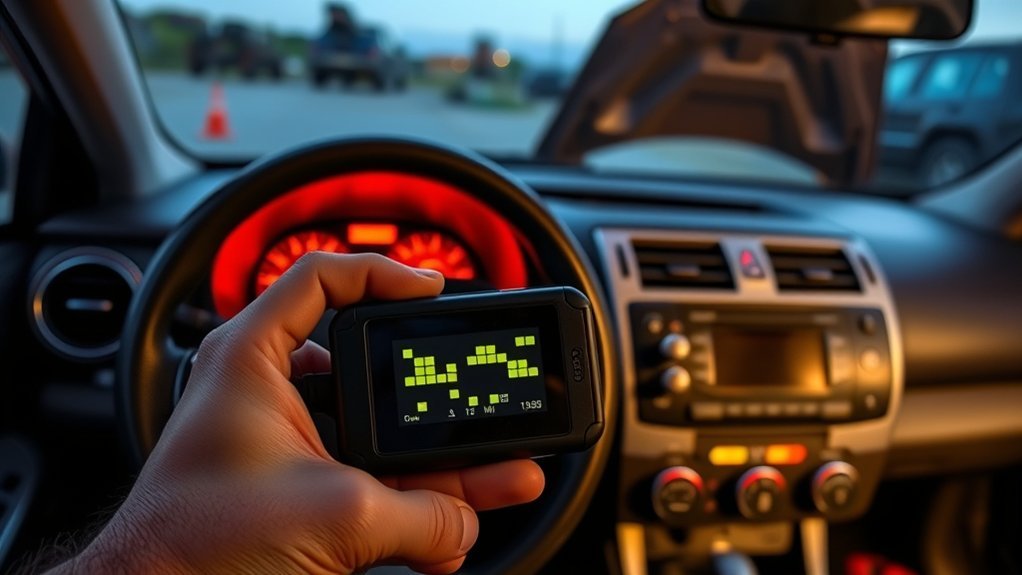
Now that you’ve picked a scanner or know where to get a free read, plug the tool into the OBD‑II port near your right knee and power the ignition to the “on” position (engine off is usually fine). Use the scanner usage prompts to navigate to “Read Codes” and request stored and pending codes. Write down each alphanumeric code and its brief description the device provides. For clear code interpretation, cross‑reference codes with reliable databases or your vehicle manual to learn severity and common causes. Prioritize fixes that prevent safety or drivability issues. After repairs, clear codes and run another read to confirm resolution. Regular, disciplined checks using basic tools give you control over maintenance and free you from needless shop dependence.
Free Code Reading Locations
Where can you get a quick read on that check engine light? You can liberate yourself by accessing code reading without paying a mechanic. Many auto parts stores like AutoZone or O’Reilly offer free OBD-II code reading—fast, no-commitment diagnostics. The OBD-II connector sits near your right knee; plug-in, request codes, and get diagnostic tools feedback that points to specific DTCs. You can also buy an inexpensive scanner online for under $20 and read codes anytime. Regular code checks catch issues early, saving time and money.
- Auto parts stores (free code reading, basic diagnostic tools)
- Mobile repair vans (some offer free reads)
- Local libraries/community shops (occasional free sessions)
- Own cheap OBD-II scanner (under $20)
Common RAV4 Codes and What They Usually Mean
When your RAV4’s check engine light comes on, you’ll want to scan the code immediately to narrow the problem; common codes like P0420, P0300, P0171, P0131, and P0442 each point to different systems and typical causes. Use diagnostic tools to pull codes and note common symptoms before deciding next steps. P0420 signals catalytic converter efficiency issues — expect reduced emission control and possible performance drag; don’t ignore it if you aim for freedom from recurring faults. P0300 denotes random or multiple misfires; you’ll usually see rough idle, hesitation, or reduced power and should inspect spark plugs, ignition coils, and fuel delivery. P0171 means a lean condition, commonly from vacuum leaks or a failing mass air flow sensor. P0131 flags a weak oxygen sensor, hurting economy and emissions. P0442 indicates a small EVAP leak, often a loose or damaged gas cap. Scan, record, and prioritize repairs that restore reliable, liberated driving.
RAV4 DIY Fixes That Often Clear the Light
After you’ve scanned and noted any codes, you can try a few targeted DIY fixes that often clear the check engine light. You’ll act deliberately: verify simple components first, then reset the system to confirm freedom from false alarms. Start with visible, low-risk tasks and move on only if codes point there.
- Tighten or replace the gas cap — a damaged or loose cap lets vapors escape and often trips the light; secure it, drive, and see if the code clears.
- Inspect and replace spark plugs — remove, check for fouling or wear, swap in new plugs to resolve misfires that trigger codes.
- Clean the mass air flow sensor — use the correct cleaner, follow directions, and reinstall to restore accurate air-fuel readings.
- Reset the light safely — disconnect the battery briefly or use your OBD-II scanner to clear codes after fixes; monitor for recurrence.
Work methodically and regain control; repeat scans to verify the issue’s truly resolved.
Problems That Need a Professional Diagnosis
If the check engine light is blinking or you’re seeing persistent drivability issues, don’t try to limp home—get the RAV4 to a professional immediately so they can diagnose before damage worsens. You should treat blinking lights and constant misfires as urgent: they often signal severe engine symptoms that can lead to catastrophic damage if ignored. A tech will connect advanced diagnostic tools to read OBD-II codes, interpret them, and trace faults beyond what simple scanners reveal.
Expect professional evaluation when you notice decreased fuel efficiency, recurring misfires, or elevated emissions—issues tied to catalytic converter faults or sensor failures like oxygen sensors. Don’t gamble on guesses; a trained technician will pinpoint the root cause, recommend targeted repairs, and provide clear repair estimates. That clarity frees you to decide the next step without being trapped by uncertainty. Get expert diagnosis promptly to protect your engine and preserve your mobility.
Typical Cost and Time for Common RAV4 Repairs
You’ll want a clear parts cost breakdown to compare items like $10–$20 spark plugs, $200+ mass air flow sensors, and $1,000+ catalytic converters. Expect diagnostic tests to take about an hour and labor rates of $75–$150 per hour, so simple fixes (loose gas cap ~$20) can be same-day while major repairs may take several days. Use free shop diagnostics when available to confirm timelines and avoid unnecessary parts charges.
Parts Cost Breakdown
Cost estimates help you prioritize repairs and budget for downtime; common RAV4 fixes vary widely in price and labor. You’ll want clear figures so you can choose repairs that free you from uncertainty. Catalytic converter costs can run $1,000–$2,500 depending on year and parts. Oxygen sensor prices typically fall between $150–$300. Diagnostic fees usually sit at $100–$150 and may be waived with repair.
- Spark plugs: $100–$300 — replaces ignition parts to restore efficiency.
- Mass air flow sensor: $200–$500 — fixes airflow measurement issues.
- Oxygen sensor: $150–$300 — addresses fuel trim and emissions alerts.
- Catalytic converter: $1,000–$2,500 — costly but essential for emissions compliance.
Labor Time Estimates
Start by budgeting both time and money for diagnostics and common repairs so you can plan downtime and shop around for labor rates. You’ll pay about $75–$150 and roughly 1 hour for a diagnostic scan; that baseline improves your troubleshooting efficiency and helps limit wasted labor cost. If the catalytic converter must be replaced, expect 3–5 hours of labor and about $300–$600 in shop charges, varying with hourly rates and parts. Spark plug replacement is typically 1.5–2 hours, costing $150–$250 all in. Mass air flow sensor work runs 1–2 hours and $100–$300 for labor plus the part. An oxygen sensor swap usually takes 1 hour, totaling roughly $100–$200. Plan repairs to reclaim control.
Typical Repair Timelines
Although the exact time and cost depend on the root cause, plan for small fixes—like tightening a gas cap or swapping spark plugs—to take about 30–60 minutes and cost toward the low end of the $100–$1,000 range, while sensor replacements (oxygen or MAF) usually run 1–2 hours and moderate shop charges. You’ll want clear diagnostic procedures so you’re not stuck waiting; expect a $100–$150 code read that may be waived if you authorize repairs. Parts are commonly available, which speeds repair duration. Warranty coverage can eliminate costs and shorten timelines.
- Gas cap/spark plugs: 30–60 min, low cost.
- Oxygen/MAF sensor: 1–2 hrs, moderate cost.
- Catalytic converter: several hrs to day, high cost.
- Full diagnostics: add $100–$150, often credited.
Maintenance Checklist to Prevent Future CELs
If you want to keep the RAV4’s check engine light from coming back on, follow a focused maintenance checklist that targets the most common causes: prioritize fuel system care, regular routine checks, and disciplined maintenance habits. Tighten and inspect the gas cap often to prevent vapor leaks and pressure faults. Track oil change intervals—typically every 5,000–7,500 miles—to protect engine health and avoid oil-related CELs. Replace spark plugs per spec (30,000–100,000 miles) to prevent misfires that hurt economy and trigger codes. Clean or swap the air filter every 15,000–30,000 miles to maintain airflow and combustion stability. Use quality fuel and note changes in octane or source that could confuse sensors. Monitor fluid levels and driving conditions that stress the engine. Watch for early sensor issues and act quickly. Keep basic diagnostic tools on hand and use them during routine checks so you can stay free, informed, and in control of your RAV4’s performance.
What to Expect at the Shop and Questions to Ask
When you bring your RAV4 in, expect the shop to run a full diagnostic scan of the onboard computer, then follow up with a targeted visual inspection of likely culprits—gas cap, spark plugs, oxygen and other sensors—to narrow the fault. You’ll see technicians use diagnostic tools to read codes, interpret freeze-frame data, and prioritize safety and drivability issues. Ask direct questions about findings, timelines, and cost so you’re in control of decisions.
Expect a full onboard scan, targeted visual checks (gas cap, plugs, sensors), and clear answers on codes, costs, timelines.
- Ask which diagnostic tools were used and what codes were retrieved.
- Request clear explanations of each code’s implication for performance and safety.
- Get written repair estimates, parts lists, and whether used or new parts are advised.
- Confirm expected repair time, warranty on repairs, and next steps if the issue recurs.
Be firm: you deserve transparent answers, fair repair estimates, and a plan that frees you from uncertainty.
Frequently Asked Questions
Why Is My Check Engine Light on My Toyota RAV4?
Your RAV4’s check engine light’s on because common issues—like a loose gas cap, faulty oxygen sensor, spark plugs, MAF sensor, or catalytic converter—are triggering warning signs; you’ll want diagnostics to reclaim control and fix the root cause.
How to Diagnose a Toyota Check Engine Light?
Want clarity on the fault? Start by tightening the gas cap, then use an OBD Scanner to read Common Codes, interpret results, monitor lights and performance, and, if unresolved, liberate yourself by seeing a certified technician.
How Do You Figure Out What Is Causing a Check Engine Light?
You plug an OBD II scanner in, read the common codes, interpret them, inspect obvious items like gas cap, plugs, wiring, and act decisively; if a code’s severe or light’s blinking, get professional help immediately for freedom.
Conclusion
When your RAV4’s check engine light comes on, don’t panic — act. You’ll usually keep driving for minor issues, but stop if power drops or smoke appears. Scan codes, check the gas cap and fluids, and note symptoms before towing. About 40% of CELs are related to emission controls like the O2 sensor or EVAP system, so early diagnosis often prevents bigger repairs. Be methodical: document codes, get estimates, and ask the shop for a parts-versus-labor breakdown.