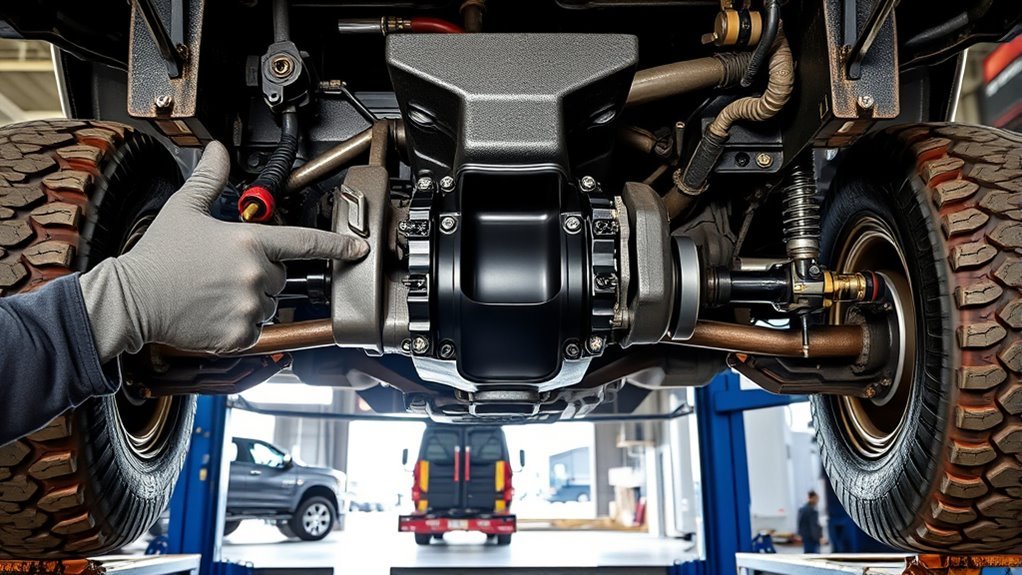
A transfer case is the drivetrain gearbox that helps a 4WD or many AWD vehicles send engine torque to both the front and rear axles. It sits behind the transmission, connects to the driveshafts, and may use gears, chains, clutches, or a center differential to manage traction. The exact design, fluid, shift procedure, and service interval vary by vehicle, so always confirm the details in your owner’s manual before servicing or shifting the system.
Quick Answer
A transfer case takes power from the transmission and distributes it to the front and rear driveshafts so a 4WD or AWD vehicle can improve traction. Some transfer cases also provide low-range gearing for slow, high-torque driving on steep, loose, or technical terrain.
Key Takeaways
- A transfer case is essential on most traditional 4WD vehicles and is used in many AWD layouts, though some AWD systems use a power transfer unit or coupling instead.
- Part-time 4WD is best for loose or slippery surfaces; using 4Hi or 4Low on dry pavement can cause driveline binding on many vehicles.
- Low range multiplies torque for slow off-road control, but it does not automatically mean every transfer case locks the front and rear outputs.
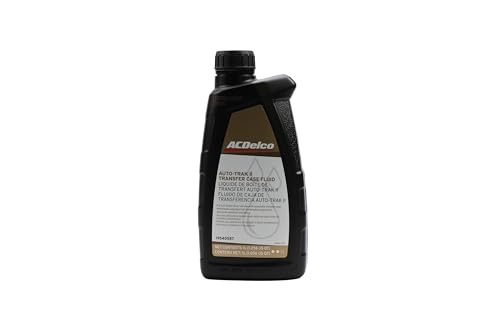
- Use only the fluid specified by the manufacturer, because some transfer cases require ATF, gear oil, or a special OEM fluid.
- Grinding, humming, leaks, warning lights, delayed engagement, or mode-shifting problems should be inspected quickly before damage spreads.
What a Transfer Case Does and Why It Matters
The transfer case receives rotational power from the transmission and sends it through output shafts to the front and rear driveline. In a traditional 2WD vehicle, power goes to only one axle. In a 4WD or many AWD vehicles, the transfer case or related power-transfer hardware helps both axles share torque when more traction is needed.
This matters because tires do not all grip the road the same way. Snow, mud, gravel, sand, steep grades, boat ramps, and uneven trails can cause one axle to lose traction. A transfer case lets the vehicle use both axles so it can move more confidently and with better control.
Note: Not every AWD vehicle has a truck-style transfer case. Some crossovers use a power transfer unit, rear drive module, electric rear axle, or clutch coupling. The goal is similar—send torque to more than one axle—but the hardware and service needs can be very different.
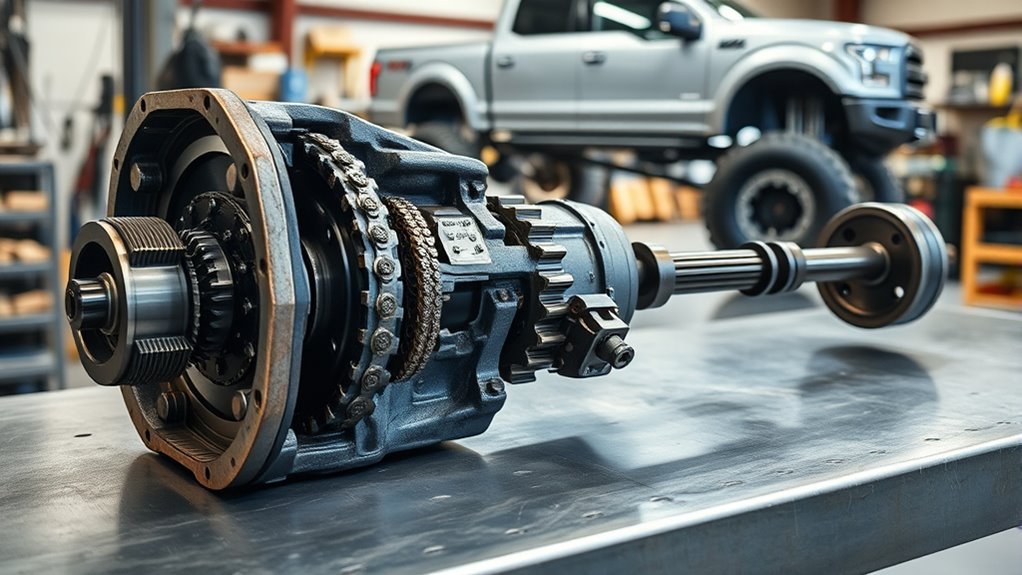
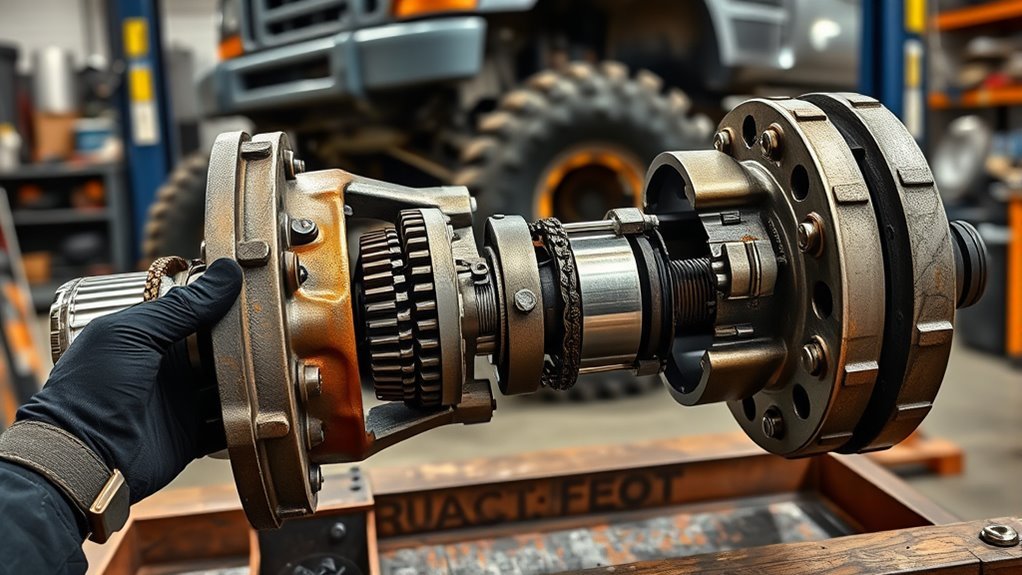
How Transfer Cases Work
A transfer case is a secondary gearbox mounted after the transmission. Depending on the vehicle, it may include a chain drive, gearset, clutch pack, center differential, shift fork, range collar, electric actuator, speed sensors, and front/rear output shafts. Its job is to split or redirect torque without damaging the driveline.
In a simple part-time 4WD system, the transfer case usually drives the rear axle in 2Hi. When you select 4Hi or 4Low, it engages the front output so the front and rear axles are mechanically linked. In full-time 4WD and many AWD systems, a center differential or clutch system may allow the front and rear axles to turn at different speeds while still sharing torque.
| Mode | What it does | Best use |
|---|---|---|
| 2Hi | Sends power to one axle, usually the rear axle on trucks. | Normal dry paved roads and highway driving. |
| Auto / 4Auto | Uses an electronically controlled clutch to send torque to the front axle when needed. | Rain, winter roads, mixed traction, and changing conditions. |
| 4Hi | Engages high-range 4WD for more traction without low gearing. | Snow, gravel, dirt roads, mud, sand, or slippery surfaces. |
| 4Low | Uses low-range gearing to multiply torque and reduce wheel speed. | Rock crawling, steep climbs, deep mud, deep sand, slow descents, and heavy low-speed pulling. |
| Neutral | Disconnects the driveline on equipped vehicles. | Flat towing only when the owner’s manual says it is allowed. |
Warning: On many part-time 4WD vehicles, do not use 4Hi or 4Low on clean, dry pavement. The front and rear axles need to rotate at different speeds while turning, and a locked part-time system can bind the driveline, scrub tires, overheat parts, or damage the transfer case. Chevrolet’s AutoTrac guidance also warns against using 4Hi or 4Low on dry, high-traction roads: Chevrolet AutoTrac support.
Types of Transfer Cases Explained
Transfer cases are not all built the same. The right type depends on how the vehicle is used, how much torque it needs to handle, and whether the driver wants manual control or automatic traction management.
[Products Worth Considering]
Drive And Driven Sprocket

OEM fit for 700r4 and BOP TH350, Better than OEM material
Best quality-OEM C1DZ-17271-A
Part-Time vs. Full-Time
A part-time transfer case lets you drive in 2WD during normal conditions and manually select 4WD when traction drops. This design is common on pickups and off-road SUVs because it is strong, simple, and efficient when used correctly. The tradeoff is that many part-time systems should not be used on dry pavement in 4Hi or 4Low.
A full-time transfer case can send power to both axles during normal driving. It usually uses a center differential, clutch pack, or other torque-managing device so the front and rear axles can rotate at different speeds. This improves convenience and on-road traction, but it adds complexity, fluid sensitivity, and repair cost.
Gear-Driven vs. Chain-Driven
A gear-driven transfer case uses gears to transfer torque. Gear-driven designs are valued for strength, predictable engagement, and durability in heavy-duty or extreme off-road use. They can be heavier, louder, and more expensive.
A chain-driven transfer case uses a heavy internal chain to drive one of the outputs. Chain-driven units are common because they are lighter, quieter, and cost-effective. Under high mileage, high torque, or hard off-road use, the chain can stretch and cause noise, slop, or skipping.
Two-Speed and Low-Range
A two-speed transfer case has high range and low range. High range is for normal road speed. Low range multiplies torque so the vehicle can move slowly with more control. Many low-range ratios are roughly in the 2.5:1 to 3:1 range, while some off-road-focused units go deeper. For example, the Jeep NV241OR Rock-Trac transfer case is documented with a 4.0:1 low range: Novak NV241OR guide.
Low range is best for controlled crawling, steep climbs, loose terrain, deep snow, deep sand, and technical trails. It is not for normal-speed pavement driving.
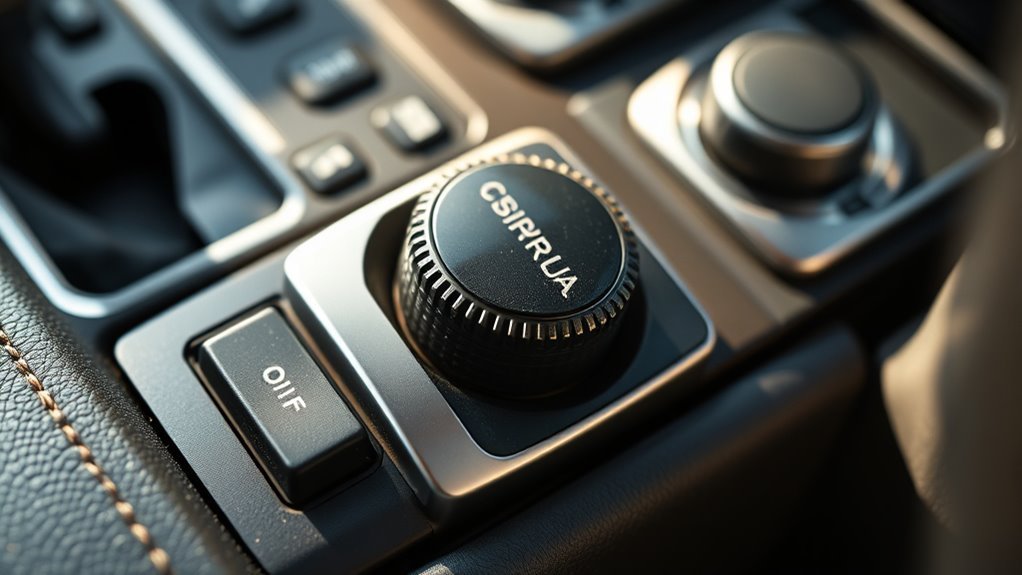
Manual vs. Electronic Shift
Some transfer cases shift with a lever and mechanical linkage. Others use a dashboard switch, buttons, a rotary knob, sensors, and an electric motor or actuator. Manual systems are often simple and durable, while electronic systems are convenient but can fail because of switches, wiring, sensors, modules, or shift motors.
Pro Tip: If a 4WD warning light appears or the system will not shift, do not assume the entire transfer case is bad. A weak actuator, corroded connector, low fluid level, bad sensor, or failed switch can mimic internal transfer case failure.
Which Transfer Case Is Right for Towing and Off-Road Use
For towing, match the transfer case to the vehicle’s gross weight rating, axle ratio, tire size, engine torque, transmission, and manufacturer towing instructions. A transfer case does not increase the vehicle’s rated towing capacity by itself. It only helps route torque to the axles.
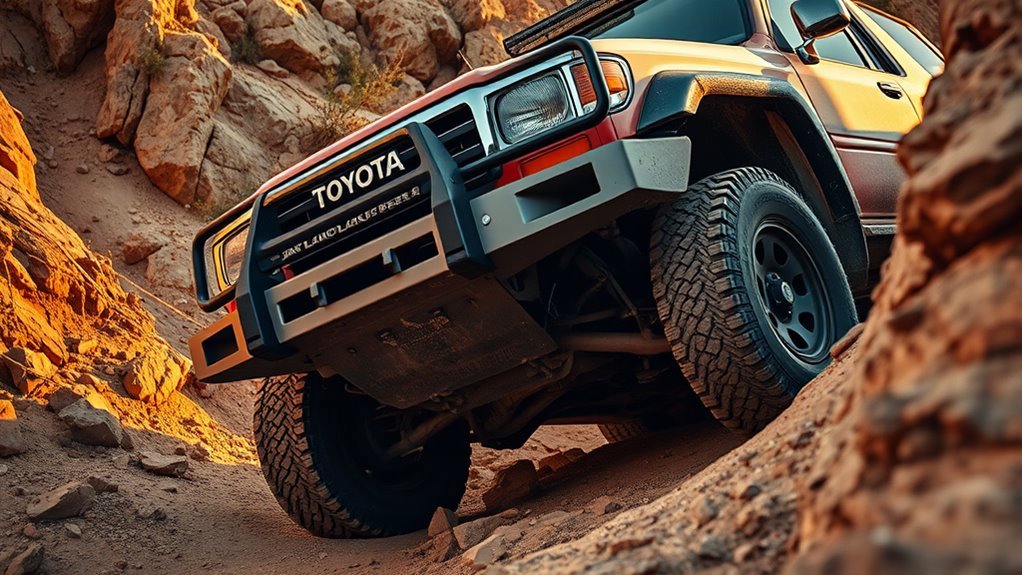
For off-road use, low range is one of the most useful features because it gives the driver more control at slow speed. If the vehicle will see rocks, deep mud, steep trails, heavy recovery work, or oversized tires, prioritize strength, cooling, correct gearing, skid-plate protection, and serviceability.
| Use case | Best transfer case features | Why it helps |
|---|---|---|
| Daily driving with occasional snow | Auto 4WD, AWD coupling, or full-time system | Improves traction without frequent manual shifting. |
| Work truck or basic towing | Strong part-time 4WD with 2Hi/4Hi/4Low | Keeps 2WD efficiency on pavement and adds traction when needed. |
| Technical off-road driving | Two-speed case, low range, strong outputs, good protection | Improves crawl control and reduces clutch/throttle abuse. |
| High-horsepower or heavy-duty build | High torque rating, upgraded chain or gear-driven design | Reduces the chance of stretch, gear damage, or output failure. |
[Products Worth Considering]

[Vehicle Fitment]: Compatible with A-Premium Mercedes-Benz Transfer Case Motor W163 Series ML320 1998-2003 V6 3.2L, ML350 2003-2005 V6 3.7L, ML430 1999-2001 V8 4.3L, ML500 2002-2005 V8 5.0L, ML55 AMG 2000-2003 V8 5.5L, Sport Utility---Fits the Models with 4WD(Four Wheel Drive)/AWD(All Wheel Drive)


1986-1995 Suzuki Samurai Low range gears are critical for technical off-road driving. Our Samurai low range gear kit is the highest quality gear set available. Low Range reduction is 6.5 to 1. High Range reduction is 20 (1.7 to 1). No welded or second rate, gears here. These are strong, run quiet and take a huge amount of abuse. This complete kit includes four new precision cut gears, counter shaft, needle bearings, shims, o-ring, ?gaskets, and input/output seals. Heavy duty front output...
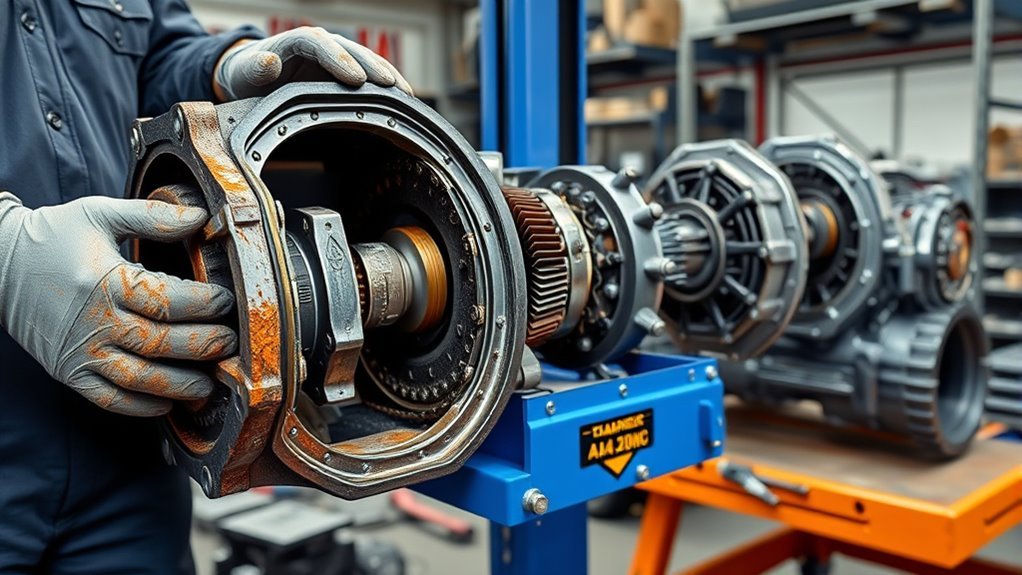
Signs Your Transfer Case Is Failing
A failing transfer case usually gives warning signs before it fails completely. The key is to stop treating the symptom as “normal 4WD noise” and inspect it early.
| Symptom | Possible cause | What to do next |
|---|---|---|
| Grinding, humming, whining, or clunking | Low fluid, worn bearings, chain stretch, damaged gears, or driveline wear | Check fluid level and leaks; inspect driveshafts and U-joints before condemning the transfer case. |
| Hard shifting between 2WD/4WD modes | Actuator fault, linkage issue, low fluid, internal wear, or wrong shift procedure | Do not force the shifter; follow the manual and scan for drivetrain codes. |
| Fluid leak near the case or output seals | Worn seal, cracked case, loose plug, vent issue, or overfilled/incorrect fluid | Repair the leak and refill with the specified fluid before driving hard. |
| Jerking, binding, or hopping in turns | Part-time 4WD used on high-traction pavement, tire-size mismatch, or internal clutch/differential issue | Shift to the correct mode, check tire sizes/pressures, and inspect for damage if binding continues. |
| 4WD/AWD warning light | Sensor, actuator, control module, clutch, or internal transfer case fault | Scan the vehicle before replacing parts. |
Warning: Stop driving and arrange a professional inspection if the vehicle pops out of gear, gets stuck in neutral, binds severely, leaks heavily, overheats, or makes loud grinding noises. A damaged transfer case can leave the vehicle without drive or cause further drivetrain damage.
[Products Worth Considering]

Specifically approved for use in GM automatic four-wheel drive vehicles with transfer cases
Long lasting endurance

Wide compatibility range across many European, Asian and US OEMs All-Wheel-Drive Transfer Cases. Compatible with Porsche Cayenne / Macan, BMW XDrive, Audi Quattro, Nissan, Ranger Rover, Mercedes Benz Torque on Demand GLE / G-Class KIA Stinger. See applications list.
Transfer Case Maintenance: Fluids, Inspections, and Intervals
At a Glance
| Time Required | 10–20 minutes for a visual inspection; 30–90 minutes for a basic fluid service on many vehicles |
| Difficulty | Beginner for inspection; intermediate for fluid service |
| Tools Needed | Owner’s manual, safety glasses, gloves, flashlight, drain pan, correct sockets/hex keys, torque wrench, fluid pump, and jack stands if lifting is required |
| Cost | Inspection may be free; DIY fluid cost often depends on capacity and OEM fluid price; shop pricing varies by vehicle and region |
Fluid Type and Specs
Transfer case fluid is not one-size-fits-all. Some units use automatic transmission fluid, some use gear oil, and some require a specific OEM transfer case fluid with friction modifiers. Ford’s official support guidance tells owners to use the owner’s manual for vehicle-specific fluid type: Ford fluid guidance.
Using the wrong fluid can cause clutch chatter, poor shifting, overheating, bearing wear, or internal damage. Always confirm the fluid spec, capacity, plug torque, and fill procedure before draining the case.
Inspection and Leak Checks
Inspect the transfer case at every oil change or before a long towing/off-road trip. Look for wet seals, loose plugs, cracked mounts, damaged skid plates, rusted wiring, hanging connectors, and fresh drips on the ground. Also check the front and rear output areas, because a leaking output seal can sling fluid onto nearby parts.
| Component inspected | What to look for |
|---|---|
| Seals and gaskets | Wetness, cracks, seepage, fluid slung onto underbody parts |
| Fill and drain plugs | Loose plug, damaged washer, stripped head, rounded threads |
| Fluid level and condition | Low level, burnt smell, metallic glitter, water contamination, wrong color |
| Linkage, wiring, and actuators | Loose linkage, corrosion, broken clips, damaged connectors, slow engagement |
| Driveshafts and yokes | Excess play, vibration, worn U-joints, damaged splines, loose fasteners |
Warning: Never crawl under a vehicle supported only by a jack. Use properly rated jack stands on a stable surface, chock the wheels, and follow the service manual. If you are not comfortable working under a vehicle, have a qualified technician inspect it.
Change Intervals and Signs
The safest interval is the one in your owner’s manual or maintenance guide. Many drivers see general recommendations in the 30,000–60,000-mile range, but severe use can shorten that interval. Toyota’s 2024 4Runner maintenance guide, for example, calls for transfer case oil replacement at 30,000 miles under special operating conditions such as dirt/dust driving, towing, car-top carrier use, or heavy vehicle loading: Toyota 2024 4Runner Warranty & Maintenance Guide.
Change or inspect the fluid sooner if you tow often, drive through deep water, off-road regularly, use oversized tires, hear new noises, smell burnt fluid, or see water/mud contamination. If the fluid looks milky, the case may have taken in water and should be serviced immediately.
Transfer Case Repair vs. Replacement: Cost, Timeline, and Next Steps
If the problem is a leaking seal, loose linkage, bad switch, failed encoder motor, damaged wiring, or contaminated fluid, a targeted repair may solve it without replacing the whole transfer case. If the case has internal gear damage, severe bearing noise, chain stretch, cracked housing, repeated failures, or metal debris in the fluid, replacement or professional rebuilding may be more cost-effective.
Current replacement pricing can be higher than many older estimates. RepairPal lists the average transfer case replacement cost at $3,205–$3,517 before taxes and fees, with parts and labor varying by vehicle and location. Minor repairs may cost far less, while luxury, heavy-duty, or hard-to-source units can exceed that range.
Do not replace a transfer case until the shop has checked fluid level, leaks, codes, actuator operation, tire-size mismatch, driveshafts, U-joints, and shift linkage. A simple external fault can feel like an internal failure.
A practical repair plan looks like this:
- Confirm the symptom: noise, leak, warning light, vibration, binding, or no engagement.
- Check the owner’s manual for the correct shifting procedure and fluid specification.
- Inspect tires first; mismatched tire size or pressure can stress AWD/4WD systems.
- Scan for drivetrain, transfer case control module, ABS, and traction-control codes.
- Inspect for leaks and verify the correct fluid level.
- Test the switch, actuator, wiring, and linkage before assuming internal failure.
- Ask for a written estimate that separates parts, labor, fluid, seals, diagnostics, and warranty coverage.
Frequently Asked Questions
Is it worth fixing a transfer case?
Yes, it is often worth fixing a transfer case if the problem is a seal, actuator, linkage, wiring fault, or fluid issue. Replacement makes more sense when there is severe internal damage, metal in the fluid, a cracked case, repeated failure, or repair costs close to the price of a replacement unit.
Can I drive with a bad transfer case?
Do not keep driving if the transfer case is grinding, leaking heavily, stuck in neutral, binding, overheating, or causing warning lights. Light seepage or a minor actuator fault may allow careful short-distance driving, but the safest move is to have the vehicle inspected before damage spreads.
How often should transfer case fluid be changed?
Follow the owner’s manual for your exact vehicle. Many vehicles fall somewhere around 30,000–60,000 miles under normal or severe-service recommendations, but towing, off-roading, water crossings, heavy loads, and dusty roads can require earlier service.
What fluid does a transfer case use?
It depends on the transfer case. Some use ATF, some use gear oil, and some require a special OEM transfer case fluid. Do not choose fluid by color or guesswork. Use the exact specification listed in the owner’s manual or service information.
What is the difference between a transfer case and a differential?
A transfer case sends power from the transmission toward the front and rear axles. A differential splits power between left and right wheels on an axle and lets those wheels rotate at different speeds while turning. Some full-time 4WD systems also include a center differential inside or near the transfer case.
Why does my 4WD bind or hop when turning?
Binding or hopping often happens when a part-time 4WD system is used on dry, high-traction pavement. The front and rear axles cannot rotate at different speeds, so the driveline winds up. Shift to the correct mode and inspect the system if the symptom continues.
Conclusion
A transfer case is the part that lets many 4WD and AWD vehicles send torque to both axles. It can improve traction, add low-range control, and make towing or off-road driving easier when used correctly. The most important rule is to follow the vehicle’s manual: use the right mode, the right fluid, and the right maintenance interval. Act quickly if you notice leaks, grinding, delayed engagement, warning lights, or binding, because early service is usually cheaper than replacing a damaged transfer case.
Sources
- Chevrolet AutoTrac 2-Speed Transfer Case Support — 4WD mode use, 4Low guidance, and dry-pavement cautions.
- Ford Support: Recommended Transmission and Drivetrain Fluids — confirms owners should use vehicle-specific fluid information from the owner’s manual.
- Toyota 2024 4Runner Warranty & Maintenance Guide — transfer case oil inspection and severe-service replacement examples.
- RepairPal Transfer Case Replacement Cost Estimate — current replacement cost range and diagnostic/replacement notes.
- Novak Guide to the NV241OR Rock-Trac Transfer Case — example of a 4.0:1 low-range off-road transfer case.
- AutoZone: Symptoms of a Transfer Case Leak — leak-related shifting symptoms and warning signs.


[…] Toyota Tundra 4LO light usually flashes when the transfer case has not finished shifting or when a sensor, actuator, wiring, or ABS-related fault interrupts the […]