Your RAV4’s automatic high beams use a forward camera to switch between low and high beams for safer, less tiring night driving, reducing glare for others while restoring high beams when clear. To use it, set the stalk to Auto and press the A button to arm the system; the “A” icon appears on the dash and a blue light shows active high beams. You can pull the stalk anytime to override, and below are tips and troubleshooting if it won’t engage.
How to Use RAV4 Automatic High Beams
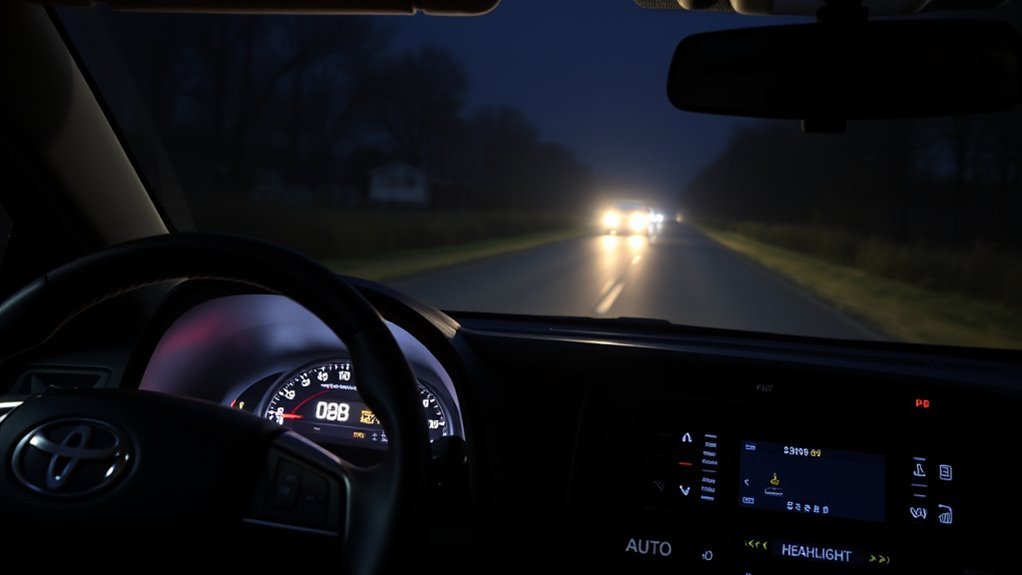
Before you drive at night, arm the RAV4’s automatic high beams by pressing the designated button—when the dashboard “A” icon lights up, the system is active. You’ll want the headlight stalk set to Auto; manual settings override automatic beam safety and prevent the feature from operating. Confirm the “A” indicator is displayed; if it isn’t, the system isn’t armed and you’ll need to re-engage it.
While automatic beams manage driving visibility by using a camera to assess light, you keep control. Pull the stalk back to force high beams manually anytime, even with the system armed. That lets you override automation when you choose—useful for asserting your path or responding to unusual conditions. Regular checks—confirming the icon and stalk position—ensure reliable automatic beam safety and uncomplicated, liberated night driving.
How RAV4 Automatic High Beams Work
Now that you know how to arm and manually override the system, here’s how the RAV4’s automatic high beams actually work. You’ll rely on a forward-facing camera that senses ambient light and oncoming or preceding vehicles; this sensor technology lets the system switch between low and high beams automatically to maintain ideal visibility. When the system is armed, an “A” icon appears on your dashboard so you know it’s ready. The system adjusts headlight intensity without driver intervention, delivering consistent nighttime visibility and clear safety benefits by reducing glare for others and improving your reaction time. You can still pull the stalk to force high beams whenever you want, overriding automation instantly. The camera processes light data in real time but doesn’t record images or personal data, preserving your privacy. Overall, the automatic high beams give you liberated, hands-off control of illumination while keeping focus on the road and on safer driving.
Turn On and Arm Automatic High Beams
To arm the RAV4’s automatic high beams, press the designated button and confirm the dashboard shows the “A” icon. The system’s camera will then monitor ambient light and switch beams as needed. If you need manual control, pull the headlight stalk back to override even while “A” is displayed.
Press A Button
Press the A button to arm the RAV4’s automatic high-beam system; a green “A” icon will light on the dash to confirm it’s active. You’ll appreciate clear button placement and activation ease—reach the control quickly, press once, and the system is armed to manage beams with the onboard camera. You retain control: pull the stalk for temporary high beams whenever needed.
- Arm: press the A button; system watches ambient light via camera.
- Auto-switch: it flips between low/high for ideal visibility and courtesy.
- Manual override: pull stalk for momentary highs even when armed.
This setup frees you from constant switching, gives dependable night visibility, and keeps manual control available for emancipation on your terms.
Verify “A” Icon
After you’ve armed the system with the A button, confirm it’s ready by checking the dashboard for the green “A” icon; its presence tells you the automatic high beams are engaged and will switch between low and high based on ambient light. You should habitually scan for icon visibility as feature confirmation — that tiny indicator is your assurance the system will manage beams without constant input. If the “A” icon appears, the automatic high beam feature is active and will toggle as needed; you can still override it by pulling the stalk back to use high beams manually. Regularly verifying the indicator empowers you to rely on automation, reduce driver workload, and maintain safer, more liberated nighttime driving.
RAV4 Dashboard Indicators: A, Blue, Green
Check the “A” icon to confirm the automatic high beam system is armed and ready to switch. The blue light means the high beams are actively engaged for maximum visibility. The green headlight indicator shows your headlights are on, whether low or high.
A Icon Meaning
The “A” icon on your RAV4’s dashboard shows that the automatic high beam system is armed and ready to switch between low and high beams based on ambient light and detected headlights/brake lights from other vehicles. You’ll see this a icon significance when the camera actively monitors traffic; it’s a clear signal that automatic beams functionality is enabled. It gives you freedom from constant manual switching while keeping responsibility in your hands.
- Confirms system is armed and monitoring for headlights/brake lights.
- Indicates automatic beams functionality will toggle high/low per conditions.
- Can be overridden immediately by pulling the stalk back to take manual control.
Trust the indicator to inform you so you can drive responsibly and confidently at night.
Blue High‑Beam Light
Blue illumination on your RAV4’s dashboard tells you the high beams are currently engaged and functioning. You’ll see that blue lamp whenever you manually switch to high beams or when the system activates them; it confirms high beam visibility and alerts you to their operational state. The light goes out automatically when you return to low beams, preventing you from needlessly blinding other drivers. Use the indicator as a quick reference for dashboard clarity so you can confidently manage lighting while driving at night. Monitor it regularly to verify proper use and to avoid misuse in populated areas. This simple cue supports safer, more liberated control over your vehicle’s lighting decisions.
Green Headlight Indicator
When your RAV4’s headlights are on, a green indicator lights on the dashboard to confirm they’re active and functioning. You rely on that simple cue for headlight visibility and driver awareness—it’s the baseline signal that your low beams are working and that the system is ready to protect you in low light.
- The green light means headlights are on; the “A” icon shows automatic high beams are armed.
- A blue indicator appears only when high beams are actively engaged, granting maximum visibility.
- If “A” isn’t lit, automatic high beams are off and you’ll control them manually.
Use the indicators to stay informed and free: they give clear, immediate feedback so you can drive confidently and maintain situational control.
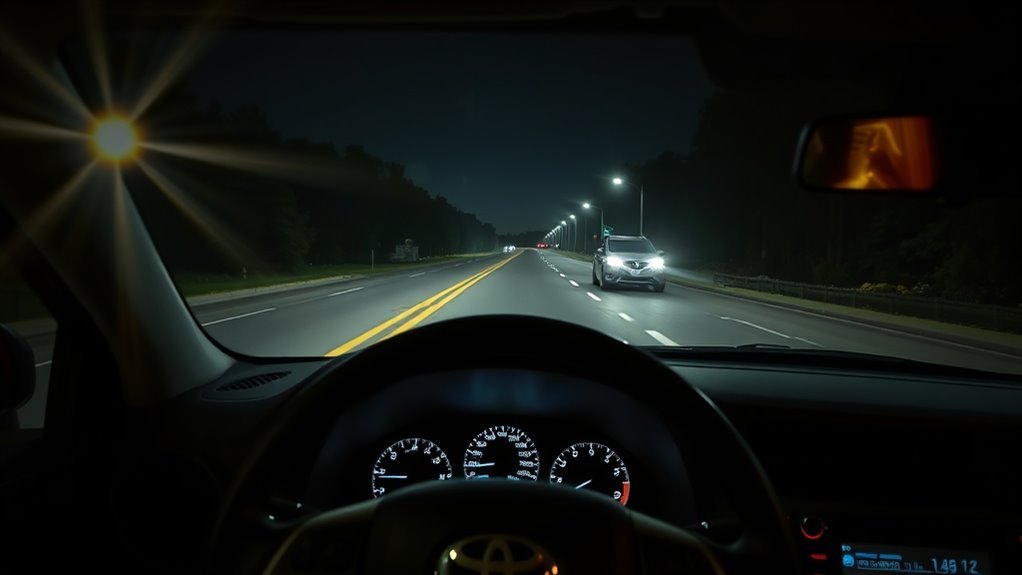
When the RAV4 Switches Low ↔ High Beams
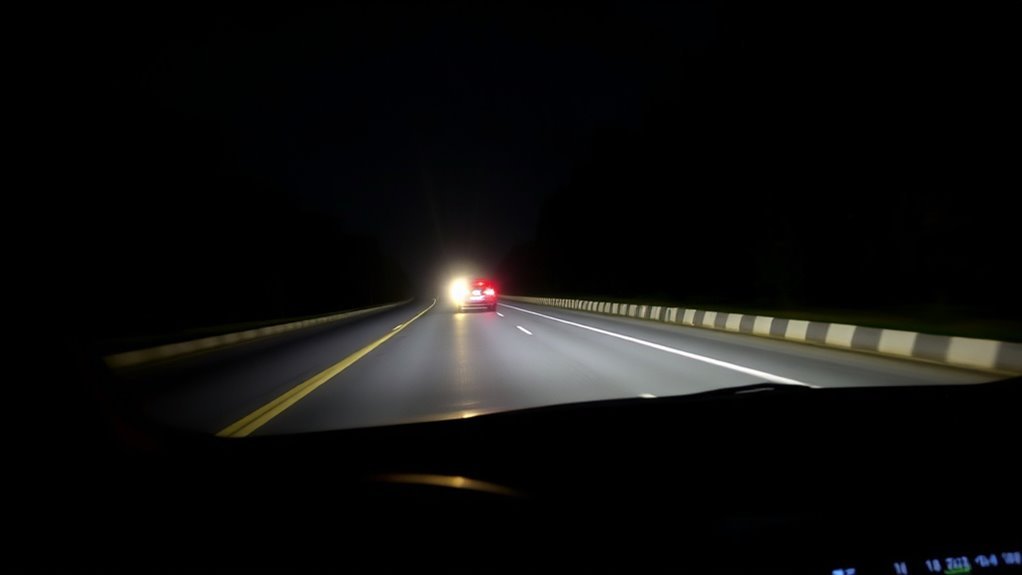
If you activate Automatic High Beams, the RAV4’s forward camera watches ambient light and oncoming or leading-vehicle lights and will switch to low beams when it detects sufficient light or a vehicle within range. The system’s high beam detection algorithm distinguishes headlights and brake lights, so it reduces glare for others while keeping your path illuminated. You’ll see an “A” icon on the dash when the feature’s armed; that confirms the camera and sensors are active.
Switching occurs seamlessly: when ambient light rises (approaching dawn, streetlights) or when another vehicle enters the detection zone, the system drops to low beams. Once the roadway clears or darkness returns, it restores high beams automatically. This hands-off behavior frees you from constant toggling, letting you focus on the road and your intent to move freely. The result is safer, less fatiguing night driving without compromising other drivers’ visibility.
Override and Manually Control High Beams
Although the RAV4 will handle beam changes automatically, you can instantly override it by pulling the headlight stalk toward you to engage high beams temporarily. You’ll retain manual control whenever conditions demand it: pull for a quick boost, release to return to auto. The dashboard shows a green “A” when auto mode is armed and a blue indicator when high beams are active, so you always know the system state.
- Pull the stalk toward you for immediate high beam override — use when you want extra visibility.
- Press the activation button to disable automatic mode if you want persistent manual control.
- Monitor the green “A” and blue high beam icons to confirm auto readiness and current engagement.
This setup gives you liberating control without fighting the system. Use manual control for specific scenarios where you need instant, deliberate light management, then let the auto feature resume when you’re done.
Troubleshooting Auto High Beam Failures
You’ve got manual override options, but sometimes the automatic high-beam system won’t engage as expected — here’s how to troubleshoot quickly and safely. First confirm the “A” icon on your dash is illuminated; that shows the system is armed. Verify the headlight stalk is set to Auto — if it’s in manual, the feature won’t work. Perform straightforward obstruction checks: clean the front camera lens of dirt, ice, or debris so sensors can read ambient light reliably.
Consider ambient conditions; the system won’t activate in bright daylight or certain lighting environments. If everything’s set and cleaned but high beams still don’t switch, don’t keep guessing. Consult the owner’s manual for model-specific tips, then contact a Toyota technician to diagnose potential system malfunctions. That preserves your safety and autonomy on the road without risking improper DIY fixes.
Headlight Timers and Auto High Beam Prefs
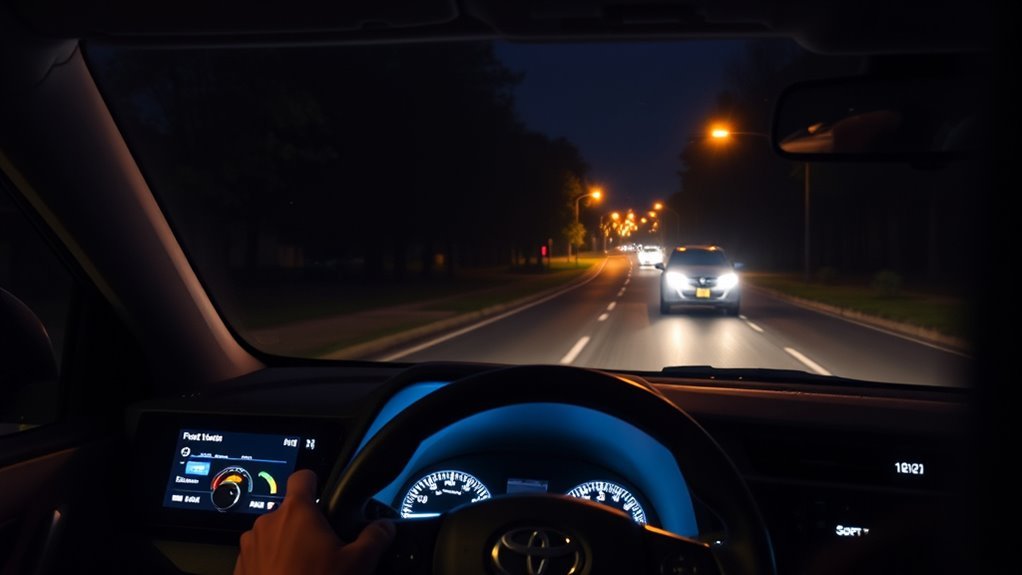
When you want the RAV4 to manage lighting automatically, set the headlight timer to 30, 60, or 120 seconds and press the auto-high-beam button so the “A” indicator lights—this lets the system control brightness based on ambient conditions while still letting you override the beams manually when needed. You control headlight settings and user preferences through a simple interface that respects your intent: automatic convenience or manual authority. Choose a timer that matches your routine and sense of freedom.
Set the RAV4 lights to auto—choose 30/60/120s and enable Auto‑High Beam for effortless, override-friendly night driving.
- Set timer: 30/60/120s to auto-shutoff after parking or exiting, conserving power and reducing worry.
- Auto-high-beam: press the button; the “A” indicator engages automatic brightness adjustments for clearer, liberated night driving.
- Manual override: pull the stalk anytime to reclaim full control for oncoming traffic or special conditions.
These concise controls let you codify user preferences quickly, freeing you from constant adjustments while keeping the option to intervene whenever you want.
Frequently Asked Questions
What Is the Symbol for High Beams on a Toyota rav4?
The high beam symbol is a blue headlight icon with projecting lines; you’ll see it on your RAV4 dashboard when high beams or the automatic high beam system are active, so you’ll know visibility’s been boosted.
Should I Keep the Auto High Beam On?
Yes — you should keep it on: auto high beam benefits include improved nighttime safety and reduced glare, while manual high beam usage remains available for control, letting you stay focused, liberated, and confident driving after dark.
Conclusion
Now that you know how RAV4 automatic high beams work, you can use them confidently to improve night driving without fuss. Turn them on, watch the A/blue/green indicators, and trust the sensors to switch beams—while remembering you can always override manually. If something fails, run the quick troubleshooting steps before visiting a dealer. These systems aren’t magic, but they almost feel like it—practical tech that makes nighttime driving safer and simpler for you.