Editorial Team · Source-checked against Toyota, 3M, DuPont, and J-B Weld · Last updated: August 31, 2026
To maintain Toyota 4Runner weatherstripping, clean and dry each seal, check whether it compresses evenly, and first identify how the loose section is retained. Replace a missing or broken clip or retainer instead of covering that failure with glue. Reattach an intact bonded section with flexible automotive weatherstrip adhesive, and replace rubber that is torn, brittle, shrunken, or permanently flattened. Verify replacement parts by model year and VIN. If water or wind noise remains, inspect window channels, vapor barriers, roof-rack mounts, drains, body seams, and door or hatch alignment before buying another seal.
Quick Answer
Use a four-step rule: clean a dirty but flexible seal; repair a failed clip, retainer, or original adhesive bond; replace rubber that is torn, hardened, shrunken, or permanently flattened; and investigate another leak path when the seal tests correctly. Keep lubricant off bonding surfaces, verify replacement parts by year and VIN, and test one opening at a time so a roof, window-channel, vapor-barrier, or alignment leak is not mistaken for a failed door seal.
Key Takeaways
- Inspect the seals during routine washes, before freezing weather, and after heavy dust, mud, road salt, or water exposure.
- Before gluing a loose section, check whether a clip or retainer has failed. Adhesive does not replace missing mechanical retention.
- Use only a maintenance product whose label confirms compatibility with automotive weatherstripping or the seal material, and test it on a hidden area first.
- Use flexible weatherstrip adhesive for a bonded flexible rubber-to-metal section. Reserve hard-curing adhesive for rigid clips, retainers, and other non-flexing repairs when the product label confirms compatibility.
- Verify Toyota weatherstrip parts by year, trim, driveline, or VIN because front doors, rear doors, glass runs, belt moldings, and the rear hatch use different parts.
At a Glance
| Repair Decision | Clean flexible rubber; restore a failed clip, retainer, or bonded section; replace damaged rubber; investigate another leak path if the seal is still serviceable. |
| Fitment Rule | Do not assume one 4Runner weatherstrip part number fits another year or opening. Confirm year, trim, driveline, exact position, and preferably VIN before ordering. |
| Time Planning | Inspection is brief. Adhesive repairs require surface preparation plus the full label-specified set and cure time. Full-seal replacement varies by seal location and access. |
| Difficulty | Easy for cleaning and inspection; moderate for adhesive work, retainer repair, or full seal replacement |
| Tools Needed | Microfiber towels, mild soap approved for automotive finishes, soft brush, plastic scraper or trim tool, painter’s tape or padded clamps, flexible weatherstrip adhesive when required, and a label-compatible seal-maintenance product |
| Parts Planning | Cleaning may need no replacement part. For a failed seal or retainer, confirm the exact door, hatch, glass-run, molding, clip, or retainer position and verify current fitment before ordering. |
Warning: Read the product label and current safety data sheet before using adhesive. The 3M safety data sheet for adhesive 08008 classifies the product as highly flammable and lists additional health hazards. Keep it away from heat, sparks, flames, and other ignition sources. Use it outdoors or with adequate ventilation, avoid breathing vapors and skin contact, and use appropriate protective gloves and eye or face protection. Test any cleaner on a hidden painted area. Do not use a heat gun to restore compressed weatherstripping; replace rubber that stays permanently deformed.
Evidence note: This guide is based on Toyota parts information plus manufacturer adhesive, safety, elastomer-compatibility, and repair-product documentation. It does not claim hands-on testing of every 4Runner model year or weatherstrip design.
How Do You Inspect Toyota 4Runner Weatherstripping?
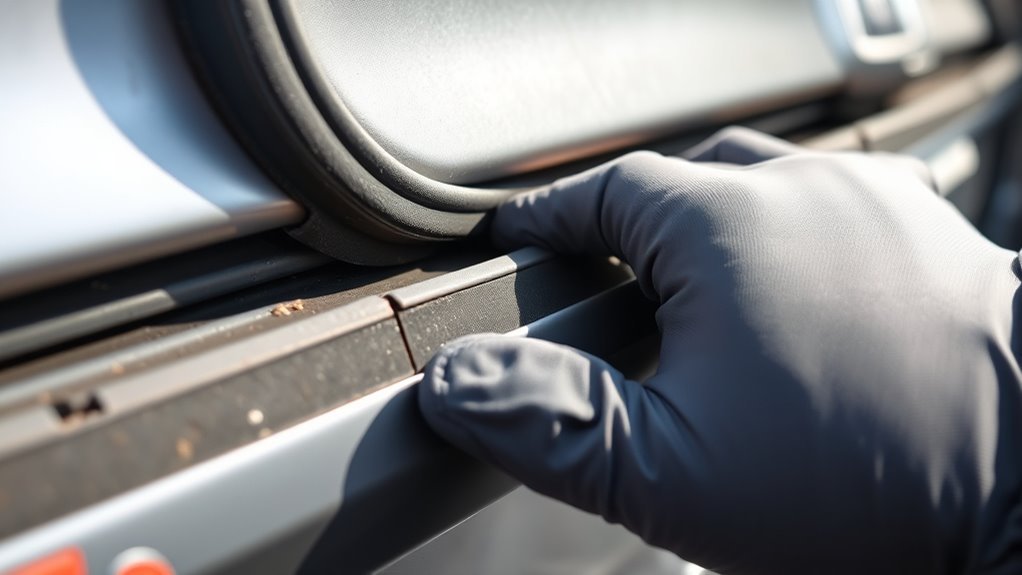
Start at the driver’s door and work clockwise around the vehicle. Look at the upper corners, lower door openings, rear hatch, and any spot where dust trails or water marks appear. You are looking for tears, flattened rubber, loose bonded sections, missing or damaged retainers, stiff or cracked sections, and rust under the bead.
Run your fingers along the seal. Healthy weatherstripping should feel flexible, spring back after light pressure, and sit evenly against the door or body. A seal that feels hard, glossy, sticky, split, or permanently crushed is already losing its ability to block water, wind, dust, and cold air.
How Can You Test for Leaks and Wind Noise?
- Informal paper-resistance check: Close the door on a strip of paper and compare the pull resistance with a known-good section of the same opening. If it slides out much more easily at one point, that area may not be compressing enough. This is a screening comparison, not a Toyota measurement specification.
- Water test: With a helper inside the vehicle, run a gentle stream of water over one door seam at a time. Do not blast the seal with a pressure washer because that can force water past a good seal.
- Visual contact check: Look for rolled edges, shiny rub marks, uneven compression, gaps at molded corners, or areas where the seal does not meet the opposing surface evenly.
- Road test: If wind noise appears only at speed, note the door, corner, mirror area, and speed range before you start adjusting or gluing anything.
Note: A door leak is not always caused by the main door seal. Also check roof-rack mounts, window channels, sunroof drains if equipped, speaker vapor barriers, tailgate seals, and body seams before replacing parts.
Which 4Runner Weatherstrip or Leak Source Has Failed?
Before you order weatherstripping, confirm which seal or nearby leak path has failed. A 4Runner can have a main body-opening seal, a door-mounted perimeter seal, glass run channels, belt moldings at the window base, rear hatch weatherstripping, drains, vapor barriers, roof-rack mounting points, sealed body seams, clips, and weatherstrip retainers. These parts do different jobs, so replacing the main door seal will not fix every water or wind complaint.
| Area | Common Clue | What to Check First |
|---|---|---|
| Main door opening | Water on sill, wind at upper corner | Compression, tears, loose corners, retainers, door alignment |
| Door-mounted perimeter seal | Loose edge, torn corner, wind around the door shell | Original retention method, adhesive bond, molded corners, clips, and seal orientation |
| Window glass run | Whistle near glass or wet inner trim | Cracked channel, debris, bent trim, loose glass |
| Rear hatch | Water in cargo area or dust at hatch edge | Hatch seal, latch adjustment, roof seams, rear glass area |
| Sunroof or roof rack | Wet headliner or upper pillar trim | Drains, rack mounts, body seam sealer, upper weatherstrip |
A loose weatherstrip does not automatically mean the rubber needs glue. The failure may be a broken clip, missing retainer, failed original adhesive bond, twisted seal, or damaged rubber. Toyota catalogs dedicated door weatherstrip retainers, so restore the intended retention method instead of using adhesive to hide a missing mechanical fastener.
Use your model year and VIN when ordering Toyota seals. Toyota’s 4Runner parts catalog asks owners to confirm year, trim, driveline, or VIN for exact fitment. Weatherstrips are also position-specific. Confirm the exact door or hatch location, clips, molded corners, and rubber profile. If the door suddenly needs extra force to close after installation, stop and recheck the seal’s orientation and seating before adjusting hinges or the striker.
How Do You Reattach Loose 4Runner Weatherstripping?
If the rubber is still flexible, correctly shaped, and free of tears, first determine why it is loose. Replace a failed clip or retainer where the design uses mechanical retention. For a section that is designed to be bonded, use a flexible automotive weatherstrip adhesive such as 3M Black Super Weatherstrip and Gasket Adhesive 08008. 3M identifies it for bonding weatherstripping and gaskets to metal and describes the cured bond as flexible and waterproof.
- Confirm the retention method. Check for missing clips, damaged retainers, molded locating features, or a failed bonded section. Do not substitute glue for a mechanical fastener the seal is supposed to use.
- Mark the original position. Use painter’s tape to mark where the seal should sit before you pull it back.
- Clean both surfaces. Wash away dirt with mild soap approved for automotive finishes, rinse, and dry fully. Remove only loose old adhesive with a plastic scraper. Use a surface cleaner only when the adhesive label permits it, and test the cleaner on a hidden painted area first.
- Dry fit first. Press the seal back into position without adhesive. Make sure it is not stretched, twisted, or bunched at the corners.
- Apply adhesive exactly as directed. Follow the current product label for surface preparation, coat placement, open time, assembly time, holding method, and temperature limits. More adhesive is not a substitute for correct preparation.
- Press and hold. Reposition the seal without stretching it. Use painter’s tape, padded clamps, or steady hand pressure only as appropriate for the product directions and the seal design.
- Let it cure. Do not slam the door, soak the area, or apply any maintenance product until the adhesive has cured according to the product directions.
- Test the repair. Close the door gently, check compression, then repeat the water or paper-resistance check.
Pro Tip: Do not stretch weatherstripping during installation. A stretched seal can pull back after installation and leave a gap at a corner or joint.
When Should You Replace 4Runner Weatherstripping?
Replace the seal when cleaning, correct seating, and repair of the intended retention method will not restore contact. The clearest signs are visible tears, missing chunks, permanent flattening, hard rubber, shrinking at the corners, water entry, mildew smell, or wind noise that remains after the seal is seated correctly.
| Condition | Best Fix |
|---|---|
| Dirty but flexible seal | Clean and dry it, then use only a maintenance product whose label confirms seal compatibility |
| Loose seal with failed clip or retainer | Restore the correct clip or retainer instead of relying on adhesive alone |
| Small loose bonded section with good rubber | Reattach with flexible weatherstrip adhesive according to the adhesive label |
| Torn, shrunken, brittle, or permanently flattened seal | Replace the affected weatherstrip |
| Rust under the seal | Remove the seal, treat rust, repaint or seal the metal, then reinstall or replace as appropriate |
Be careful with part numbers. A 4Runner can have separate seals for the front doors, rear doors, glass runs, belt moldings, opening trim, and back hatch, and those parts can change with model year. Toyota lists back-door weatherstrip 67881-35061 as a specific back-door sealing part and asks buyers to check vehicle fitment. Treat it as an example, not a universal 4Runner seal, and verify the correct current part for your year and VIN before ordering.
OEM and aftermarket seals can differ in profile, length, molded corners, clip locations, and rubber stiffness. An incorrect or twisted seal can increase closing effort even when it looks similar to the old part. Confirm model-year fitment, orientation, clip engagement, and even compression before changing latch or hinge positions.
[Products Worth Considering]

This metal replacement center console latch is designed to restore secure closing performance for a wide range of Toyota and Scion vehicles. Built as an upgraded metal part, it helps solve broken latch issues and provides a more durable alternative to the original component. It is compatible with many popular models and includes the needed screws and screwdriver for installation.
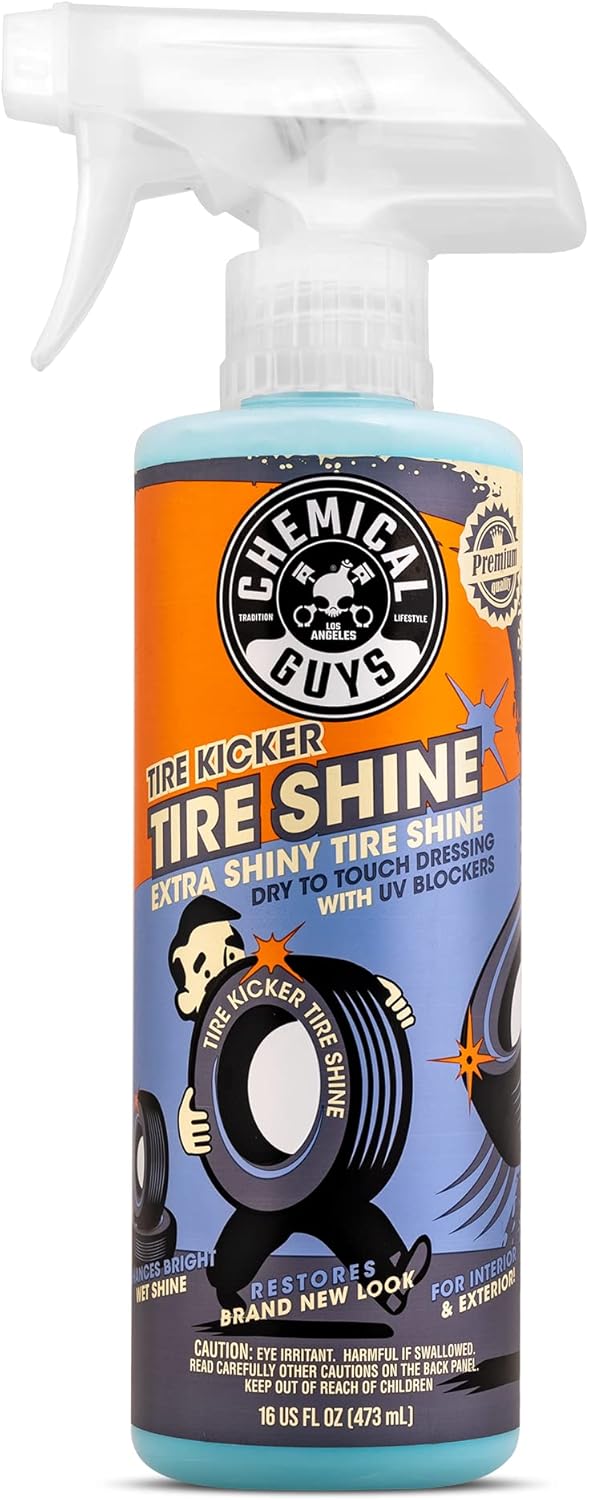
Chemical Guys Tire Kicker is a sprayable tire shine that restores a deep, wet-looking gloss to rubber, vinyl, and plastic surfaces while helping protect against fading, cracking, and discoloration. Its easy spray application leaves a dry-to-the-touch, streak-free finish on tires, trim, bumpers, and weatherstripping for a freshly detailed appearance that lasts between washes.

These genuine Toyota oil drain plug gaskets are designed to help maintain a reliable seal during oil changes, reducing the chance of leaks and supporting proper engine maintenance. With an OEM fit and trusted Toyota quality, they are a practical choice for routine service on compatible vehicles. The convenient quantity pack is ideal for keeping multiple maintenance intervals covered.
Which Seal and Adhesive Should You Use?
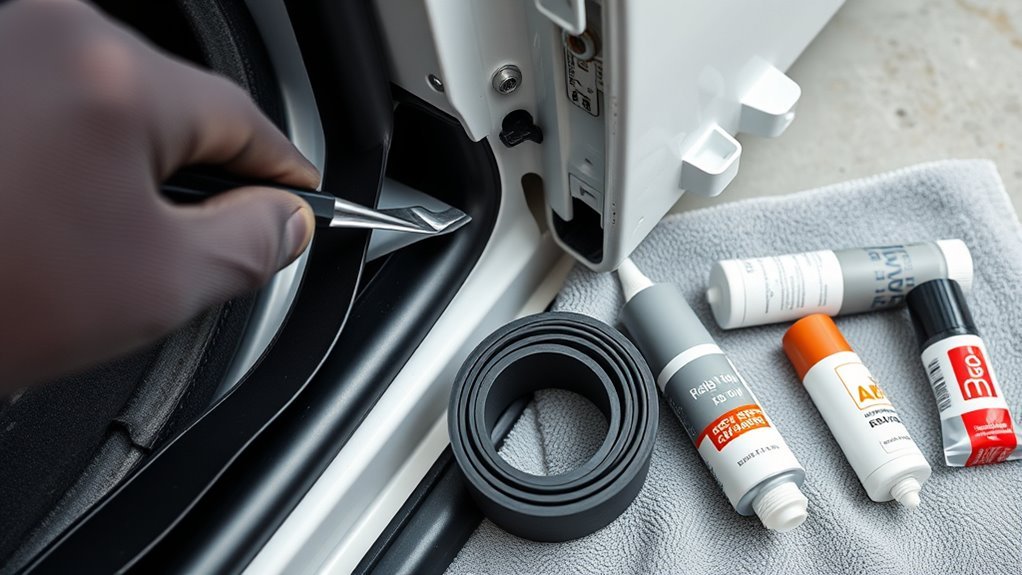
Choose the correct seal or retainer first, then choose adhesive only if the repair actually requires it. Door weatherstripping has to flex every time the door opens and closes, so an adhesive used on a bonded flexible section should remain flexible after it cures. A rigid clip or retainer repair is a different job.
[Products Worth Considering]
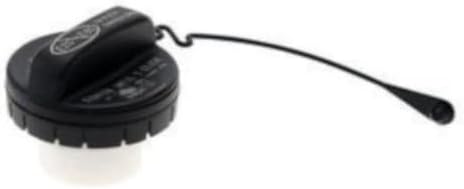
This genuine Toyota fuel tank cap assembly is designed for vehicle-specific fitment and reliable performance. As an OEM part, it delivers Toyota quality assurance and backed manufacturer warranty support, making it a dependable replacement choice for maintaining proper fuel system sealing and function.

This pressure washer gun and foam cannon combo is designed for efficient vehicle and outdoor cleaning with strong spray control and quick-change convenience. It connects to compatible pressure washer hoses and includes multiple nozzle tips plus an adjustable snow foam lance for washing cars, motorcycles, driveways, siding, and more. Built for flexible detailing and deep cleaning, it helps create thick foam and targeted spray patterns for better results.

Upgrade your Toyota 4Runner with these heavy duty roof rack cross bars designed for raised side rails and secure cargo transport. The aluminum construction, anti-theft locking system, and tie-down loops help keep gear stable on the road while the low-profile design helps reduce wind noise. Easy to install with no drilling required, they provide a durable and convenient solution for road trips, hauling, and outdoor adventures.
OEM vs Aftermarket Seals
- OEM seals: Designed for a specific Toyota position and vehicle application. Verify the exact part by model year and VIN.
- Aftermarket seals: Compare the stated model-year application, profile, length, molded corners, clips, application list, and return policy before buying.
- Used seals: Consider one only when the part is unavailable new and the rubber remains flexible, clean, correctly shaped, and undamaged.
3M Weatherstrip Adhesive vs J-B Weld-Type Repairs
Use flexible weatherstrip adhesive for a rubber sealing surface that the original design bonds to the body or door. 3M describes adhesive 08008 as a flexible, waterproof bond for weatherstripping and gaskets. Use a hard-curing adhesive only for a rigid retainer, clip, or other non-flexing support when that product’s label confirms material compatibility. For example, J-B Weld PlasticBonder is a two-part urethane adhesive that cures to a hard, permanent bond, which is a different job from bonding a flexible door seal.
| Product Type | Best Use | Avoid Using It For |
|---|---|---|
| Flexible weatherstrip adhesive | Bonded flexible rubber-to-metal weatherstripping sections | Replacing missing clips, filling rust holes, or rebuilding broken rigid retainers |
| Hard-curing plastic/epoxy adhesive | Compatible rigid clips, retainers, and plastic repairs | Flexible sealing surfaces that must bend repeatedly |
| Label-compatible seal-maintenance product | Maintenance after cleaning and after adhesive has fully cured | Bonding loose weatherstripping or use on an unconfirmed seal material |
Match the repair to the failure: restore clips and retainers mechanically, and use flexible adhesive only on flexible sections that are meant to be bonded.
How Do You Maintain 4Runner Weatherstripping?
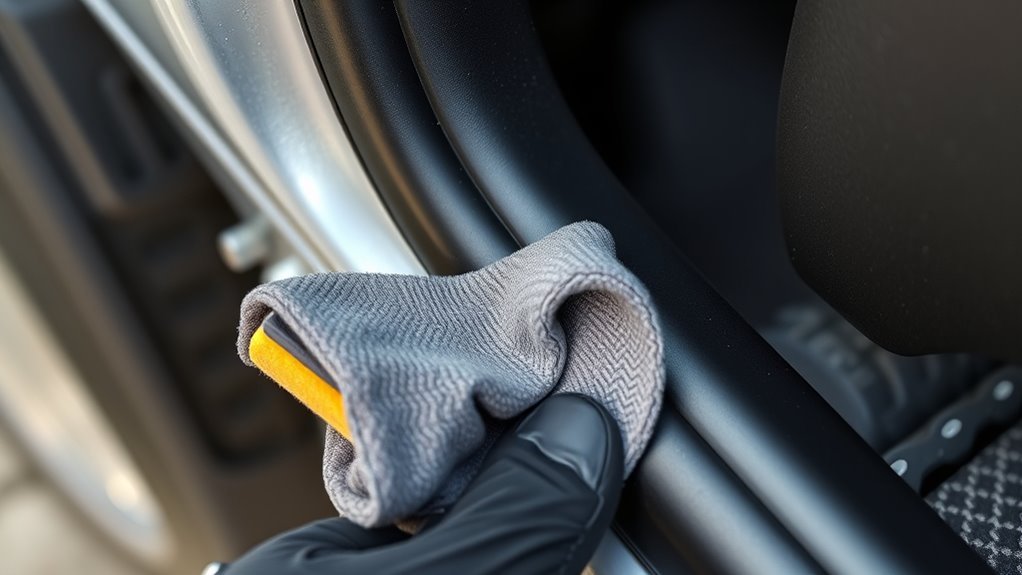
Preventive care has three goals: remove abrasive grit, keep drain paths clear, and catch damage before water reaches trim or carpet. Inspect the seals during routine washes, before freezing weather, and after heavy mud, trail dust, road salt, or repeated rain exposure.
How Should You Clean 4Runner Weatherstripping?
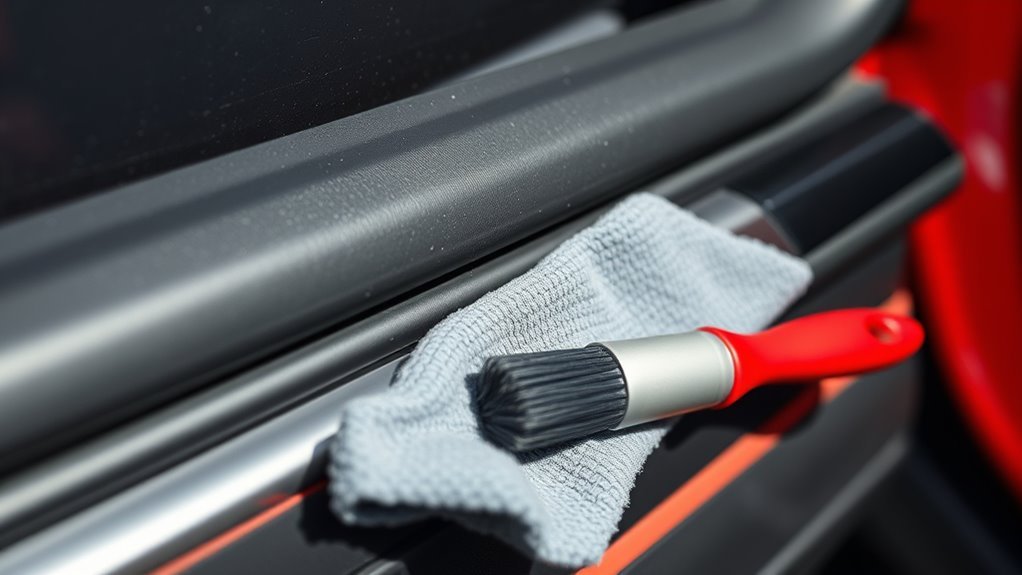
Use mild soap approved for automotive finishes, a microfiber towel, and a soft brush for corners. Rinse with clean water and dry the seal before applying any maintenance product. Pay extra attention after off-road trips because trapped grit can abrade the rubber and painted contact surface each time the door closes.
- Wipe the contact face of the seal and the painted door jamb.
- Flush dirt from corners, seams, and lower door openings.
- Look for rust bubbles, orange staining, or paint wear where the seal rubs.
- Check clips, retainers, and molded corners for movement or damage.
- Document damaged areas so you can see whether the problem spreads.
What Should You Use to Lubricate the Seals?
After cleaning and drying, use only a maintenance product whose label confirms compatibility with automotive weatherstripping or the seal material. Do not assume that a product is safe merely because it is marketed as silicone-based or rubber-friendly; compatibility depends on the actual elastomer and formulation. Apply the approved product to a cloth first when working near paint or glass, then wipe the seal instead of soaking it. This controls overspray and keeps excess product away from trim, glass, and painted surfaces.
The cited Toyota and adhesive sources do not provide one universal lubrication interval for every 4Runner seal. Inspect during routine washes, before freezing weather, and after severe dust or salt exposure. Reapply only as directed by the chosen product’s label or when cleaning reveals sticking or dryness. Never apply a lubricant before adhesive work because residue can prevent a reliable bond.
Note: Compatibility matters. DuPont’s elastomer compatibility guidance explains that lubricant compatibility is application-specific and that incompatible formulations can change an elastomer’s size, hardness, brittleness, color, or texture. Use a product only when its label confirms the intended seal application, and test a hidden area first.
What Not to Use on 4Runner Weatherstripping
- Do not default to petroleum jelly unless its label confirms compatibility with the weatherstrip material and automotive application.
- Do not assume every silicone product is compatible merely because it is silicone-based; confirm the intended elastomer or weatherstrip application.
- Do not substitute tire shine or trim dressing unless the product label specifically approves weatherstripping use.
- Do not soak seals with harsh solvents such as lacquer thinner, gasoline, or brake cleaner.
- Do not pressure-wash directly into door seams when diagnosing a leak because high pressure can force water past an otherwise serviceable seal.
- Do not apply any lubricant before gluing because adhesive needs a clean, dry, compatible bonding surface.
Why Is Your 4Runner Still Leaking or Whistling?
If a repaired or replaced weatherstrip tests correctly but the 4Runner still leaks or whistles, the source may be somewhere else. Use the symptom and water path to narrow the cause before replacing more parts. Test one opening or seam at a time so a blocked drain, loose vapor barrier, roof leak, window-channel problem, or alignment issue is not mistaken for failed weatherstripping.
| Symptom | Likely Cause | What to Do |
|---|---|---|
| Water on sill or floor | Loose or torn seal, failed retainer, blocked drain, vapor-barrier leak, or misalignment | Test one path at a time; inspect retention, clear drains, inspect the barrier, then repair the confirmed fault |
| Whistling at highway speed | Gap at upper corner, mirror area, or window channel | Compare paper resistance, inspect window run, check door alignment |
| Door freezes shut | Moisture, contamination, damaged rubber, or water collecting at the seal | Clean and dry the seal, correct the water path, and use only a label-compatible maintenance product |
| Musty smell after rain | Hidden water entry, wet carpet, hatch leak, or vapor barrier leak | Dry the interior, inspect under mats, test one opening at a time |
| Wet headliner or upper pillar trim | Roof-rack mount, sunroof drain, upper body seam, or glass-area leak | Stop testing the door seal and inspect the upper water path; use a professional if trim, wiring, or airbags are involved |
| Rust under seal | Trapped moisture or grit under the bead | Remove seal, treat metal, repaint or protect, then reinstall or replace |
| Door hard to close after replacement | Seal too thick, twisted, incorrect for the application, or not fully seated | Recheck fitment, clips, corners, compression, orientation, and latch alignment |
If you find rust, do not glue the seal back over it. Remove loose surface rust only when you can restore the coating correctly, then let the primer, paint, or corrosion-protection product cure before reinstalling the weatherstrip. If rust has perforated the metal, the flange feels soft, or the opening no longer aligns correctly, use a body shop instead of hiding the problem under adhesive.
[Products Worth Considering]

This vinyl wrap and tinting kit brings together the essential tools needed for clean, accurate vehicle graphics, window film, and decal installation. The included heat gun, squeegees, magnet holders, cutter, and specialty applicators help reduce bubbles, improve alignment, and make trimming and finishing easier in tight or detailed areas. It is a practical all-in-one solution for car wrapping, tinting, and sign work.
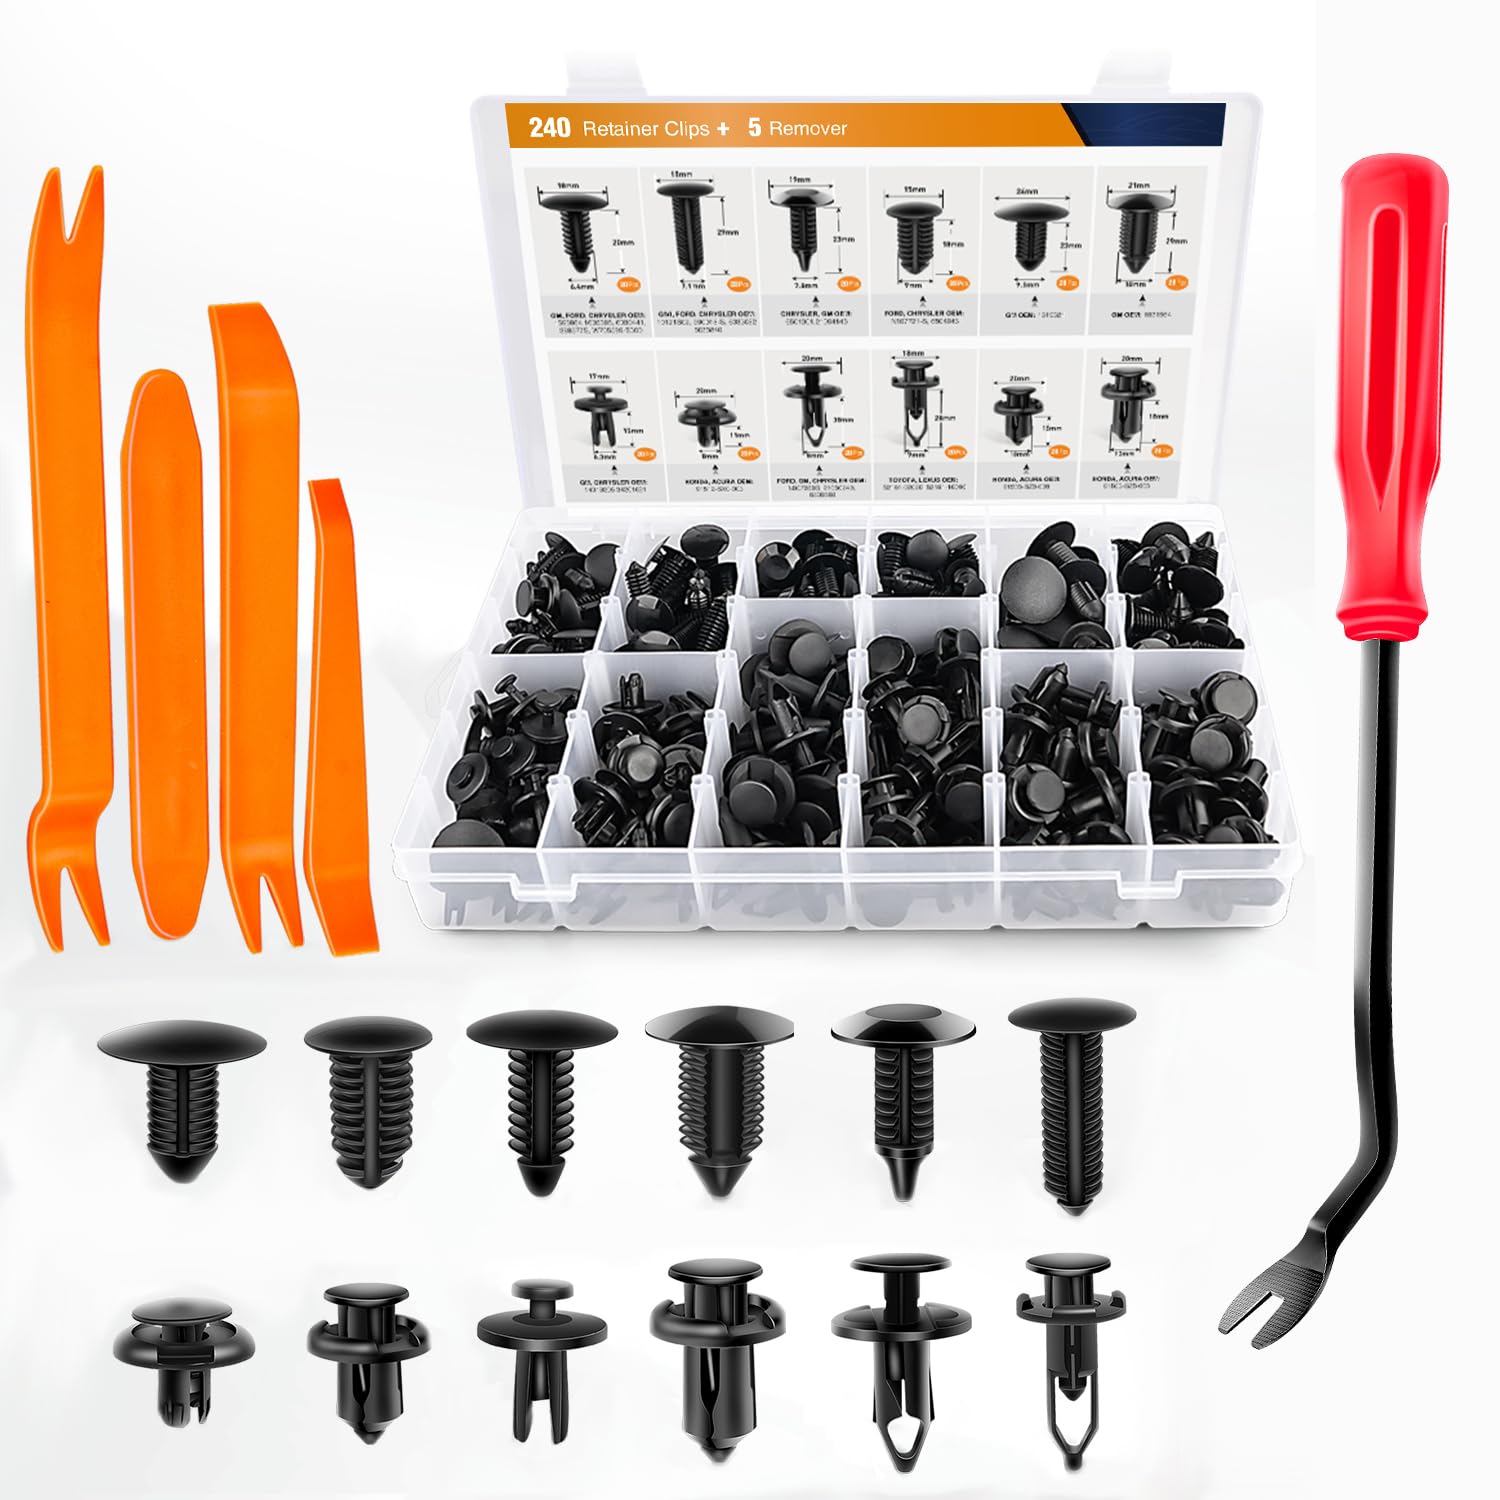
This universal automotive retainer clip assortment provides a convenient replacement solution for common body fasteners used on doors, fenders, bumpers, and splash shields. With a wide mix of popular sizes and an included organizer box, it helps save time by keeping the right clips on hand for quick repairs and maintenance. The durable construction is designed to resist cracking during installation and everyday use.
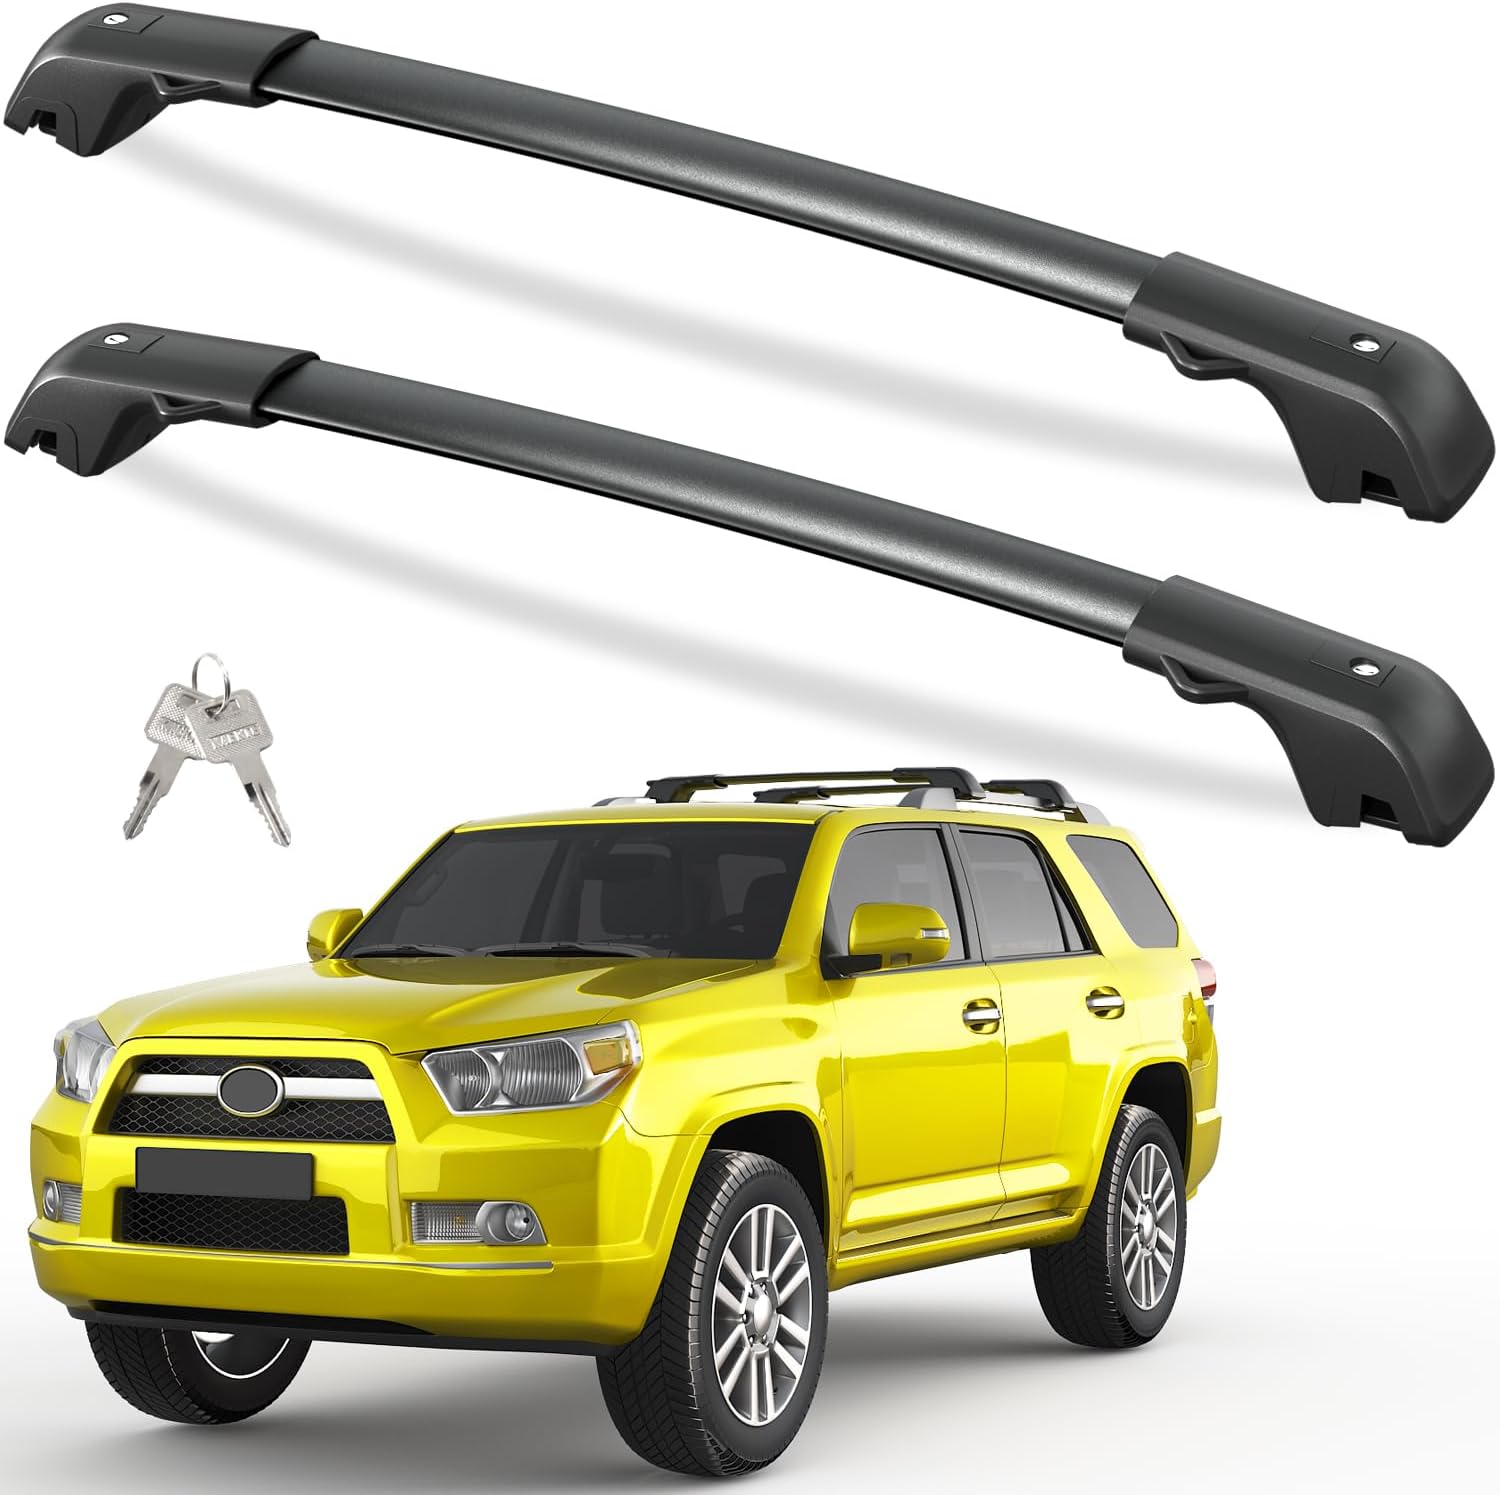
Designed specifically for Toyota 4Runner models with side roof rails, these lockable cross bars provide a secure and practical way to carry luggage, ladders, and other cargo. The aluminum construction, anti-theft metal lock, and tie-down loops add durability and confidence, while the low-profile design helps reduce wind noise during travel. Easy to install and backed by a 12-month warranty, they offer a dependable upgrade over standard crossbars.
When Should You Stop DIY and Use a Professional?
Stop the repair and use a qualified body, glass, or automotive electrical professional when the leak involves structure, alignment, hidden wiring, or a safety system. Adhesive cannot correct damaged metal or a door opening that no longer fits the seal evenly.
- Rust has perforated the flange, spread under paint, or left the metal soft.
- The door or hatch is visibly misaligned, has collision damage, or contacts the body unevenly.
- Water reaches the headliner, A-pillar trim, wiring, connectors, speakers, or airbag areas.
- The leak appears to come from fixed glass, a roof seam, roof-rack mounting point, or sunroof drainage system.
- A careful one-area-at-a-time water test still cannot isolate the source.
How Do You Verify a Weatherstrip Repair?
- Close the door gently first. Do not slam a freshly repaired bonded seal. Let adhesive cure according to the label.
- Check clips and retainers. Confirm mechanically retained sections remain seated and no clip has popped out.
- Check the corners. Make sure the rubber is not stretched, rolled, pinched, or bunched where the door curves.
- Repeat the paper check. Compare the repaired area with a known-good section of the same opening. The paper should not slide out noticeably easier at the repaired spot.
- Run a gentle water test. Start low and slow, then move upward. Test one opening at a time so you know where the leak starts.
- Take a short road test. Listen for wind noise at the same speed and road direction that caused the original complaint.
- Inspect again after the first heavy rain. Look under mats, along the sill, in the cargo area, and around the lower corners.
Frequently Asked Questions
Can you glue Toyota 4Runner weatherstripping back on?
Yes, when the rubber is still flexible, correctly shaped, free of tears, and the loose section is one that is meant to be bonded. First check for a missing clip or retainer. For a bonded section, clean and dry both surfaces, dry-fit the seal without stretching it, then use flexible automotive weatherstrip adhesive exactly as the label directs. Replace the seal instead if it is brittle, shrunken, split, or permanently flattened.
Should you glue a 4Runner weatherstrip if a clip or retainer is missing?
Not as a substitute for the missing mechanical part. If that section is designed to use a clip or retainer, restore the correct retention first. Use weatherstrip adhesive only on a section that is intended to be bonded and only when the adhesive label confirms the application.
How do you know when 4Runner weatherstripping needs replacement?
Replace it when you find tears, missing rubber, hardened or sticky material, shrunken corners, permanent flattening, or uneven compression that remains after the seal and its retainers are correctly seated. A loose but intact bonded section may only need cleaning and flexible adhesive.
Are Toyota 4Runner weatherstrips the same across all model years?
No. Seal position, profile, clips, retainers, and part numbers can vary by model year and application. Confirm the year, trim, driveline, exact door or hatch position, and preferably the VIN in Toyota’s parts catalog before ordering.
How often should you lubricate 4Runner weatherstripping?
The cited Toyota and adhesive sources do not give one universal interval for every seal. Inspect the weatherstripping during routine washes, before freezing weather, and after heavy dust or road-salt exposure. After cleaning and drying, reapply only as directed by a product whose label confirms weatherstrip compatibility.
Can you replace only one bad 4Runner weatherstrip?
Yes. Replace only the failed seal when the other seals remain flexible, undamaged, and evenly compressed. Match the exact model year, door, hatch, glass-run, or molding position for the vehicle, and verify the part before ordering.
Why is a 4Runner still leaking after a door seal was replaced?
The water may be entering somewhere else. Check the window glass run, door drains, speaker vapor barrier, roof-rack mounts, sunroof drains if equipped, body seams, rear glass area, hatch seal, retainers, and door or hatch alignment. Test one path at a time so you can identify the first point where water appears.
Do aftermarket seals affect door alignment or latching?
They can increase closing effort if the profile is too thick, the rubber is unusually stiff, the application is wrong, or the seal is twisted or not fully seated. Recheck model-year fitment, orientation, molded corners, clips, and compression before adjusting hinges or the striker.
Should you use petroleum jelly on 4Runner weatherstripping?
Do not use it by default. Elastomer compatibility varies, so use a product only when its label confirms the intended weatherstrip or seal application. Apply it to a cloth, test a hidden area, and keep all maintenance products away from surfaces that will be glued.
Can a heat gun restore compressed weatherstripping?
Do not use a heat gun as a repair method. Concentrated heat can damage rubber, paint, adhesive, and nearby trim. If the seal remains permanently flattened after it is cleaned and correctly seated, replace it rather than trying to reshape it with high heat.
Conclusion
Start with the failed area, not the replacement part. Clean a dirty but flexible seal, restore missing clips or retainers, reattach an intact bonded section with flexible weatherstrip adhesive, and replace rubber that is torn, hardened, shrunken, or permanently flattened. Verify position- and model-year-specific parts before ordering, keep maintenance products off bonding surfaces, and test one water path at a time. If the leak reaches structure, fixed glass, wiring, airbags, or badly rusted metal, stop the DIY repair and use the appropriate professional.
Sources
- Toyota 4Runner Parts & Accessories — supports the year, trim, driveline, and VIN fitment-check guidance.
- Toyota Genuine Back Door Weatherstrip 67881-35061 — confirms a position-specific back-door weatherstrip listing and vehicle-fitment check.
- Toyota Door Weatherstrip Retainer — confirms that dedicated mechanical weatherstrip retainers exist and should not automatically be replaced with adhesive.
- 3M Black Super Weatherstrip and Gasket Adhesive 08008 — confirms the intended weatherstrip and gasket application and the flexible, waterproof bond description.
- 3M Safety Data Sheet for Black Super Weatherstrip and Gasket Adhesive — supports the flammability, ventilation, ignition-source, skin-contact, glove, and eye-protection warnings.
- DuPont MOLYKOTE Grease Compatibility With Elastomers — supports application-specific compatibility checks and cautions about changes to elastomer properties.
- J-B Weld PlasticBonder — confirms that the product is a two-part urethane adhesive that cures to a hard, permanent bond.