
First check for limp mode by scanning OBD-II codes; limp mode gives ~1,000 RPM, warning lights, and nonfunctional gauges. If no codes, suspect mechanical drag or fuel/ignition loss. Measure fuel pressure, listen for injector clicks, and monitor MAF/throttle body voltages. Inspect pedal/TPS/ETCS wiring, grounds, and fuses. Clean MAF and throttle body/IAC as low-cost fixes, then road-test; keep organized logs so a shop can pinpoint parts if replacement or relearn is needed.
Quick Triage: Limp Mode vs Mechanical Faults

When your 4Runner loses power, start by checking for stored error codes—limp mode usually shows electronic faults (for example P2118 for throttle actuator issues) and produces symptoms like RPMs stuck around 1,000, multiple warning lights, and non‑functional gauges, while mechanical problems often cause gradual sluggish acceleration without triggering codes. You’ll want to read codes first: limp mode flags electronic faults; mechanical faults frequently return no codes. If codes point to throttle actuator, MAF, or grounding, you can often restore full power by cleaning the throttle body, verifying grounds, and inspecting wiring. If acceleration decline is progressive and codes are absent, shift focus to fuel delivery and sensor integrity—check fuel pump pressure, fuel filter, and throttle position sensor function. Use measured tests rather than guesswork: log RPM behavior, document warning lights, and record how power drops under load. This diagnostic approach frees you to act decisively and prevents wasted labor on the wrong subsystem.
Prepare Tools & Safety Gear
Start by equipping yourself with personal protective gear—safety glasses and gloves—and laying out a clean workspace so you can work efficiently and avoid injuries. You’ll maintain focus and control if you respect safety precautions and keep parts organized. Gather essential tools before you start to avoid interruptions that break diagnostic flow.
Equip safety glasses and gloves, clear a clean workspace, and gather tools to stay focused and organized.
- Wrenches, screwdrivers, pliers: basic fastener and clamp work.
- Multimeter: electrical checks for sensors, connectors, and continuity.
- Torque wrench: reassemble components to manufacturer specs to prevent leaks or failures.
- Magnetic tray and model-specific repair manual: retain fasteners and follow precise procedures.
Work systematically: arrange tools by task, clear oil and debris, and secure the vehicle on stands if needed. You’ll prevent mistakes and reclaim autonomy over repairs when you prepare properly. These measures reduce risk, speed troubleshooting, and keep you in control of the repair process without relying on guesswork.
Run Live Tests: Codes, Fuel & Voltage
Start by scanning for codes with an OBD‑II tool to capture any DTCs (for example P0123) that point to TPS/MAF faults. Then measure fuel pressure at the rail to verify the pump and regulator are delivering spec pressure under load. Finally, monitor battery and sensor supply voltage at the throttle body and MAF to rule out wiring or grounding issues that mimic sensor failures.
Scan For Codes
Begin by connecting an OBD-II scanner and pulling stored and pending DTCs so you know which systems to focus on. You’ll assess DTC significance and pick scanner types that support live data and mode 6. Run live tests to monitor MAF, TPS, throttle actuator, and voltage to isolate faults.
- Note codes (e.g., P0123, P2135) and map them to symptoms.
- Stream live MAF and TPS values at idle and during throttle input.
- Observe throttle actuator command vs. position and compare voltages.
- Log transient data for intermittent loss-of-power events.
Use the scanner to guide targeted repairs, prioritize safety and autonomy, and free yourself from guesswork by following precise electronic diagnostics.
Check Fuel Pressure
Use a pressure gauge to verify the pump delivers the manufacturer’s spec (around 40–50 psi on a 2000 4Runner) while the engine is running and during cranking; if pressure falls below spec or drops under load, suspect pump, filter, or wiring. You’ll run live tests with an OBD-II scanner for lean codes (P0171/P0174) while watching pressure specs. Probe the fuel pump circuit for voltage at the pump; a persistent voltage drop under load points to wiring or connector faults that rob power. Inspect and replace the fuel filter if readings sag with flow demand. Physically examine fuel lines for kinks, corrosion, or punctures and perform leak detection to rule loss of pressure. Act decisively—restore correct fuel pressure to reclaim control.
Monitor Battery Voltage
One clear way to reveal electrical causes of a 4Runner’s power loss is to monitor battery voltage during live acceleration runs: You’ll capture transient drops that point to charging or load issues. Aim for 13.5–14.5 volts while running; deviations imply alternator or wiring faults. Use a data logger or DMM with recording and correlate with engine load and throttle events to liberate your troubleshooting from guesswork.
- Record voltage under idle, steady throttle, and full acceleration to map failures.
- Run OBD-II live codes simultaneously to spot TPS or MAF errors that coincide with drops.
- Measure fuel pressure during the same runs to exclude pump delivery problems.
- Prioritize battery maintenance and wiring checks to restore voltage stability and performance.
Clean MAF, Throttle Body & IAC (Fast Fixes)
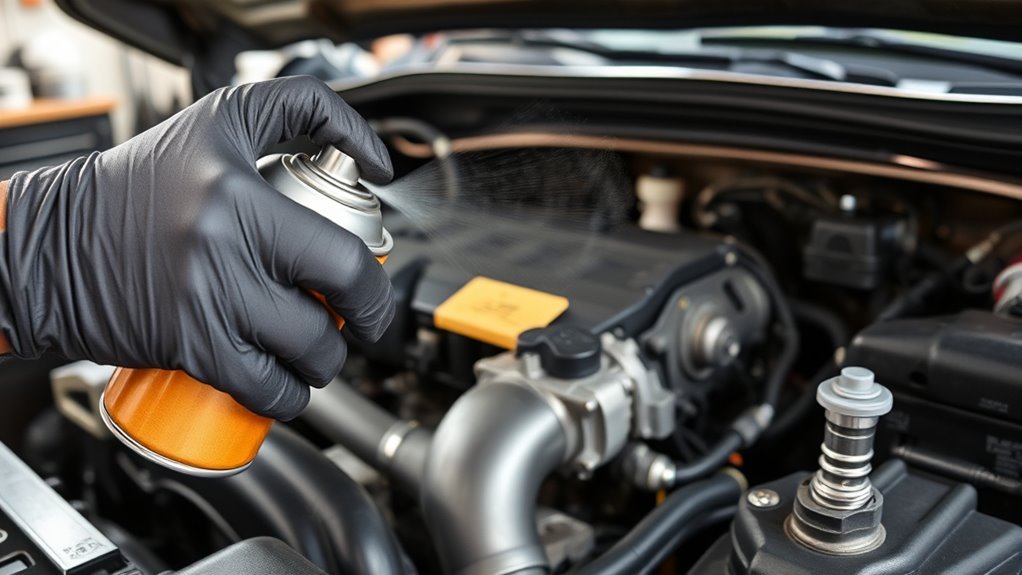
If your 4Runner feels sluggish or idles rough, clean the mass airflow sensor, throttle body, and IAC before chasing more complex faults. Use a dedicated MAF cleaner spray and gently remove deposits from the sensor, then clean the throttle plate and bore for unobstructed airflow and crisp throttle response. Finally, remove and clean the IAC valve so it can regulate idle properly and prevent erratic RPMs.
Clean Mass Airflow Sensor
Start by inspecting and cleaning the Mass Airflow Sensor (MAF), throttle body, and Idle Air Control (IAC) to quickly eliminate common causes of power loss in older 4Runners. Focus here on the MAF: accurate air measurement is crucial to regain control of engine response. Use dedicated MAF cleaning and follow manufacturer instructions to avoid sensor damage.
- Remove MAF carefully, note orientation and connector pins.
- Apply MAF cleaner to sensing elements; don’t touch or scrub.
- Allow complete drying per instructions before reinstallation.
- Reconnect and test for improved throttle response and reduced stumble.
Regular MAF cleaning and sensor maintenance liberate you from vague drivability issues and restore predictable performance.
Throttle Body And IAC
Cleaning the throttle body and Idle Air Control (IAC) lets you restore proper airflow and idle control quickly — remove buildup that disrupts the throttle plate and IAC pintle, then use approved cleaners and proper technique to avoid damage. You’ll address airflow issues and recover throttle performance by removing carbon that chokes the bore and IAC passage. Inspect the IAC for gumming; IAC cleaning often cures sluggish acceleration and unstable idle. Clean the MAF concurrently to stabilize sensor input and maximize engine efficiency. Use solvent rated for these parts, gentle brushes, and dry thoroughly before reassembly. After cleaning, recalibrate idle if required and road-test under load. Regular maintenance frees you from repeated power loss and restores confident control.
Check Pedal, TPS & ETCS Wiring, Grounds & Fuses
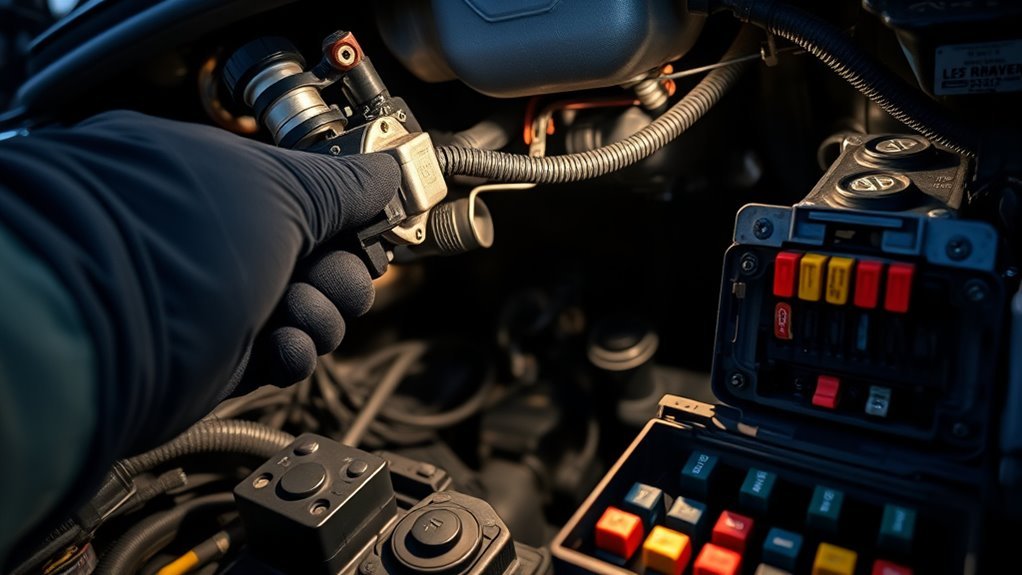
Because electrical faults are a common cause of hesitation and power loss, you should systematically inspect the TPS and ETCS wiring, pedal modules, grounds, and related fuses for damage, corrosion, loose terminals, or aftermarket devices that could alter throttle signals. Perform a wiring inspection for chafed insulation, crushed connectors, and continuity loss between the pedal, TPS, and ECU. Verify ground integrity at engine and chassis points; clean and tighten fasteners to eliminate voltage drop. Do a fuse evaluation in both engine and dash boxes—replace any blown ETCS-related fuses and trace faults. For TPS testing, use a multimeter to measure resistance or voltage sweep while manually opening the throttle; compare to spec to confirm linear response. Finally, identify and remove aftermarket devices that intercept pedal signals—these often induce unpredictable behavior. Use methodical documentation and minimal parts replacement: fix the fault, restore proper signal paths, and reclaim control so you’re not constrained by avoidable electronic interference.
Test Fuel Delivery & Ignition: Pump, Injectors, Plugs
When diagnosing a 4Runner’s acceleration issue, test fuel delivery and ignition systematically: attach a fuel pressure gauge to confirm the pump holds the manufacturer’s spec (typically 30–50 psi on a 2000 model), listen at each injector for a clear click to verify operation, and inspect spark plugs, wires, and coils for wear or arcing that would cause weak spark. Start with the fuel pump: measure static and running pressure, watch for drops under load, and check the pump’s electrical feed and relay. Perform injector testing by listening and using a noid light or scope to confirm pulse and duty cycle; clogged or dead injectors restrict flow and hurt throttle response. Remove and inspect spark plug condition and gap; replace per interval to prevent misfires. Evaluate the wider ignition system—coil resistance, wire insulation, and connectors—for signs of failure. These steps free you to pinpoint the fault and restore decisive acceleration without guesswork.
Replace Parts or Relearn: Decision Checklist
Start by verifying whether simple fixes solved the issue before buying parts: if a throttle-body and MAF cleaning restored smooth throttle response, you can skip replacements and relearns. You want decisive troubleshooting techniques that free you from needless expense. If cleaning fails, follow this checklist to decide on part replacement and relearn steps.
Verify simple fixes first—clean the throttle body and MAF; only replace parts and relearn if problems persist.
- Confirm vacuum integrity — repair leaks first; they mimic sensor faults and invalidate part swaps.
- Test fuel pressure with a gauge; low pressure points to pump replacement rather than sensors.
- Replace TPS next if symptoms persist; it’s common on older 4Runners. Verify part compatibility (OEM vs aftermarket) before ordering.
- After replacing TPS or throttle body, perform the manufacturer’s relearn procedure to sync control systems and restore throttle mapping.
Use data-driven checks, not guesses. This keeps you liberated from repeat repairs and guarantees replacements solve the root cause rather than masking it.
What to Tell a Shop: Diagnostics to Bring
Any shop you use should get a succinct, prioritized symptom list: note loss of power during acceleration, any stalls or shutdowns after deceleration, exactly when the issue occurs (cold start, warm, steady speed, under load), and whether a dashboard light came on. Lead with symptom specifics—RPM drop, hesitation, surge, or limp mode—and timelines so the tech can reproduce conditions.
Tell them about recent repairs like throttle body cleaning, spark plug replacement, or fuel-system work; those context clues narrow scope fast. Ask for targeted diagnostics: live-data MAF and TPS readings, fuel pressure test at idle and under load, and scan for pending/standing codes. Mention any aftermarket modifications or devices that could alter sensor readings or fuel delivery.
Demand logged data capture during a road test and a clear failure hypothesis before parts are replaced. That keeps repair choices transparent and aligns the shop with your goal: regain reliable, unfettered control of your 4Runner.
Cost & Time Expectations for Common Fixes
Now that you’ve prepared a focused symptom list and asked for logged data, you should set clear cost and time expectations for likely repairs so you can judge shop recommendations. You’ll want a concise cost breakdown and realistic time estimates to avoid overcharging and regain control.
- Throttle body & MAF cleaning: $50–$150, 1–2 hours; DIY or shop.
- TPS replacement: $40–$100 for parts, plus ~1 hour labor.
- Fuel pump replacement: $300–$800 total, 2–4 hours depending on access.
- Spark plugs (preventive): $100–$200, 1–2 hours; aligns with maintenance frequency.
Use these numbers to compare quotes and demand logged test data. Prioritize low-cost diagnostics first (cleaning, sensors) before high-cost parts. Insist on labor rate transparency and estimated completion time. This lets you reject vague estimates and choose efficient repairs that restore performance and preserve your freedom on the road.
Frequently Asked Questions
Why Is My Toyota 4runner Not Accelerating?
Your 4Runner isn’t accelerating because failing sensors, vacuum leaks, or fuel delivery issues degrade engine performance and fuel efficiency; check TPS, MAF/throttle body, fuel pump/filter, spark plugs, and vacuum lines to diagnose and restore control.
Conclusion
You’ll spot limp-mode problems fast: about 30% of sudden 4Runner power-loss cases trace back to electronic faults (sensors, wiring, ECU) rather than mechanical fuel or ignition failures. Use your multimeter and scan tool first, then clean MAF/throttle/IAC and verify fuel pressure before swapping parts. Document codes, voltages, grounds and test-driven symptoms to avoid needless replacements. That focused, measured approach saves time and money and gets you back on the road with confidence.