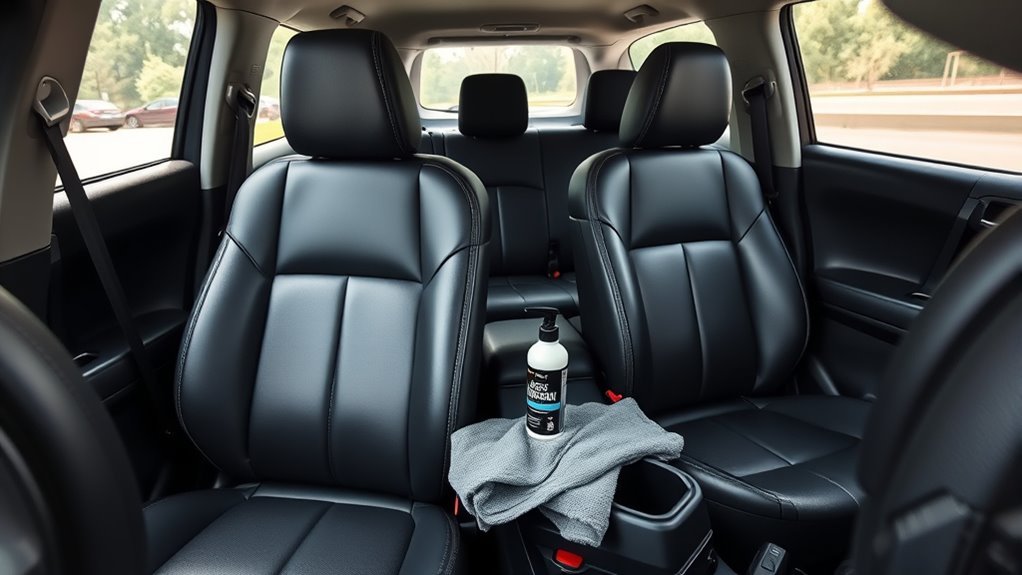
Cleaning 4Runner leather seats is simple when you match the method to the seat material. Many Toyota 4Runners use a mix of leather-trimmed seating surfaces, SofTex synthetic leather, vinyl-like side panels, and plastic trim, so the safest routine is to vacuum first, clean with a mild solution, avoid soaking seams, and condition only genuine leather areas.
Quick Answer
Vacuum seams and crevices, test your cleaner on a hidden spot, then wipe leather with a soft microfiber and a mild leather-safe cleaner. Use only a damp cloth, not a soaked one. For SofTex or other synthetic leather, use a mild neutral detergent solution, wipe off residue, and dry fully.
Key Takeaways
- Identify the material first: leather, leather-trimmed, SofTex, and vinyl-like panels need slightly different care.
- Toyota owner guidance favors mild, neutral detergent solutions and thorough drying; avoid harsh chemicals and heavy saturation.
- Condition only genuine leather or leather-trimmed areas if the conditioner label says it is safe for coated automotive leather.
- Clean spills quickly, blot instead of rubbing, and keep moisture out of perforations, seams, switches, and under-seat electronics.
At a Glance
| Time Required | 5 minutes for upkeep; 30–60 minutes for a full clean and dry-down |
| Difficulty | Easy |
| Tools Needed | Vacuum, crevice tool, microfiber cloths, soft brush, mild cleaner, leather conditioner for leather only |
| Cost | About $10–$40 if you already own a vacuum |
Quick Checklist: What You’ll Need for 4Runner Leather Seat Cleaning
Gather your supplies before you wet any seat surface. The right tools remove grit safely and reduce the chance of streaks, dye transfer, or worn-looking bolsters.
- Vacuum with crevice and brush attachments for seams, seat tracks, and stitching.
- Clean microfiber cloths for washing, residue removal, and final buffing.
- Soft detailing brush for textured grain and stubborn dirt.
- Leather-safe automotive cleaner for genuine leather or leather-trimmed panels.
- Mild neutral detergent for synthetic leather/SofTex-style areas.
- Leather conditioner only for genuine leather or leather-trimmed areas, used according to the label.
- Small bowl or spray bottle for controlled dilution and light application.
Warning: Do not use bleach, ammonia, strong degreasers, household glass cleaner, magic erasers, stiff brushes, steam saturation, or soaking-wet towels on 4Runner seats. Too much liquid can enter seams, perforations, switches, or under-seat electronics.
[Products Worth Considering]

The ELECFRESH door side trash cans provide a custom-fit solution for Toyota RAV4 owners, turning unused door space into a convenient garbage storage area. Their open design allows quick disposal while the sponge pad ensures a stable, quiet installation that doesn't interfere with driving. Ideal for keeping the vehicle interior tidy and clutter‑free.

These silicone cup holder inserts provide a curved, anti‑shake design that securely grips water cups and bottles, preventing spills and rattling while driving. Made from high‑strength, waterproof silicone, they fit most vehicle cup holders and are easy to install with a self‑adhesive backing. The set includes six inserts, cleaning paper, and a manual for optimal placement and lasting stability.

These durable PVC cup holder inserts provide a non‑slip, waterproof surface that keeps drinks stable and prevents spills while protecting the cup holder from scratches and noise. The honeycomb mesh design offers a comfortable grip and easy cleaning, fitting most vehicle cup holders with a 2.75‑inch diameter. Ideal for cars, trucks, and SUVs, they enhance interior comfort and maintain a tidy cabin.
Identify Your 4Runner Leather Type and Trim Areas
Before cleaning, confirm what your 4Runner seats are actually made of. Toyota uses different seating materials by model year and trim. For example, Toyota’s 2026 4Runner lineup includes SofTex-trimmed seats on some Premium/TRD trims, leather-trimmed seating on Limited, premium leather seats on Platinum, and SofTex variations on TRD Pro and Trailhunter.
Use these checks before choosing products:
- Check the window sticker, owner’s manual, or Toyota build sheet. Look for “leather-trimmed,” “premium leather,” “SofTex,” or “fabric.”
- Inspect the seat panels. The center seating surface may differ from bolsters, backs, sides, and headrests.
- Feel the panel edges and grain. SofTex and vinyl-like panels usually feel more uniform and less porous than leather.
- Look for perforations. Ventilated seats need less liquid and more careful drying.
Note: “Leather-trimmed” does not always mean every visible panel is genuine leather. Treat each panel based on its material, not just the trim name.
Safe Cleaner Dilution Guide for Leather vs. SofTex
Use the mildest cleaner that works. Toyota owner guidance for interior materials emphasizes vacuuming first, using neutral detergent solutions, wiping away detergent residue, and drying with a soft cloth in a shaded, ventilated area.
| Seat Material | Best Cleaner | Condition? |
|---|---|---|
| Genuine leather / leather-trimmed panels | Automotive leather cleaner or about 5% neutral wool detergent solution | Yes, if the conditioner is safe for coated automotive leather |
| SofTex / synthetic leather | Soft cloth with neutral detergent diluted to about 1%, then wipe residue away | No leather oils or leather conditioner |
| Plastic trim and seat controls | Damp microfiber or interior plastic-safe cleaner | No |
Always test any cleaner on a hidden area first. Let the test spot dry fully before judging color change, shine, tackiness, or residue.
[Products Worth Considering]

These plush car seat belt cover pads provide a soft, friction‑reducing layer that eases shoulder pressure during long drives, making rides more comfortable for adults and kids. The cute purple flower pattern adds a stylish touch to any vehicle interior while the durable, wear‑resistant material ensures long‑term use. Easy Velcro straps secure the pads without tools, and the universal fit works with most seat belts.

Stay warm and keep control with the KVAEY fluffy steering wheel cover. Its high‑density plush provides a soft, comfortable grip while the anti‑slip rubber liner ensures safety during winter drives. Easy to install and fits 15‑inch wheels on cars, trucks, and SUVs, adding a cozy, stylish touch to any interior.

Cleaning & conditioning: Powerful leather cleaner and conditioner that removes dirt, oils, grime, and residue while restoring natural suppleness and improving the look and feel of leather furniture, car seats, couches, sofas, jackets, handbags, shoes, saddles, and tack. This cleaning leather treatment nourishes and revitalizes finished leather surfaces, helping maintain softness and long‑lasting protection.
Prep: Vacuum, Remove Debris, and Protect Trim
Dry prep matters because grit acts like sandpaper when you start wiping. Clear the cabin, slide seats forward and back, and remove crumbs, pet hair, trail dust, and grit before applying cleaner.
[Products Worth Considering]
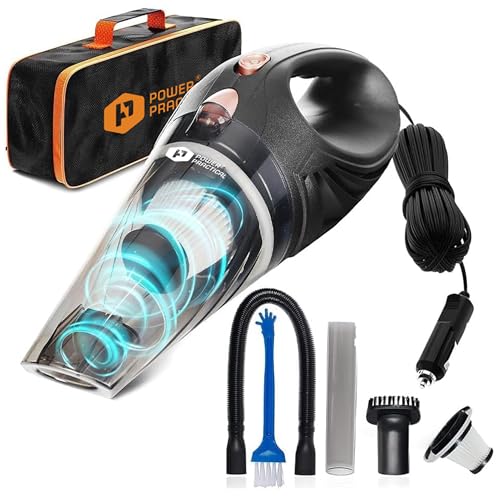
Practical: A mini vacuum for car or truck that is compact, lightweight (2.4 lbs), and easy to use. The large dust bin capacity is ready for ash, dust, or drive-thru food spills. A fully loaded interior car detailing kit housed in an ergonomic design.
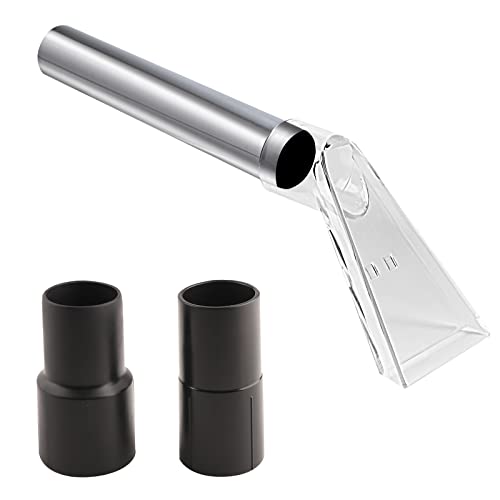
EXTRACTOR ATTACHMENT: This tool turns any wet/dry vacuum cleaner and shop vac into a powerful extractor. Has the ability to remove dirt and dirty water. Easy to install and reusable.

❤With this bag in your car, small things can be storage well
Vacuum Seats Thoroughly
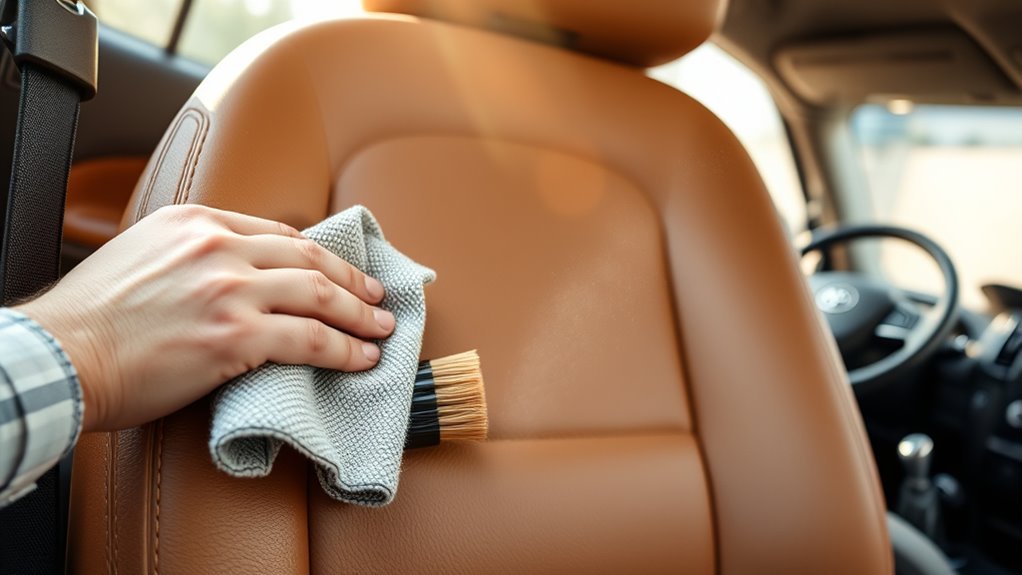
Use the crevice tool along seams, bolsters, seat-belt receivers, and the gap between the backrest and lower cushion. Use a soft brush attachment on the seating surface. Keep the nozzle moving and avoid dragging hard plastic edges across the leather or SofTex.
Remove Loose Debris
Lift crumbs and grit from stitching with a soft detailing brush, then vacuum again. If you recently drove off-road, pay extra attention to the side bolsters, rear-seat footwell edges, and cargo-side seatbacks where dust collects.
Protect Trim Edges
Wipe plastic trim, seat-control surrounds, cupholders, and console edges before cleaning the seats. This prevents dirty residue from transferring back onto clean upholstery. Keep liquid away from electrical switches and seat adjustment controls.
Quick Routine: A 5-Minute Clean for Daily Upkeep
Use this quick routine weekly or after dusty drives, school runs, gym trips, pets, or food spills.
| Step | Action |
|---|---|
| 1 | Vacuum seams, bolsters, and crevices. |
| 2 | Lightly dampen a microfiber cloth with the correct cleaner. |
| 3 | Wipe in gentle overlapping passes; do not soak the surface. |
| 4 | Use a second damp cloth to remove cleaner residue. |
| 5 | Dry with a clean microfiber cloth and leave the doors open briefly if possible. |
Pro Tip: Keep one clean microfiber towel in the cargo area. Blotting a spill in the first few minutes is safer than scrubbing a set-in stain later.
Deep Clean Leather Seats: Safe Cleaners & Step-by-Step Technique
A deep clean is best for visible grime, sticky residue, sunscreen buildup, denim dye transfer, or a used 4Runner interior that needs a reset. Work one seat at a time so cleaner does not dry unevenly.
Prep and Vacuum
Park in shade, open the doors, and let hot seats cool before cleaning. Remove loose items, vacuum thoroughly, and inspect seams under good light. Do not clean hot leather in direct sun because cleaner can dry too quickly and leave streaks.
Gentle Cleaner Selection
For leather or leather-trimmed surfaces, use an automotive leather cleaner or a mild neutral wool detergent solution. For SofTex or other synthetic leather, use a much milder neutral detergent solution and avoid leather oils, waxy conditioners, and greasy dressings.
Spray cleaner onto the cloth, not directly into the seat. This gives you better control and helps protect perforations and seams.
Deep Clean Technique
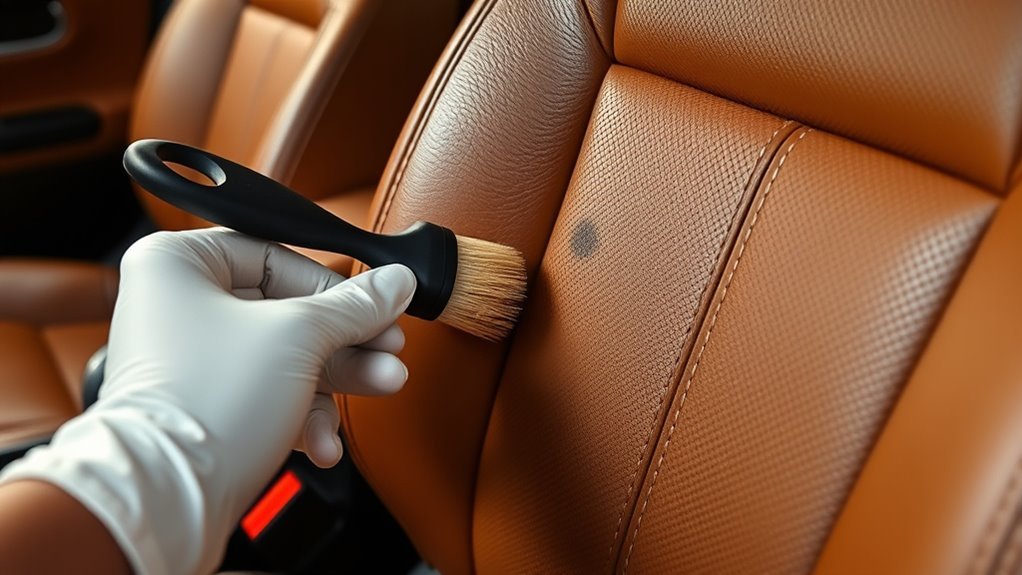
- Start with the least visible area. Test the cleaner near the lower side of the seat or under a cushion edge.
- Clean in small sections. Wipe with light pressure in overlapping circles or straight passes.
- Agitate only when needed. Use a soft brush for grain texture or stubborn dirt, not aggressive scrubbing.
- Remove residue. Wipe with a separate cloth lightly dampened with clean water.
- Dry fully. Buff with a dry microfiber cloth and let the seat air dry in shade.
Condition Leather: Choose Product & Apply Correctly
Conditioner is for genuine leather or leather-trimmed panels only. Do not apply leather conditioner to SofTex, vinyl-like side panels, plastic trim, or seat controls.
Choose a conditioner labeled safe for coated automotive leather. Apply a thin layer with a microfiber cloth, work it evenly across the leather panel, follow the product dwell time, then buff away all excess. The seat should feel clean and dry, not slippery or greasy.
For most 4Runner owners, conditioning genuine leather every 6–12 months is enough. Increase care if the vehicle sits in strong sun, carries kids or pets, or sees frequent trail dust. If the seat is SofTex, skip leather conditioner and simply keep it clean and dry.
4Runner Spot Treatment: Stains, Ink, Grease & Dye Transfer
Act quickly and blot first. Rubbing spreads stains and can push pigment deeper into leather grain or synthetic texture.
| Stain | What to Do | Avoid |
|---|---|---|
| Coffee, soda, juice | Blot immediately, clean with the correct mild solution, wipe residue, and dry. | Soaking seams or scrubbing sticky sugar into the surface. |
| Sunscreen or body oil | Use a leather-safe or synthetic-safe cleaner and repeat lightly if needed. | Strong degreasers or abrasive pads. |
| Ink | Use a product labeled safe for automotive leather/synthetic leather or call a detailer. | Rubbing alcohol as a default first step. |
| Grease | Blot, lift residue gently, then clean with a mild material-safe cleaner. | Solvents, gasoline, or harsh shop degreasers. |
| Denim dye transfer | Clean early with a leather-safe or synthetic-safe cleaner; repeat gently. | Magic erasers or aggressive scrubbing that dulls the finish. |
| Mud and trail dust | Let heavy mud dry, vacuum loose grit, then wipe with a damp microfiber. | Grinding grit into the seat while wet. |
The safest stain-removal rule is simple: blot quickly, clean gently, remove residue, and dry fully before repeating.
Special Care for Perforated, Heated, and Ventilated Seats
If your 4Runner has heated or ventilated seats, use less liquid than you think you need. Perforations can trap cleaner and moisture, which may cause residue, odor, or spotting.
- Apply cleaner to a cloth instead of spraying the seat directly.
- Use a barely damp microfiber around perforations.
- Do not force brush bristles into small holes.
- Dry with a clean towel and allow extra air-dry time before using seat heat or ventilation.
- Keep liquid away from switches, wiring, and seat-track areas.
Dry, Buff, and Finish to Avoid Streaks and Residue
After cleaning, wipe the seat with a clean microfiber cloth to remove leftover moisture and product. Fold the towel often so you always use a clean side. If the surface feels slick, sticky, or shiny, too much product remains.
Let seats air dry in a shaded, ventilated area. Avoid sitting on freshly cleaned leather or SofTex until the surface feels fully dry. This helps prevent clothing dye transfer, pressure marks, and streaks.
Maintenance Schedule & Common Mistakes to Avoid
A simple schedule keeps your 4Runner interior looking better and reduces the need for harsh cleaning later.
| Frequency | Task |
|---|---|
| Weekly or after dusty use | Vacuum seams and wipe high-touch areas with a dry or lightly damp microfiber. |
| Monthly | Do a light clean with the correct material-safe solution and dry thoroughly. |
| Twice per year | Deep clean leather and synthetic leather areas; condition genuine leather only if appropriate. |
| Immediately | Blot spills, sunscreen, grease, ink, or dye transfer before they set. |
Common mistakes to avoid:
- Using the same product on every panel. Leather and SofTex do not need the same treatment.
- Over-wetting the seat. Damp is safe; soaked is risky.
- Skipping residue removal. Leftover cleaner attracts dirt and creates shine.
- Using alcohol or solvents as a first response. These can damage seat finishes.
- Conditioning SofTex. Synthetic leather does not absorb leather conditioner like real leather.
When to Call a Professional Detailer
Call a professional detailer if you see cracking, peeling, heavy dye transfer, old ink marks, mold odor, sticky residue that returns after cleaning, or stains on perforated ventilated seats. A pro can test the material, use controlled cleaners, and avoid making the damage worse.
Frequently Asked Questions
How do you clean 4Runner leather seats?
Vacuum first, test the cleaner in a hidden spot, then wipe leather with a microfiber cloth and an automotive leather cleaner or mild neutral wool detergent solution. Wipe away residue, dry with a soft cloth, and condition only genuine leather or leather-trimmed panels if the product is safe for coated automotive leather.
Does SofTex need to be conditioned?
No. SofTex is Toyota’s synthetic leather material, so it should be cleaned gently and dried, not treated with leather oils or leather conditioner. Use a mild neutral detergent solution, remove residue with a clean damp cloth, and dry fully.
Should you condition 4Runner leather seats?
Yes, but only if the seating surface is genuine leather or leather-trimmed and the conditioner is labeled safe for coated automotive leather. Use a thin layer, follow the product directions, and buff away excess so the seat does not feel greasy.
Does Toyota use real leather on 4Runner seats?
Some 4Runner trims use leather-trimmed or premium leather seating, while others use SofTex or fabric. Current trim choices vary by model year, so check the window sticker, owner materials, or Toyota trim specifications before choosing a cleaner.
Can I use dish soap on 4Runner seats?
A very mild neutral detergent solution can be used for synthetic leather-style areas, but avoid strong dish soap mixtures, degreasers, and anything with bleach or ammonia. Use a lightly damp cloth, remove all residue, and dry the seat completely.
How often should I clean 4Runner leather or SofTex seats?
Vacuum and wipe high-touch areas weekly or after dusty use. Do a light clean about monthly if the vehicle sees regular family, pet, gym, or trail use. Deep clean about twice per year, and condition genuine leather only when needed.
Conclusion
To clean 4Runner leather seats safely, start dry, use mild cleaners, remove residue, and dry fully. The most important step is identifying the material before you apply products: leather can be cleaned and lightly conditioned, while SofTex and synthetic panels should be cleaned gently without leather conditioner. Keep the routine simple and consistent, and your 4Runner interior will stay cleaner, more comfortable, and better protected from everyday wear.
Sources
- Toyota Owners: 2025 4Runner Hybrid — Cleaning and protecting the vehicle interior — backs Toyota guidance for leather and synthetic leather cleaning, neutral detergent use, residue removal, and drying.
- Toyota Support: What is SofTex? — backs the explanation that SofTex is synthetic leather designed for wear, easy cleaning, and spill resistance.
- Toyota USA Newsroom: The 2026 Toyota 4Runner — backs current 4Runner trim and seating-material examples.
- Toyota: How to Clean Your Car’s Interior — backs general interior-cleaning supplies, microfiber use, leather cleaner/conditioner guidance, and drying steps.